
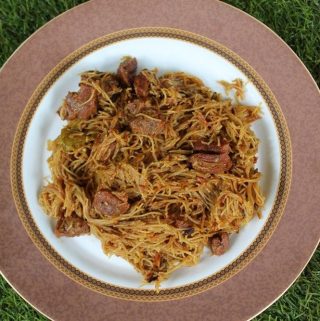
"Mutton Semiya or Semiya Mutton Biryani is a Delicious spicy breakfast, lunch, dinner or brunch. It is easy and additive"
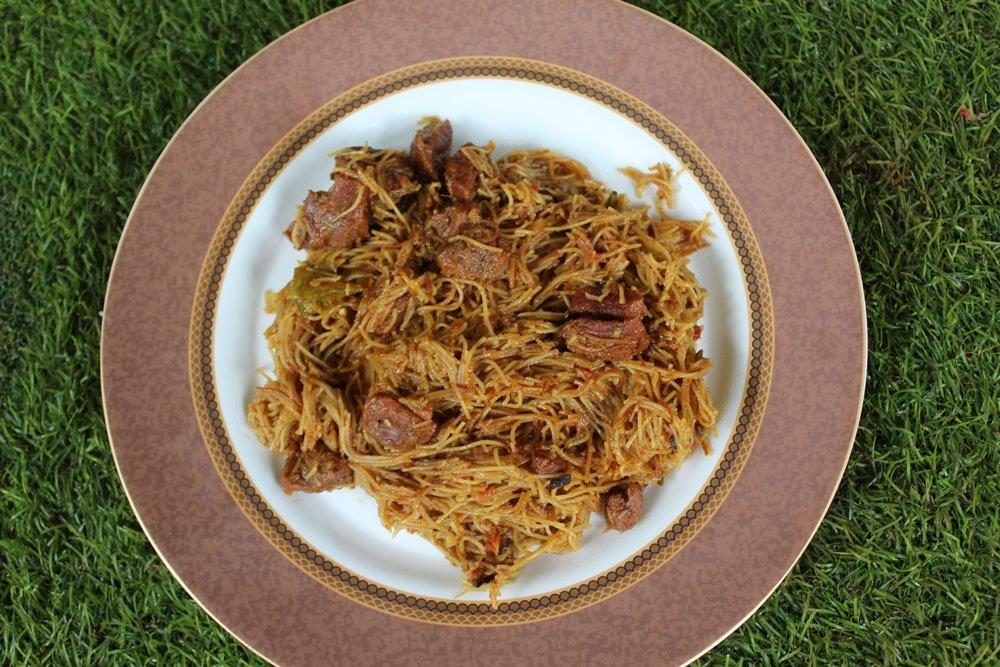
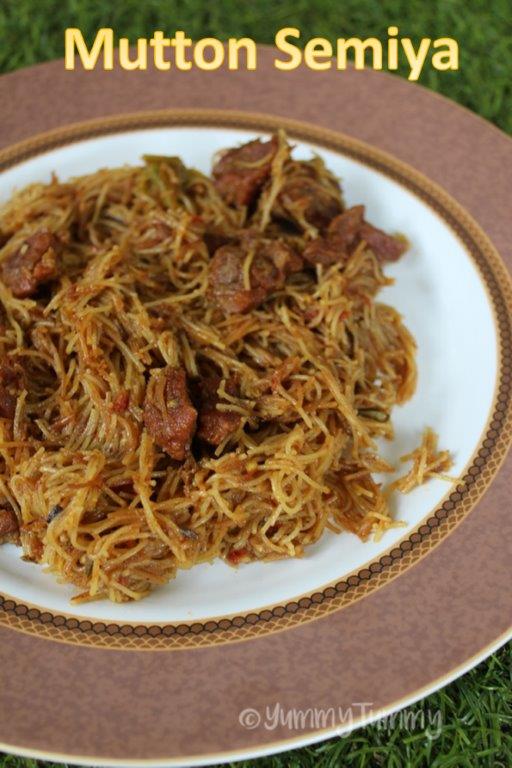
Mutton Semiya Biryani | Mutton Vermicelli Biryani Recipe
Semiya Biryani is also called as Vermicelli Biryani or Mutton Vermicelli, Mutton Semiya. Semiya biryani recipe is delicious and spicy.
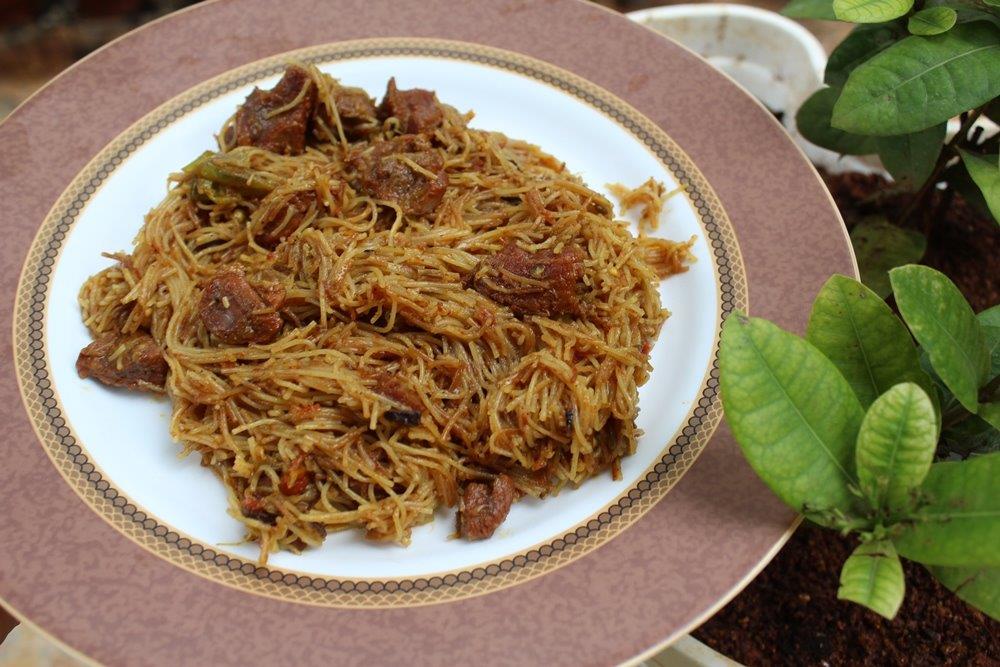
Delicious biryani recipe which has succulent mutton pieces all over and is cooked together. The biryani is super easy to make. But it has little tricks to get perfect biryani all the time.
Tricks for perfect Mutton Vermicelli Biryani
1)Once the mutton is cooked, check for the leftover liquid in the pan. Then add more water.
2)Don't add too much water else it will get gummy and gooey.
3)Roast the vermicelli till golden so it remains fluffy.
If you enjoy this vermicelli biryani, then chicken my Vegetable semiya biryani
Are you bored of normal biryani, then try this vermicelli biryani.
- Use fine vermicelli which is more tasty. I used upma vermicelli.
- Roasting is must. I like to roast the vermicelli till golden brown.
- Instead of mutton you can use chicken.
- Add less water a first. This way the vermicelli don't over cook.
- Cook the mutton completely before adding vermicelli.
- Add desi ghee in the end for more flavour.
- This semiya mutton goes well with onion raita.

Are you a biryani fan, then check my biryani collections
Similar Recipe,
Hyderabadi Mutton Dum Biryani
Mughlai Chicken Dum Biryani
Chicken Kofta Dum Biryani
Fish Dum Biryani
Vegetable Dum Biryani
Mughlai Vegetable Dum Biryani
Mushroom Dum Biryani
Chicken White Rice
White Chicken Biryani
Brown Rice Egg Biryani
Chicken Dum Biryani
Hope you will give this a try and let me know how it turns out for you.
If you have any questions not covered in this post and if you need help, leave me a comment or mail me @aarthi198689@gmail.com and I'll help as soon as I can.
Follow me on Instagram, Facebook, Pinterest ,Youtube and Twitter for more Yummy Tummy inspiration.
IF YOU MAKE THIS RECIPE OR ANYTHING FROM YUMMY TUMMY, MAKE SURE TO POST IT AND TAG ME SO I CAN SEE ALL OF YOUR CREATIONS!! #YUMMYTUMMYAARTHI AND @YUMMYTUMMYAARTHI ON INSTAGRAM!
📖 Get Recipe
Mutton Semiya Biryani | Mutton Vermicelli Biryani Recipe
Ingredients
- Oil - 2 tblsp + 3 tblsp
- Vermicelli - 4 cups
- Fennel seeds / Sombu / Saunf - 1 tsp
- Cinnamon / Pattai - 1 small piece
- Cardamom / Yelakai - 2
- Cloves / Krambu - 2
- Onion - 1 sliced thinly
- Curry leaves - 1 sprig
- Green Chillies - 3
- Ginger Garlic Paste - 1 tblsp
- Chilli Powder - 2 tsp
- Cumin Powder - 1 tsp
- Garam masala powder - 2 tsp
- Turmeric powder - ½ tsp
- Tomato - 2 chopped finely
- Boneless Mutton - 500 grams chopped finely
- Water - 11/2 cup
- Salt to taste
- Ghee - 1 tsp
Instructions
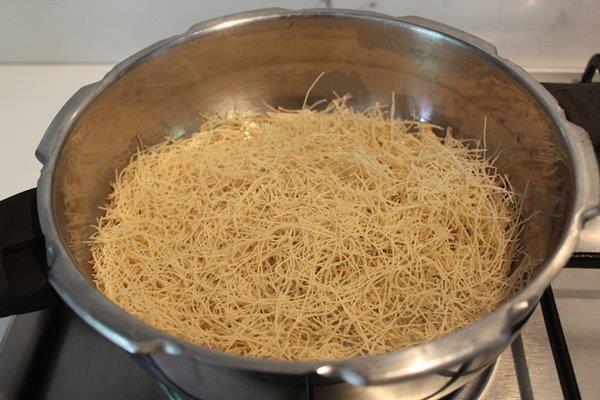
- Heat oil in a pan or pressure pan, add vermicelli and roast till golden. Remove to a plate.
- Heat oil in a pressure cooker, add in whole spices.
- Add in onion, green chillies and ginger garlic paste and saute for 2 mins or so.
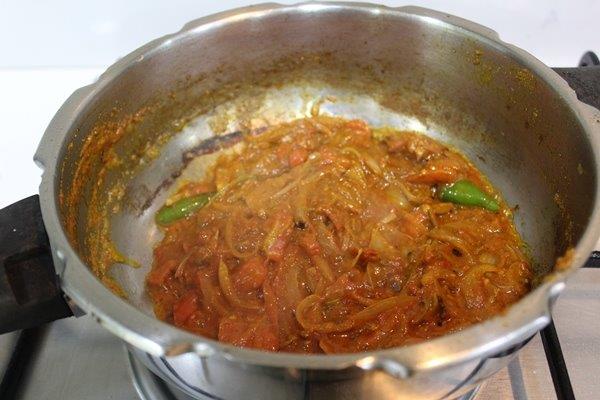
- Add in tomatoes and cook till mushy.
- Add in spice powder and mix well. Add in salt and mix well.
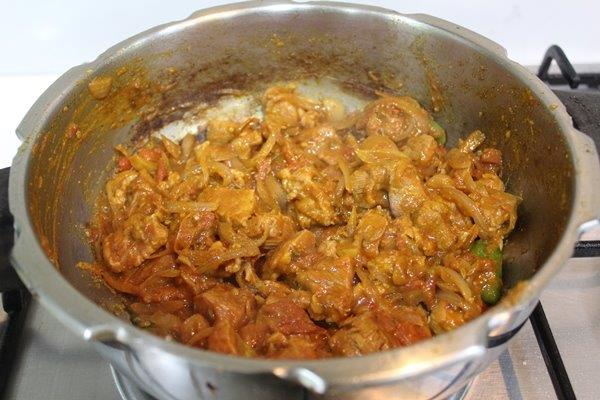
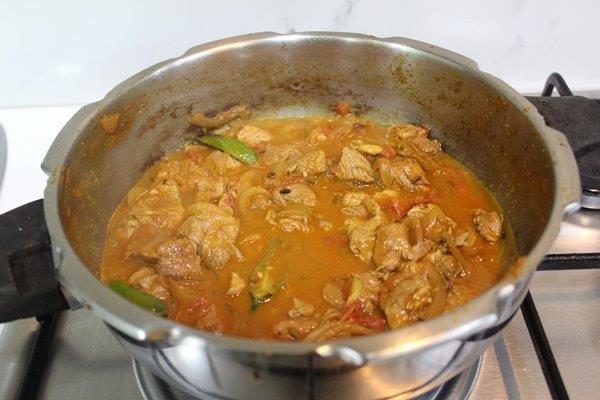
- Add in mutton. Saute well.
- Add in little water and cook for 5 to 6 whistle. Leave the pressure to release by itself.
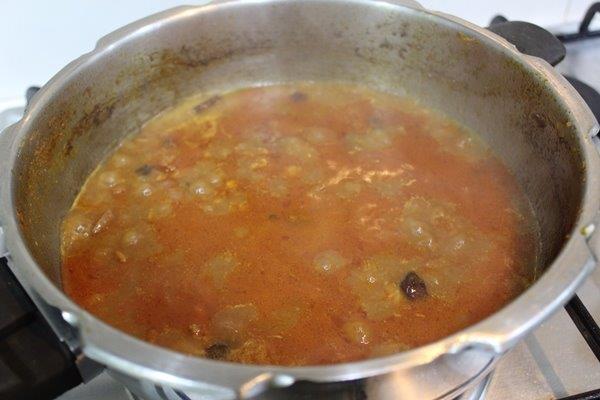
- Open the cooker, add in 1 more cups of water and bring it to a boil.
- Add in vermicelli and mix well.
- Cover and cook on very low heat for 10 mins
- Add ghee and mix well.
- Serve.
Notes
2)Dont add too much water else it will get gummy and gooey.
3)Roast the vermicelli till golden so it remains fluffy.
Nutrition
Tried this Recipe
Mention @yummytummyaarthi or tag #yummytummyaarthi!Mutton Semiya Biryani step by step recipe
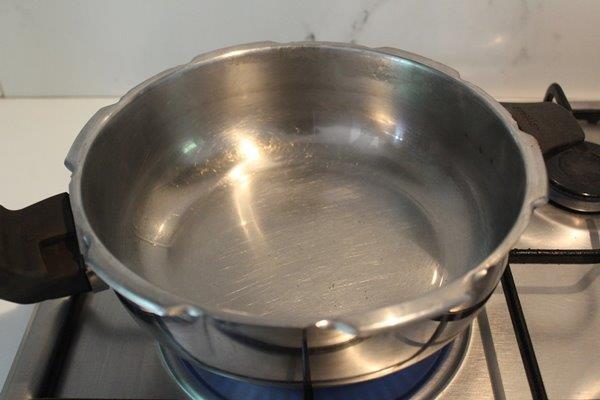
1)heat oil in a pressure pan.
2)Add vermicelli
3)roast till golden brown.
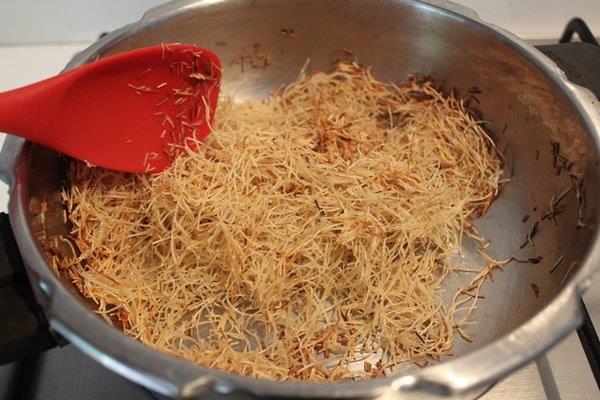
4)Remove to a bowl.

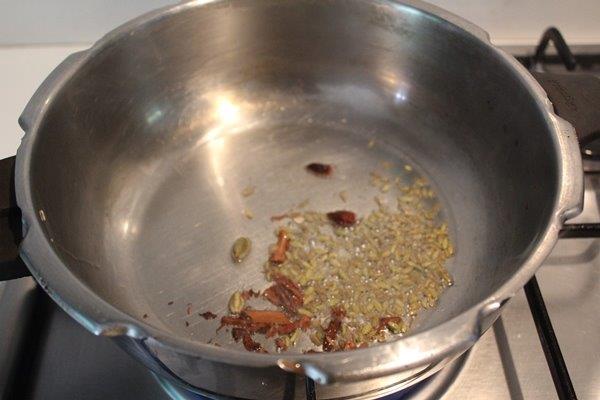
5)Heat more oil in the pan. Add whole spices
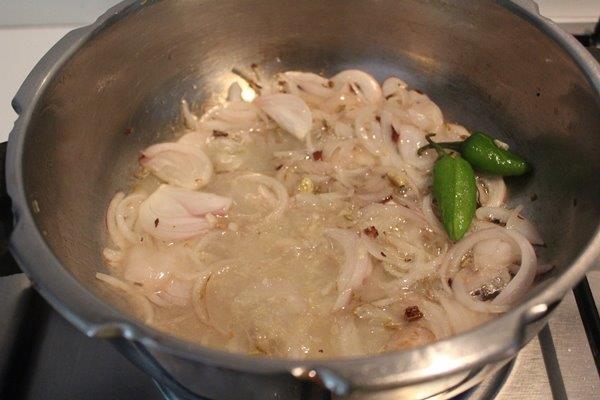
6)Add onions
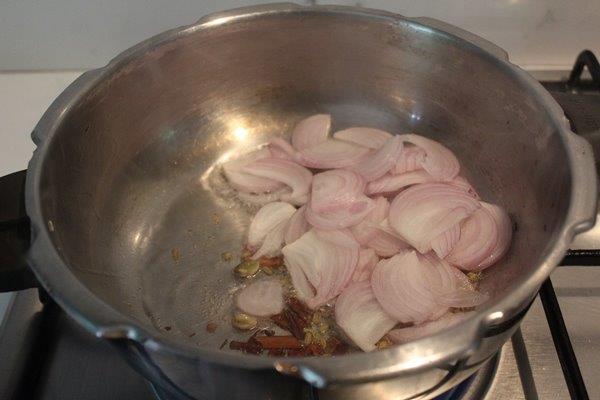
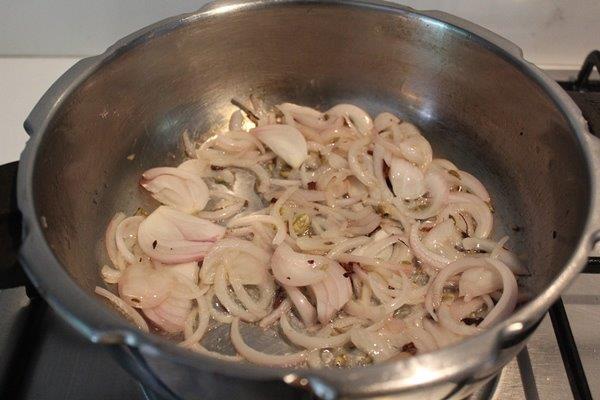
7)Saute till golden
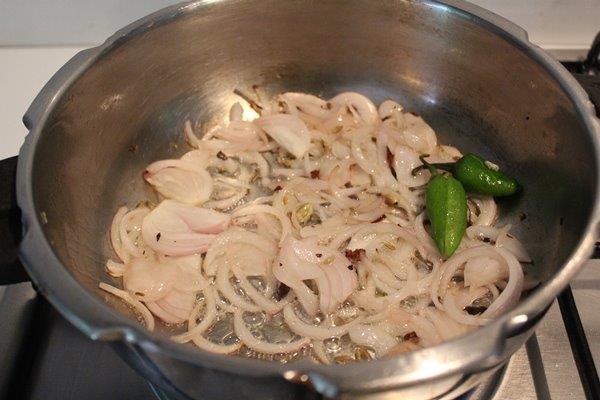
8)Add in green chillies
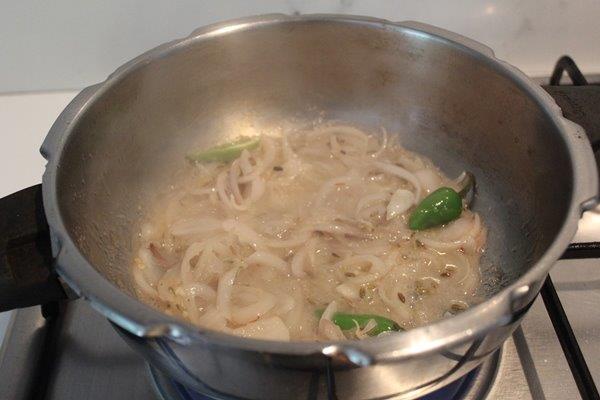
9)Add in ginger garlic paste
10)Saute till raw smell leaves
11)Add in tomatoes
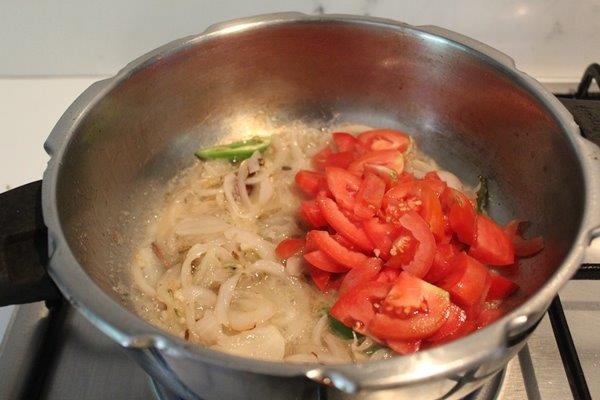
12)Saute till mushy.
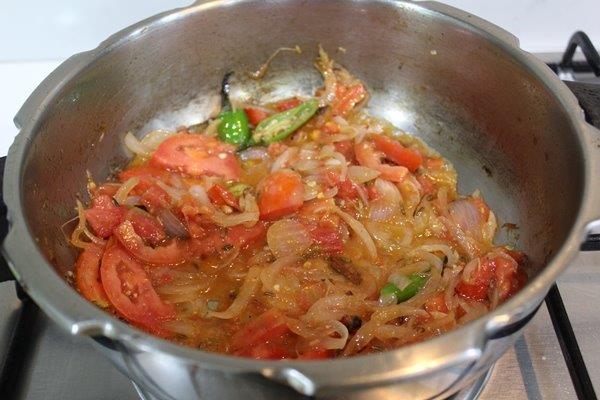
13)Add spice powders
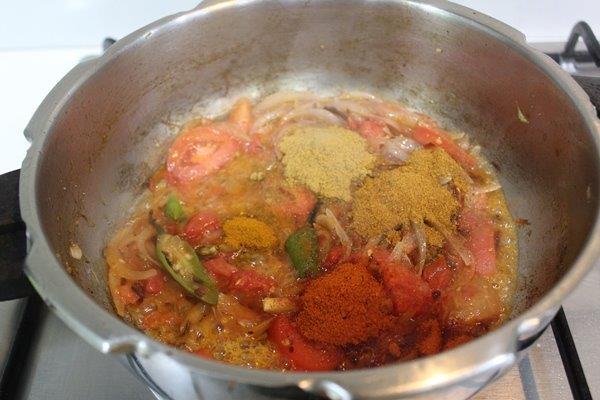
14)Mix well
15)Add mutton pieces

16)Add in salt.

17)Mix well
19)Add little water
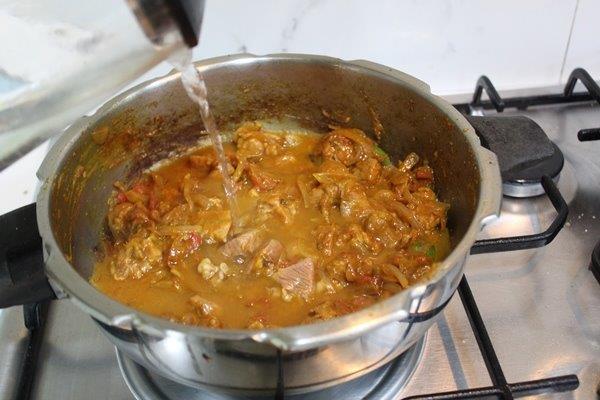
20)Mix well
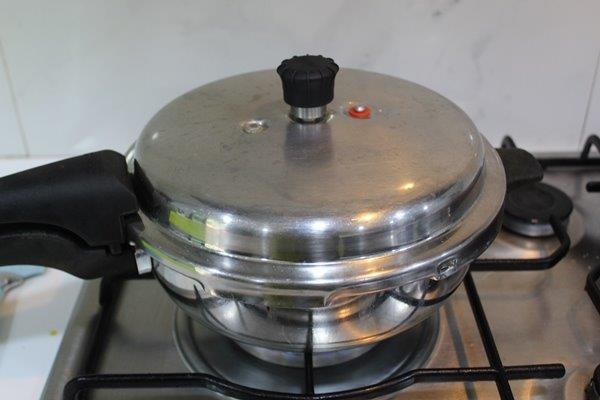
21)Cover and pressure cook
22)Now the mutton is cooked
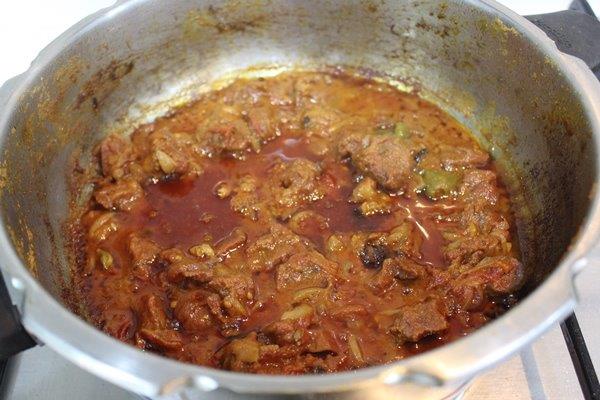
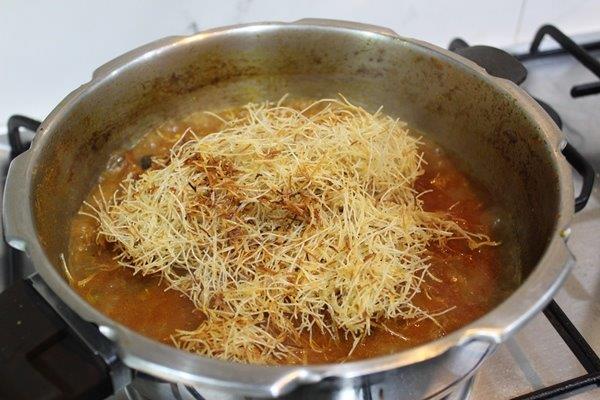
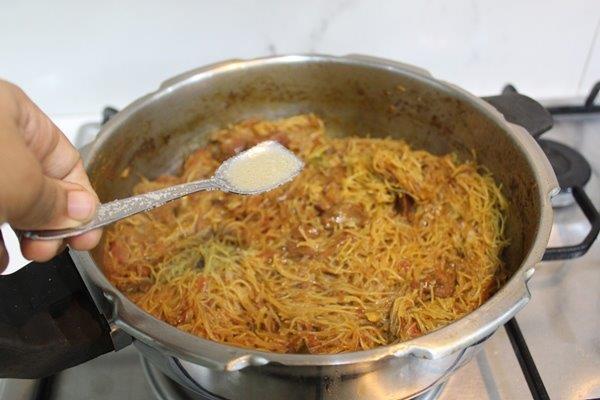
23)Add more water as needed
24)Add in roasted vermicelli
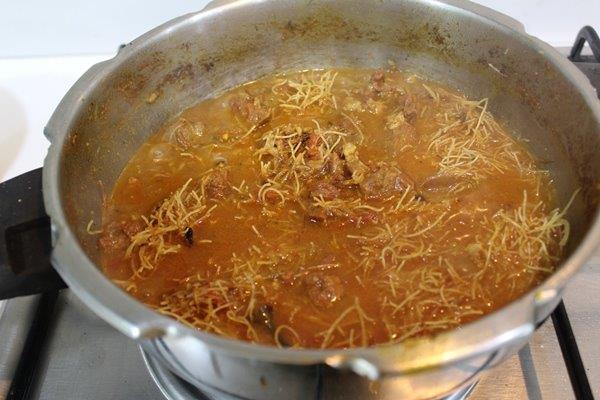
25)Mix well and cook on low heat
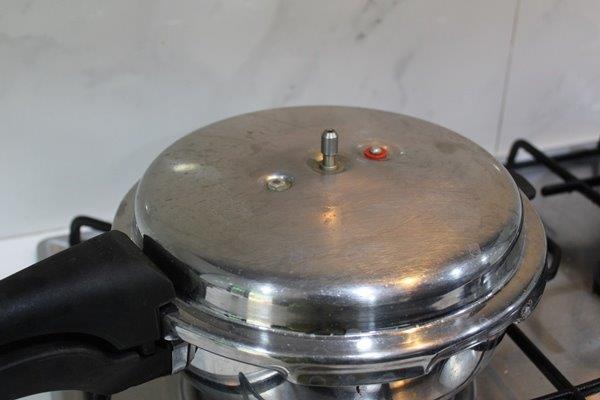
26)Cover and cook on low heat. Don't use whistle.
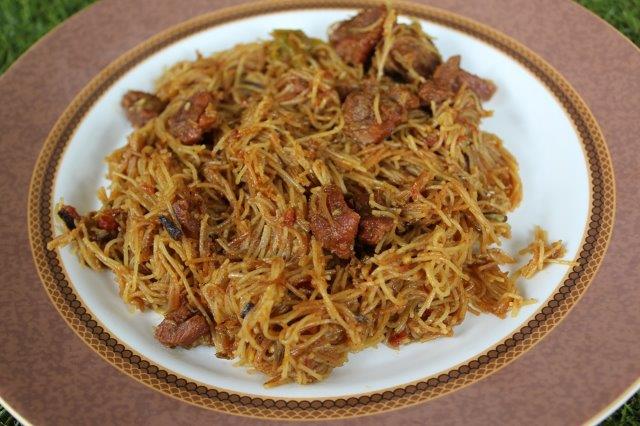
27)Now it is done,
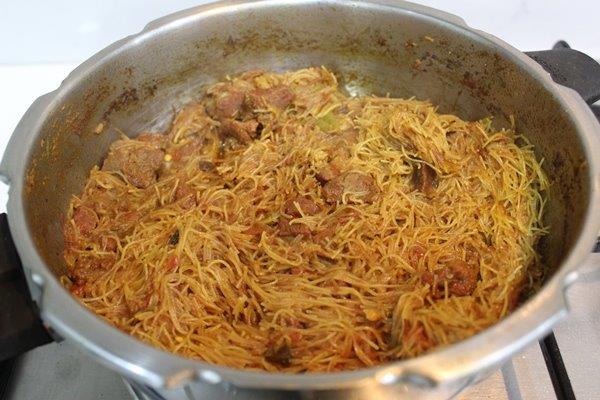
28)Add little ghee
29)Serve


Leave a Reply