

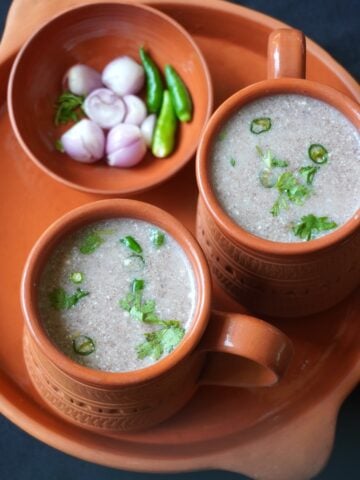
Neeragaram, also known as Pazhaya soru, is an ultimate traditional South Indian comfort food served in clay pot. The dish is made from fermenting the leftover rice overnight and served the next day along with pickle, thogayal, curd, shallots, green chillies, or with dry fish curry for a wholesome and soul satisfying meal.
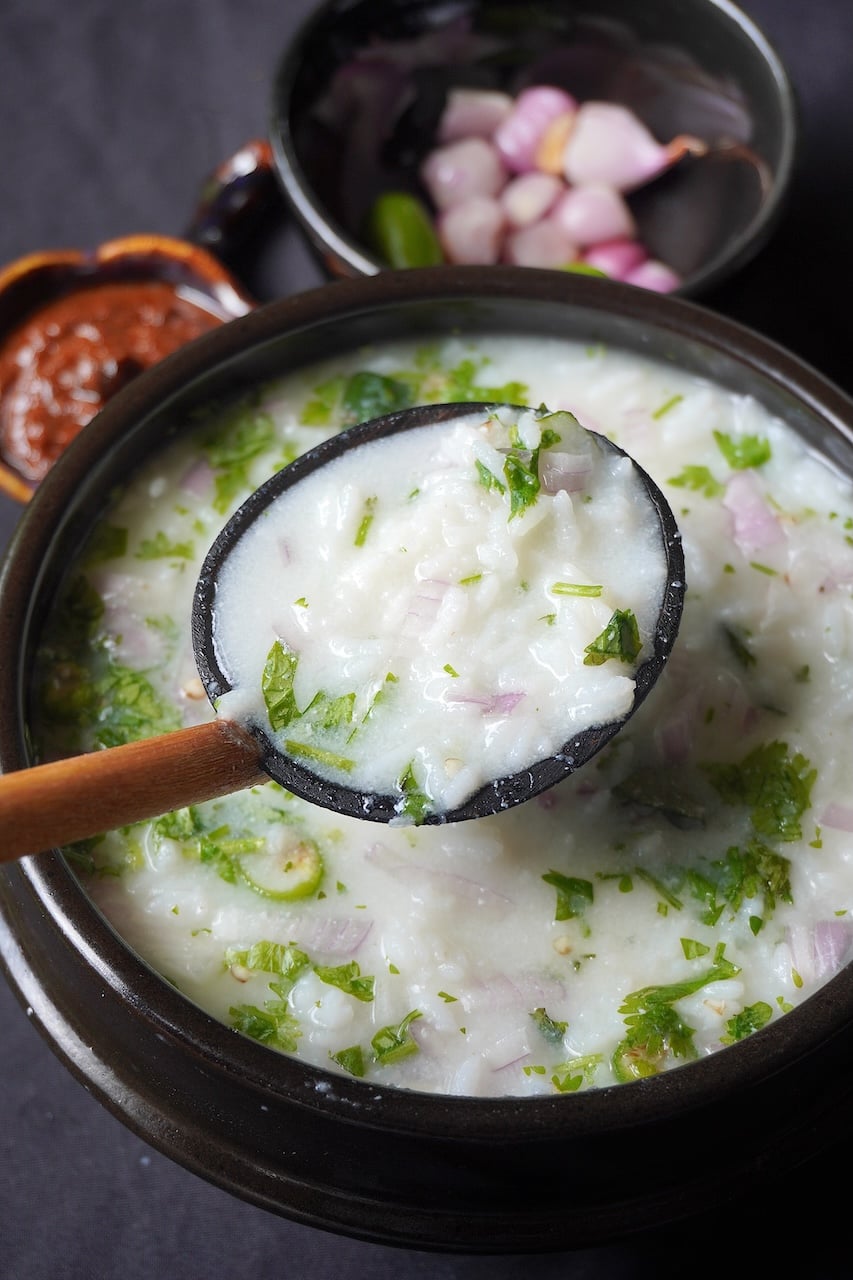
Neeragaram Recipe (Pazhaya Soru)
Pazhaya soru is an authentic South Indian recipe usually made at home or sold at roadside stalls, especially during hot summer days. It is a simple, home cooked recipe that has been passed down through generations.
This is one of those special dishes that you won't find in any restaurants. Its natural fermentation cools the body instantly and keeps you refreshed.
About Neeragaram (Pazhaya Soru)
Pazhaya soru, also known as pazhaya sadam, neeragaram in Tamil or even ice biryani in English. It is a traditional and staple food in South India, especially for farmers. The farmers often have pazhaya soru or kambu koozh for breakfast because it is filling and gives them energy to work long hours under the hot sun.
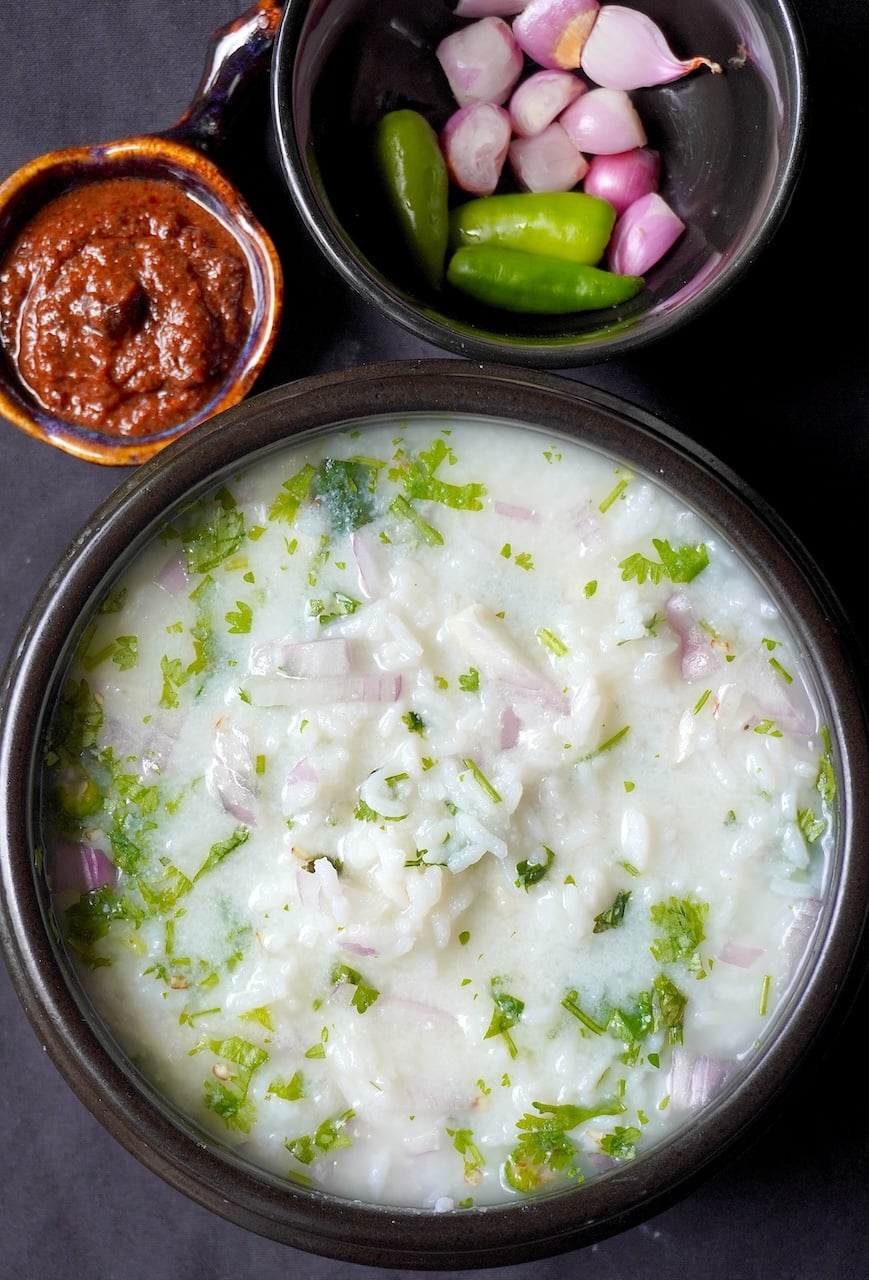
The process of making pazhaya soru is so simple, just start by soaking cooked rice in water overnight. By morning, the rice will turn slightly sour due to fermentation. Then mix it with curd or buttermilk and serve it in a mud pot with small onion, green chilli, pickle, uppum puliyum or even with fish curry for a wholesome meal.
This fermented rice porridge had with the tangy, spicy tamarind pachadi is amazing. This is best had with some raw peeled shallots, green chillies or pickles or even fried curd chillies.
Similar Recipes
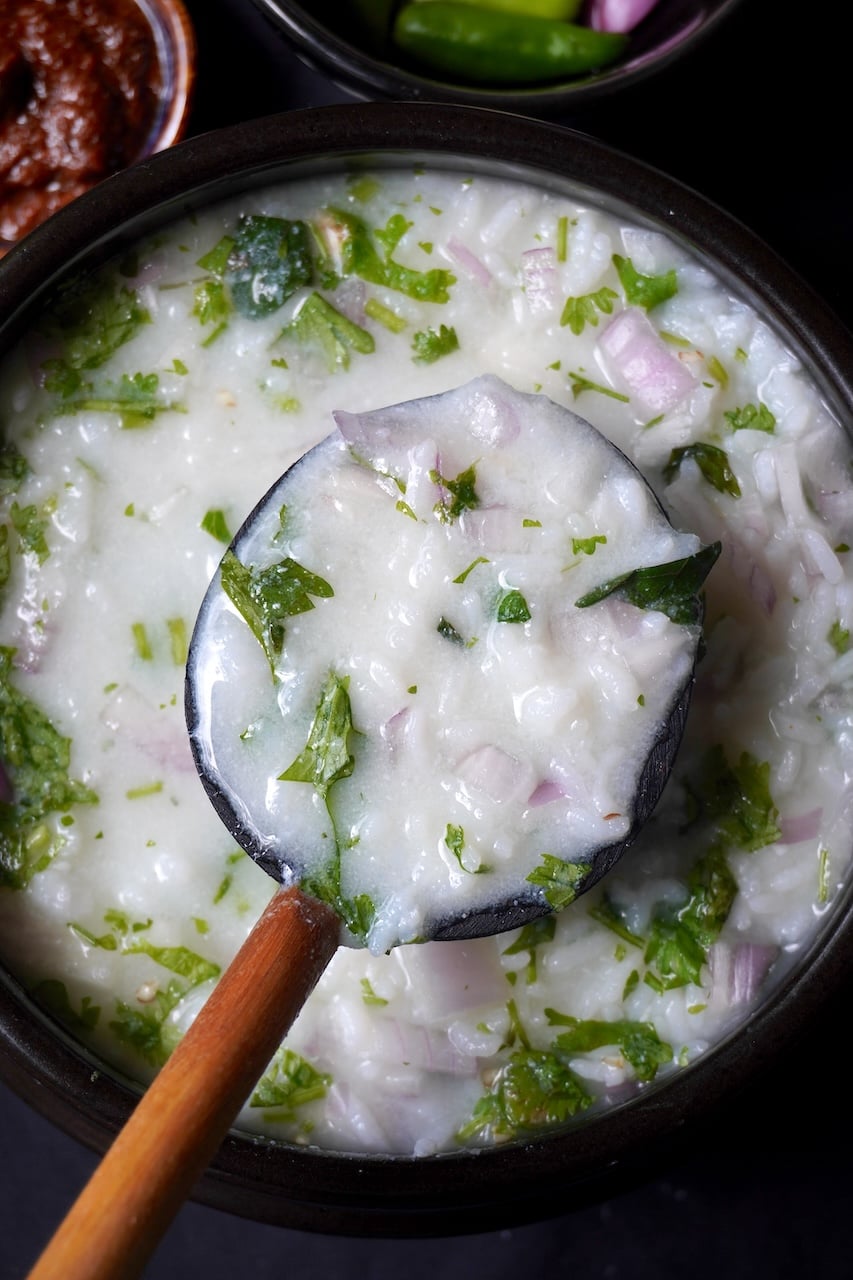
Fermented Rice Health Benefits
Pazhaya Sadam or pazhayathu is a delicious dish which is highly nutritious. It is also known as ice biryani. Leftover Day Old Fermented Rice Porridge or Pazhaya Sadam, Pazhaya Kanji, Fermented Kanji, Neeragaram which ever way you call this, it is such a healthy recipe.
Pazhaya soru is not only delicious but also has a lot of health benefits. The overnight soaking allows the rice to naturally ferment, which promotes good bacteria and supports gut health.
It is also rich in minerals like potassium, sodium and selenium, which aids in digestion, boosts immunity and promotes heart health.
Overall, this traditional pazhaya soru is healthy, naturally cooling and perfect to include in your meal at least once or twice a week during the summer.
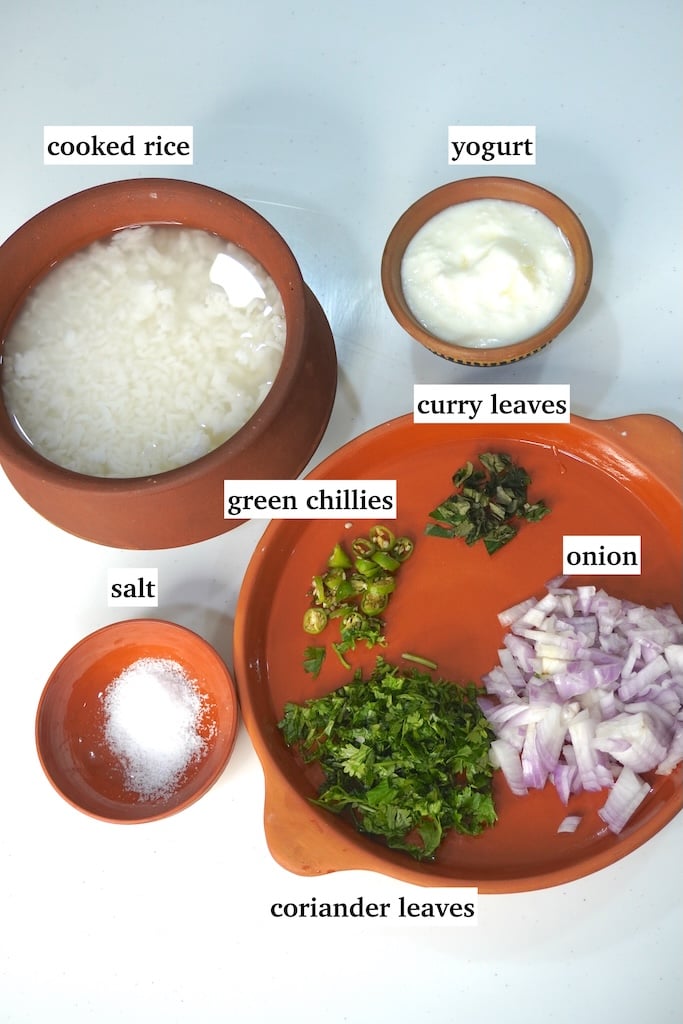
Ingredients
- Leftover cooked rice : Use cooked leftover rice for making pazhaya soru. Soak the rice overnight to ferment naturally by adding some salt. Don't soak freshly cooked rice.
- Water : Water used to soak the rice and helps to achieve the porridge-like consistency.
- Yogurt - you can use greek yogurt for making the porridge.
- Onions - you can use chopped onions, shallots adds crunchy taste to the dish.
- Green Chilli - you can add more or less to your spice preference.
- Curry leaves or Coriander leaves - fresh herbs adds taste to your porridge.
- Salt : Salt enhances the taste of the porridge.
Step by Step Pictures
1)Take leftover rice in a earthern ware pot or any pot of choice.
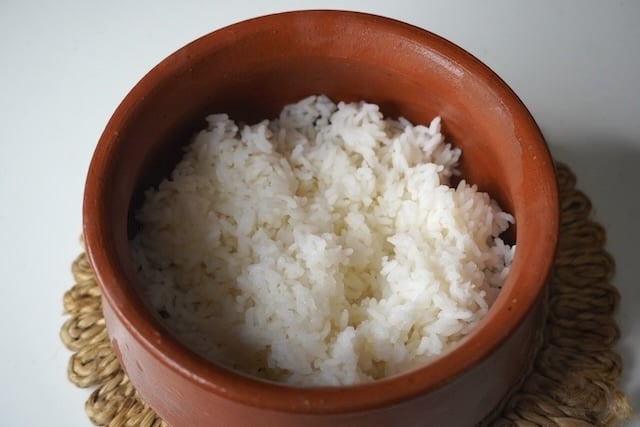
2)Pour water over the rice. The water should completely immerse the rice.

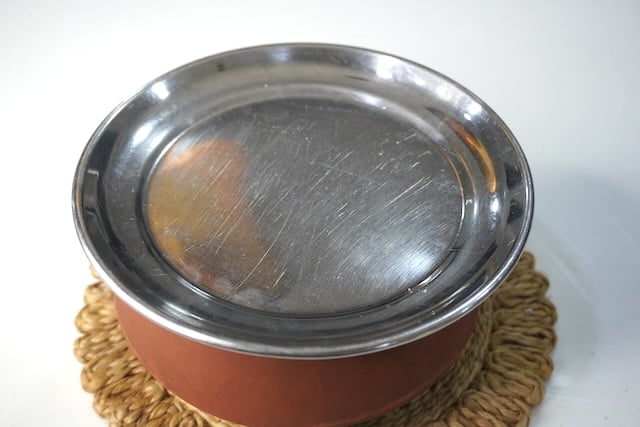
3)Cover the pot with a loose fitting lid and let it ferment overnight. The next day rice is fermented. You may see little bubbles on top of the rice.
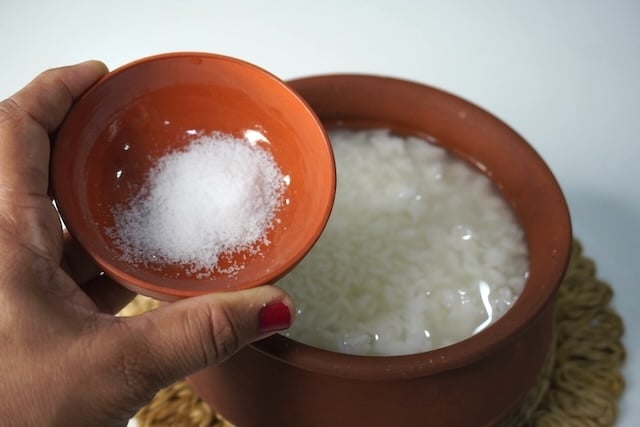
4)Add in salt to taste. Mix this really well.
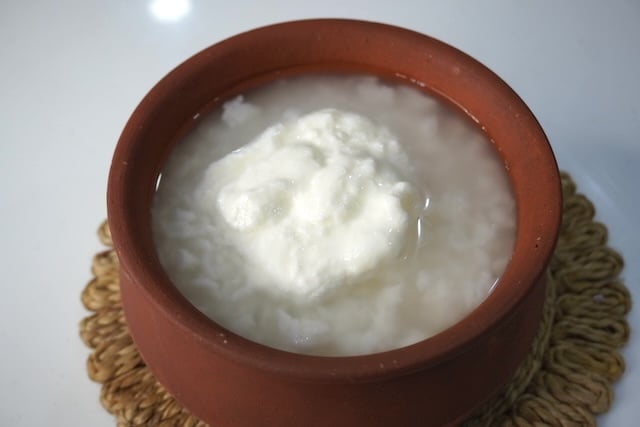
5)Add in thick plain yogurt or curd to the rice and mix well.
6)Add in chopped onions, green chillies, curry leaves, coriander leaves and mix well.
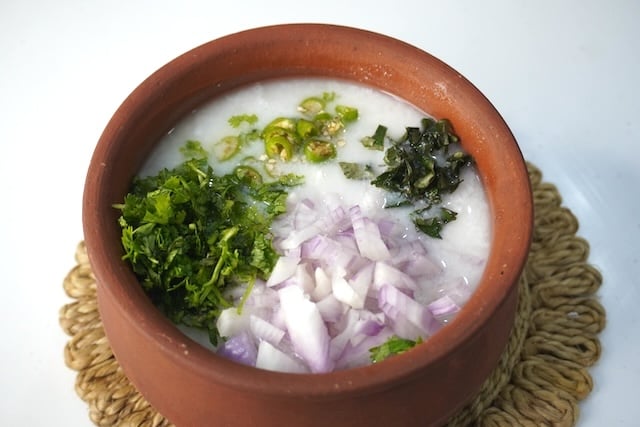
7)Mix well.
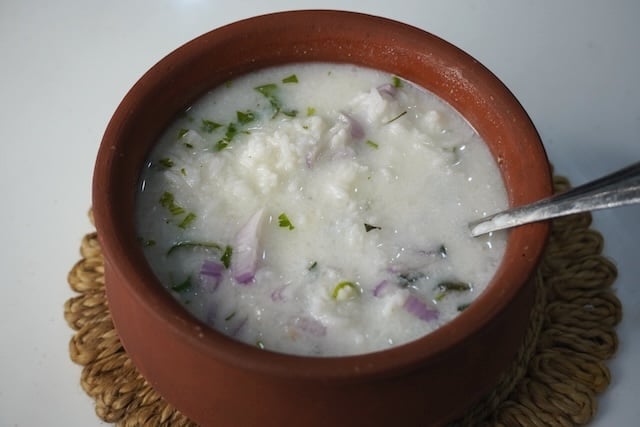
8)Serve.
Expert Tips
- Cover the rice with enough water so that it soaks well.
- Use leftover cooked rice as it soaks up well and ferments naturally. Avoid soaking freshly cooked rice.
- Though the rice is fermented using water, mixing some curd or buttermilk before serving enhances the taste.
- Serve in a clay or mud pot to keep the dish cool and refreshing.
- Add some freshly crushed raw shallots or green chilli to the fermented rice for a burst of flavour.
Storage & Serving
Neeragaram tastes best when served next morning, after the rice has fermented overnight. Serve it in a clay pot along with uppum puliyum or with dry fish curry, pickle, raw shallots, green chilli for a traditional and healthy breakfast.
FAQ
Is fermented rice healthy ?
Absolutely ! This fermented rice or pazhaya soru is rich in probiotics, which helps in digestion, improves gut health and keeps the body naturally cool especially during summer.
Can I add curd or buttermilk ?
Yes, you can add curd or buttermilk right before serving to make the rice more creamier, tasty and refreshing.
📖 Get Recipe
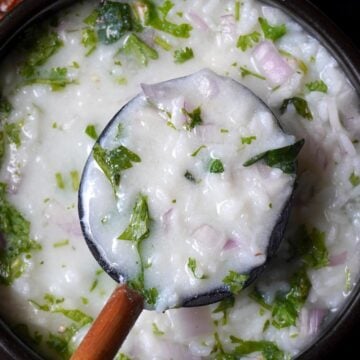
Neeragaram Recipe | Pazhaya Sadam Recipe | Pazhayathu
Equipment
Ingredients
For Pazhaya Soru
- 3 cups Cooked Rice
- 2 teaspoon Salt to taste
- 5 cups Water to cover the rice
- 1 cup Plain Yogurt (Curd)
- 1 large Onions peeled & chopped finely
- 3 no Green Chillies chopped finely
- ¼ cup Coriander leaves chopped finely
- 2 sprig Curry Leaves chopped finely
To Serve
- 10 no Shallots peeled and left whole
- 2 no Green Chilli
- Pickle
Instructions
- Take your leftover rice and add water to it till the rice is completely covered. Let it sit at room temperature overnight.
- Take next day, take the rice and add salt to it, mash it well using hands. Add curd, onions, green chillies, coriander leaves, curry leaves and mix well. This is your pazhaya soru.
- Serve with pickle, shallots and green chillies.
Video






Jayashree
I have been hearing so much of this lately. With summer approaching, I do need to try this. Nice share.
chitra
My mom makes this often. but she use green chilly instead of dry chillies. so deliciious dish.
Vinod
Instead of coconut oil can i use sesame oil?
Aarthi
yes u can
Ramya
Tried this yesterday. Loved the pull so much. A darn good combination!
Prithviraj S
One of my all time favorites. In my variant I add a little Fenugreek & shredded ginger.