
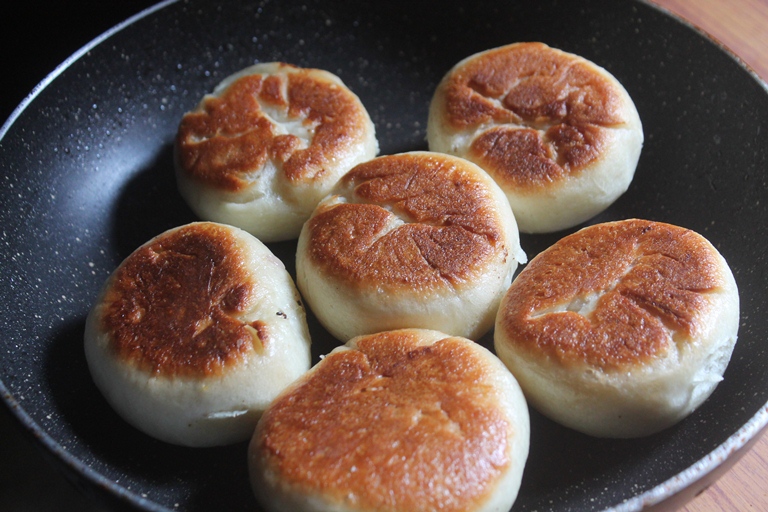
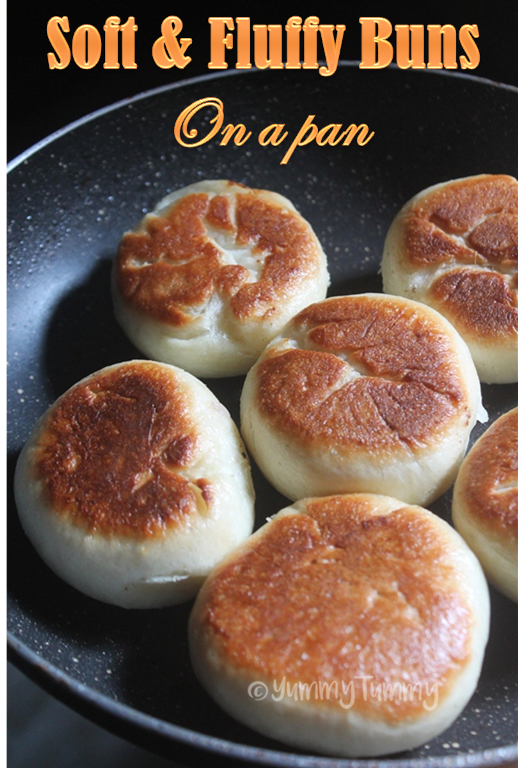
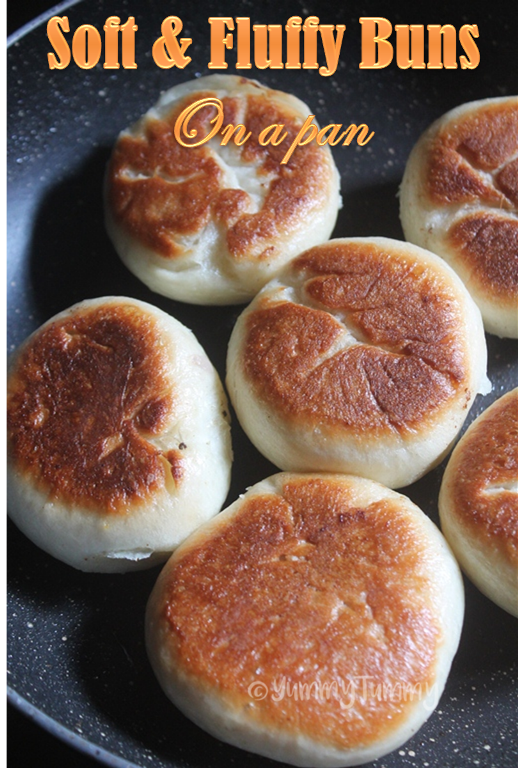
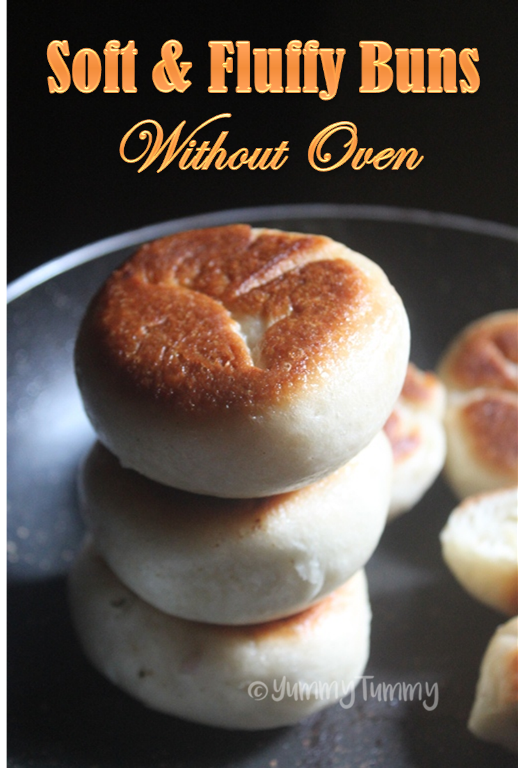
Can you believe that these soft buns were made in a frying pan ? Yes, it's true! Using double proofing and steaming methods, I made these incredibly soft, fluffy and golden delicious fried bao buns without an oven. By following simple tips and tricks, you can make soft, delicious bakery style buns at home using everyday frying pan.
Soft Fried Buns without Oven
I wanted to try out steamed buns for quite a long time, when I looked for it in youtube. I came across this recipe with is a pan fried buns but at the same time it is steamed. This method was quite interesting because the buns don't gets dried up because we are adding some water in the pan for steam.
Jump to:
The buns turned out so soft and fluffy like the one which you make in an oven. The cool thing about this recipe is, the interior is so fluffy and the outer exterior is little crispy which is just perfect.
About Pan Fried Bao Buns (No oven)
Super easy buns made in a frying pan, it is also called as pan-fried bao. This soft bun is a fluffy and tender bread that is cooked right on the stovetop using the frying pan. I have made the bun with the help of a double proofing method.
First, the dough is left to rise until it doubles in size. This allows the yeast to make the dough rise, light and airy.
Then, it is kneaded gently to remove air bubbles before shaping. After shaping, the buns are left to rise a second time. This helps the buns stay soft, tender, fluffy and hold their shape perfectly.
You can take this recipe and stuff it with anything you wish, check out this stuffed chicken buns.
Similar Recipes
And another secret to their soft, pillow-like texture is the steaming method. The buns get their beautiful golden color from the pan, and a splash of water creates steam that helps to bake super soft and moist buns.
This trick also prevents the bun from drying out and gives you a bakery style soft buns.
The buns can be enjoyed on their own or you can make different fillings like sweet, savoury or cheesy to make it extra special and delicious.
Like, you can use chicken, vegetable, paneer or potato filling. The options are endless that it can be customized based on your taste buds.
Ingredients
- All purpose flour / Maida : This is the main ingredient that provides structure to the bun. It helps to make soft and fluffy texture buns.
- Warm milk : Warm milk is used to activate the yeast and makes a soft, rich dough.
- Dry yeast : Yeast helps the bun to rise when activated with milk. It forms tiny bubbles that make the buns air and fluffy.
- Water : Water helps to bind the ingredients together and make a soft, moist dough. And a small amount of water is used while steaming the bun in the frying pan. It helps to cook the bun and prevent them from drying out.
- Sugar : Sugar used to feed the yeast so the dough rises well and it also helps in browning the buns when cooked in the pan.
- Salt : Salt balances the taste and enhances the flavor of buns.
- Olive oil : Olive oil adds a rich taste and softness to the bun.
- Hard boiled eggs : ( Optional ) I have used boiled eggs as a filling for extra protein, texture and savoury flavour. It makes the bun more filling and delicious.
Step by Step Pictures
Activating Yeast
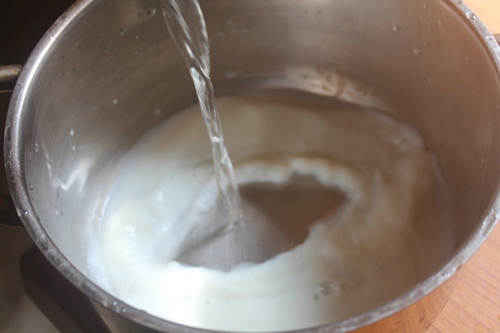
1)Take warm milk, warm water in a bowl. Ensure that the water and milk is warm and not hot. if it is hot, then it will kill the yeast.
2)Add in sugar. Instead of sugar you can use honey as well. You need some kind of sweetener to activate the yeast.

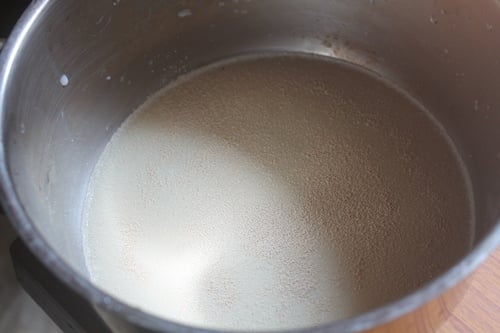
3)Sprinkle yeast over the warm milk and water and mix well. Let it sit for 5 mins to bloom. The yeast will get foamy and frothy.
Making Dough
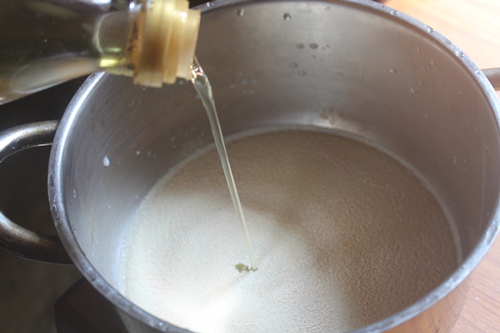
4)Now to the activated yeast, add in olive oil. You can use melted butter or regular oil.
5)Add in plain flour.
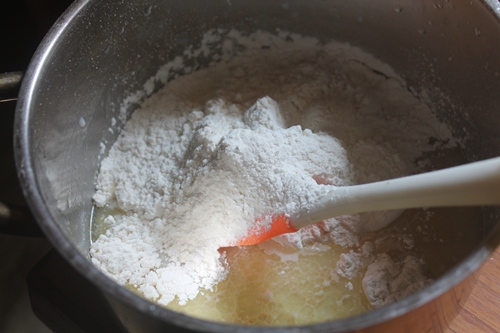
6)Add salt over the flour.
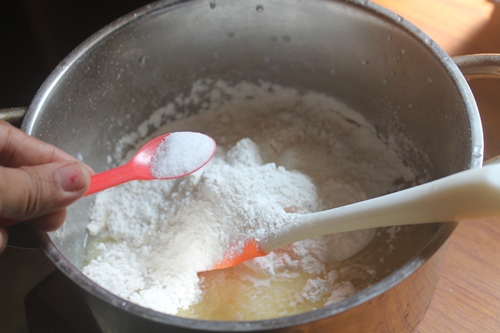
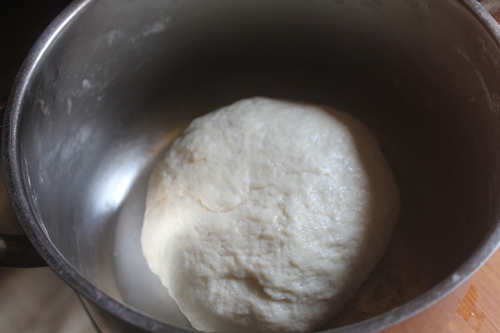
7)Now knead to a soft dough. You can add more flour if the mixture is too wet, add more water if the mixture is too dry. Knead the dough till it is smooth, soft.
Proofing Dough
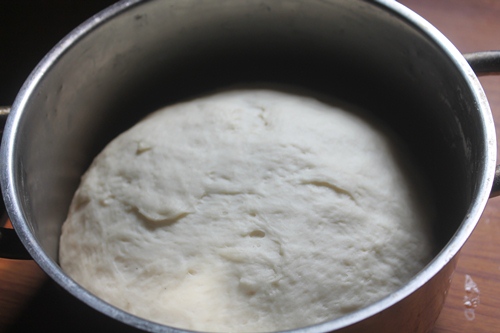
8)Once dough looks soft. Cover the dough with a damp cloth and let it rise in a warm spot for 1 to 2 hours until it is doubled in size.
Shaping
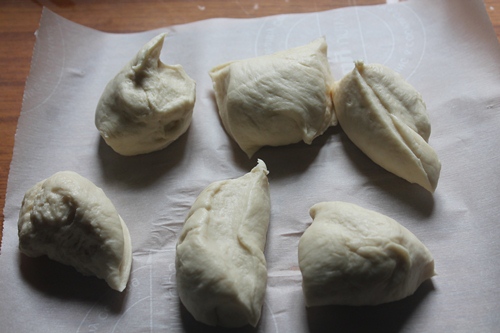
9)Once the dough is doubled in size. Now punch out the air and take it on a work surface.
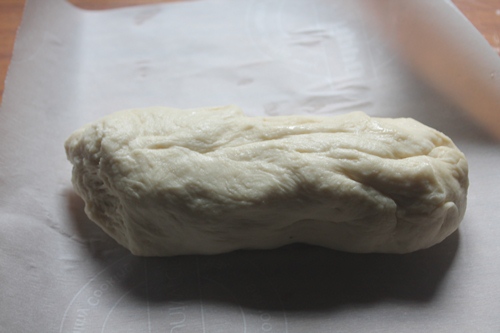
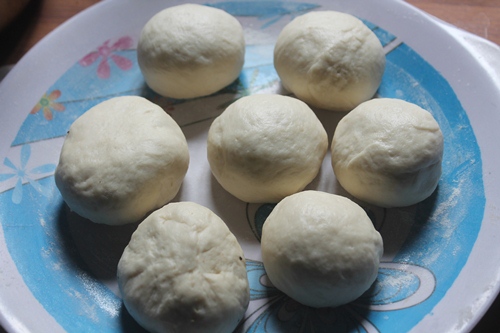
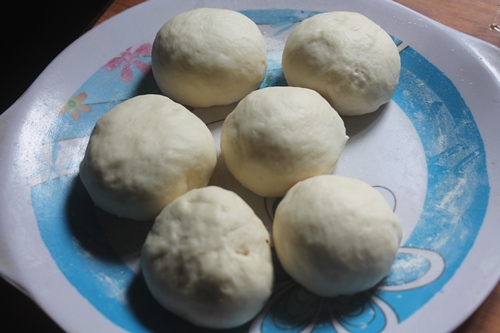
10)Divide it into equal portions. Roll each portion into a smooth ball.
Filling
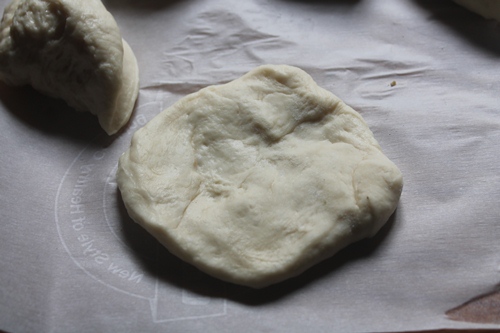
11)Now take one portion of dough, flatten it slightly.
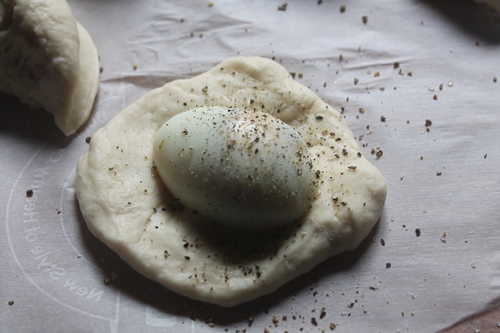
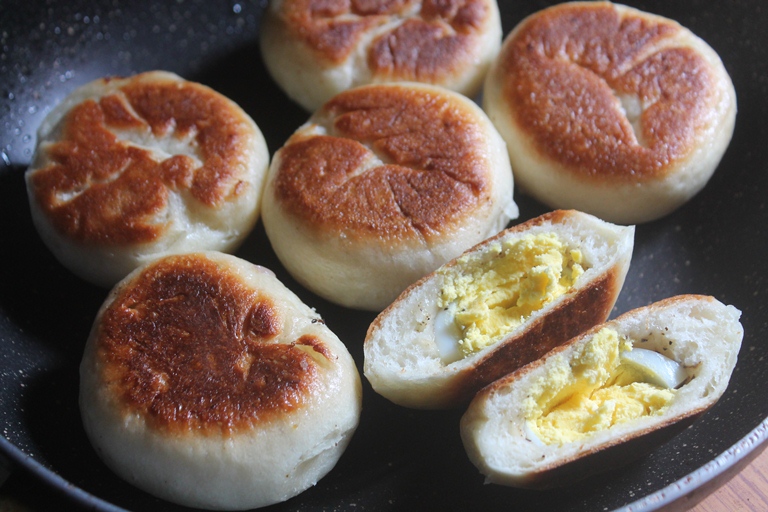
12)Now place half of a boiled egg in the middle. Sprinkle top of egg with salt and pepper powder.
13)Bring the edges together and seal it.
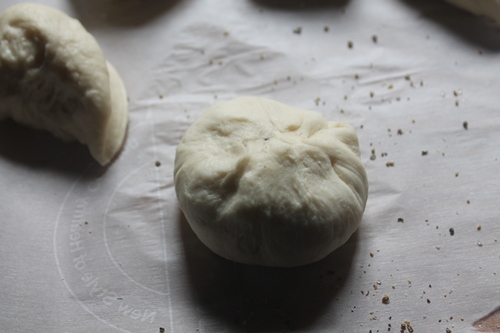
14)Place it on a well greased plate and let it rise for 30 mins.
15)After 30 minutes the buns have risen well. Now lets cook it.
Cooking Buns
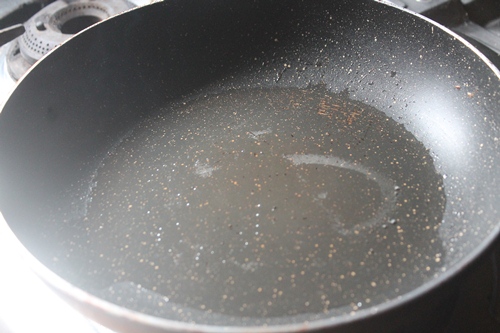
16)Now to cook the buns. Take a large skillet that can fit the buns. If your skillet is small in size, you might need to use 2 skillets or do in 2 batches.
Heat 2 tablespoon of oil in the skillet.
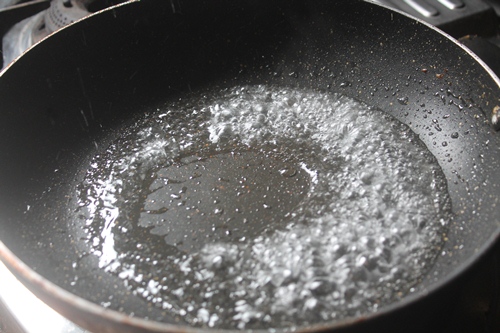
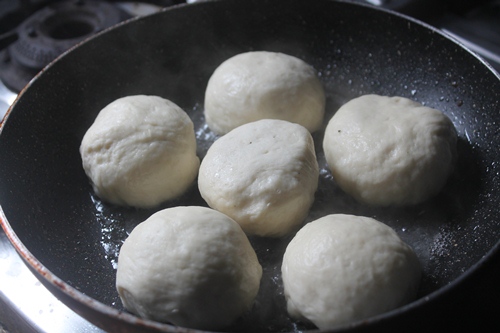
17)Pour ¼ cup water and bring it to a boil.
18)Now place the puffy risen ball in the pan.
19) cover and cook on a low heat for 10 mins.
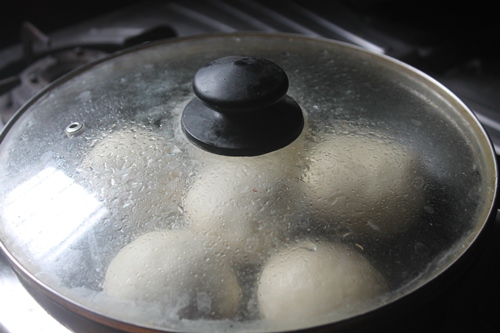
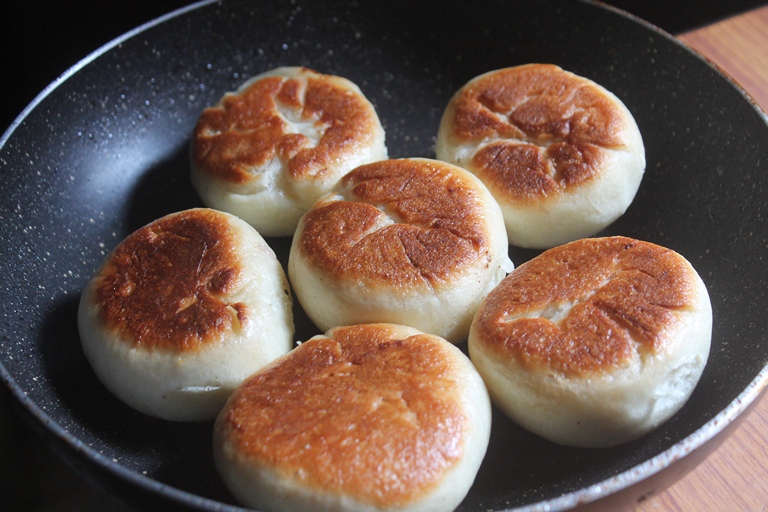
20)After 10 minutes you can see the buns have risen quite a bit. If you want to serve like this, you can do it. This way, the bottom will be crispy and the top will be steamed. But I wanted both sides to be crispy, so I flipped it over.

21)Gently Flip over the buns.
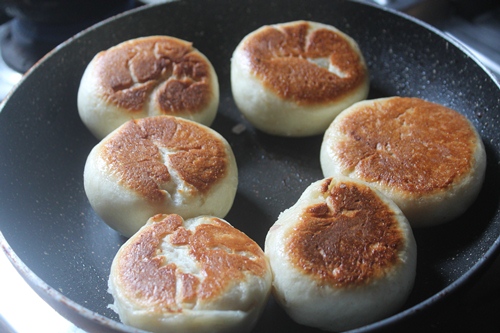
22)Cover it again and cook for another 5 to 8 mins.
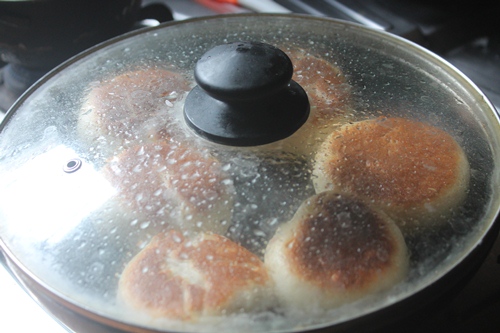
23)Both sides will be deep golden in colour.
24)Now remove the buns and serve.
Expert Tips
Activate the yeast : Always mix the yeast with warm milk or warm water. If the liquid is too hot, it can kill the yeast and the dough won't rise.
Double rise : Let the dough rise twice like before and after shaping. As it is the key trick to achieve soft, fluffy buns.
Don't overcrowd : Leave some enough space between each bun because they will expand slightly while cooking.
Cook on low heat : Always keep the flame low, as this helps the bun to cook slowly and evenly without burning.
Storage : Store the cooled soft buns in an airtight container. It stays good at room temperature for about 2 days. For longer storage, put them inside the refrigerator. It will stay for 3 to 5 days.
Serving : Enjoy these soft buns with a hot cup of coffee or tea for a quick evening snack. Serve these buns with jam, butter, cheese for a quick breakfast or snack.
FAQ
Absolutely ! The buns will bake perfectly in the oven. Preheat the oven to 180 degree celsius and bake for about 20 to 30 minutes.
The dough usually needs 1 to 2 hours to rise until it doubles in size.
Definitely ! You can make the bun extra tasty, filling and delicious by adding boiled eggs, vegetable, paneer, or chicken masala or even sweet filling works well. Fill them inside the bun before cooking.
📖 Get Recipe
Pan-Fried Bao Recipe (Soft Buns Without Oven)
Equipment
Ingredients
Wet Ingredients (To activate yeast)
- ½ cup Full Fat Milk (Luke Warm milk) 120 ml
- ½ cup Luke Warm Water 120 ml
- 2 teaspoon Dry Yeast
- 2 teaspoon Granulated Sugar
Dry Ingredients for making Dough
- 3 cups All Purpose Flour (Plain Flour) 360 grams
- 2 teaspoon Salt
- 2 tablespoon Olive Oil
For Stuffing Inside Buns
- 6 large Hard Boiled Eggs
- 1 teaspoon Salt
- 1 teaspoon Black pepper powder
For Cooking Buns
- 2 tablespoon Sunflower Oil
- ¼ cup Water
Instructions
- Activating Yeast - Take warm milk, warm water in a bowl, add sugar and yeast and mix well. Let it sit for 5 mins to bloom. The yeast will get foamy and frothy.
- Making Dough - Now to the activated yeast, add in olive oil, plain flour and salt and knead to a soft dough. You can add more flour if the mixture is too wet, add more water if the mixture is too dry. Knead the dough till it is smooth, soft.
- Proofing Dough - Once dough looks soft. Cover the dough with a damp cloth and let it rise in a warm spot for 1 to 2 hours until it is doubled in size.
- Shaping - Once the dough is doubled in size. Now punch out the air and divide it into 12 equal portions. Roll each portion into a smooth ball.
- Filling - Now take one portion of dough, flatten it slightly. Now place half of a boiled egg in the middle. Sprinkle top of egg with salt and pepper powder. Bring the edges together and seal it. Place it on a well greased plate and let it rise for 30 mins.
- Cooking - Now to cook the buns. Take a large skillet that can fit the buns. If your skillet is small in size, you might need to use 2 skillets or do in 2 batches.
- Heat 2 tblsp oil and ¼ cup water and bring it to a boil. Now place the puffy risen ball in the pan, cover and cook on a low heat for 10 mins. Flip over and cover it again and cook for another 5 to 8 mins. Both sides will be deep golden in colour. Now remove the buns and serve.


Prerna arya
Can these cute buns be made without eggs as I am pure vegetarian?
TIA
Aarthi
yes u can make it without eggs
Bharathi
Shall v do this in idli cooker
Aarthi
no just a normal pan
Sowmi
May I know substitute fr egg
Aarthi
u can skip egg stuffing and use veggies stuffing in this
Aanchal Jain
Can this be made without any stuffings? Also for how long can it be stored?
Aarthi
you can make without stuffing too. It can be stored for 2 days or so. in fridge
Dinah Palande
Loved your recipe. So simple. Made it with Chicken stuffing for guests. Finally happy to b able to try such things without oven at home.
lasersnijder voor plaatstaal
Thank you for another wonderful article. The place else may anyone get that type of info in such a perfect manner of writing? I have a presentation next week, and I'm at the search for such info.
shaheen
is it the same as the buns used in burgers. can i use the same technique fo making burger buns?
Aarthi
yes u can
Deepika
Superb recipe, everyone loved it!
Jasica
Can i use wheat flour instead of all purpose flour?
will the buns rise well or will it be as soft ?