

Ashoka Halwa Recipe - Asoka Halwa Recipe - Diwali Recipes
Asoka Halwa Recipe. Super delicious halwa made using moong dal which taste so yummy. The more ghee you add the more taste it gets.
https://www.yummytummyaarthi.com/2017/10/bun-halwa-recipe.html
Similar Recipes,
Wheat Halwa
Custard Powder Halwa
Badam Halwa
Kasi Halwa
Cornflour Halwa
I wanted to make this for so long, finally made it few days back. And it turned out so delicous and melt in mouth. I have been making lots of halwa this diwali than anything else. You can check out my other halwa recipes here. So far i have shared karupatti halwa, fruit halwa, chana dal halwa, banana halwa. I still have few more recipes to be shared. Here is another addition to the halwa recipes.
Hope you will give this a try and let me know how it turns out for you.
https://www.yummytummyaarthi.com/2017/06/ginger-halwa-recipe.html
📖 Get Recipe
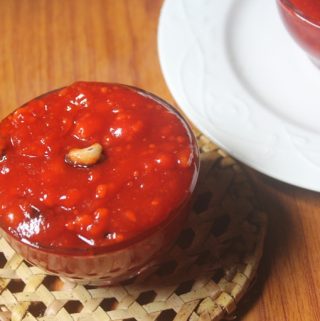
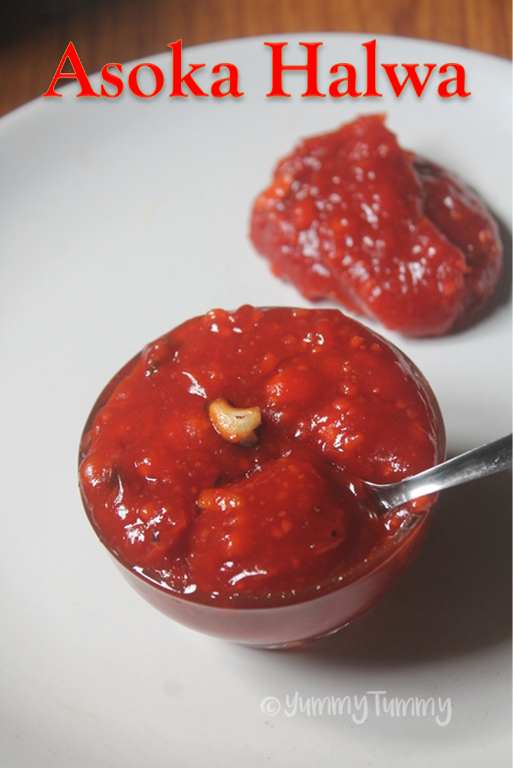
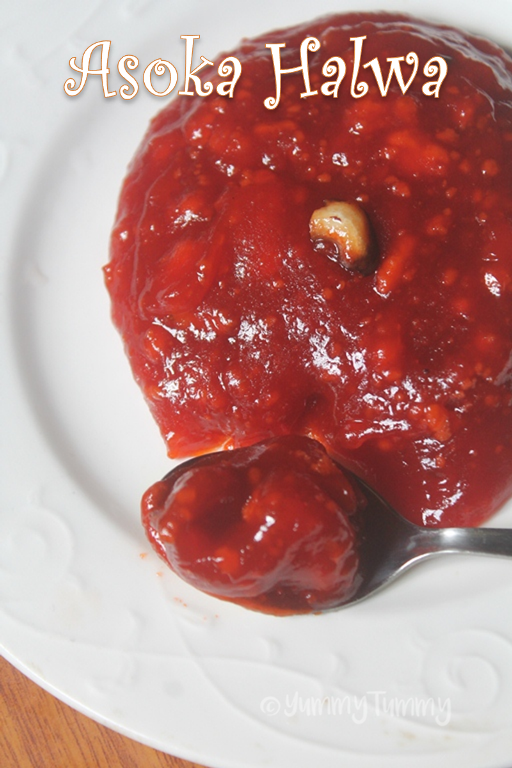
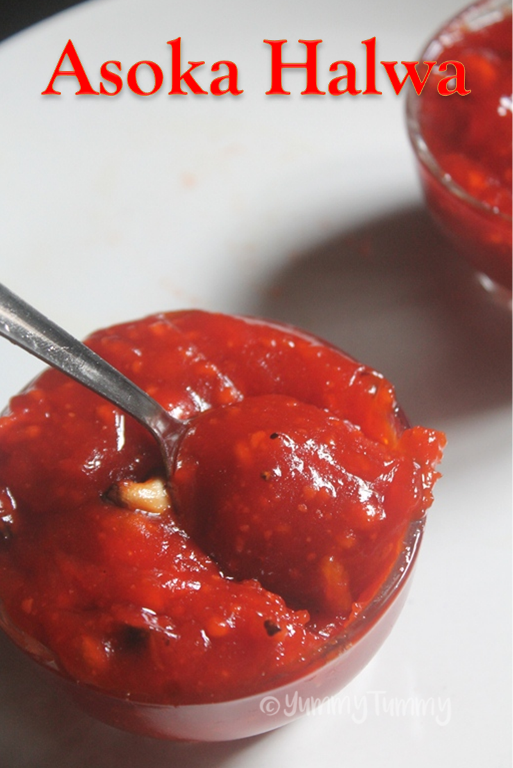
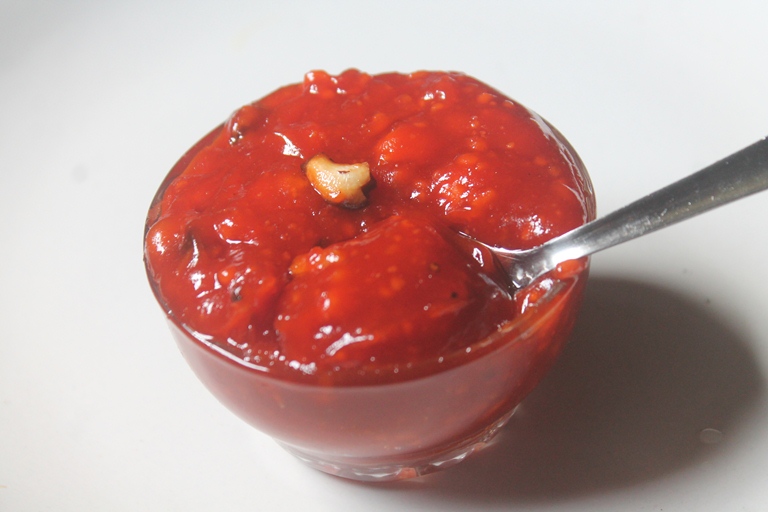
Asoka Halwa Recipe
Ingredients
- Yellow Moong Dal / Pasi Paruppu - ½ cup
- Sugar - 1 cup
- Ghee - ⅓ cup + 2 tblsp+ 1 tsp
- Wheat Flour - 1 tblsp
- Water - 1 cup
- Cashews as needed
- Cardamom Powder - ½ tsp
- Food Colour a pinch
Instructions
- Heat 1 teaspoon ghee in a pressure cooker, add moong dal and roast for 1 min. Add in water and pressure cook for 2 whistle. Let the steam escape all by itself. Open the cooker and take the dal in a blender and puree till smooth.
- Heat 2 tblsp of ghee in a pan, fry cashews and set aside.
- In the same ghee add wheat flour and roast till it smells nutty and set that aside.
- Now in a pan, add pureed dal and stir for 2 to 3 mins.
- Add in sugar and mix well.
- Keep cooking and mixing, the mixture will get translucent.
- Now add in some food colour and the roasted wheat flour mix.
- Mix well and cook till it gets thick.
- Add in ghee little at a time and keep mixing.
- Once it starts to leave the sides of the pan, add cashews and cardamom powder and mix well.
- Serve.
Tried this Recipe
Mention @yummytummyaarthi or tag #yummytummyaarthi!Pictorial:
1)Heat ghee in a pressure cooker, add the dal and mix well
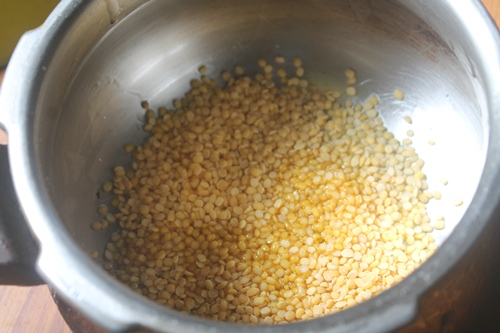
2)Stir fry for 2 mins.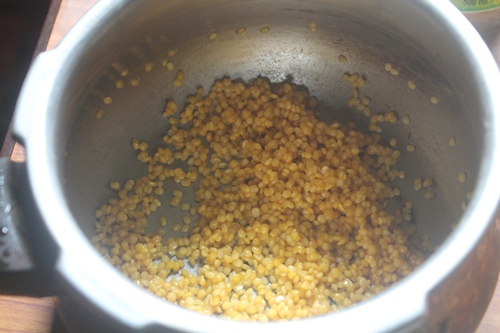
3)Add water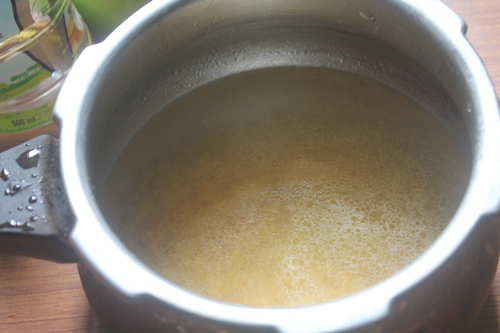
4)Pressure cook for 2 whistle.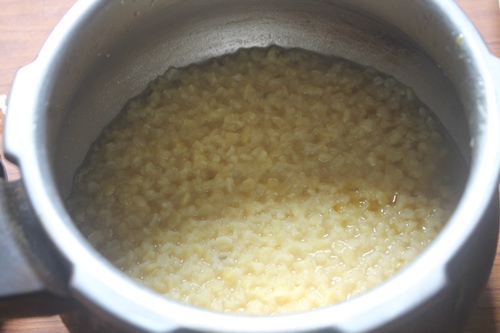
5)Take the cooked dal in a blender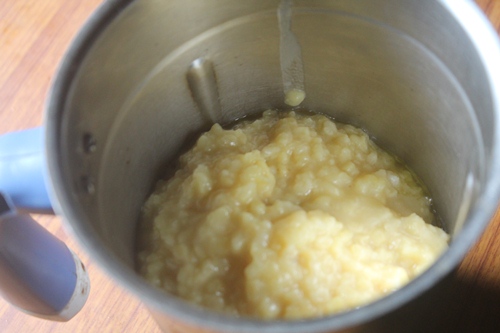
6)Puree till smooth.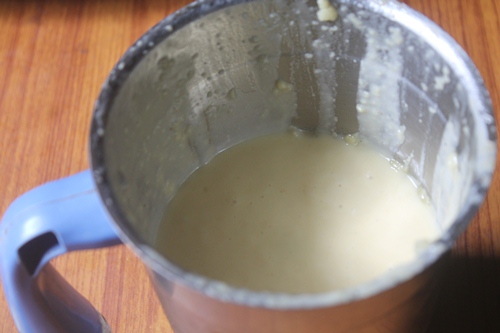
7)Heat ghee in a pan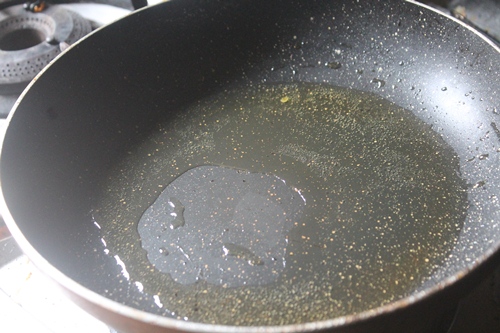
8)Add in cashews and fry till golden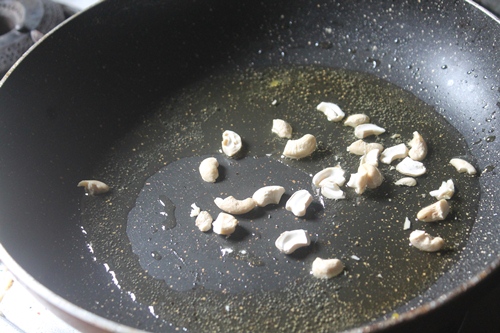
9)Remove it and set aside.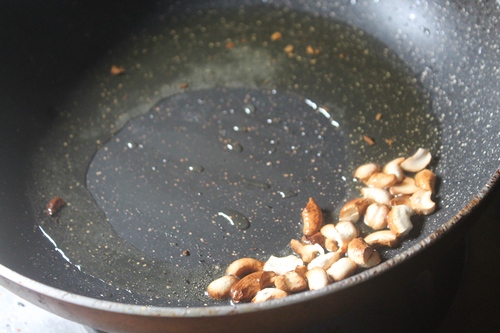
10)In the same ghee add in wheat flour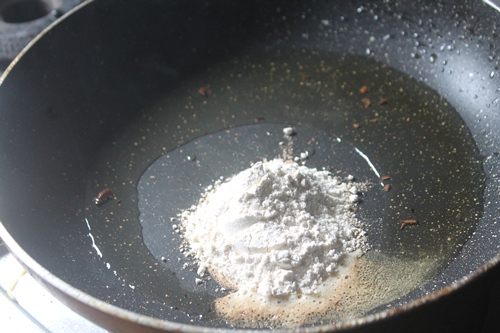
11)Roast till it gets nutty. Remove it and set aside.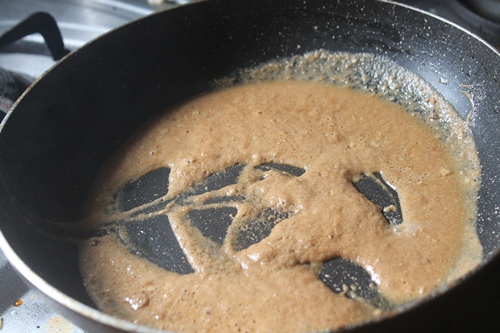
12)Now add the dal in the pan and mix for few mins.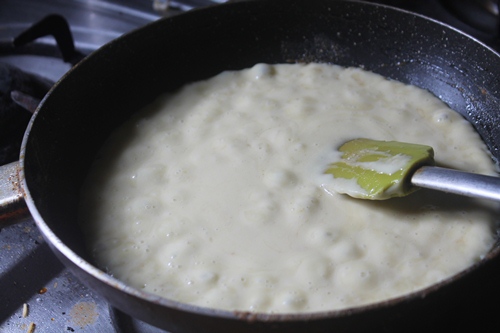
13)Add in sugar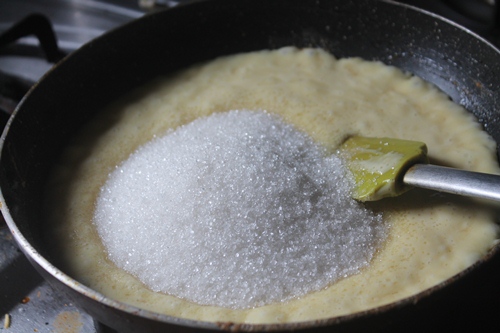
14)Mix well 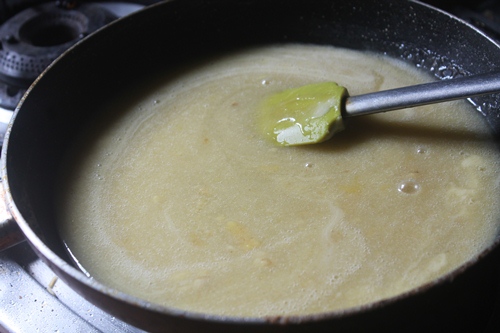
15)Cook till it get transparent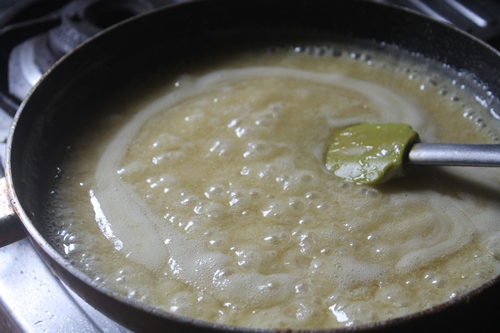
16)Now it has got transparent.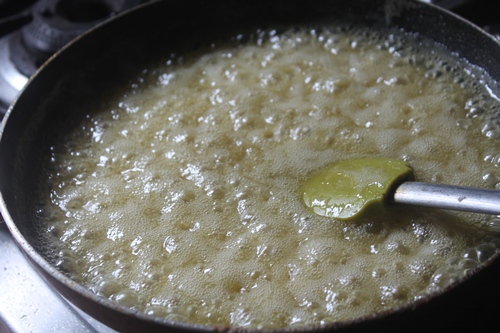
17)Now it is nice and clear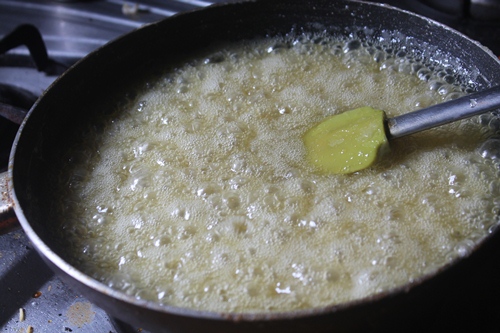
18)Add in some food colour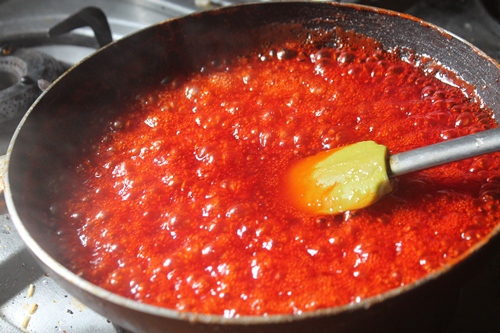
19)Add in the wheat flour mix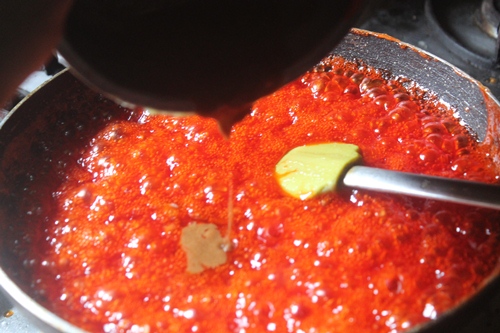
20)Mix well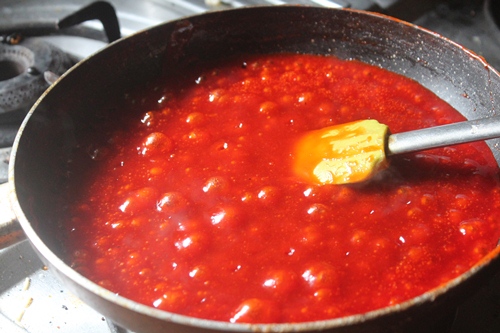
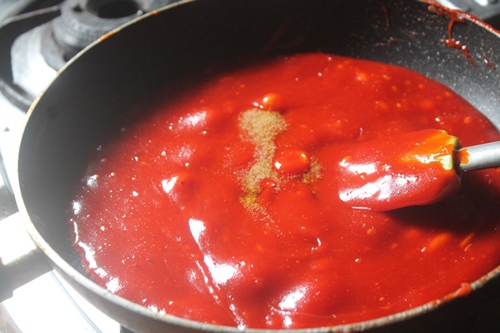
21)Add ghee little at a time and mix well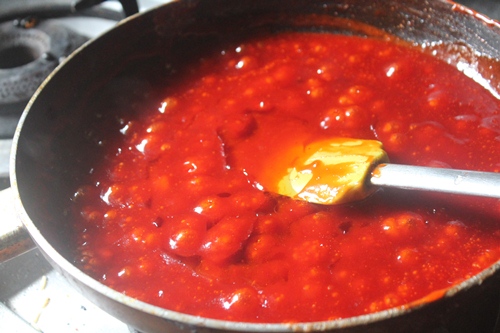
22)Add more ghee and keep cooking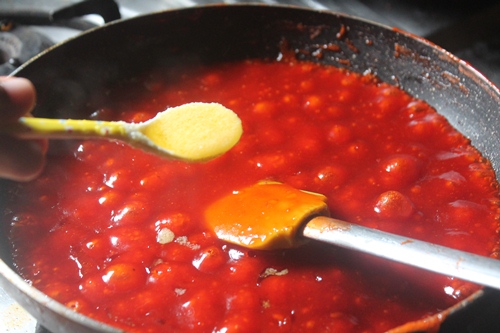
23)Now it has got nice and thick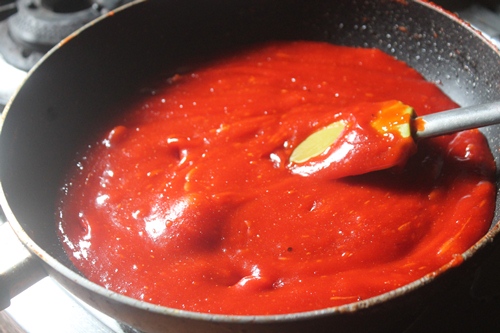
24)Add in ghee and mix well
25)Add fried cashews 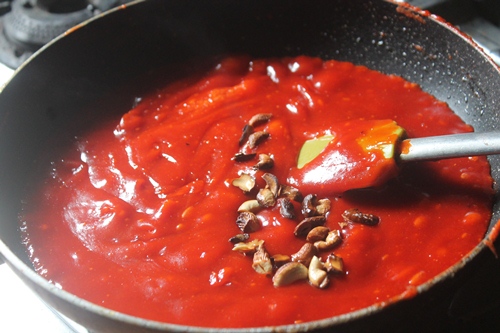
26)Add in cardamom powder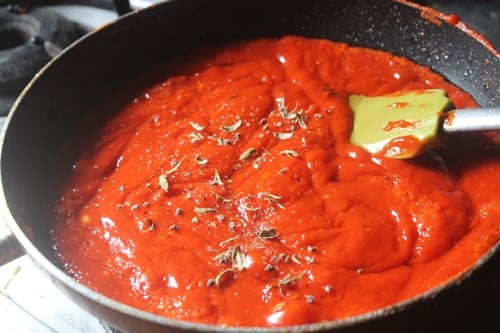
27)Mix well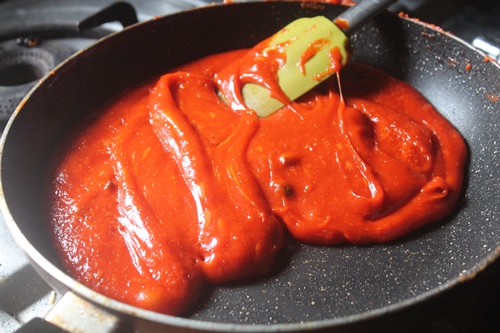
28)Now it has started leaving the sides. That means it is done
29)Serve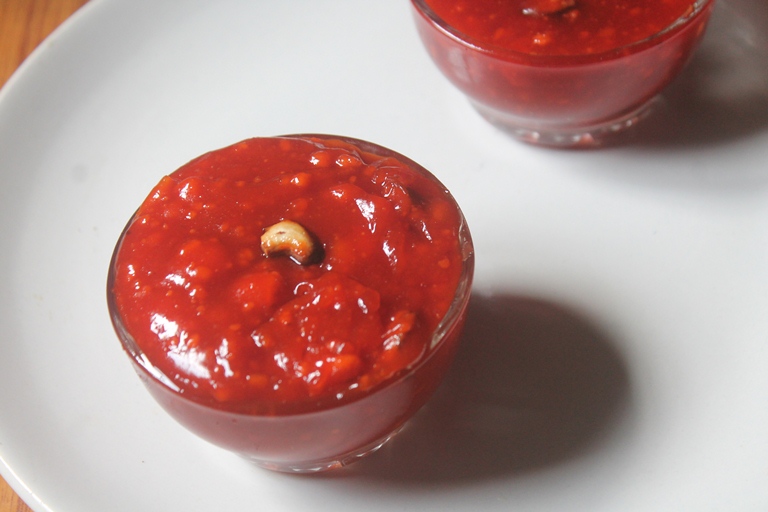

Leave a Reply