
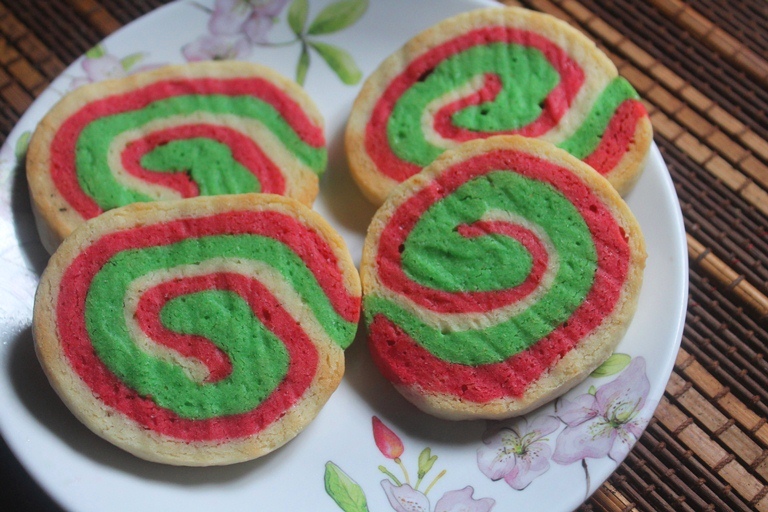
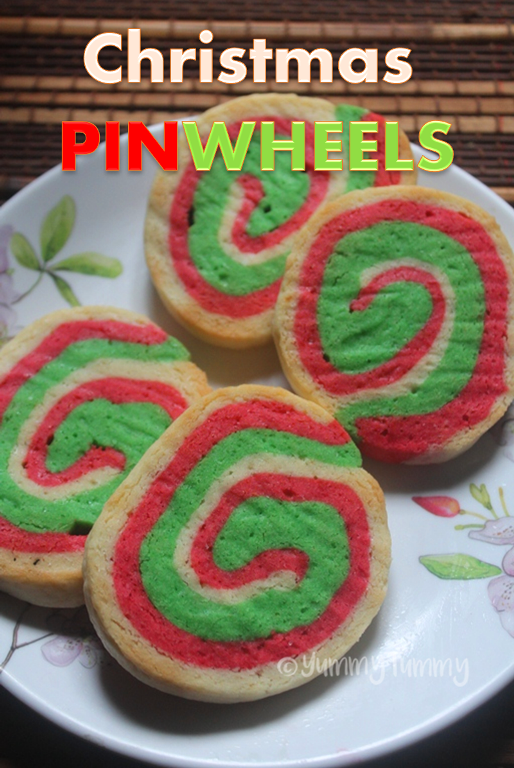
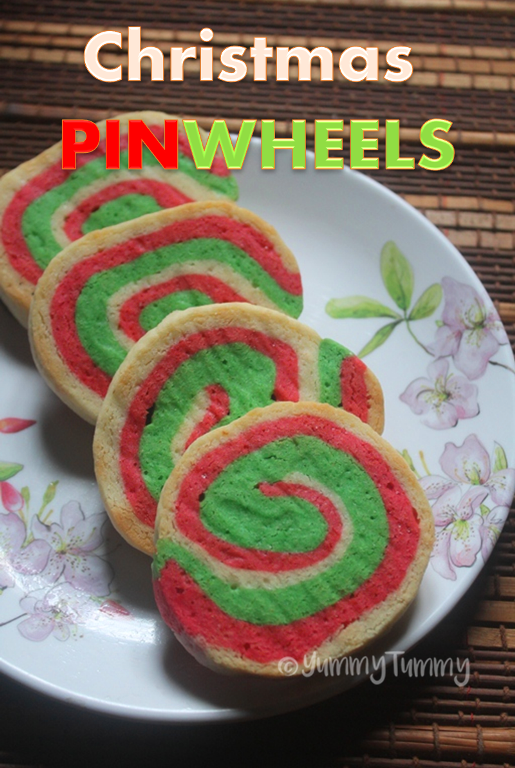
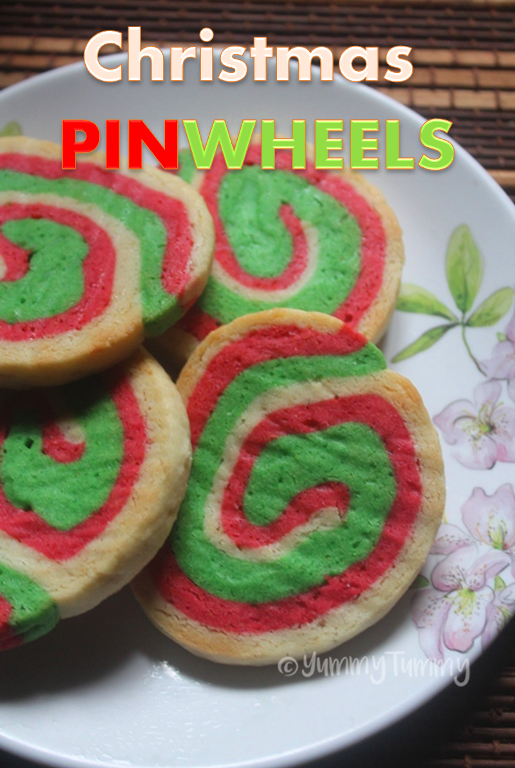
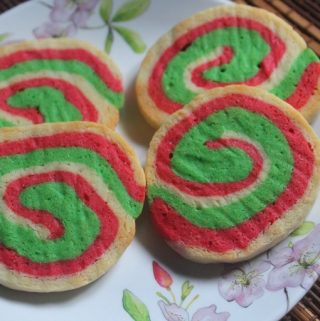
Christmas Pinwheels Cookies Recipe with step wise pictures.
Delicious and pretty looking pinwheels cookies which looks as cute as it sounds. This christmas themed cookies can be served for tinker bell birthday themed parties too.
Pinwheel cookies is a delicious treat which can be made using just few ingredients. I made this for mahi's first birthday party as a dessert in the sweet table. The party was tinker bell themed and this cookies went great with the theme.
https://www.yummytummyaarthi.com/2015/12/eggless-cutout-sugar-cookies-eggless.html
Similar Recipes,
Sprinkle Cookies
Monster Cookies without Flour
Cornflakes Cookies
https://www.yummytummyaarthi.com/2015/12/candy-cane-cookies-recipe.html
Glazed Chocolate Cookies
Dates Cookies
Nuts Cookies
Hope you will give this a try and let me know how it turns out for you.
https://www.yummytummyaarthi.com/2015/09/eggless-sprinkle-cookies-recipe-soft.html
📖 Recipe Card
Christmas Pinwheels Cookies Recipe
Ingredients
- All Purpose Flour / Maida - 2 cups
- Baking Powder - ½ tsp
- Salt a pinch
- Unsalted Butter - 170 grams
- Powdered Sugar - ¾ cups
- Eggs - 1
- Vanilla Extract - 1 tsp
- Green & Red Food Colouring as needed
Instructions
- Take flour, baking powder and salt in a bowl and mix well. Set aside.
- Take butter, powdered sugar and vanilla in a bowl and mix till fluffy.
- Add in egg and mix till combined.
- Add in the flour and mix gently.
- Form it into a smooth dough.
- Divide it into three portions. Add green and red food colours in two portions and mix well.
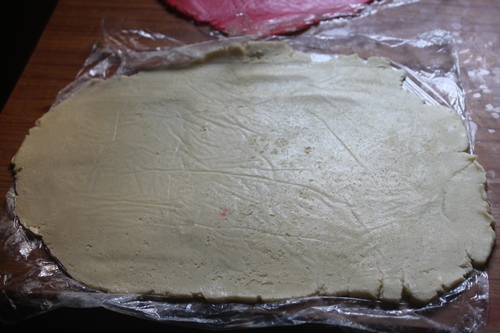
- Now take the white portion and roll between cling wrap. Do the same to the other two colours.
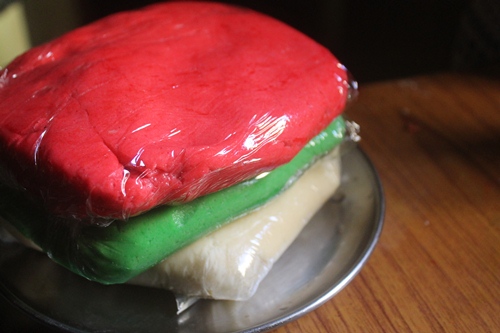
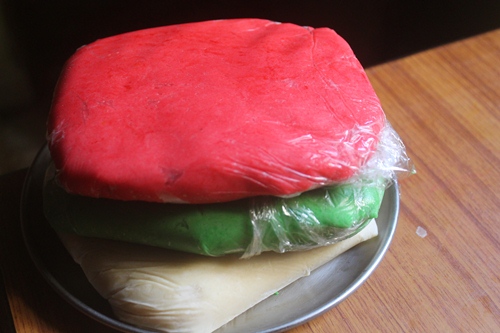
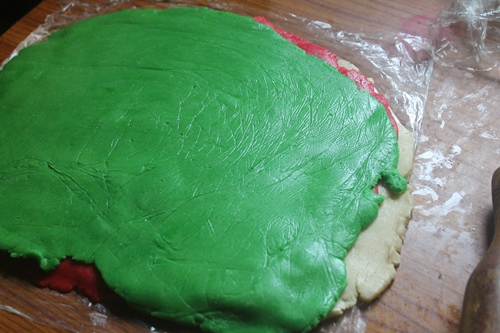
- Place the red rolled over the white and then the green.
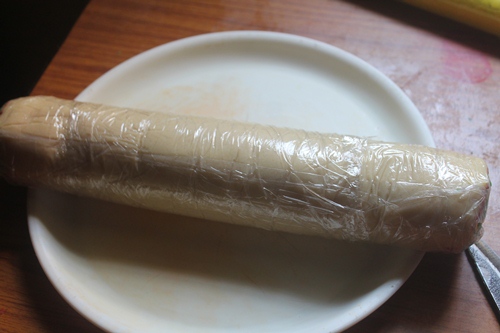
- Now roll the whole thing together to form a large swiss roll like.
- Now cover with plastic wrap and chill in the fridge for 1 hour.
- Now preheat oven to 180 degree C.
- Remove the rolled cookies, cut into slices about a inch thick.
- Place on a parchment lined pan.
- Bake for 12 to 15 mins.
- Remove and cool it down completely.
- Store in a air tight container.
- Enjoy.
Pictorial:
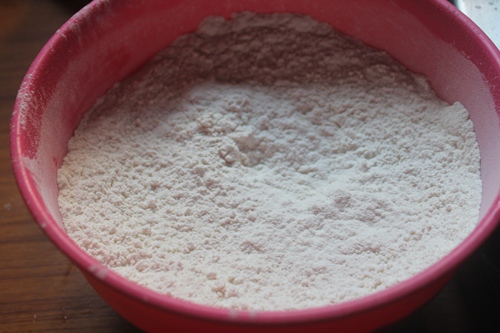
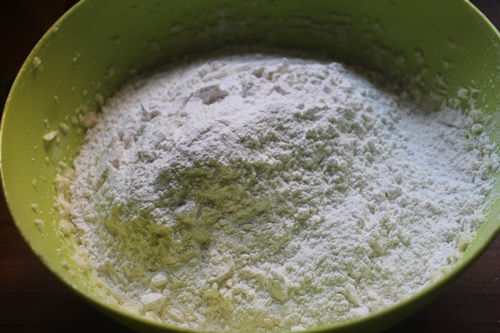
1)Take flour in a bowl.
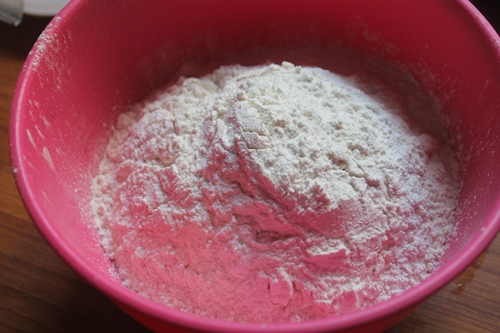
2)Add in baking powder

3)Add salt.
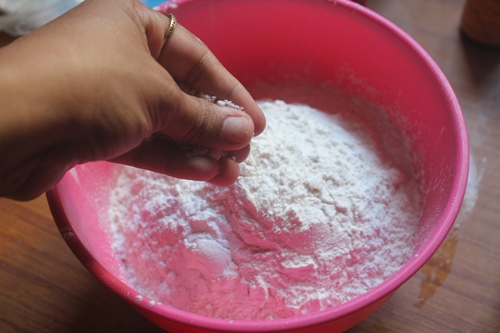
4)Mix well and set aside.
Similar Recipe,
Chocolate Fudge Cookies
Coloured Ghee Cookies
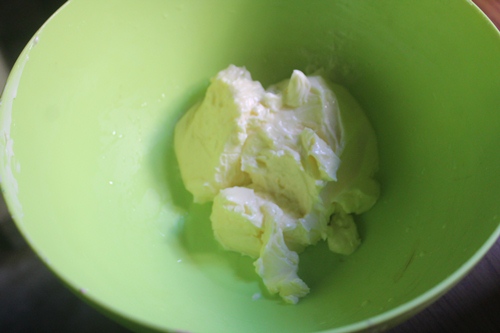
5)Take butter in a bowl.
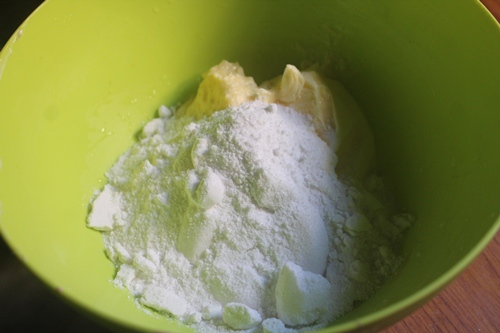
6)Add in powdered sugar. This is regular sugar which i powdered in a blender
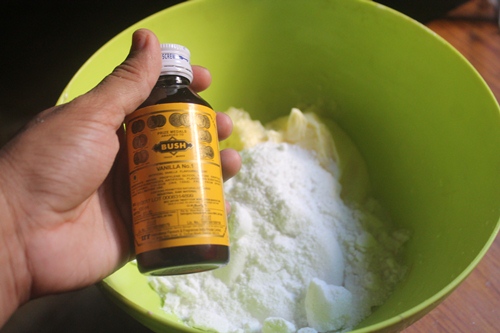
7)Add in vanilla
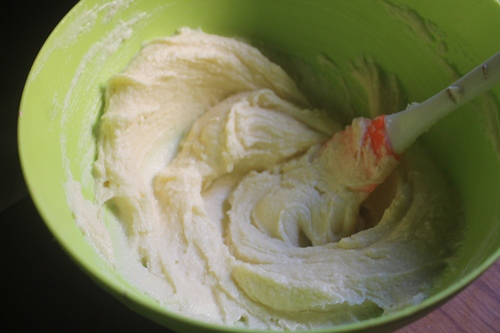
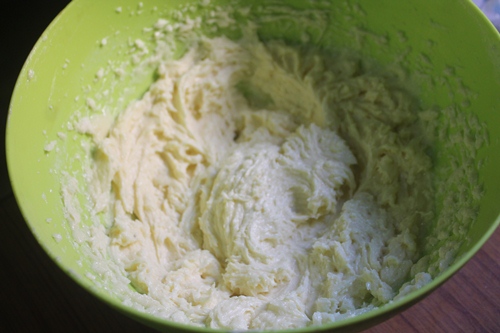
8)Whisk till combined.
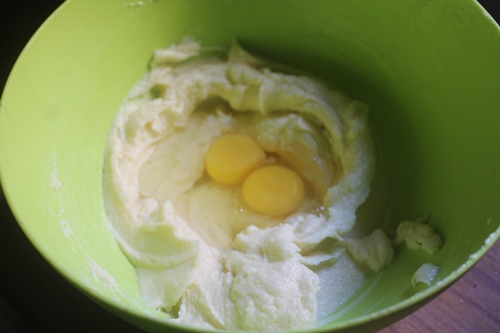
9)Add in eggs
https://www.yummytummyaarthi.com/2015/04/healthy-biscuits-for-babies-teething.html
10)Mix well
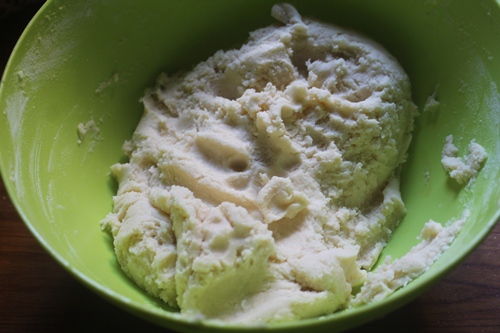
11)Add flour mix
12)Make it into a dough
13)Divide the dough into three portions
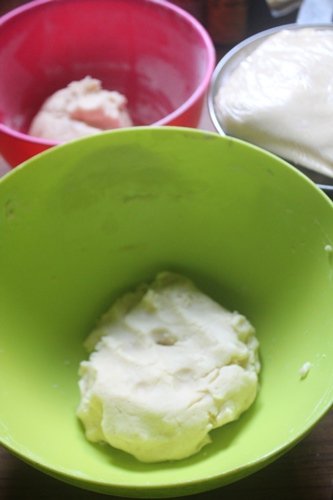
14)Dye one portion in red and other in green.
https://www.yummytummyaarthi.com/2015/05/coloured-ghee-cookies-recipe-biskut.html
15)Chill this for 1 to 2 hours in fridge.
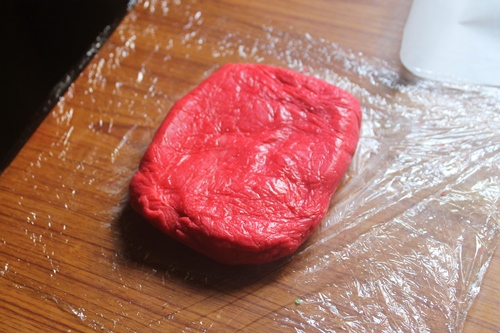
16)First roll the white colour
17)Now take the red and roll it
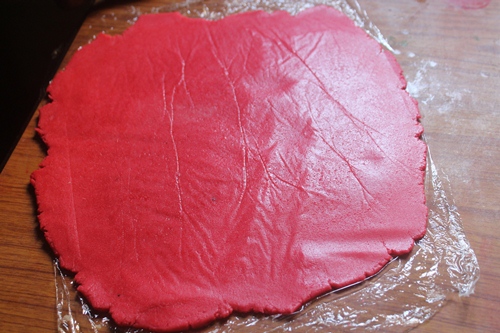
18)Place a parchment sheet and roll it

19)Like this
20)Place the red over the white and then place the green.
CHECK OUT THIS DELICIOUS CORNFLAKES COOKIES
21)Trim the sides
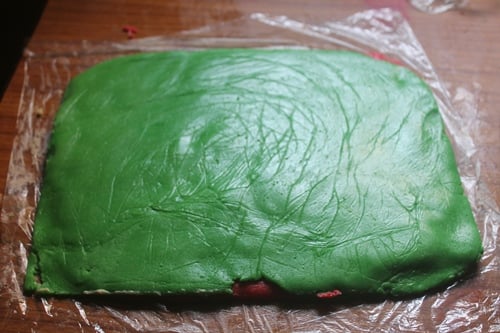
22)Roll it like a jelly roll and cover with plastic wrap
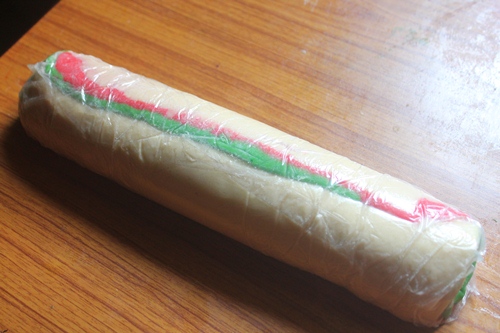
23)Chill for few hours.
24)Now remove it and cut it
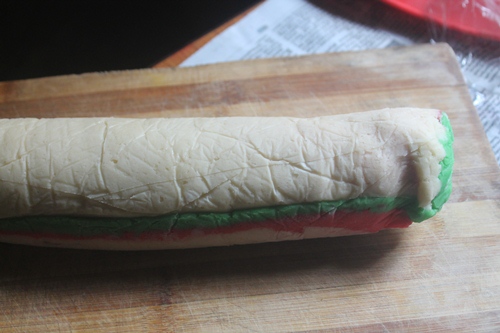
25)Slice to reveal the colours
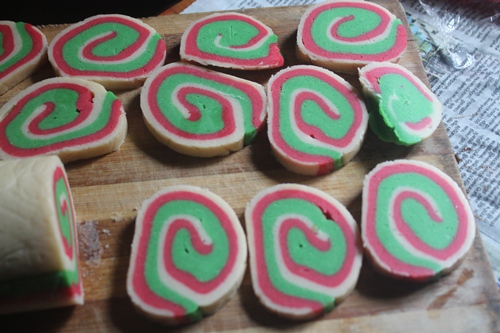
26)Place it in a parchment lined baking pan
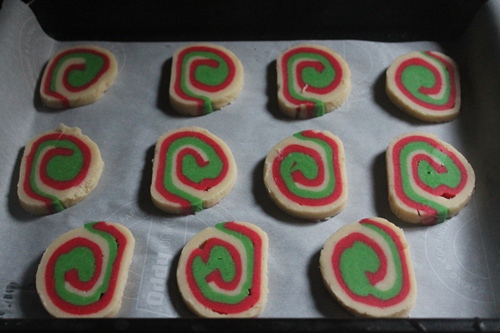
27)Bake till baked.
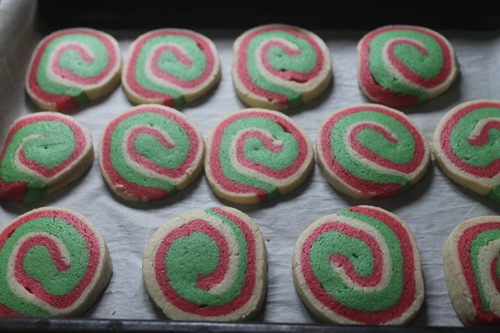
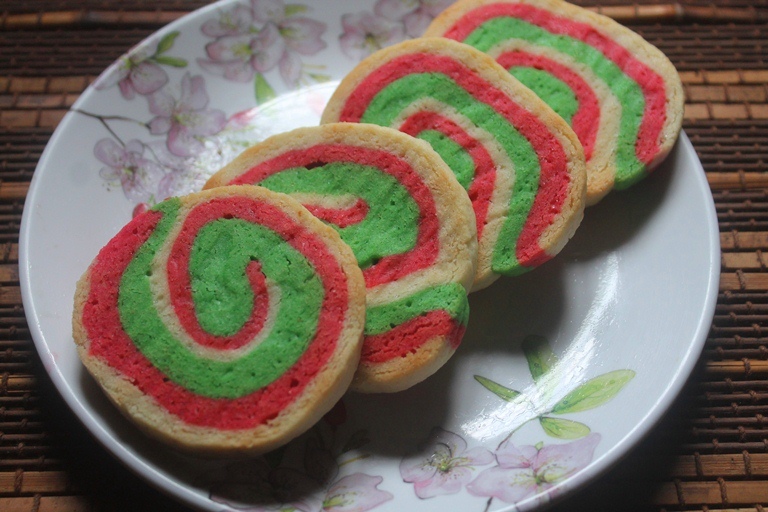
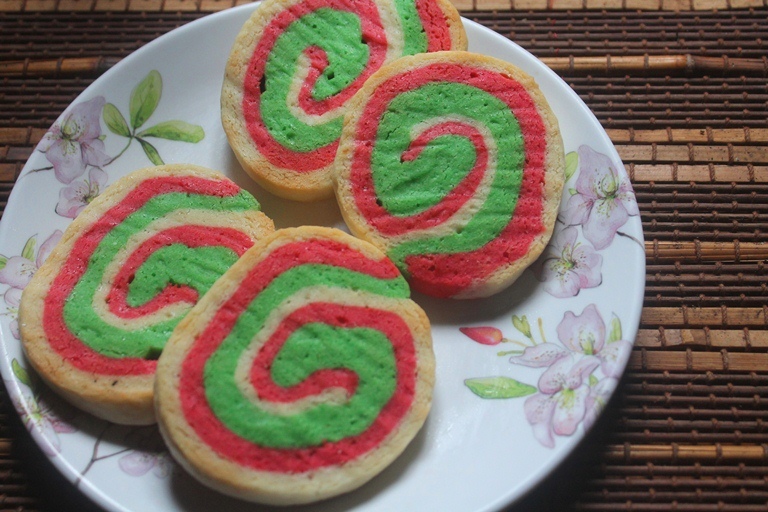
28)Cool and serve.

Leave a Reply