
Ragi Vermicelli Upma Recipe with step by step picture. This is made with Vegetables and Ragi Vermicelli. Healthy diabetics recipe which is tasty as well.
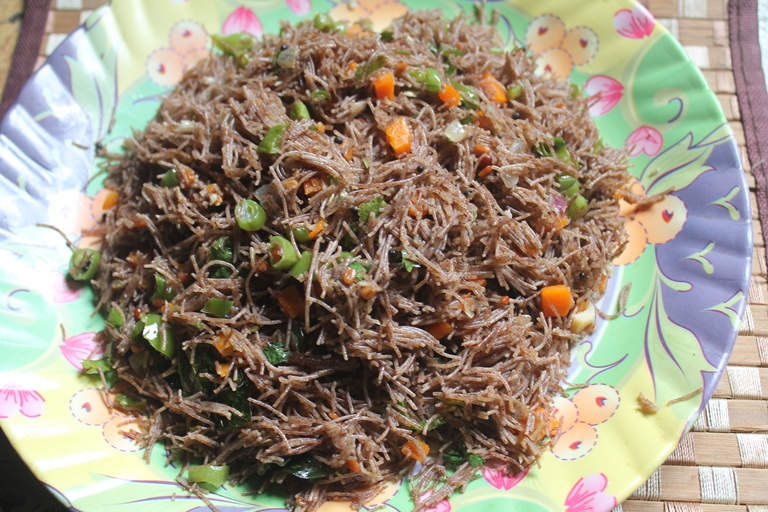
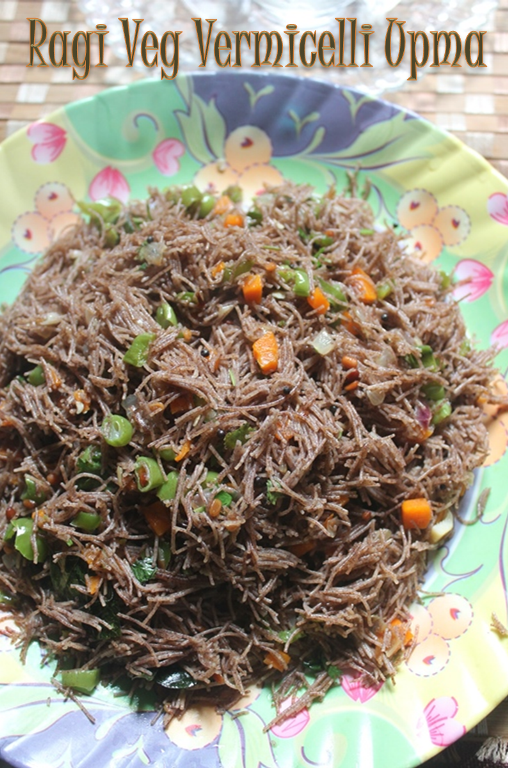
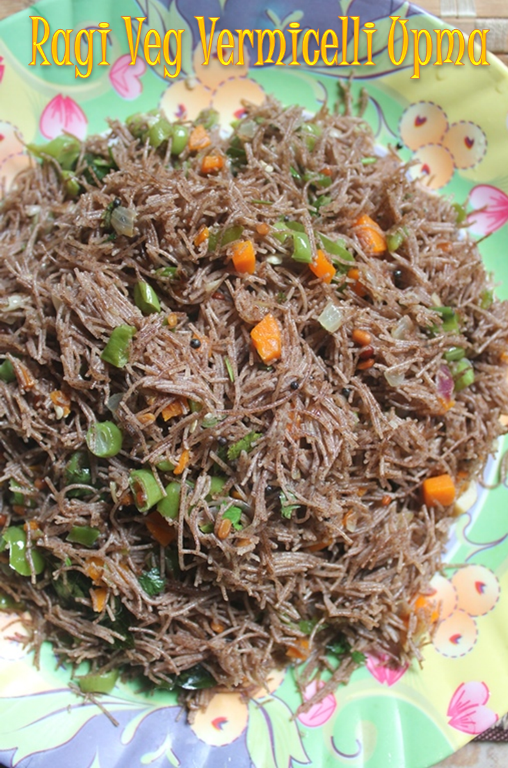
Ragi Vermicelli Upma
Vermicelli upma is a easy go to breakfast idea in many home. It is quick to make and taste delicious as well. Why not try this ragi semiya upma instead of regular ones. These are delicious and is so healthy. The main thing is, you have to be little careful when cooking it, if you add too much water, then the whole upma will become one big gloop.. But the method i am showing is fool proof and you can never mess with it.
Similar Recipes,
Ingredients for Ragi Vermicelli Upma
- Ragi Semiya / Finger Millet Vermicelli - 1 packet around 200 grams
- Water around 1.5 cup
- Onion - 1 medium size chopped finely
- Green Chillies - 2 chopped finely
- Carrots - 1 large chopped finely
- Beans - 6 finely chopped
- Capsicum - ½ chopped finely
- Salt to taste
- Coriander Leaves - 3 tablespoon finely chopped
For Seasoning:
- Olive Oil - 2 tsp
- Mustard Seeds / Kaduku - 1 tsp
- Urad Dal / Ulundu Paruppu - 1 tsp
- Asafoetida / Hing / Kaya Podi - ¼ tsp
- Curry Leaves - a sprig
How to make Ragi Vermicelli Upma
- Heat oil in a kadai. Add in all seasoning ingredients and saute it for a min.
- Add in onions, green chillies and saute for a min.
- Add in all chopped vegetables and saute it for 5 mins.
- Now add in salt and mix well.
- Add in semiya and mix well. Roast it in the oil for 2 min.
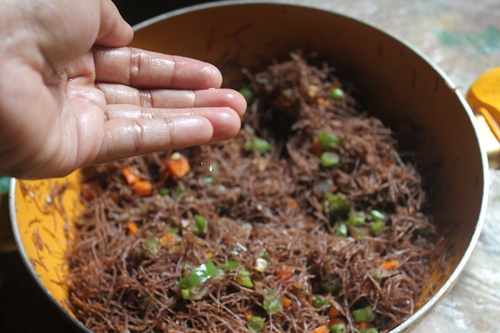
- Now start sprinkling the water and keep tossing. Cook on a low heat. I sprinkled around 1.5 cup of water. You may need less as the variety of semiya you are using.
- You can cover the kadai with a lid and cook it on a low heat. Taste and check whether it is cooked.
- Add in coriander leaves and fluff it up. Serve with chutney.
If you have any questions not covered in this post and if you need help, leave me a comment or mail me @aarthi198689@gmail.com and I'll help as soon as I can.
Follow me on Instagram, Facebook,Pinterest ,Youtube and Twitter for more Yummy Tummy inspiration.
IF YOU MAKE THIS RECIPE OR ANYTHING FROM YUMMY TUMMY, MAKE SURE TO POST IT AND TAG ME SO I CAN SEE ALL OF YOUR CREATIONS!! #YUMMYTUMMYAARTHI AND @YUMMYTUMMYAARTHI ON INSTAGRAM!
📖 Get Recipe
Ragi Vermicelli Upma Recipe - Ragi Semiya Upma Recipe
Ingredients
- 1 Ragi Semiya
- 1.5 cup Water
- 1 medium Onion
- 2 Green Chillies chopped finely
- 1 large Carrots chopped finely
- 6 Beans chopped finely
- ½ Capsicum chopped finely
- Salt to taste
- 3 tablespoon Coriander Leaves chopped finely
- For Seasoning:
- 2 teaspoon Olive Oil
- 1 teaspoon Mustard Seeds
- 1 teaspoon Urad Dal
- ¼ teaspoon Asafoetida
- 1 sprig Curry Leaves
Instructions
- Heat oil in a kadai. Add in all seasoning ingredients and saute it for a min.
- Add in onions, green chillies and saute for a min.
- Add in all chopped vegetables and saute it for 5 mins.
- Now add in salt and mix well.
- Add in semiya and mix well. Roast it in the oil for 2 min.
- Now start sprinkling the water and keep tossing. Cook on a low heat. I sprinkled around 1.5 cup of water. You may need less as the variety of semiya you are using. You can cover the kadai with a lid and cook it on a low heat. Taste and check whether it is cooked.
- Add in coriander leaves and fluff it up. Serve with chutney.
Nutrition
Tried this Recipe
Mention @yummytummyaarthi or tag #yummytummyaarthi!Ragi Vermicelli Upma Recipe step by step picture
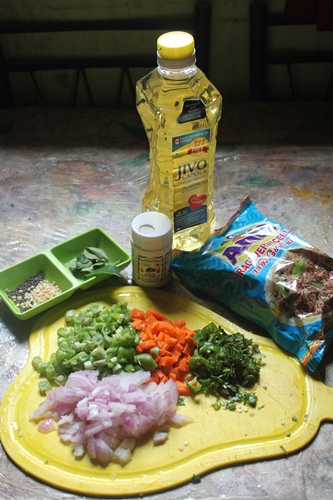 |
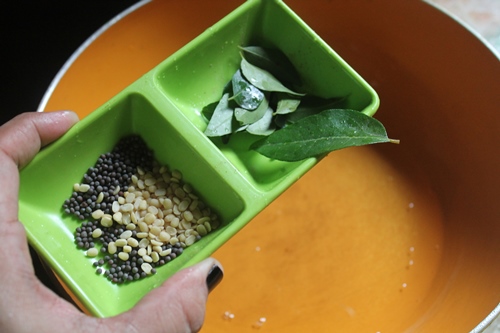
| Take all your ingredients |
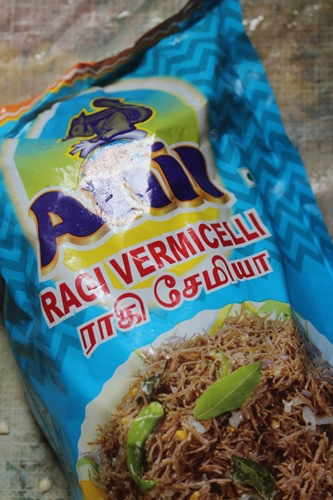 |
| I used this ragi vermicelli. I like this brand too, it turns out good each time. |
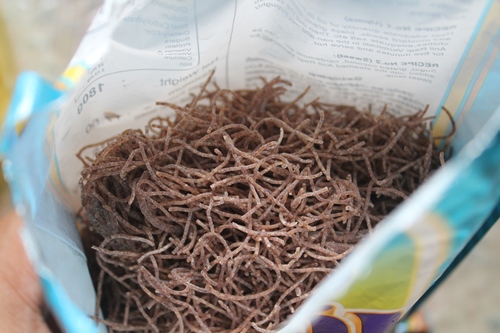 |
| See how fine the semiya is, you have to be careful when cooking it, if you mess with it then the whole upma may turn gooey.. |
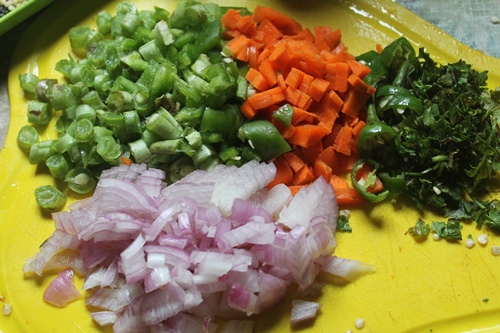 |
| I chopped up lots of veggies |
 |
| First add in mustard, urad dal, curry leaves in hot oil |
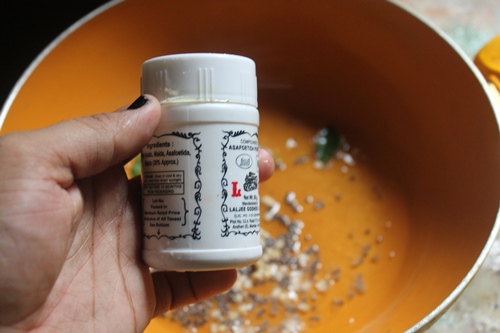 |
| add a pinch of asafoetida |
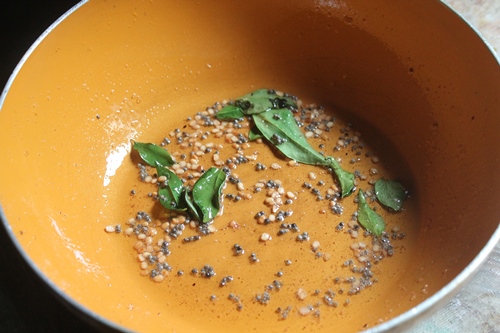 |
| add in curry leaves |
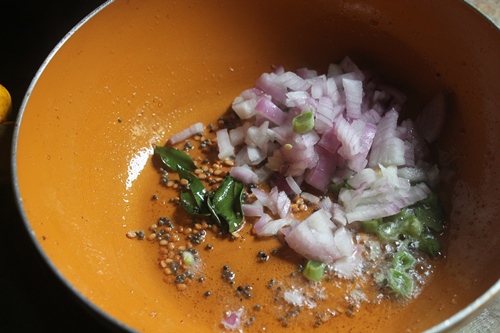 |
| onions |
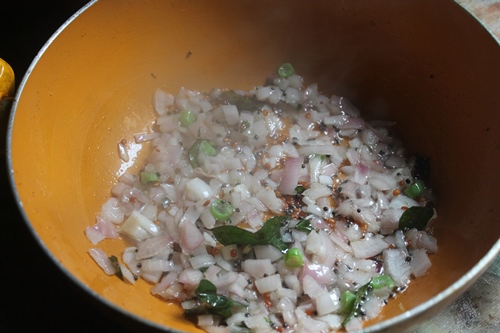 |
| toss it well |
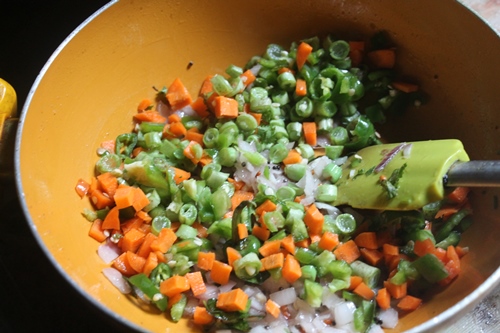 |
| add in all the veggies, i added the green chillies as well |
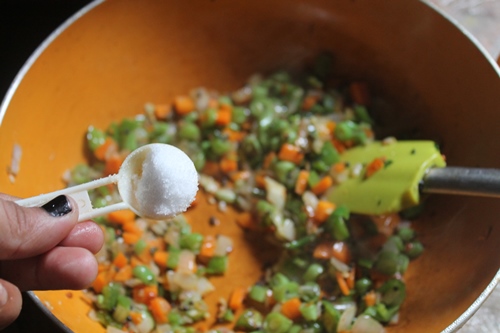 |
| season with salt |
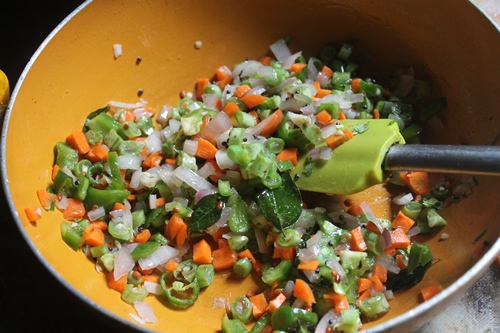 |
| toss well |
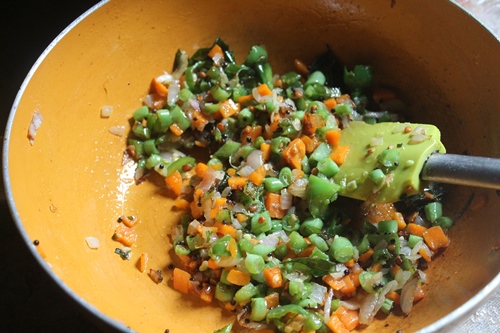 |
| cook them on medium heat till the raw smell leaves from it |
 |
| add in the ragi semiya |
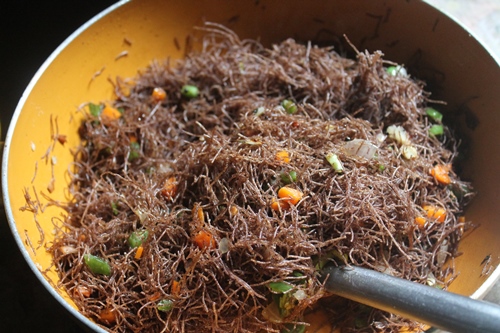 |
| toss well in the oil, toast this for few mins |
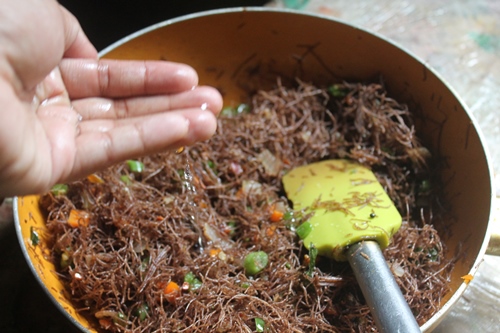 |
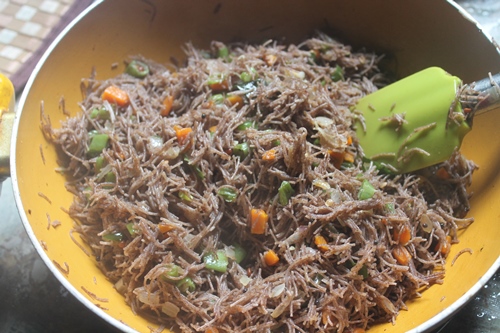
| now sprinkle water little by little |
 |
| keep cooking on a low heat |
 |
| sprinkle some more water |
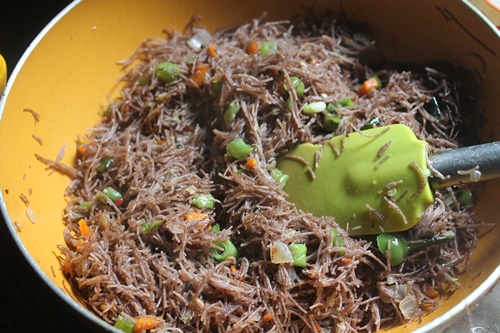 |
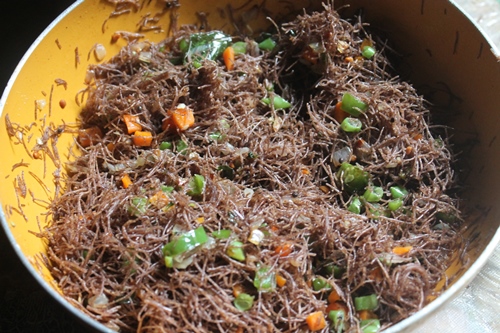
| keep tossing..you can see the ragi is cooking |
 |
| sprinkle some more water |
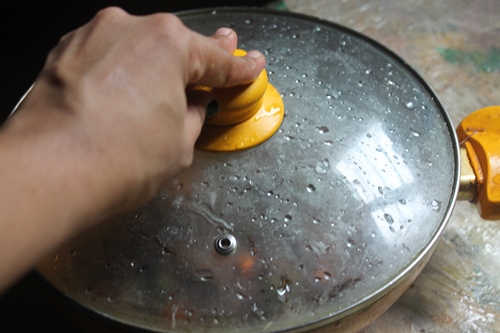 |
| you can cover and cook them on a low heat |
 |
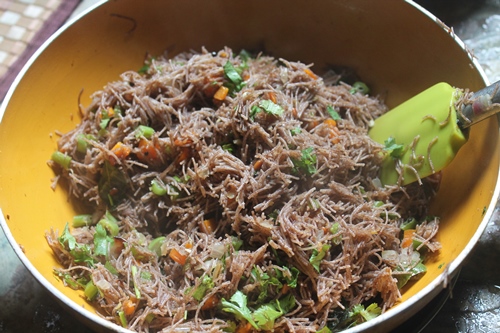
| i tasted it, it was soft and it is cooked |
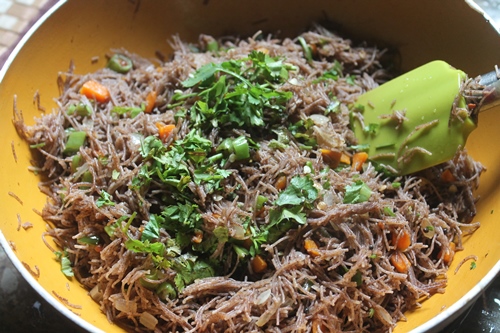 |
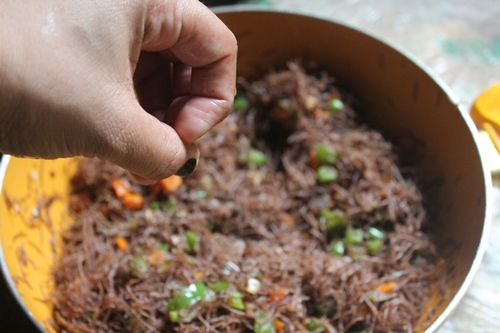
| sprinkle with coriander leaves |
 |
| toss well |
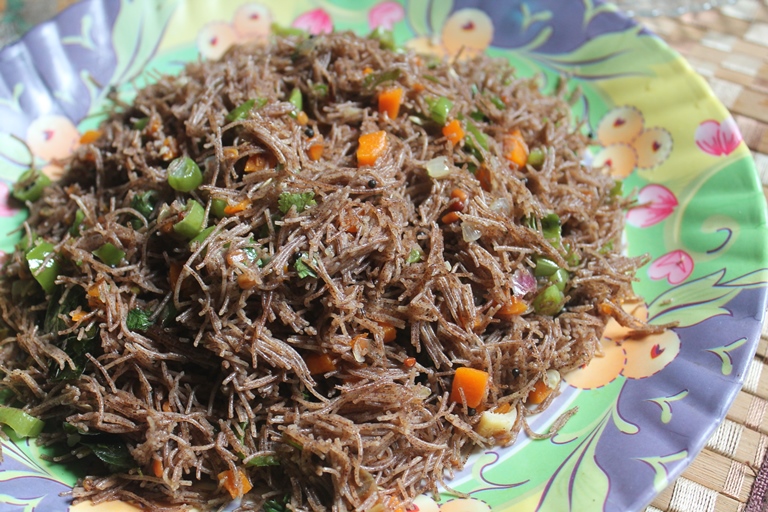 |
| Serve |

kavitha
so no need to boil ragi semiya in idli cooker seperately?
Aarthi
@kavithano need
Nithya
Hi aarthi,
I tried many of ur recipes.. All of them came out great...
So amazed to c u... Keep up the good work... God bless u n ur family...
SANDRA LOPEZ
I am the new guy
Pals D
So simple. And it tasted so good. Thanks aarti
Karishma
Thank you
Ashwini
Thanks for helping me make ragi vermicelli. I followed your recipe and it turned out good 🙂