
How to Make Chenna for Sweets with step by step pictures. Chhena is fresh strained cottage cheese made with full fat milk and lemon juice. This is used in the making of Indian sweets like rasgullas, kalakand.
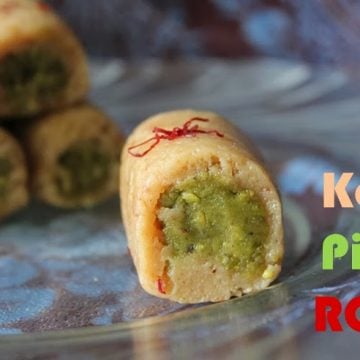
Chenna for Sweets
This chhena makes a base for many sweets starting from rasgulla, rasmalai, sandesh and so many stuffs. Since it is Diwali season I decided to post various milk sweets recipes. So I thought of making separate post for this basic soft chhena so I don't have to click pictures stepwise each time.
So here you go with the perfect no fail recipe for the soft chhena, stay tuned because my next couple of recipes is going to be the perfect no fail rasgulla and rasmalai.
About Chenna Recipe
Chenna is nothing but milk boiled, curdled and strained to get soft milk curds. These curds are used to make many Indian sweets like rasgulla, rasmalai, kalakand and sandesh.
You can even use them as filling for raviolli, lasagna too. There are many savoury recipes that uses chenna as dips, spreads, making homemade cheese.
It is very easy to make at home. All you need is milk, lemon juice. Try to use whole full fat milk so you get decent quantity of chenna.
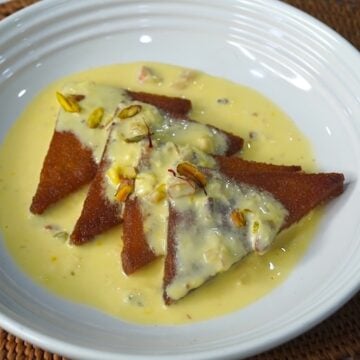
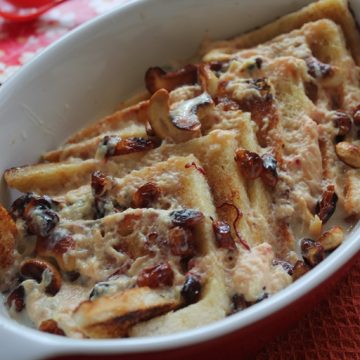
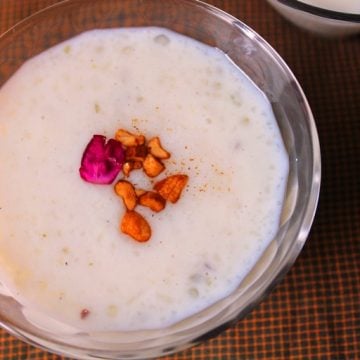
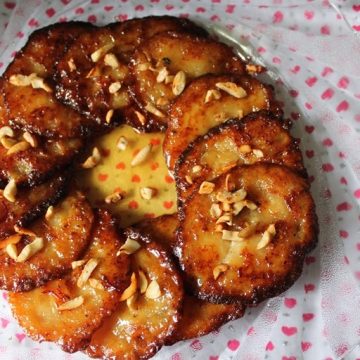
Similar Recipes

Ingredients
- Milk - use full fat or full cream milk for making chenna. Depending on the fat content only the quantity of chenna increases. Low fat milk doesn't work.
- Lemon - some kind of acidic ingredients is needed to curdle the milk. Lemon juice or vinegar is preferred.
Step by Step Pictures
Pre preparation
1)Squeeze juice from 1 lemon, you need 1.5 tablespoon of lemon juice to curdle this recipe.
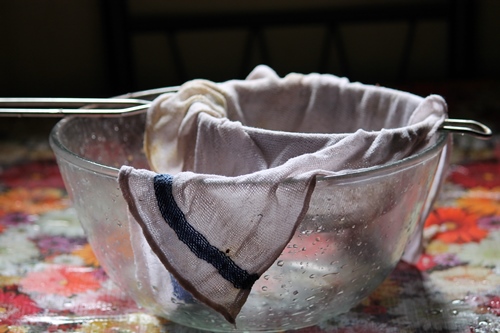
2)Line sieve with muslin cloth and place it over a bowl.
Boiling Milk
3)Take milk in a pot. Put it on high heat and keep stirring. Now the milk must have started foamy. Bring the milk to a full boil.
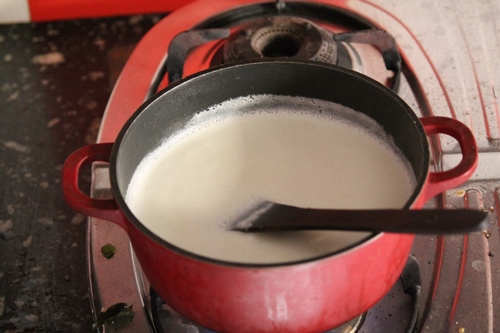
4)Take it off the heat and leave it for 1 minute before adding the lemon juice.

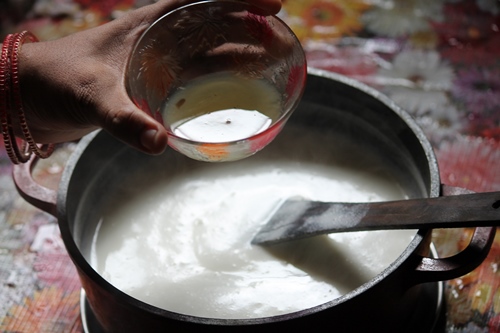
Curdling milk
5)Add in the lemon juice. Slowly mix it gently until the milk has curdled.
6)Mix gently and you will see the milk has started curdling.
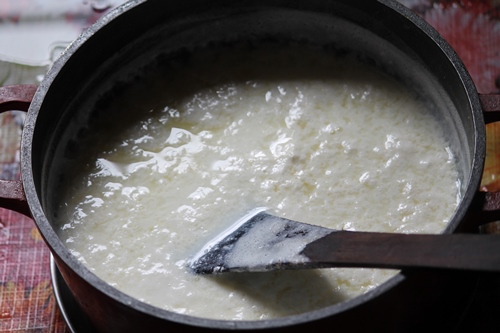
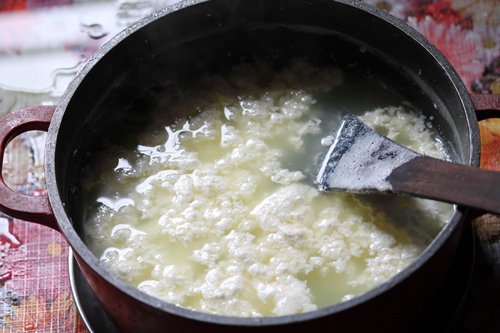
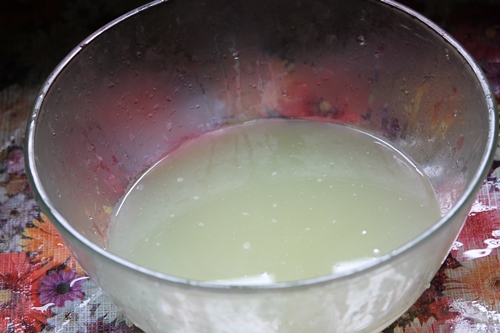
7)Now it is completely curdled, you can see a light greenish kind of water has separated, this is the correct stage.
Straining Curds
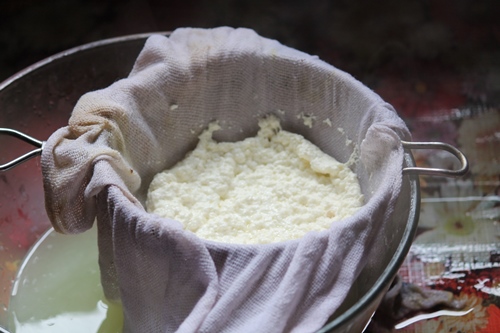
8)pour the entire thing on to the sieve.
9)This is the whey water, it is very healthy. You can use them to knead chapati dough, add it to rasam, soup.
10)Now take a bowl of cold water, drop the curdled chenna into the water and wash it well. To remove excess lemon juice.
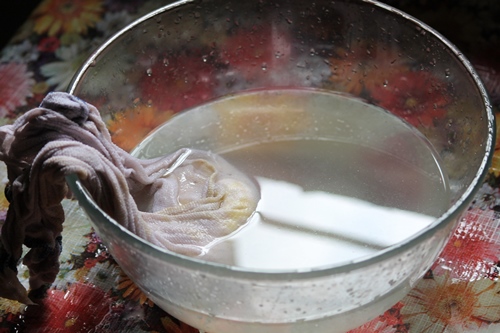
11)You can run it under cold tap water too. I washed it like this for 3 changes of water.

12)Now hung it over a tap for 30 mins, I squeezed it with my hands occasionally to make things faster.
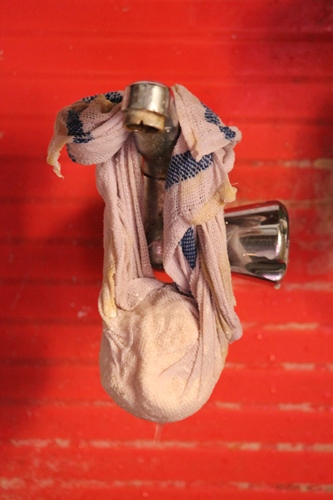
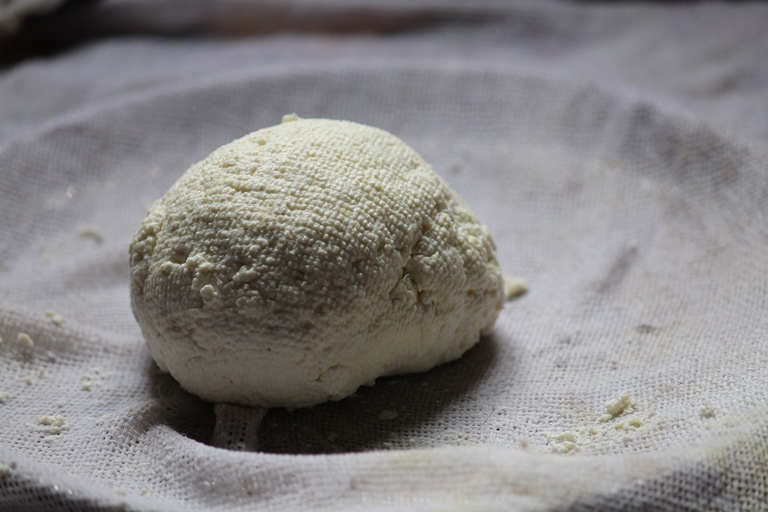
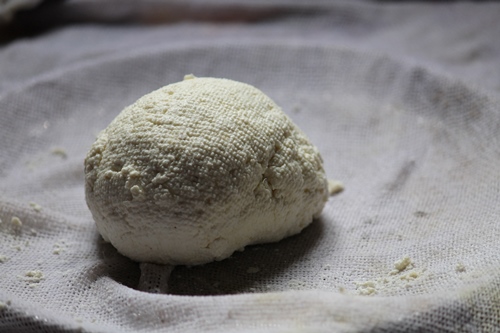
13)This is the soft chenna which you get after the draining process, you can use this to make sweets.
Expert Tips
- Always use full fat milk for making chenna.
- Adding lemon juice to curdle the milk gives a nice flavour to the chenna.
- You can reserve the whey water in a air tight bottle and when you make chenna for the next time, add this instead of lemon juice.
- You have to wash the chenna really well to get the extra sour taste.
- Hang the chenna to remove excess water, never place weight over it , it will make them tough.
📖 Get Recipe
Chhena Recipe | How to Make Chenna for Sweets (Homemade Chenna)
Equipment
Ingredients
- 1 liter Full Fat Milk
- 1.5 tablespoon Lemon Juice
Instructions
- Squeeze some lemons, you will need 1.5 tblspn of lemon juice, line a sieve with muslin cloth and place it over a big bowl.
- Take milk in a pot and put it on high heat. Let it come to a boil. Once it boils, take it off the heat and let it sit for 1 min.
- Now add in lemon juice and mix gently. The milk will curdle. Once a greenish whey separates from the milk and the milk solids have curdled completely. Strain it in the sieve.
- Now take a big bowl of cold water and wash the chenna well. rinse it in three changes of water.
- Now squeeze it gently with your hands to remove any excess whey water, Tie a knot and hang it over a tap and leave it to drain for 30 mins. I squeezed occasionally to make things faster.
- Now the chenna is done, this is a soft chenna recipe, you can use them to make different sweets.


Anonymous
Thank you for posting, this is so helpful!! I absolutely love rasgulla and have always wondered how it's made. The pictures in particular are really helpful!
Anonymous
Thank u for posting this in such neat n nice way.. So easy to understand! !!
Anonymous
Is chenna same as ricotta cheese 😃
Aarthi
@Anonymousno both are different
Anonymous
its such a useful post .so woderful pics . thanks a lot for the post. had been through so many blogs. i found yours really apt.