
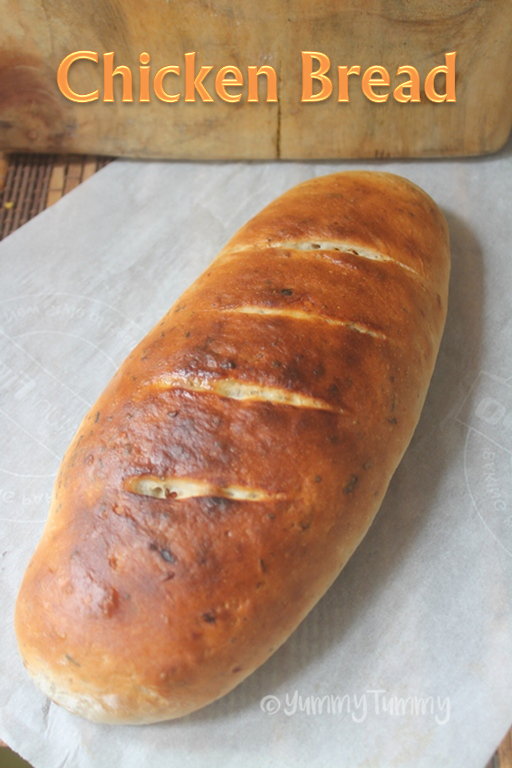
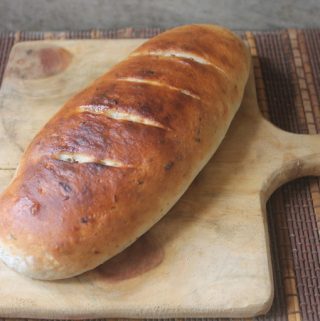
Chicken Bread Recipe with step wise pictures.
Delicious and soft chicken bread which taste so yummy and is perfect for this iftar season. Make this for your kids then will love it for sure.
This was on my bucket list for quite sometime, finally i made it few weeks back. I had a bunch of herbs, so used those to make this dough and it was perfect.You can make this in different shapes.
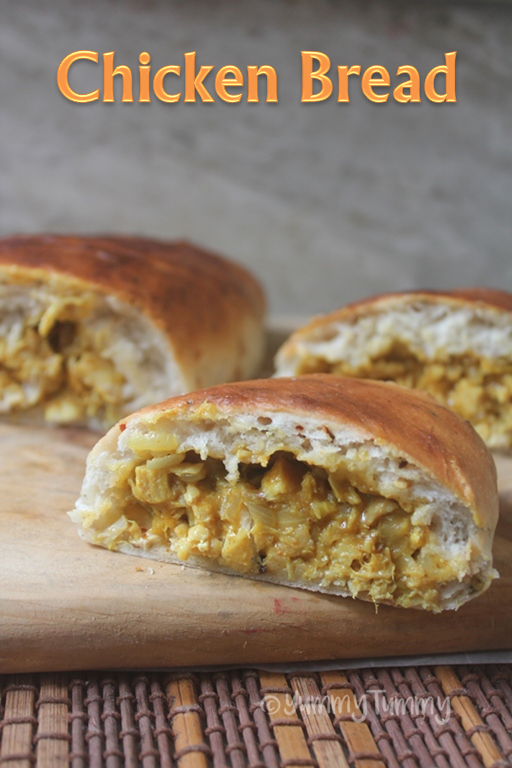
I made this herbed dough and the filling was little creamy and spicy which tasted great. I will soon share a indian version of a filling.
https://www.yummytummyaarthi.com/2015/08/stuffed-braided-bread-recipe-vegetable.html
Pizza Bites
Submarine Buns
Bagels
Brioche Buns
Nutella Designer Bread
Hope you will give this a try and let me know how it turns out for you.
📖 Get Recipe
Chicken Bread Recipe
Ingredients
FOR DOUGH:
- All Purpose Flour / Maida - 2 cups
- Dry Yeast - 1.5 tsp
- Sugar - 1 tblsp
- Salt to taste
- Dried Parsley - 1 tblsp
- Dried Oregano - 2 tsp
- Red Chilli Flakes - 2 tsp
- Olive Oil - 2 tblsp
- Warm Water as needed
- Milk - 2 tblsp for brushing on top
FOR FILLING:
- Oil - 1 tblsp
- Onion - 1 large chopped finely
- Green Chillies - 2 chopped finely
- Curry leaves a sprig
- Ginger Garlic Paste - 1 tblsp
- Chicken Breast - 2 cooked and cut into small pieces
- Turmeric Powder - 1 tsp
- Salt to taste
- Chilli Powder - 1 tsp
- Garam Masala Powder - 1 tsp
- All Purpose Flour / Maida - 1 tblsp
- Chicken Stock - ½ cup
Instructions
- Take yeast, sugar in a bowl and add in warm water. Let it sit for 5 mins.
- Take flour, salt, all the herbs and olive oil. Mix well.
- Add yeast water and extra water and knead to a soft dough.
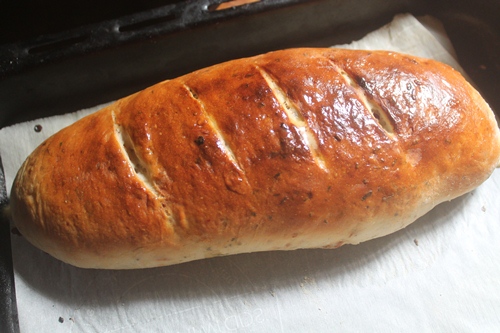
- Add more oil on top and set aside to rise for 1 to 2 hours.
- While the dough is rising. Make the filling. Heat oil in a pan,
- Add in onion, curry leaves, ginger garlic paste and green chillies. Saute for 2 mins.
- Add salt and spice powders and mix well.
- Add in all purpose flour and saute for a min.
- Add in Chicken stock and cooked chicken and mix well. Set aside to cool.
- Once the dough is risen. Punch out the air and divide it into 2 portions.
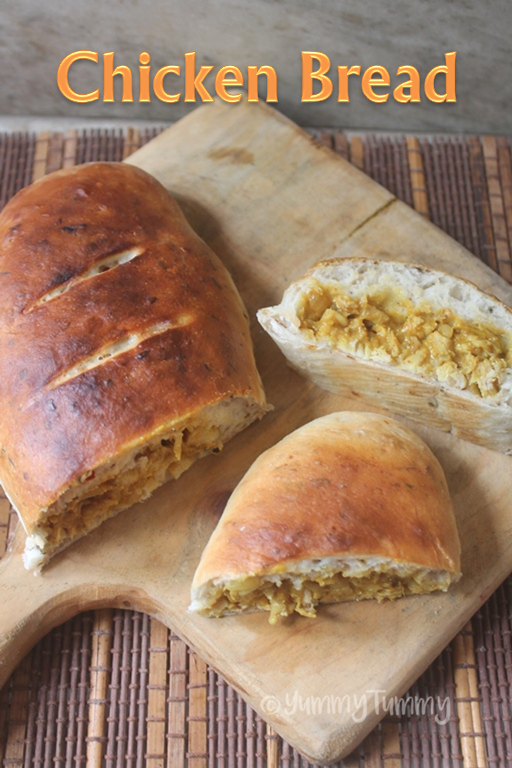
- Take a portion and roll into a large rectangle. Spoon filling inside and seal from the sides.
- Now place it in a parchment lined baking pan.
- Let it rise for 30 mins to 1 hour.
- In the last 10 mins of rising , preheat oven to 200 degree C.
- Now brush top with egg or milk. Bake for 20 mins.
- Remove and cool a little.
- Serve.
Tried this Recipe
Mention @yummytummyaarthi or tag #yummytummyaarthi!Pictorial:
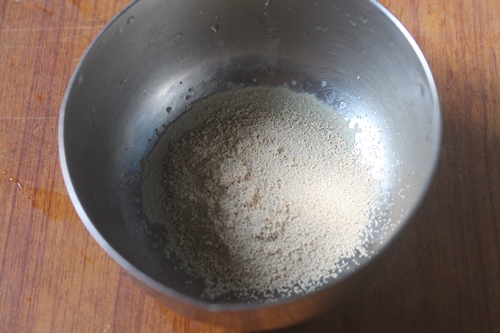
1)Take dry yeast in a bowl.
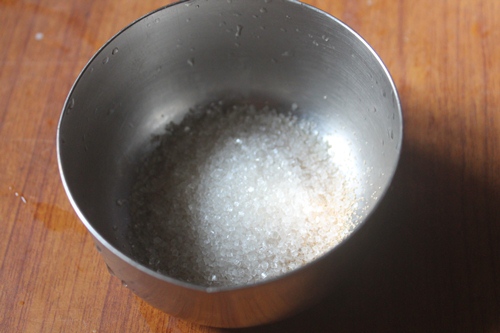
2)Add in sugar
https://www.yummytummyaarthi.com/2018/02/masala-buns-recipe.html
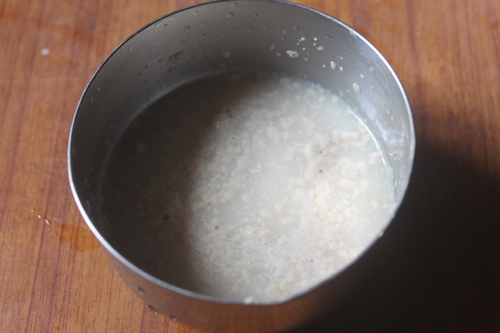
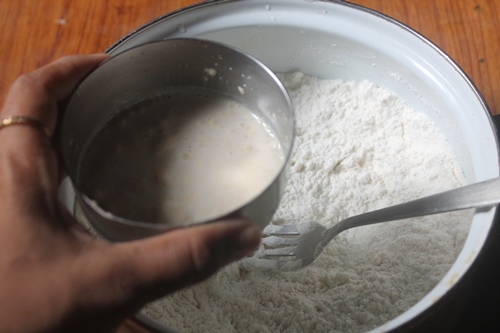
3)Add in little water and mix well.
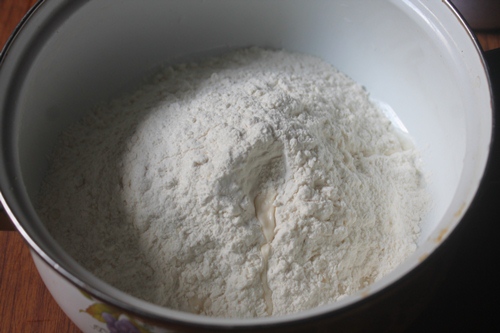
4)Take maida in a bowl
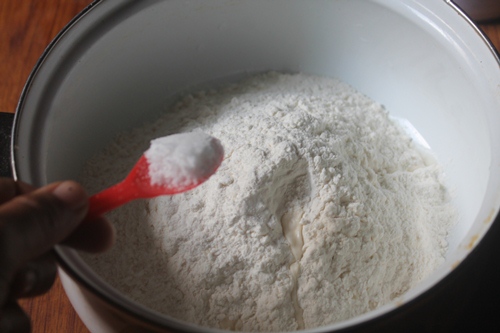
5)Add in salt.
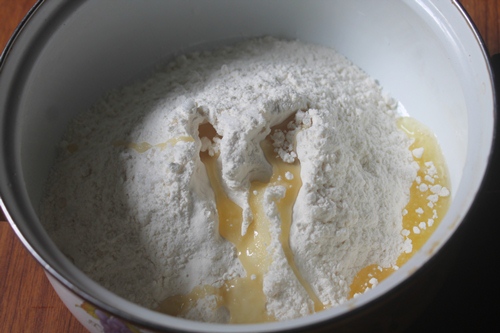
6)Add in oil
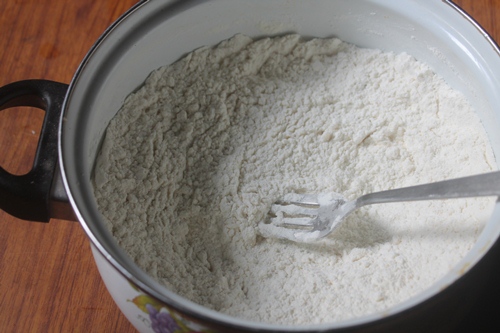
7)Mix well
https://www.yummytummyaarthi.com/2017/09/bakery-style-butter-bun-recipe.html
8)Add in yeast water
9)Add in water
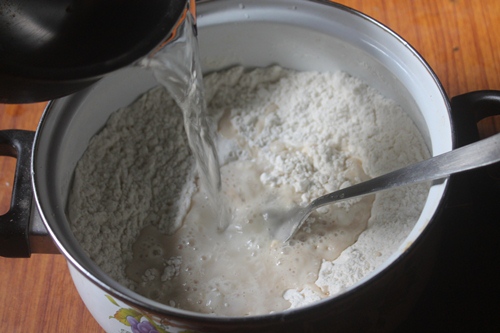
10)Knead to a soft dough
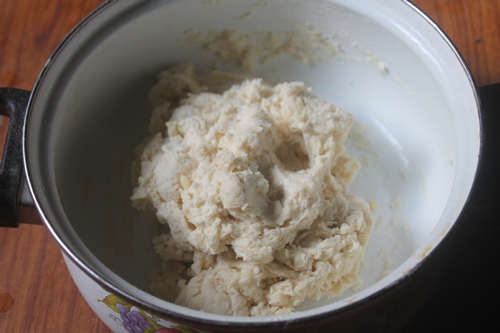
11)Add in parsley
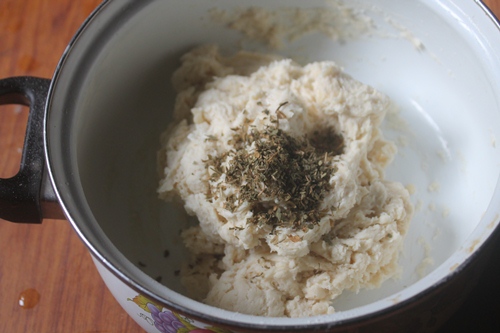
12)Add in red chilli flakes
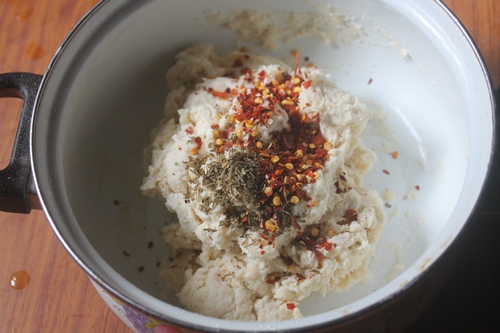
13)Add in oregano
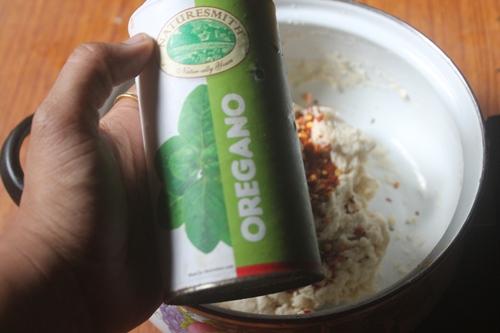
14)Once all the herbs are added.
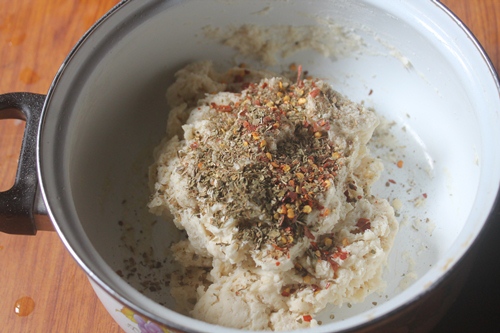
15)Mix well. Shape to a soft dough

16)Add in oil
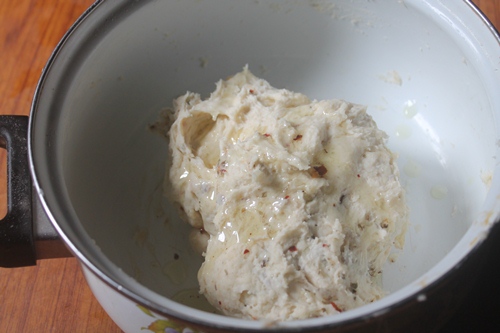
17)Knead to a soft dough
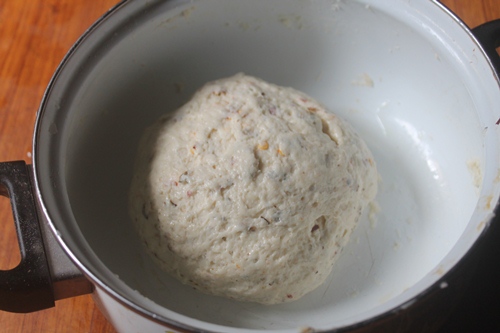
18)Cover and let it rise.
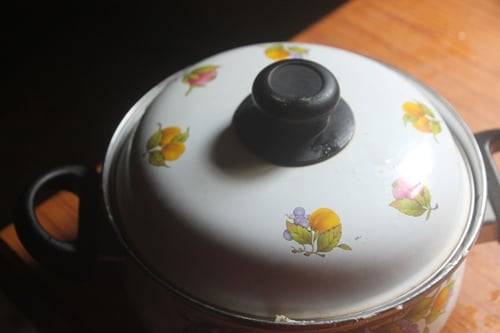
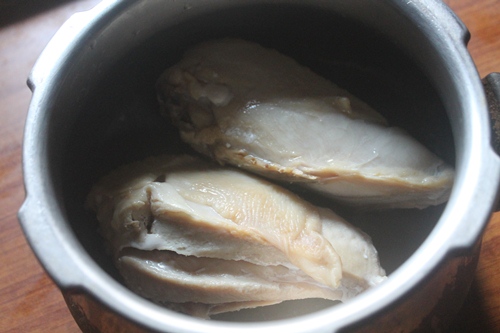
19)Meanwhile lets make the filling.Cook two chicken breast in pressure cooker for 3 to 4 whistle.
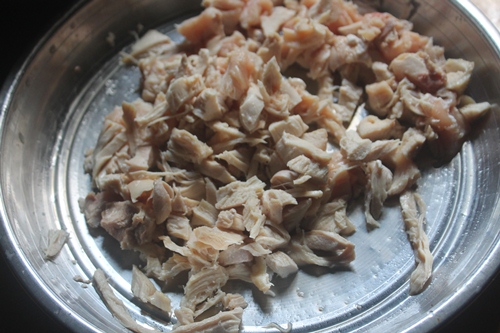
20)Chop it into small pieces
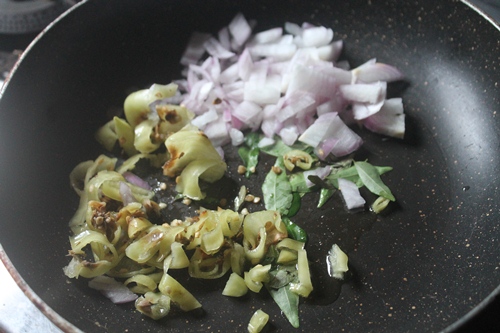
21)Heat oil in a pan, add onions, curry leaves and green chillies
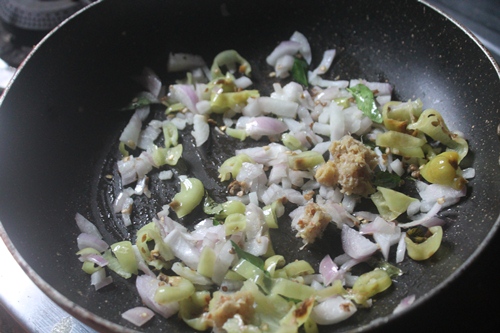
22)Add ginger garlic paste
Masala Buns
Butter Buns
Pav Buns
Pizza Bites
Submarine Buns
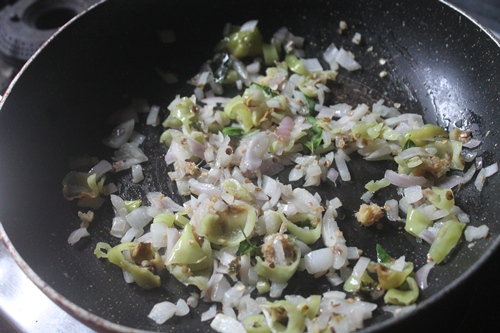
23)Saute for a min
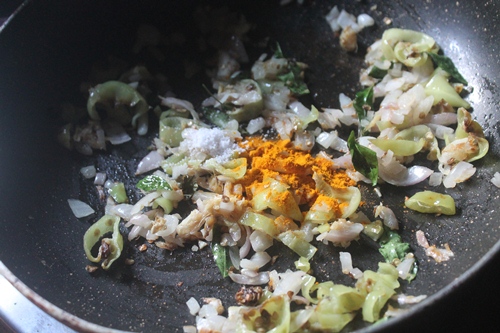
24)Add salt and turmeric powder
25)Add in chilli powder and garam masala powder
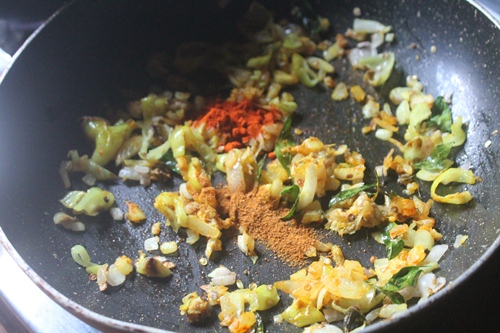
26)Saute for a min.

27)Add in some all purpose flour.
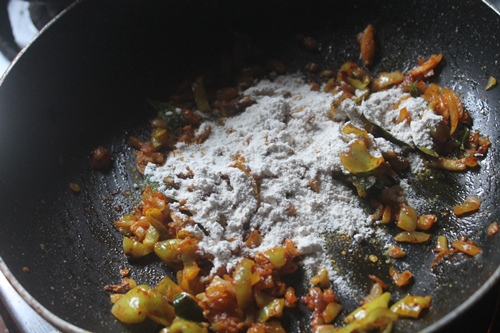
28)Saute for 2 mins
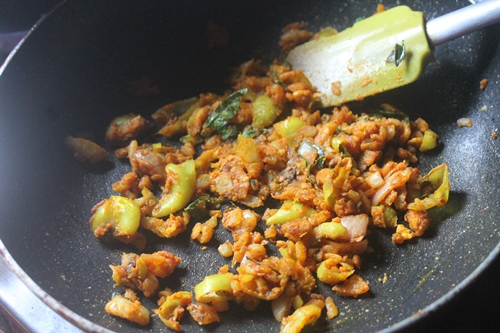
29)Add in water or chicken stock
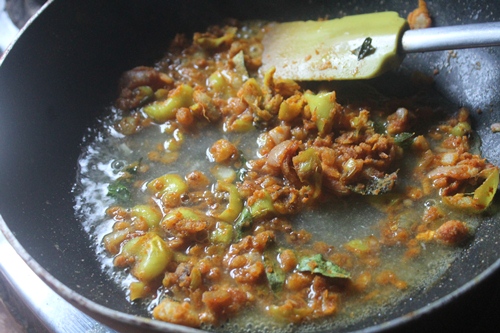
30)Add chicken
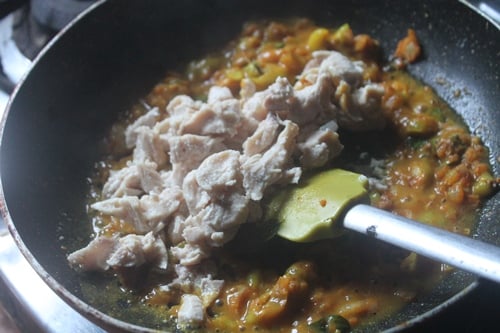
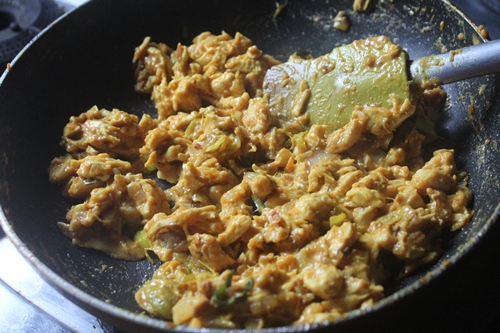
31)Mix well and cook till the mix is thickened.
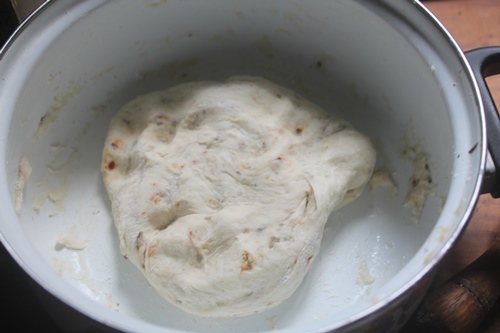
32)Once the dough is risen, punch out the air.

33)Knead well
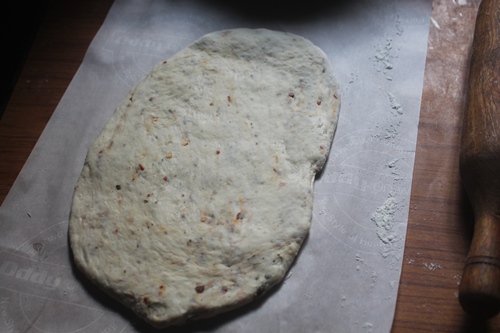
34)Place a portion of dough in a floured surface
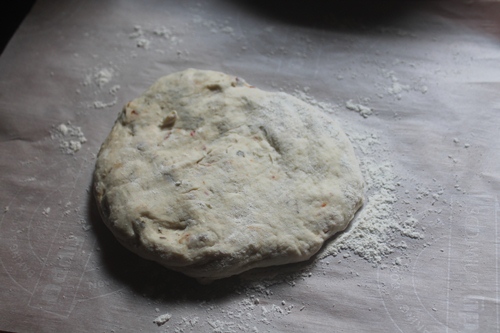
35)Spread it like a long sheet
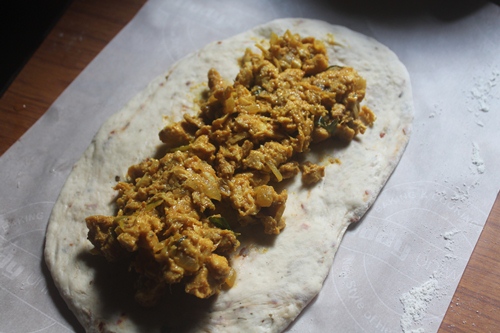
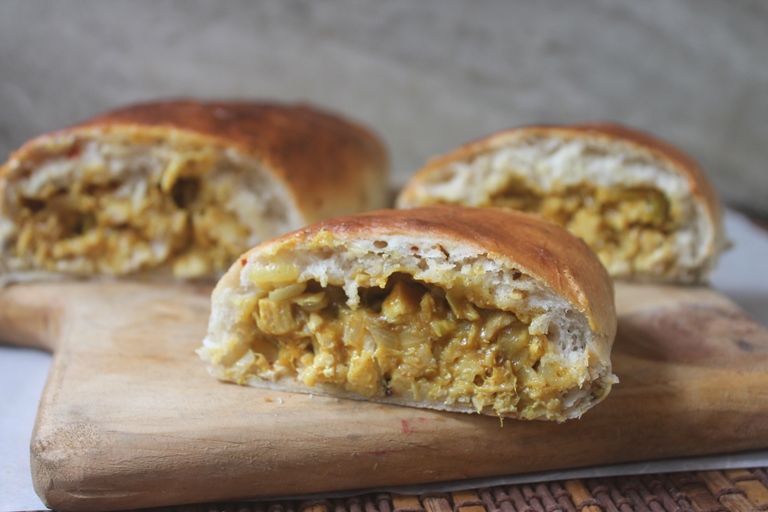
36)Spoon chicken filling inside
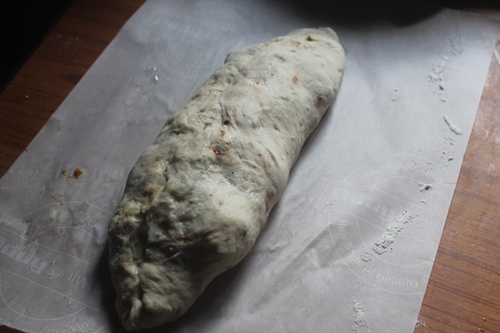
37)Seal it from the sides
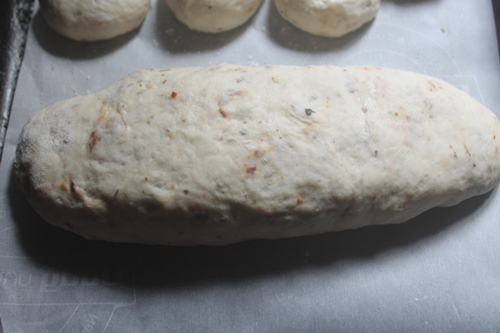
38)Place it on a parchment lined baking pan
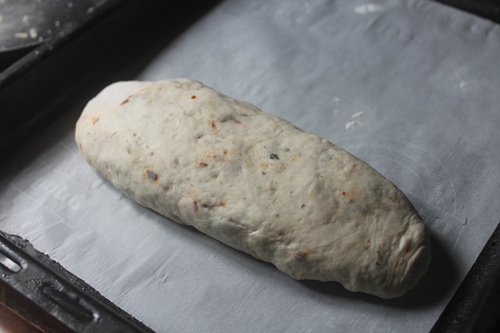
39)Leave to rise for 30 mins to 1 hour.
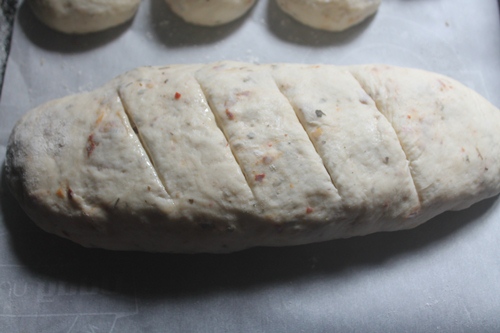
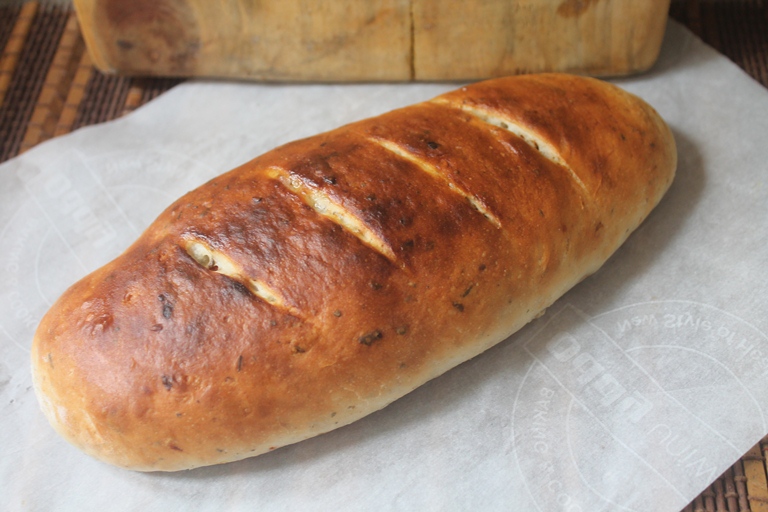
40)Make deep slashes on them
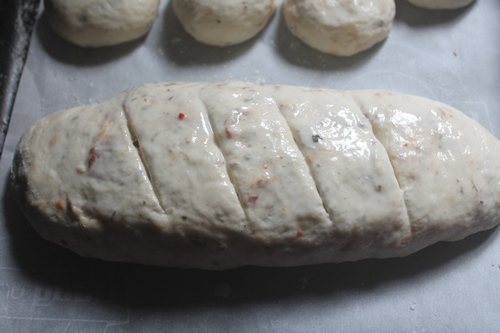
41)Brush top with some milk.
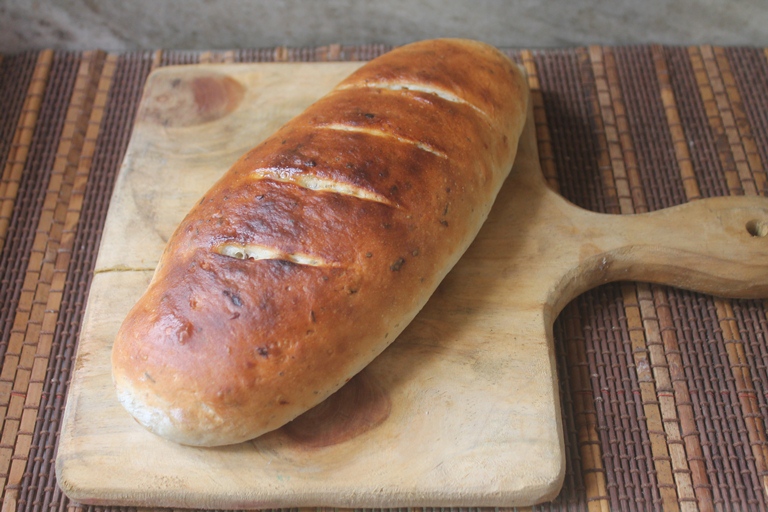
42)Bake till golden
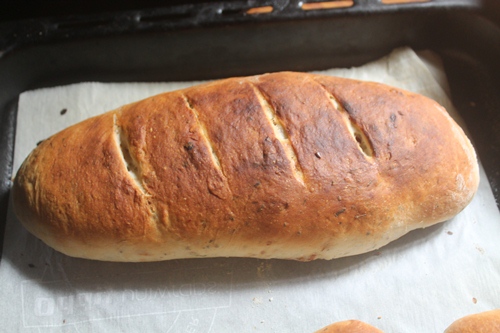
43)Brush top with some butter
44)Serve

Maria
Thanks for posting - I have been looking for years for this recipe! I just didn’t know it’s name. Do you know if this is good to make ahead and freeze and then reheat?
Sophia
Been making this recipe a few times now - an absolute hit!