
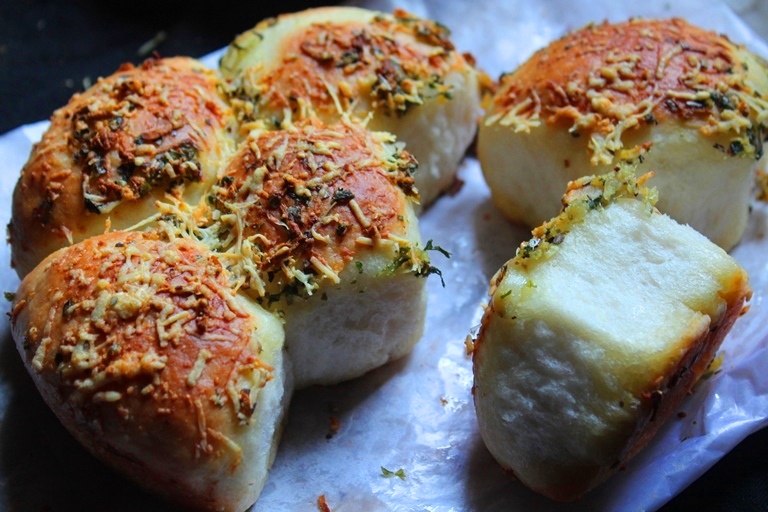
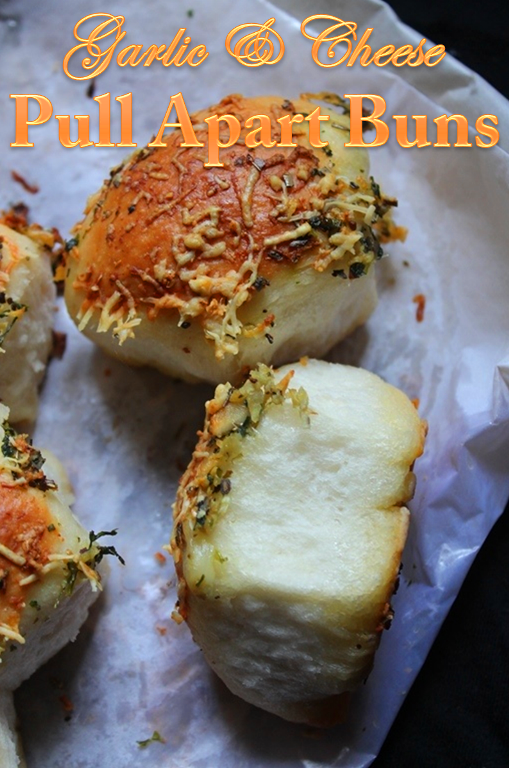
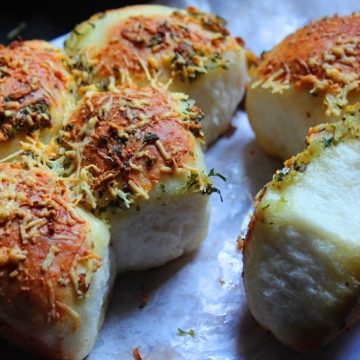
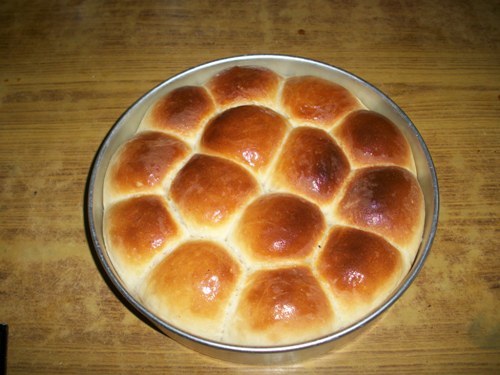
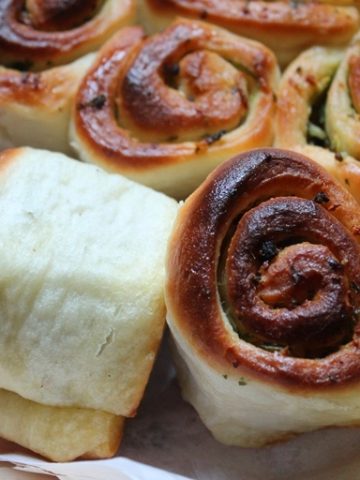
Garlic & Cheese Pull Apart Buns Recipe with step by step pictures. This recipe is is stuffed with cheese and coated in herb butter.
Garlic & Cheese Pull Apart Buns
This is my latest faourite, i love homemade buns specially when it has garlic in them it is mine. Stuff has garlic, butter, herb and cheese in them which is my ultimate favourite buns..
Similar Recipes,
Garlic Bread
Easy Garlic Bread
Garlic Cheese bread
Noodles Garlic
Garlic Pull Apart Rolls
Ingredients for Garlic & Cheese Pull Apart Buns
For Dough:
- All Purpose Flour / Maida - 3 cup
- Dry Yeast - 1 tblspn
- Salt - 1 tsp
- Sugar-2 tbsp
- Oil- 3 tbsp
- Warm Water - 1 cup or as needed
- For Garlic Cheese Stuffing :
- Unsalted Butter- 4 tbsp
- Garlic - 4 fat cloves grated
- Salt to taste
- Cheese - 2 cup grated (use any cheese)
For Garlic Herb Butter:
- Butter - 3 tbsp
- Coriander Leaves - 2 tablespoon finely chopped
- Garlic - 2 cloves grated
- Oregano - 1 tsp
- Cheese for Topping
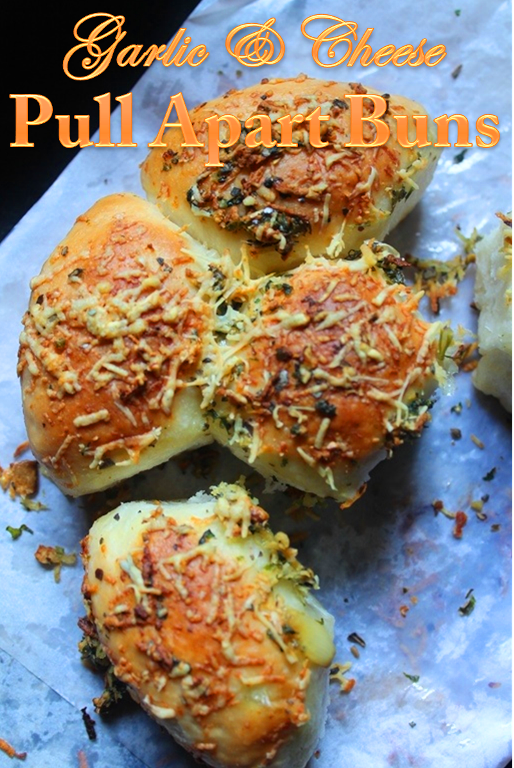
They are so buttery and so soft.. You can infact stuff them with anything and just brush the top alone with the herb butter, but i just want mine with two times garlic because i am a fan of it..
Hope you will give this a try and let me know how it turns out for you..
How to Make Garlic & Cheese Pull Apart Buns
- Mix yeast and sugar with warm water and set this aside for 5 mins.let it foam up.
- Take flour, salt, oil in a bowl and mix well.
- Pour yeast mix into the flour and mix well to a dough.
- Cover it with plastic wrap or damp cloth and set this aside for 1 hour till it is doubled in size.
- Mix all the ingredients for garlic spread together till it form a smooth paste.
- Take the dough out of the bowl and knead it for 5 min. Set aside.
- Mean while, mix all the ingredients for garlic cheese stuffing and set aside.
- Take all the ingredients given for garlic herb butter in a sauce pan except cheese and heat so everything is melted. Set aside.
- Now take the dough and divide it into equal portions.
- Take a ball, flatten it lightly, place the cheese stuffing in and cover it from all sides.
- Roll it into a smooth balls.
- Arrange this in a buttered baking pan leaving little space between each of them.
- Now cover it with a damp cloth and let it rise for 30 to 45 min.
- In the last 10 mins or rising, preheat oven to 200 degree C.
- Just before putting in oven, brush it with the garlic herb butter and sprinkle cheese over it.
- Now place this in the preheated oven and bake for 20 to 30 mins
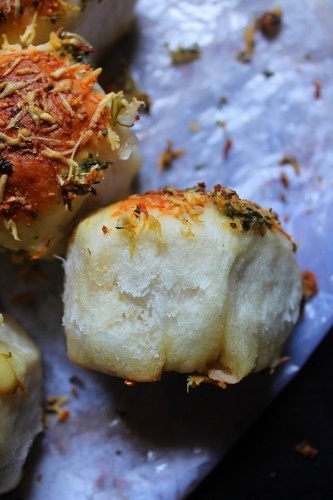
- Take it out and apply some butter over the top,so that it looks glossy and shiny.
- Serve hot or warm with a cup of tea.

If you have any questions not covered in this post and if you need help, leave me a comment or mail me @aarthi198689@gmail.com and I'll help as soon as I can.
Follow me on Instagram, Facebook,Pinterest ,Youtube and Twitter for more Yummy Tummy inspiration.
IF YOU MAKE THIS RECIPE OR ANYTHING FROM YUMMY TUMMY, MAKE SURE TO POST IT AND TAG ME SO I CAN SEE ALL OF YOUR CREATIONS!! #YUMMYTUMMYAARTHI AND @YUMMYTUMMYAARTHI ON INSTAGRAM!
📖 Get Recipe
Garlic & Cheese Pull Apart Buns Recipe
Ingredients
- For Dough:
- 3 cups All Purpose Flour / Maida
- 1 tablespoon Dry Yeast
- 1 teaspoon Salt
- 2 tablespoon Sugar
- 3 tablespoon Oil
- 1 cup or as needed Warm Water
- For Garlic Cheese Stuffing :
- 4 tablespoon Unsalted Butter
- 4 fat cloves grated Garlic
- Salt to taste
- 2 cup grated Cheese use any cheese
- For Garlic Herb Butter:
- 3 tablespoon Butter
- 2 tablespoon finely chopped Coriander Leaves
- 2 cloves grated Garlic
- 1 teaspoon Oregano
- Cheese for Topping
Instructions
- Mix yeast and sugar with warm water and set this aside for 5 mins.let it foam up.
- Take flour, salt, oil in a bowl and mix well.
- Pour yeast mix into the flour and mix well to a dough.
- Cover it with plastic wrap or damp cloth and set this aside for 1 hour till it is doubled in size.
- Mix all the ingredients for garlic spread together till it form a smooth paste.
- Take the dough out of the bowl and knead it for 5 min. Set aside.
- Mean while, mix all the ingredients for garlic cheese stuffing and set aside.
- Take all the ingredients given for garlic herb butter in a sauce pan except cheese and heat so everything is melted. Set aside.
- Now take the dough and divide it into equal portions.
- Take a ball, flatten it lightly, place the cheese stuffing in and cover it from all sides. Roll it into a smooth balls.
- Arrange this in a buttered baking pan leaving little space between each of them.
- Now cover it with a damp cloth and let it rise for 30 to 45 min.
- In the last 10 mins or rising, preheat oven to 200 degree C.
- Just before putting in oven, brush it with the garlic herb butter and sprinkle cheese over it.
- Now place this in the preheated oven and bake for 20 to 30 mins
- Take it out and apply some butter over the top,so that it looks glossy and shiny.
- Serve hot or warm with a cup of tea.
Notes
Nutrition
Tried this Recipe
Mention @yummytummyaarthi or tag #yummytummyaarthi!Garlic & Cheese Pull Apart Buns Recipe Step by Step
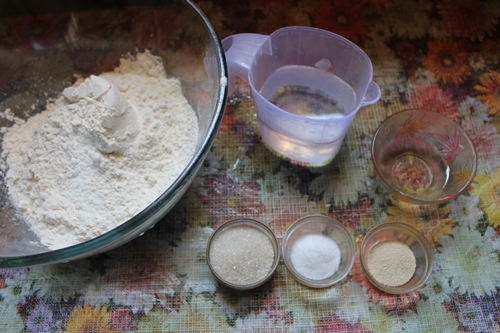 |
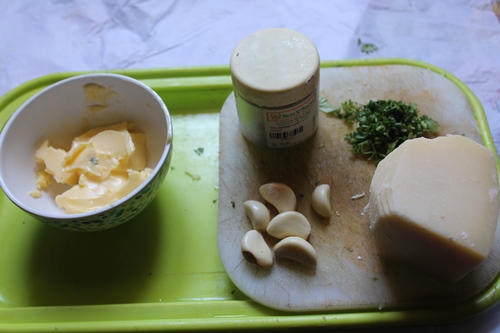
| Take all your ingredients |
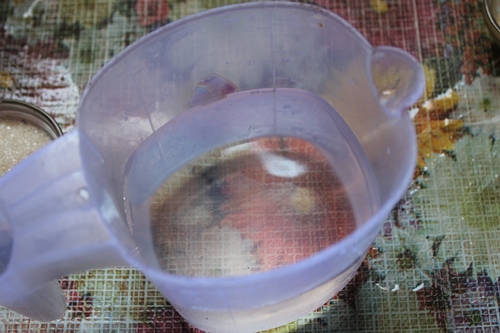 |
| Take warm water in a jug |
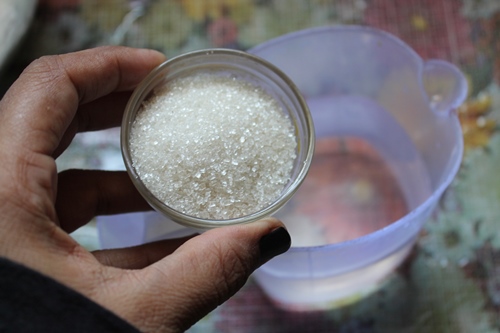 |
| Add in sugar |
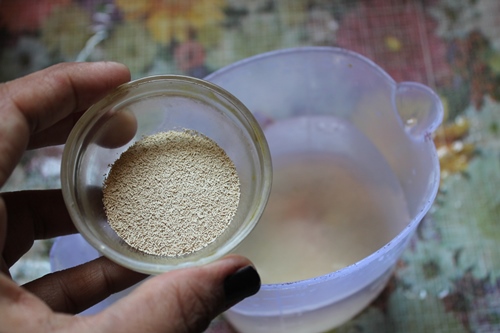 |
| sprinkle some yeast |
 |
 |
| mix well and leave it aside for 5 mins |
 |
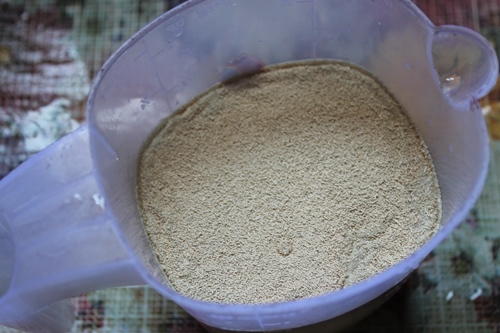
| Now yeast is activated |
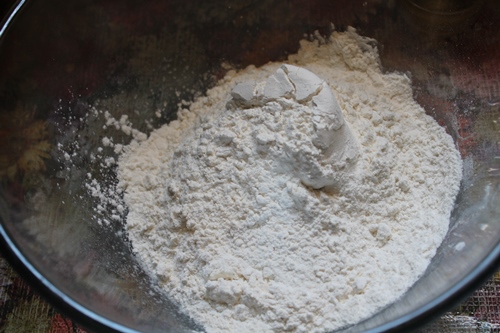 |
| Take flour in a bowl |
 |
| add in salt |
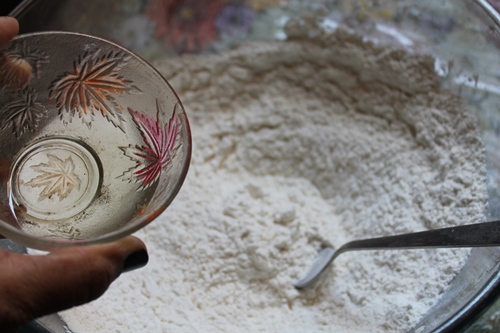 |
| add in olive oil |
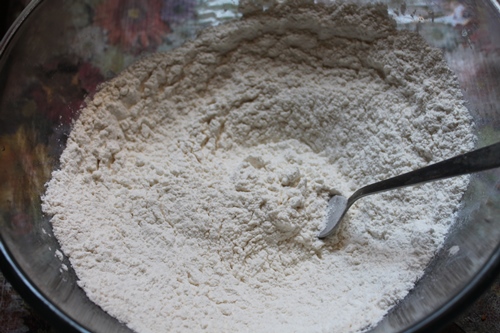 |
| mix well |
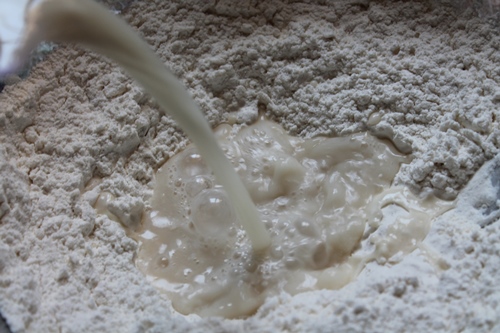 |
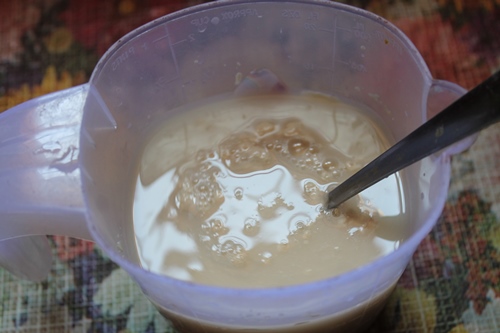
| pour the water |
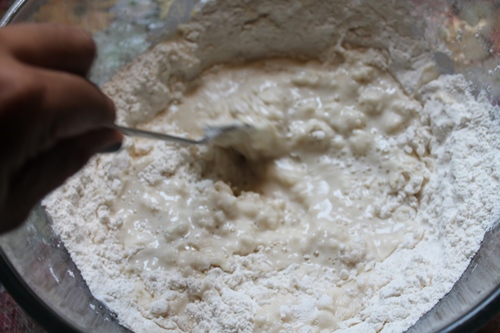 |
| use a fork to mix well |
 |
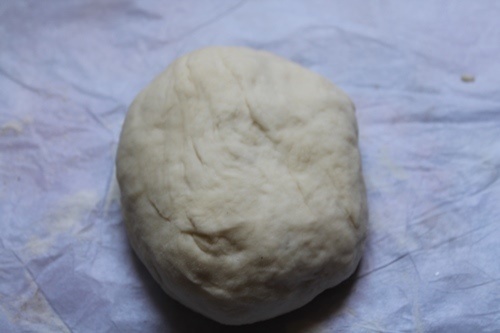
| Once it is combined |
 |
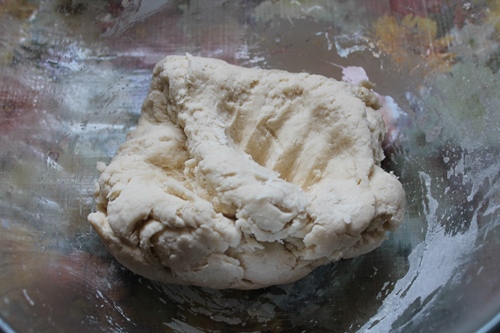
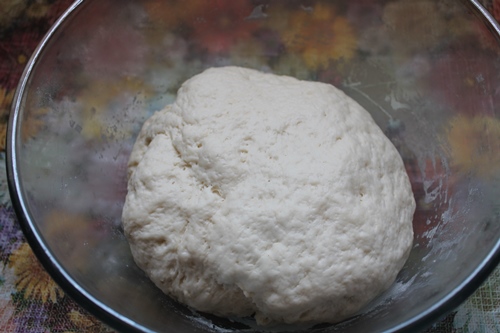
| knead well to a smooth dough |
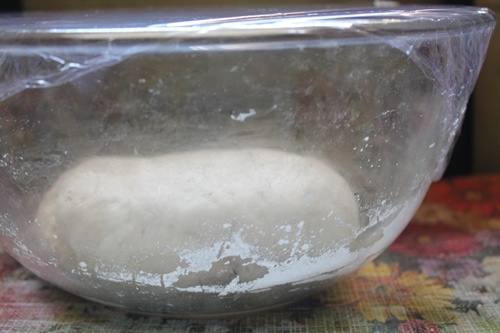 |
| cover with a plastic wrap and leave it to rest for 1 hour |
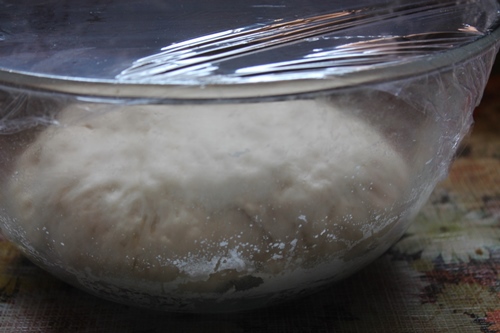 |
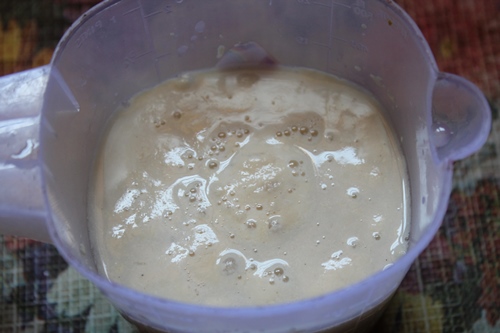
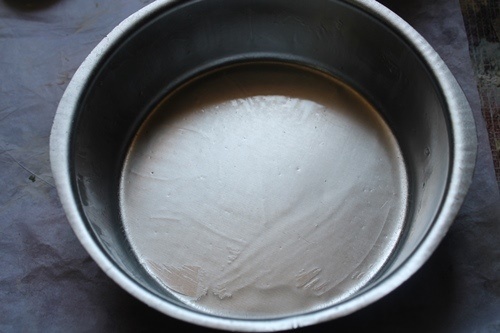
| now it is doubled in size |
 |
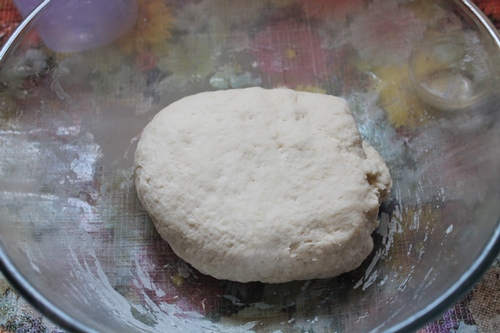
| dough done |
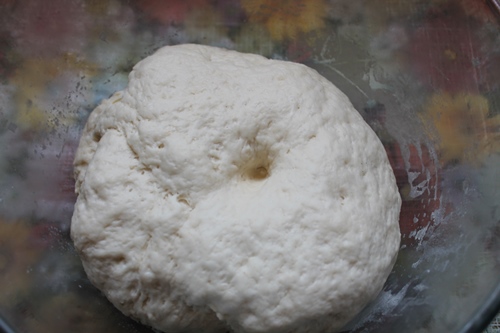 |
| Perfect dough
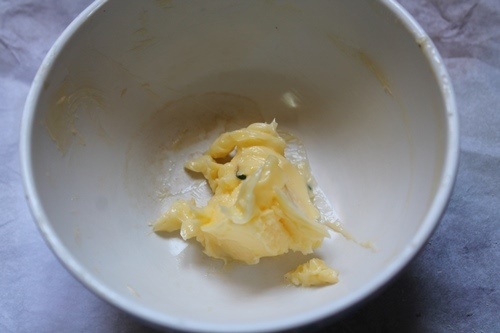 Now lets make the garlic cheese stuffing..
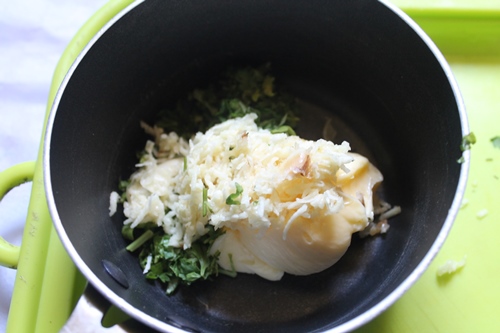
Take soft butter in a bowl 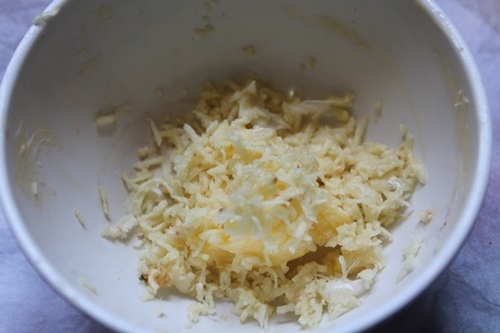 Add grated garlic to the butter
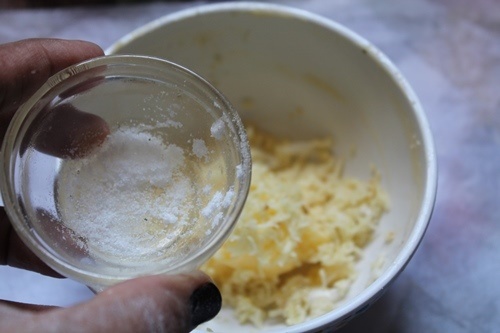 sprinkle little salt
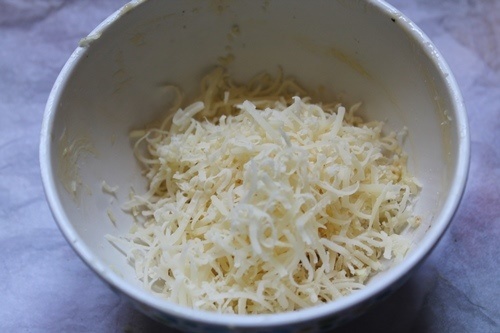 add in lots of grated cheese
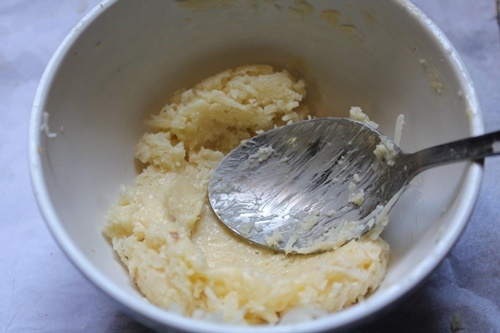 mix well
 Now lets make the herb butter..
 Take butter in a sauce pan
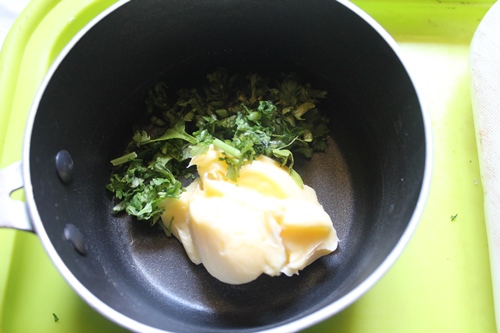 add in chopped coriander leaves
 add in some grated garlic
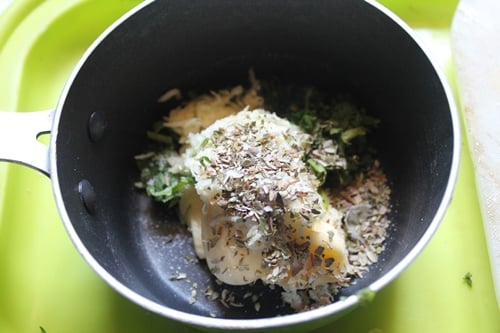 sprinkle over some oregano
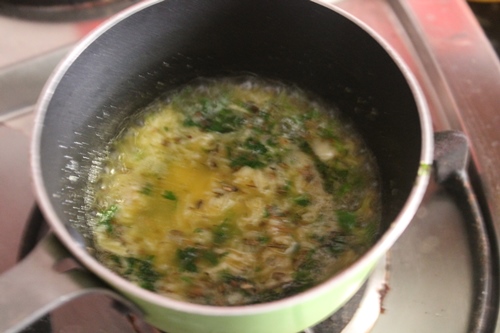 heat it little so the butter is just melted
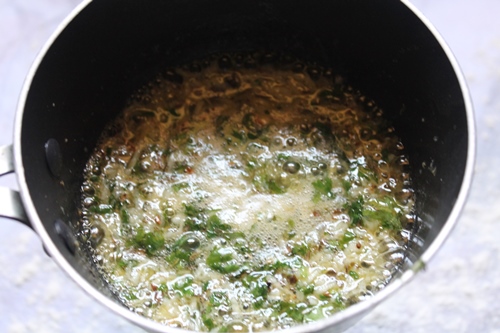 Garlic and herb butter done
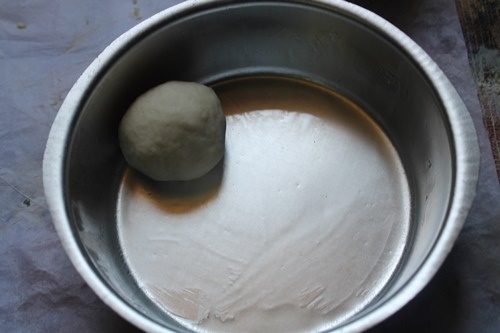
 Now take the dough out
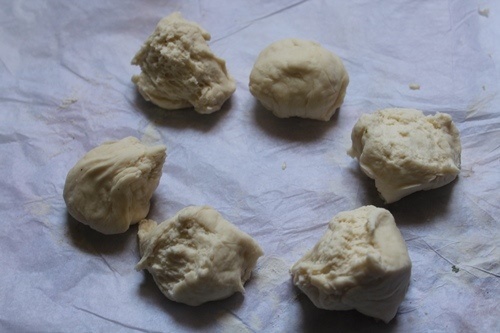 Divide it into equal balls
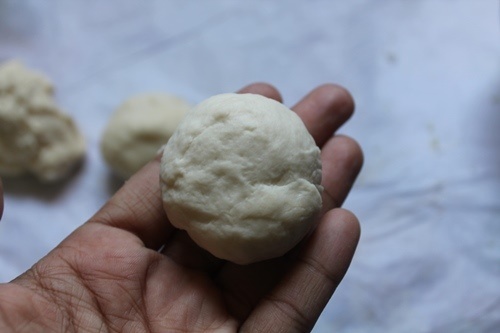 Take one ball out
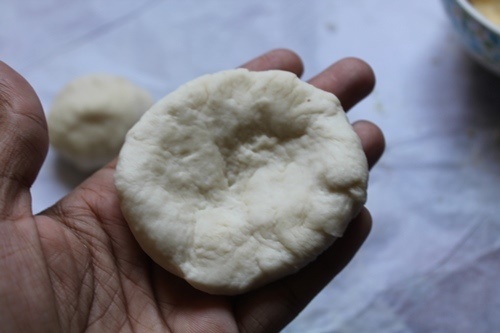 Flatten it lightly
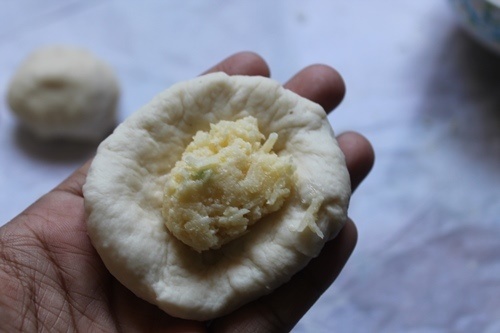 Spoon some of the cheese mix in
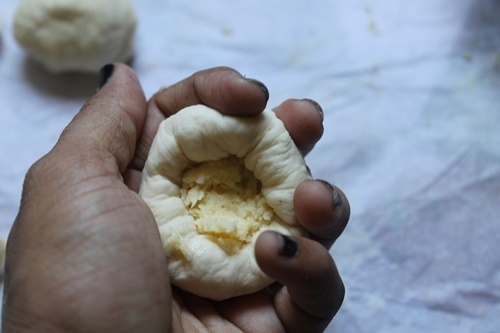 Cover it
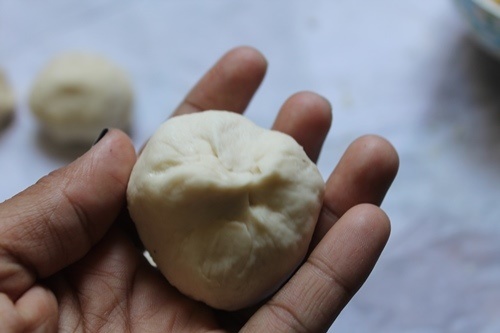 Seal the edges
 Now grease a tin with some oil
 Start arranging the buns
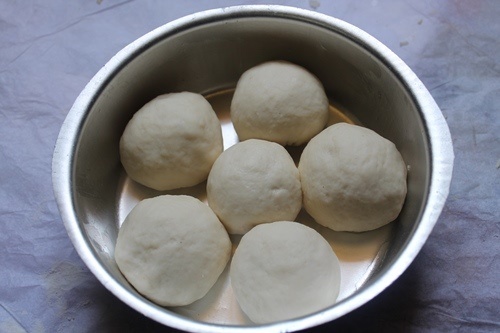 Once everything is done
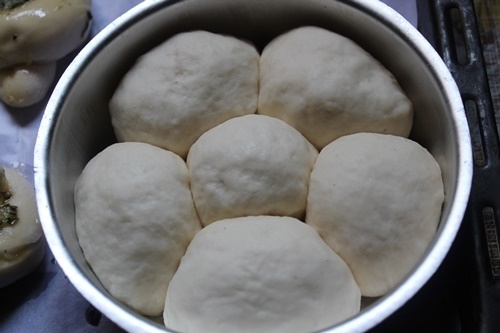 Leave the buns to rise for another 30 mins or so
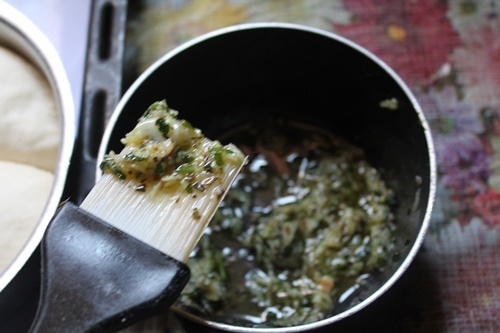 Take your herb butter
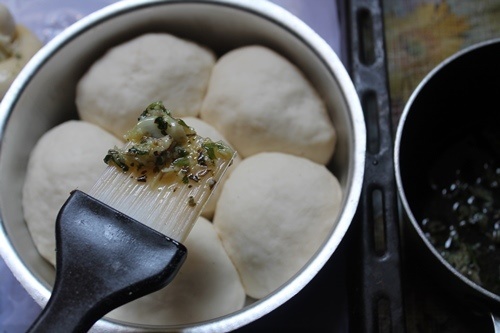 Brush it all over the buns
 All brushed
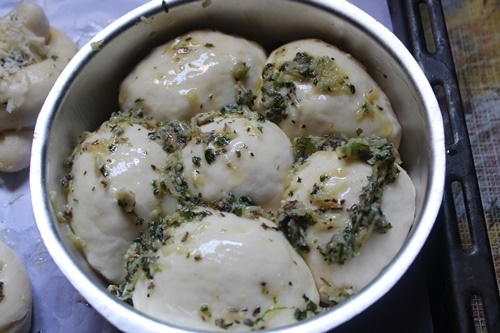
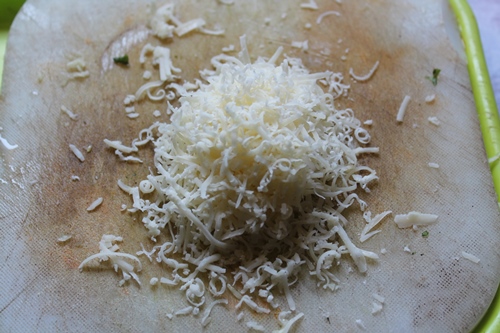 Now grate some cheese
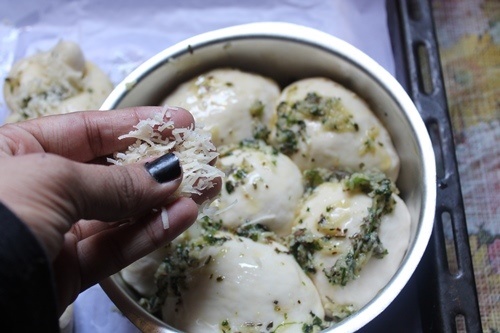 Sprinkle it all over the buns
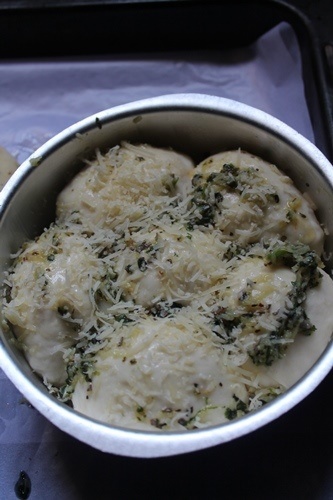 Time to bake
 All baked
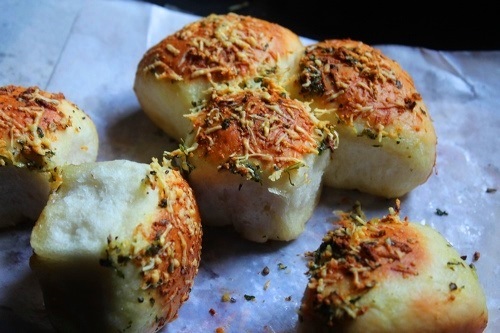 Enjoy
 |

Anonymous
Lovely step to step pictures. You are blessed with patience and talent. Love your blog.
nandini nagasuri
I tried a similar recipe without stuffing part. Came out very well. I am seeing this stuffing kind of pull apart bun for the first time. Will surely try.
Regards,
nandini
sutapa Purkayastha
When I make bun it cooks well but lower portion remain soft and not get proper brown color on top . Please suggest how can I get proper bun texture and brown color ?
Anonymous
Wow!
Aarthi
@sutapa PurkayasthaBake with both the heating element on, and if u want colour, after it finish baking, just grill the buns for a min so it gets colour on top
sutapa Purkayastha
Thanks.
sutapa Purkayastha
How to store yeast ?
Aarthi
@sutapa Purkayasthakeep it in a air tight container in freezer
anieta
Can we make it with readymade bread 🍞?
Aarthi
@anietanot this one, u can check out my garlic bread
kishin
hi aarthi can i bake this bread in cooker?
Aarthi
@kishinyes u can bake
Anonymous
I don't have olive oil, can you say a substitute for olive oil? Thanks.
Aarthi
@Anonymoususe any cooking oil
Yamini Kaur
Love your blog and you are such a prolific cook. You have a new post out before I can even try your earlier one. Love your step-by-step pictures.
can you please tell me which dry active yeast do you use ? I don't have a great experience with Eagle brand.
Thanks a lot for your help.
Anonymous
quantity of yeast if we r using instant yest?
Anonymous
Using this qty will we get coreect 20 buns?
Aarthi
@Anonymousu will get, but it may vary little depending on the size of the buns
Aarthi
@Anonymoussame quantity
Aarthi
@Yamini Kauri use a brand which my super market sells.Its their own brand
Anonymous
I am new in baking so,can u pls tell where to place the banking pan, in middle rack of oven ?
Aarthi
@Anonymousit has to be baked in middle rack
Anonymous
How much is three cups in weight?
Aarthi
@Anonymous1 cup of flour weighs 120 grams
Aarti
Hi.. Aarthi.. how long can I store these buns?
Even I bake buns.. but it is fresh and soft when it's hot.. after a day it becomes soggy and rubbery.. why does it happen?
Aarthi
Next day you can pop it back in the oven for few mins so it can get fresh again.