
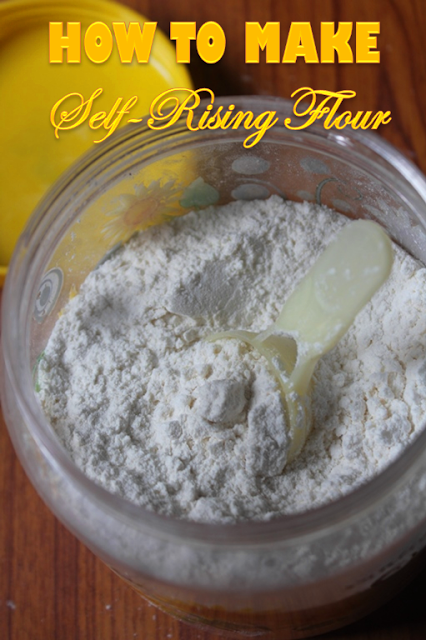
Self-rising flour contains an agent, such as baking powder, which makes baked goods expand and rise when cooked. You can easily make it at home but putting together few ingredients in a container. Learn how to make homemade self rising flour with stepwise pictures.
Homemade Self rising flour
This is nothing but normal flour which already has rising agent added into it. Certain recipes calls for this. If you don't have this at home, it is just easy to put together. I have been using this for years and it has worked perfectly well.
Jump to:
What is Self-Raising Flour?
A type of flour that contains an agent, such as baking powder, which makes baked goods expand and rise when cooked.
This is "white" wheat flour that is sold premixed with chemical leavening agents. It was invented by Henry Jones.
Ingredients
Making Self rising flour at home is easy. You just need three ingredients. Mix it all together and you are done.
- All Purpose Flour
- Baking Powder
- Salt
Similar Post
How to Make Self Rising Flour (Stepwise Pictures)
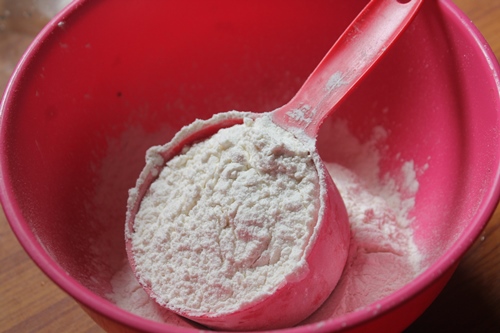 |
| take flour in a bowl |
 |
| add baking powder |
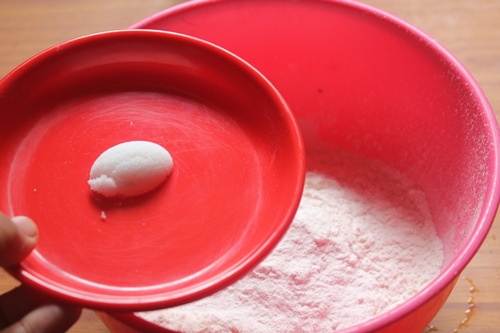 |
| add salt |
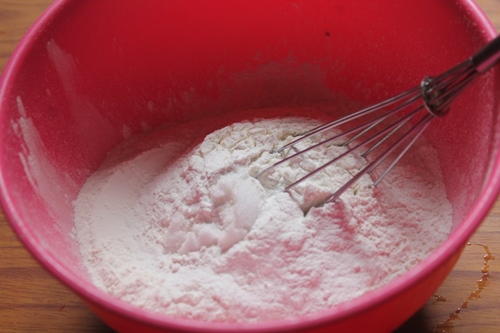 |
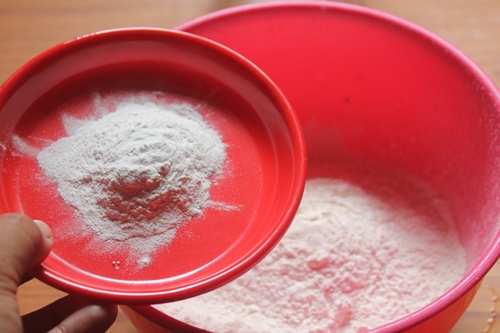
| use a whisk to mix well..you can sieve it together |
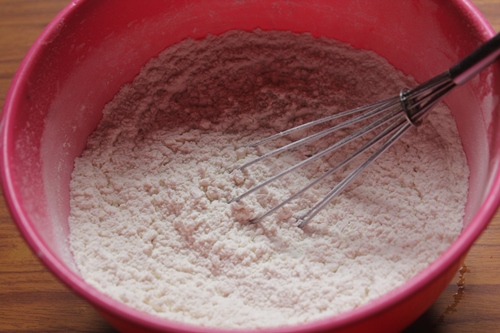 |
| now it is well mixed |
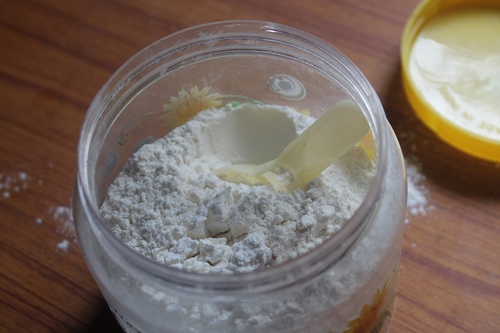 |
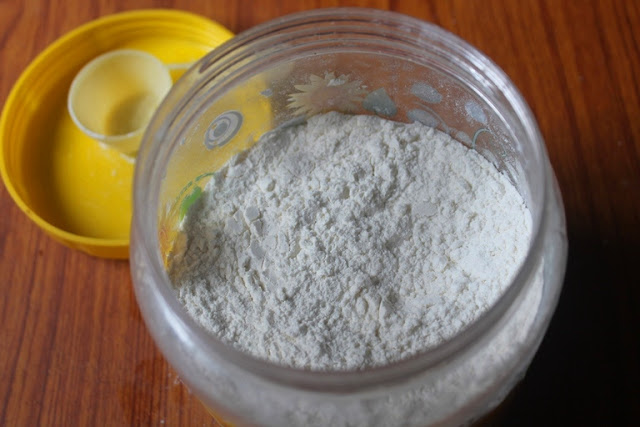
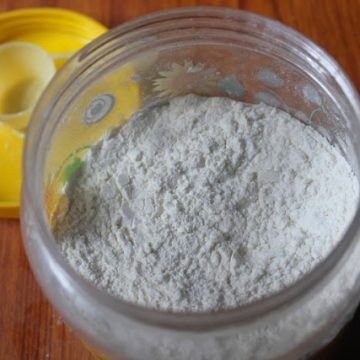
| store in an airtight container |
Expert Tips
- You have to mix this really well to evenly distribute the baking powder.
- You can sieve it multiple times to incorporate the baking powder.
- This can be used in place of recipes that uses self rising flour.
- You should use this within a month, so the baking powder doesn't deactivate.
FAQ
1) What is the difference between self-rising flour and all-purpose flour?
It has an addition of raising agent like baking powder added into it. Addition of baking powder will make the cake rise without extra baking powder.
2) How can I substitute self-rising flour?
You can substitute 1 cup of this flour with 1 cup plain flour, 1.5 teaspoon baking powder, ¼ teaspoon salt.
3) How do you make this flour?
Mix 1 cup plain flour, 1.5 teaspoon baking powder, ¼ teaspoon salt.
4) Is self-raising flour and self-rising flour the same?
Yes both are same.
📖 Get Recipe
Self-Rising Flour | How to Make Self-Rising Flour at Home
Equipment
Ingredients
- 2 cups All Purpose Flour
- 3 teaspoon Baking Powder
- ½ teaspoon Salt
Instructions
- Take all ingredients in a bowl and give a good mix using a whisk. You can use a sieve to sift it together.
- Store it in an airtight container in a dark place.
Notes
- You have to mix this really well to evenly distribute the baking powder.
- You can sieve it multiple times to incorporate the baking powder.
- This can be used in place of recipes that uses self rising flour.
- You should use this within a month, so the baking powder doesn't deactivate.
Nutrition
Tried this Recipe
Mention @yummytummyaarthi or tag #yummytummyaarthi!If you have any questions not covered in this post and if you need help, leave me a comment or mail me @aarthi198689@gmail.com and I'll help as soon as I can.
Follow me on Instagram, Facebook,Pinterest ,Youtube for more Yummy Tummy inspiration.
IF YOU MAKE THIS RECIPE OR ANYTHING FROM YUMMY TUMMY, MAKE SURE TO POST IT AND TAG ME SO I CAN SEE ALL OF YOUR CREATIONS!! #YUMMYTUMMYAARTHI AND @YUMMYTUMMYAARTHI ON INSTAGRAM!


Tejaswini Chilakwad
Hi thanks aarati for sharing.how long can we store this flour?
Tejaswini Chilakwad
Hi aarati how long can we keep this flour? Thanks for sharing .i have tried u r all recipes..my family loved it..
Aarthi
you can store this for 2 to 3 months in a dark place.