
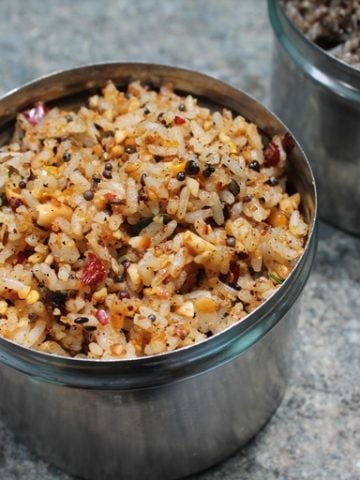
Nei Choru Recipe with Step by Step Pictures. Ney Choru Recipe just as simple like my jeera rice is made with rice, whole spices, herbs, fried onions, cashews and raisins. This taste amazing with any chicken curries.
Nei Choru Recipe
Sometimes the simplest dish is what makes us drool. This nei choru recipe is one such recipe. All you need is some whole spices, rice and boom you have the most aromatic Keralan rice dish ever. I have already shared a ghee rice recipe in which I have posted two versions of making ghee rice, a wedding style ghee rice and ghee rice made with seeraga samba rice.
About Nei Choru Recipe
Nei choru is one of the simplest flavourful rice dish you could ever make. Nei means ghee and choru means rice, hence the name nei choru. Whole spices like cinnamon, cardamom, cloves, fennel, cumin and sizzled in ghee. Onions are used in this ghee rice as topping as well as with the rice. Basmati rice is added which gives the fragrance to the dish.
I would say the final garnish of ghee fried onions, cashews and sultanas makes this ghee rice flavourful and tasty.
Similar Recipes,

Ingredients for Nei Choru
- Ghee
- Whole spices
- Onion
- Green Chillies
- Ginger Garlic Paste
- Basmati Rice
- Coriander leaves & Mint Leaves
- Cashews
- Sultanas
How to Make Nei Choru | Ney Choru
Pre Preparation of Rice
Rinse Basmati rice 2 to 3 times in water. Soak rice in water for at least 30 mins.
Making Nei Choru
Heat 2 tablespoon ghee in a pressure cooker. You can use a casserole to make this ghee rice too. In goes whole spices and let them sizzle. Add in sliced onions and fry till golden brown. Add in green chillies and ginger garlic paste. Sauté this for 1 mins. Add in the soaked basmati rice along with water and salt. Mix well. Add coriander leaves and mint leaves. Bring everything to a boil. Cover and pressure cook for 1 whistle, simmer for 1 min. Turn off the flame and let the pressure release by itself.
Garnish for Nei Choru
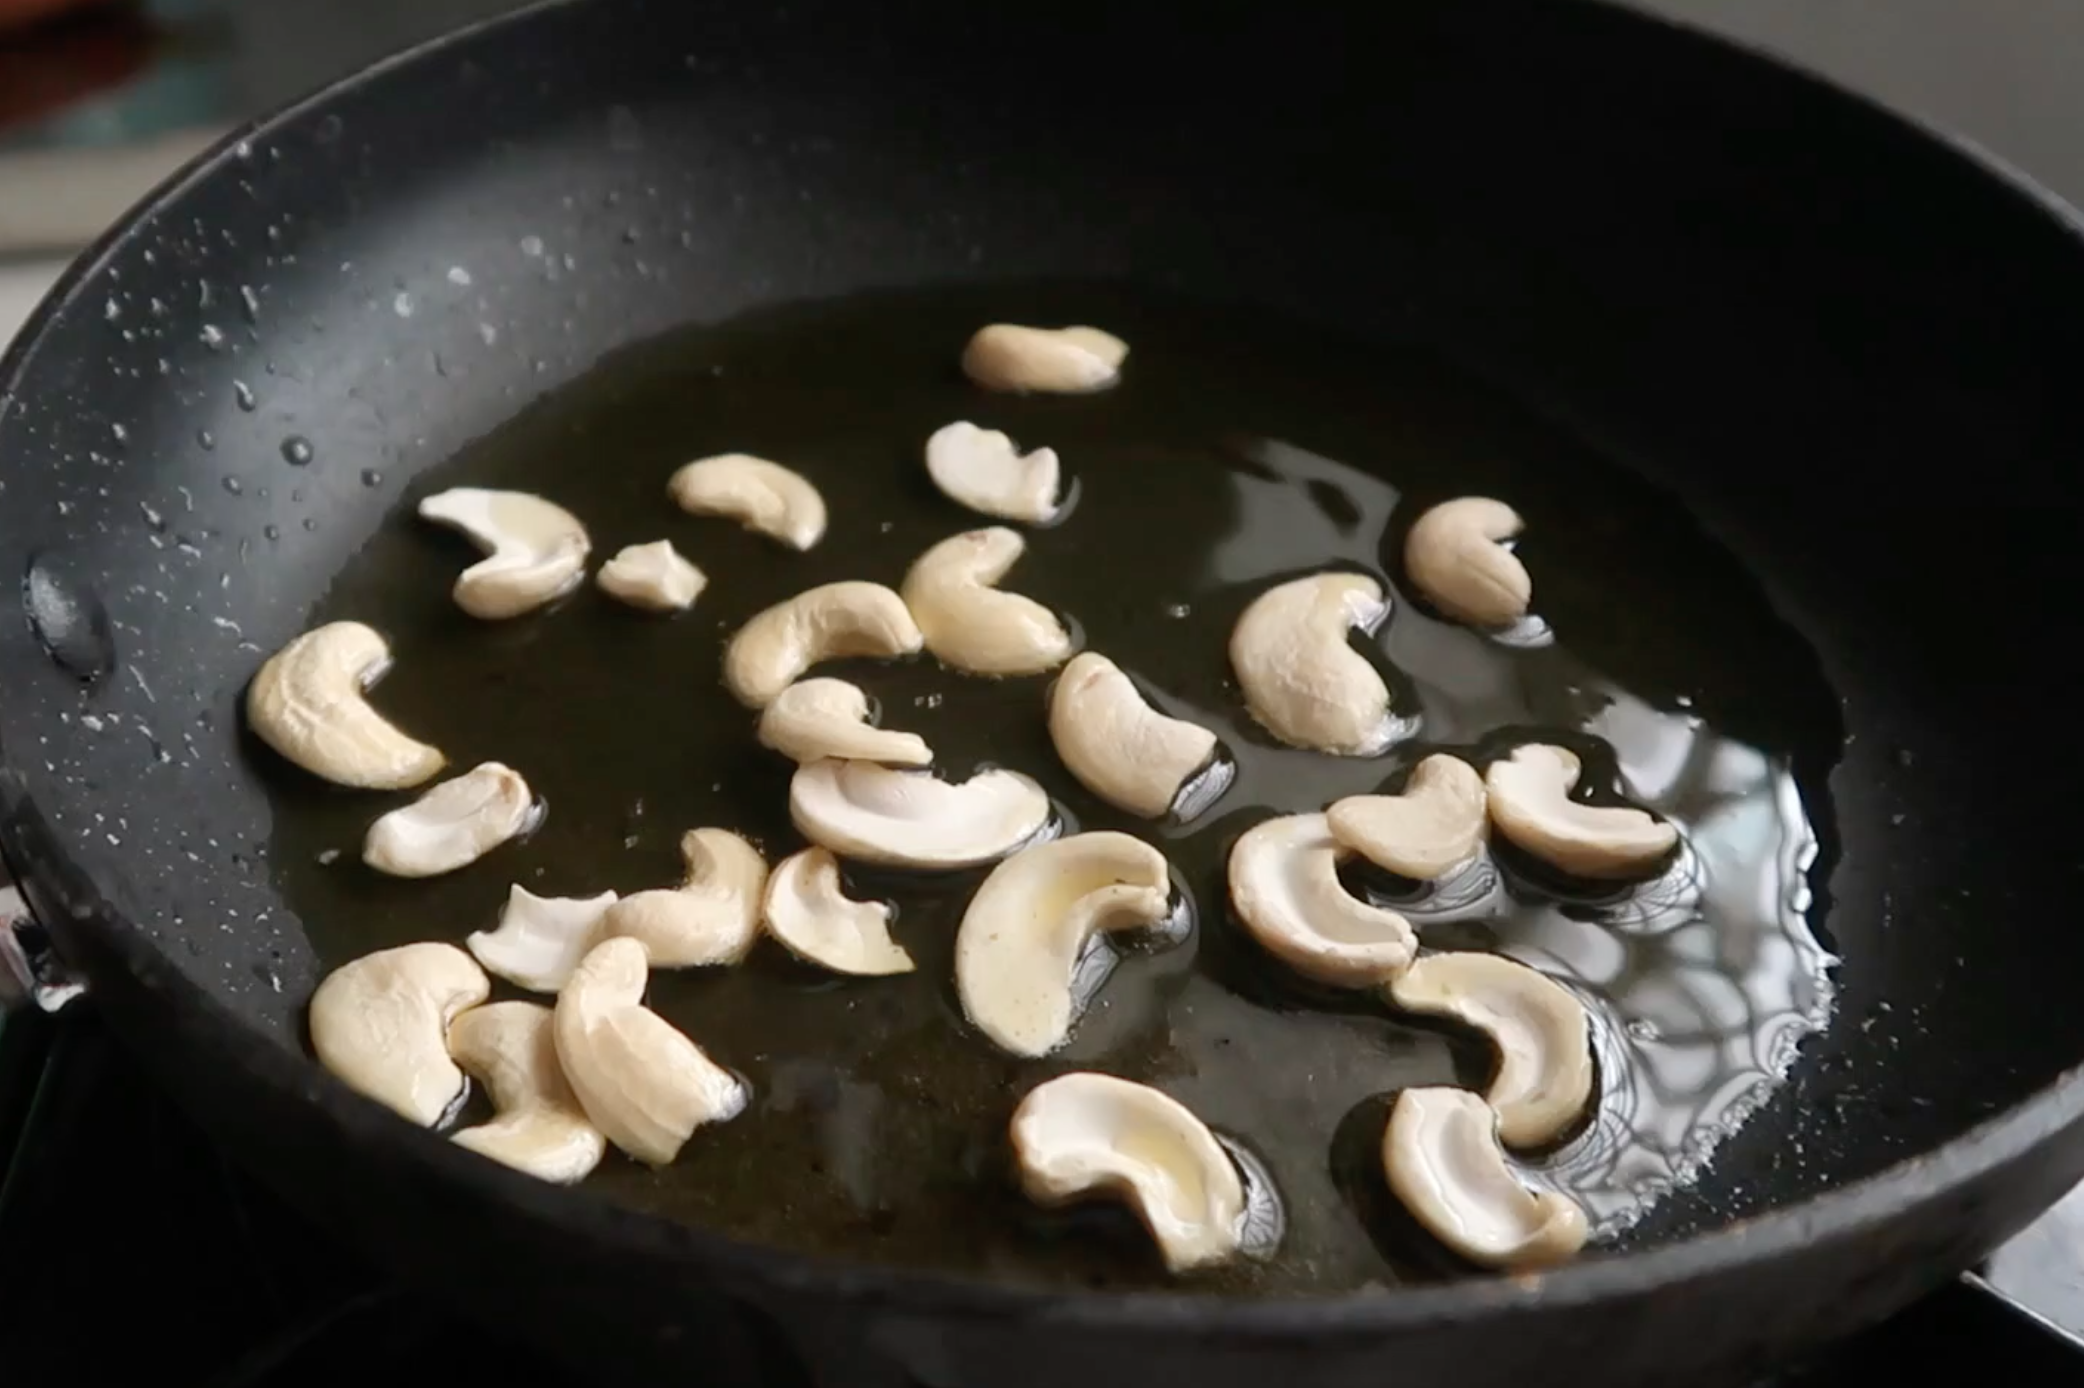
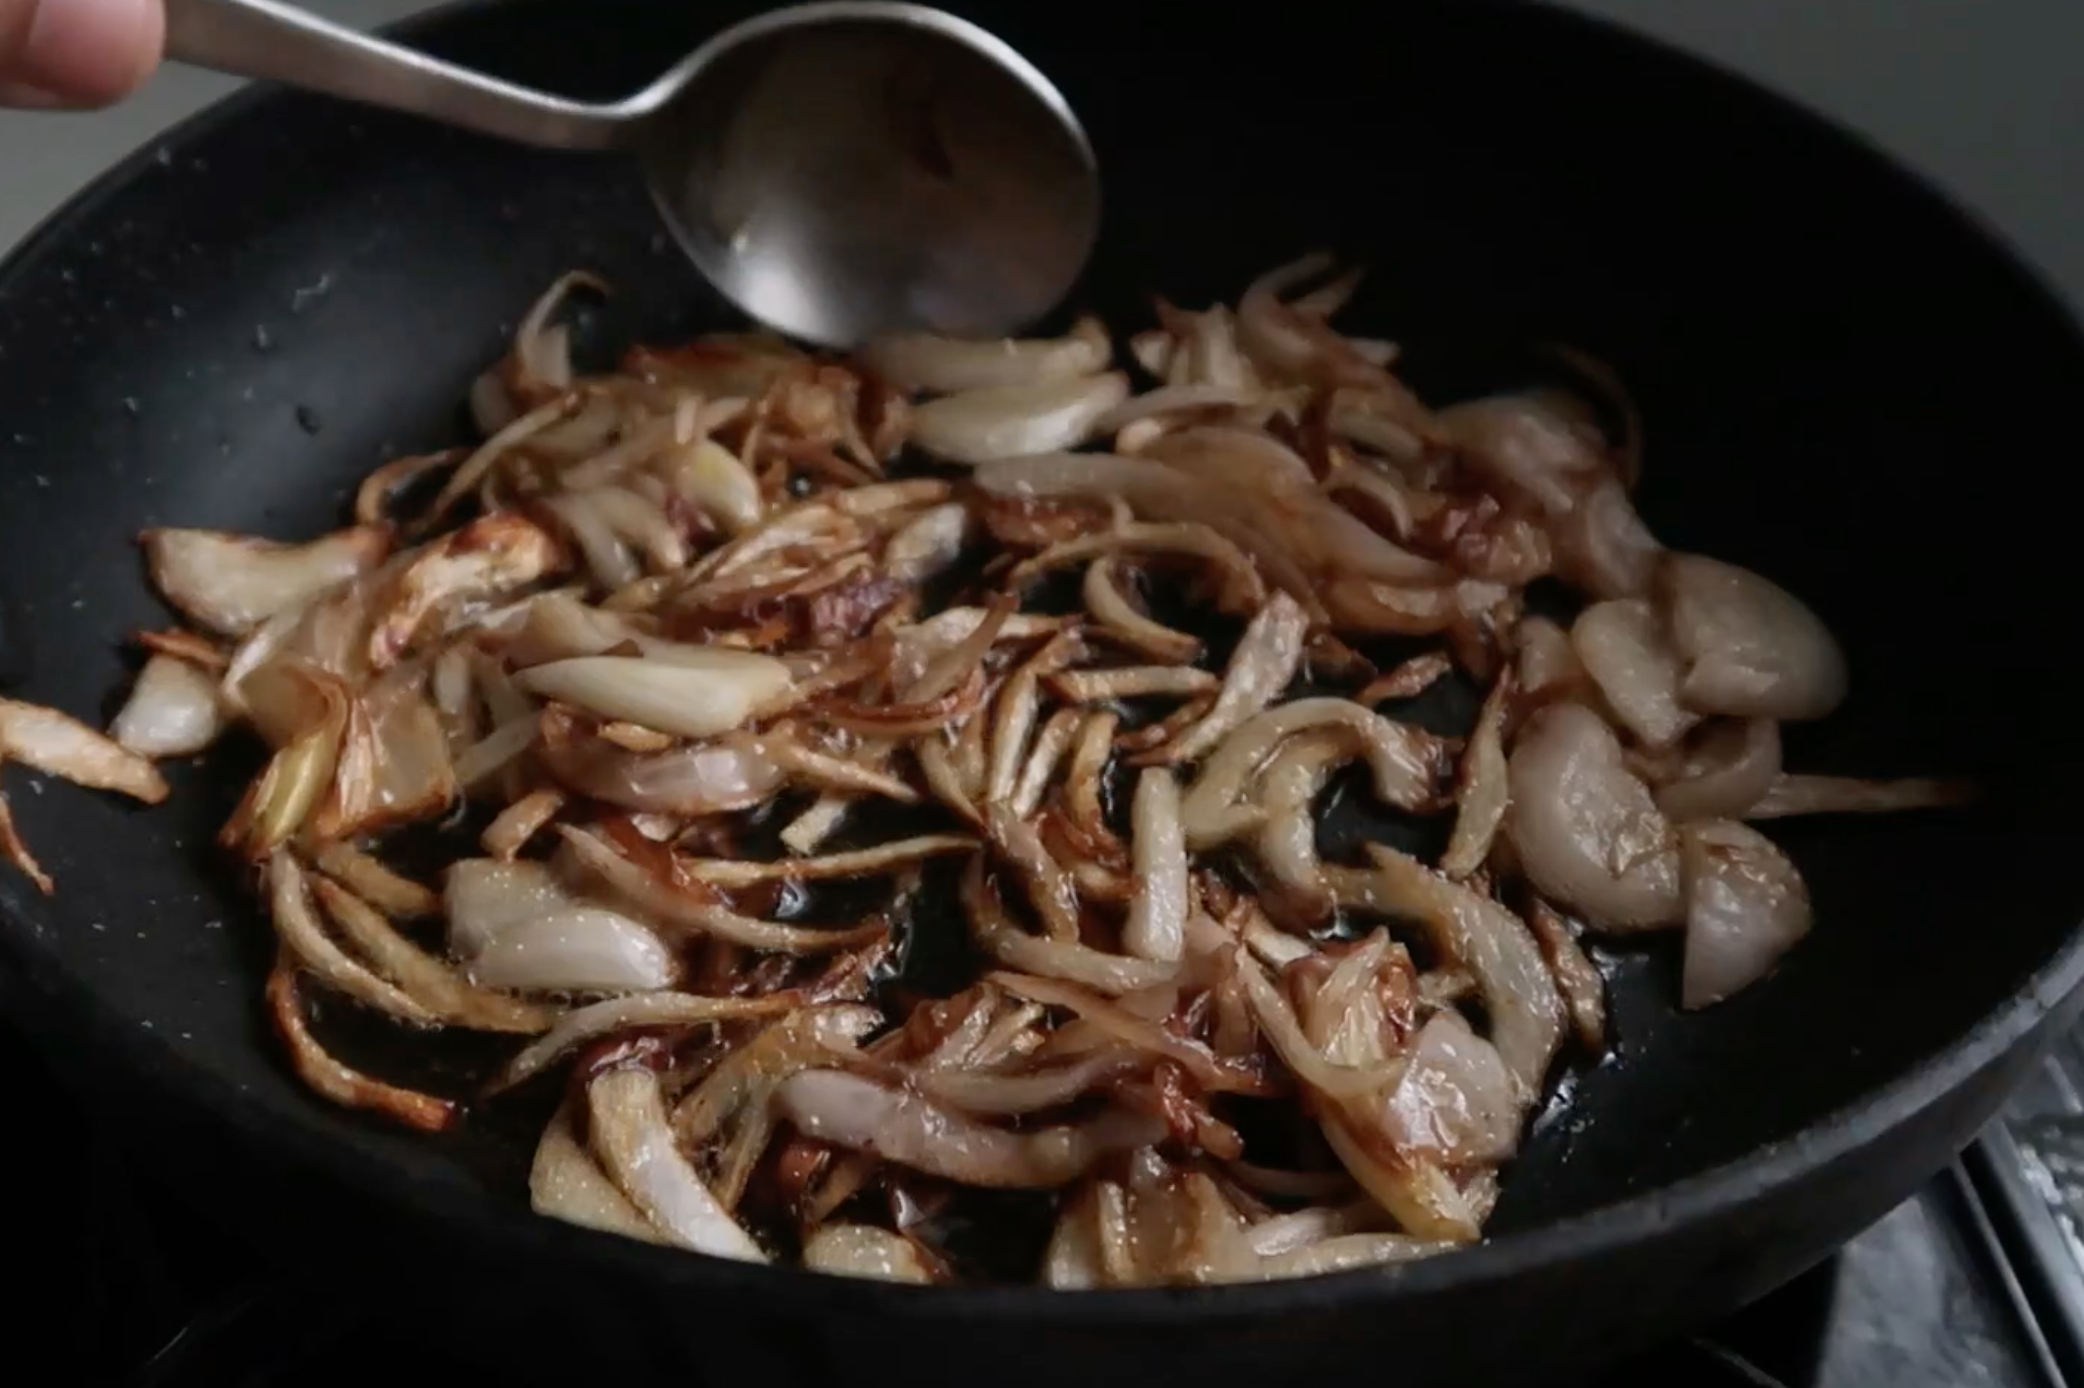
Meanwhile make the garnish. Heat ghee in a pan. Add in cashews fry till golden brown. Remove to a plate. Add in kishmish and fry till golden. Remove this to a plate. In the same ghee fry onions till golden brown. Drain and set aside.
Serving
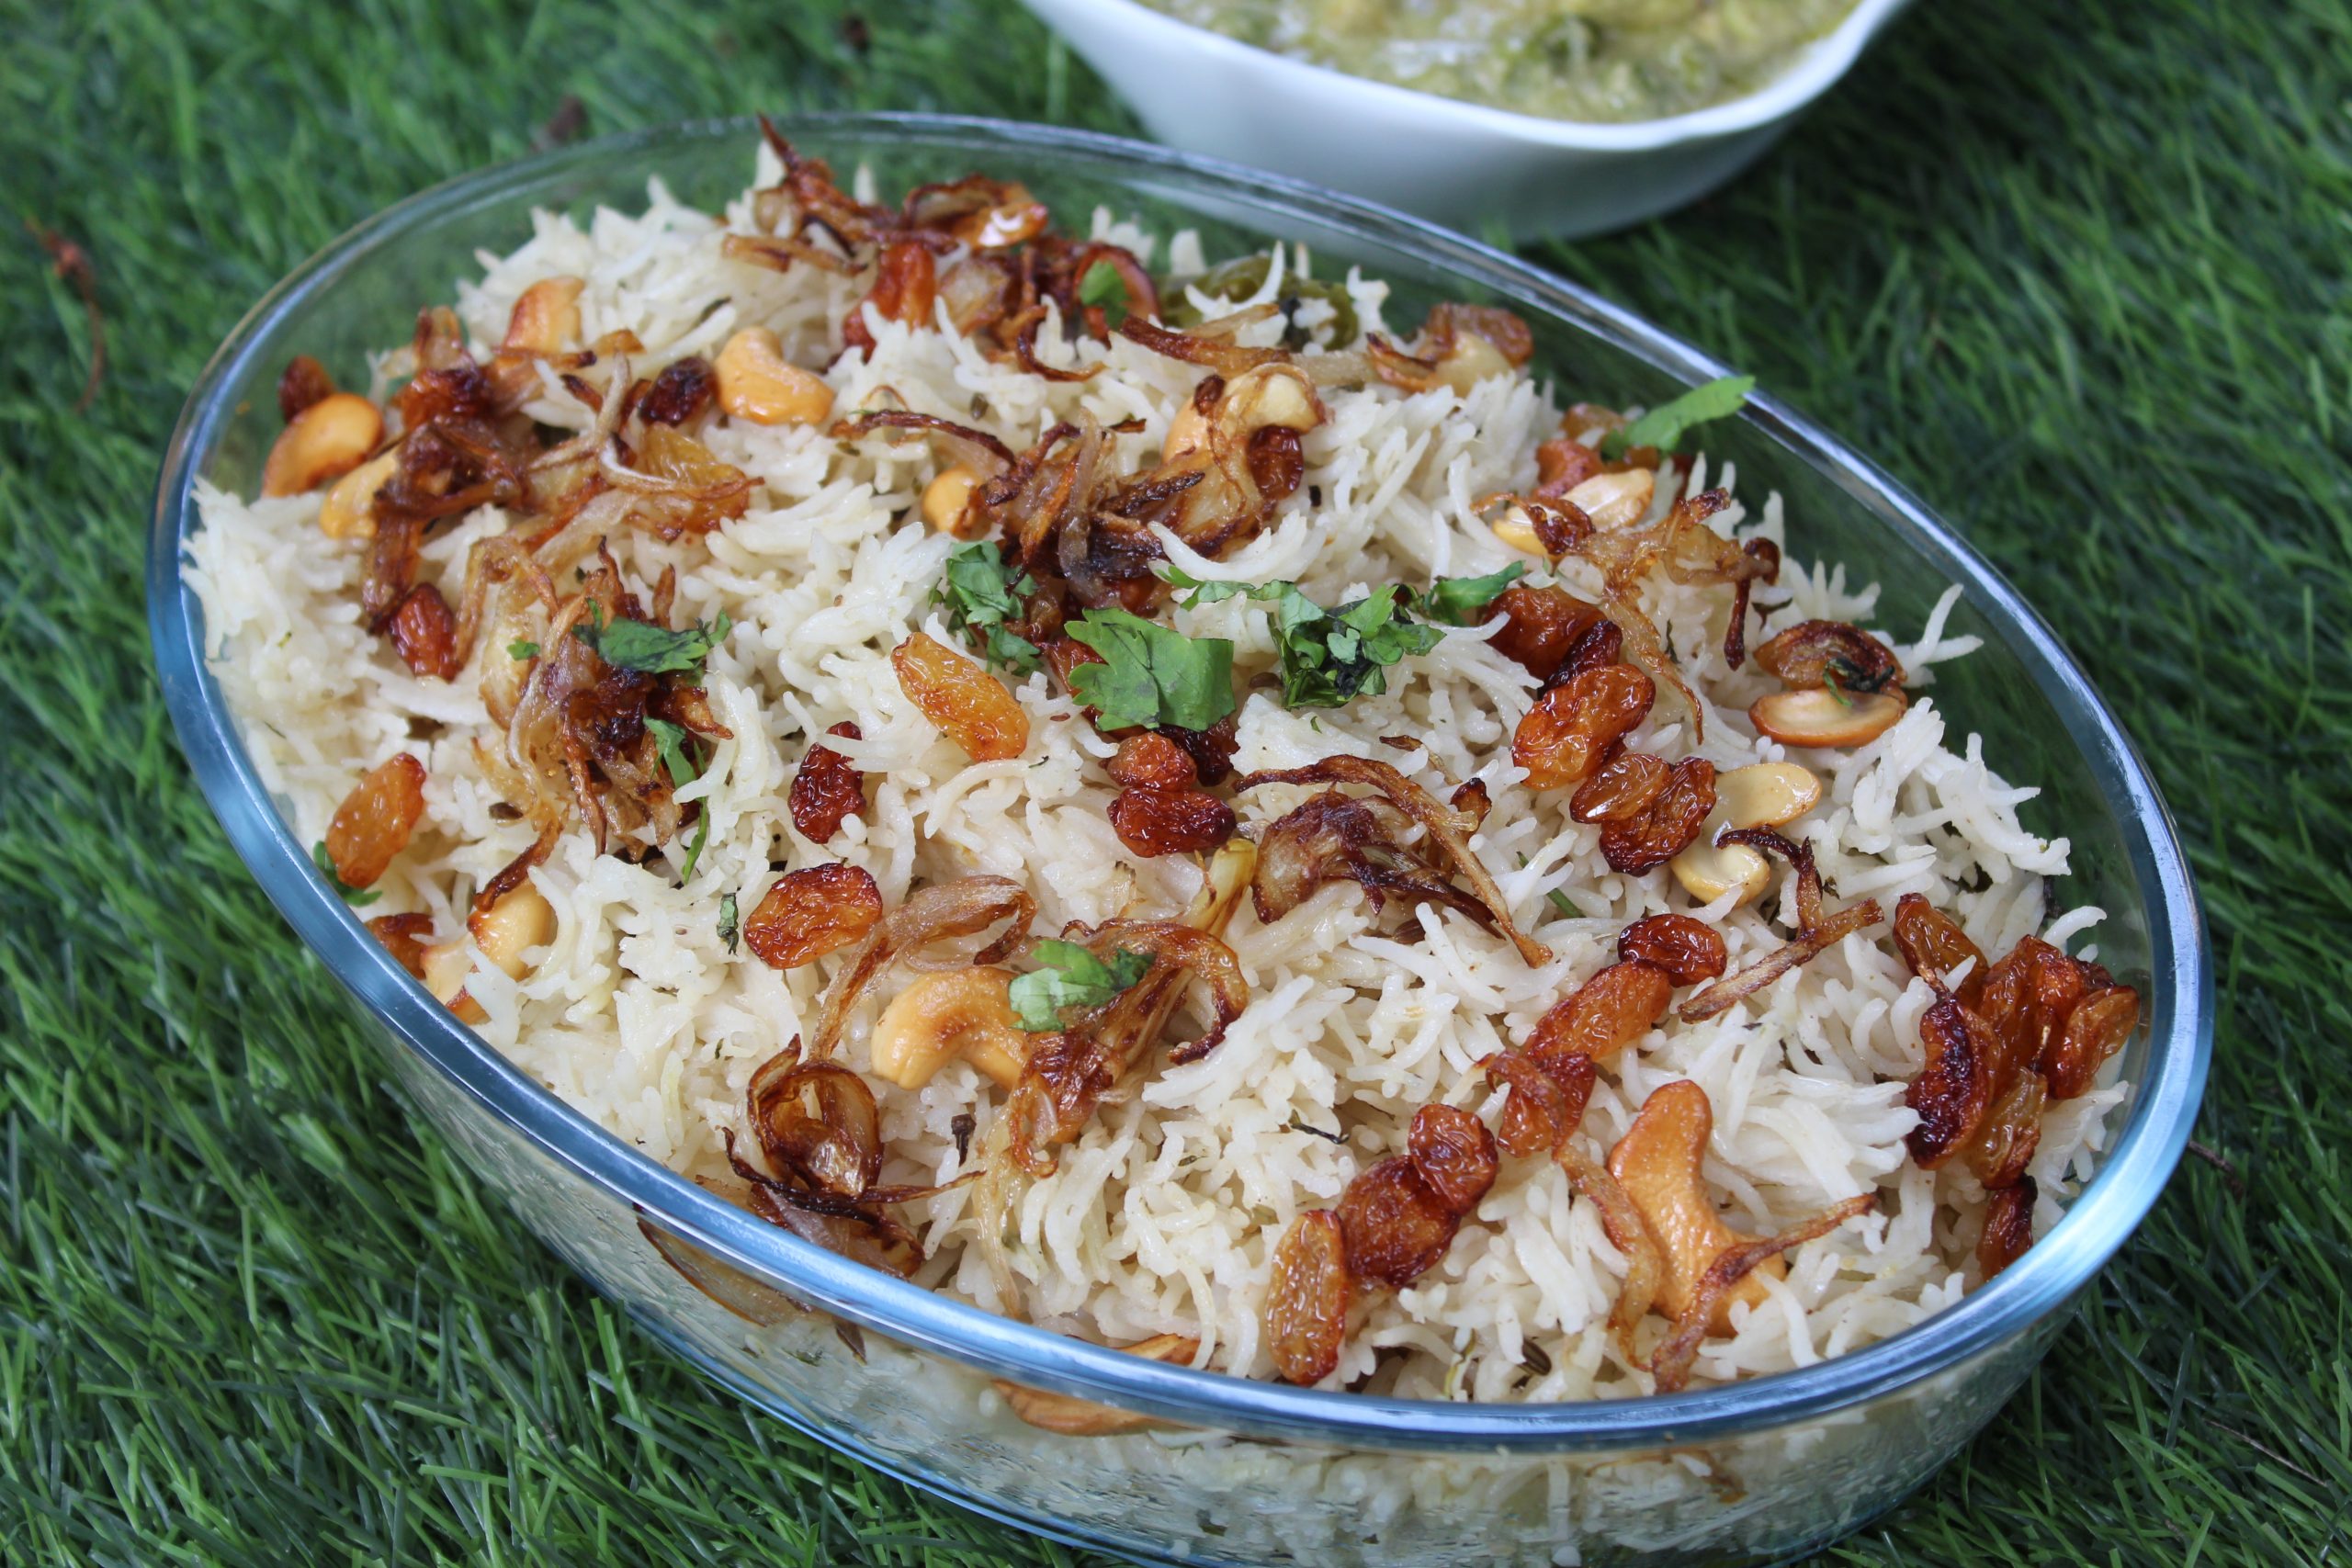
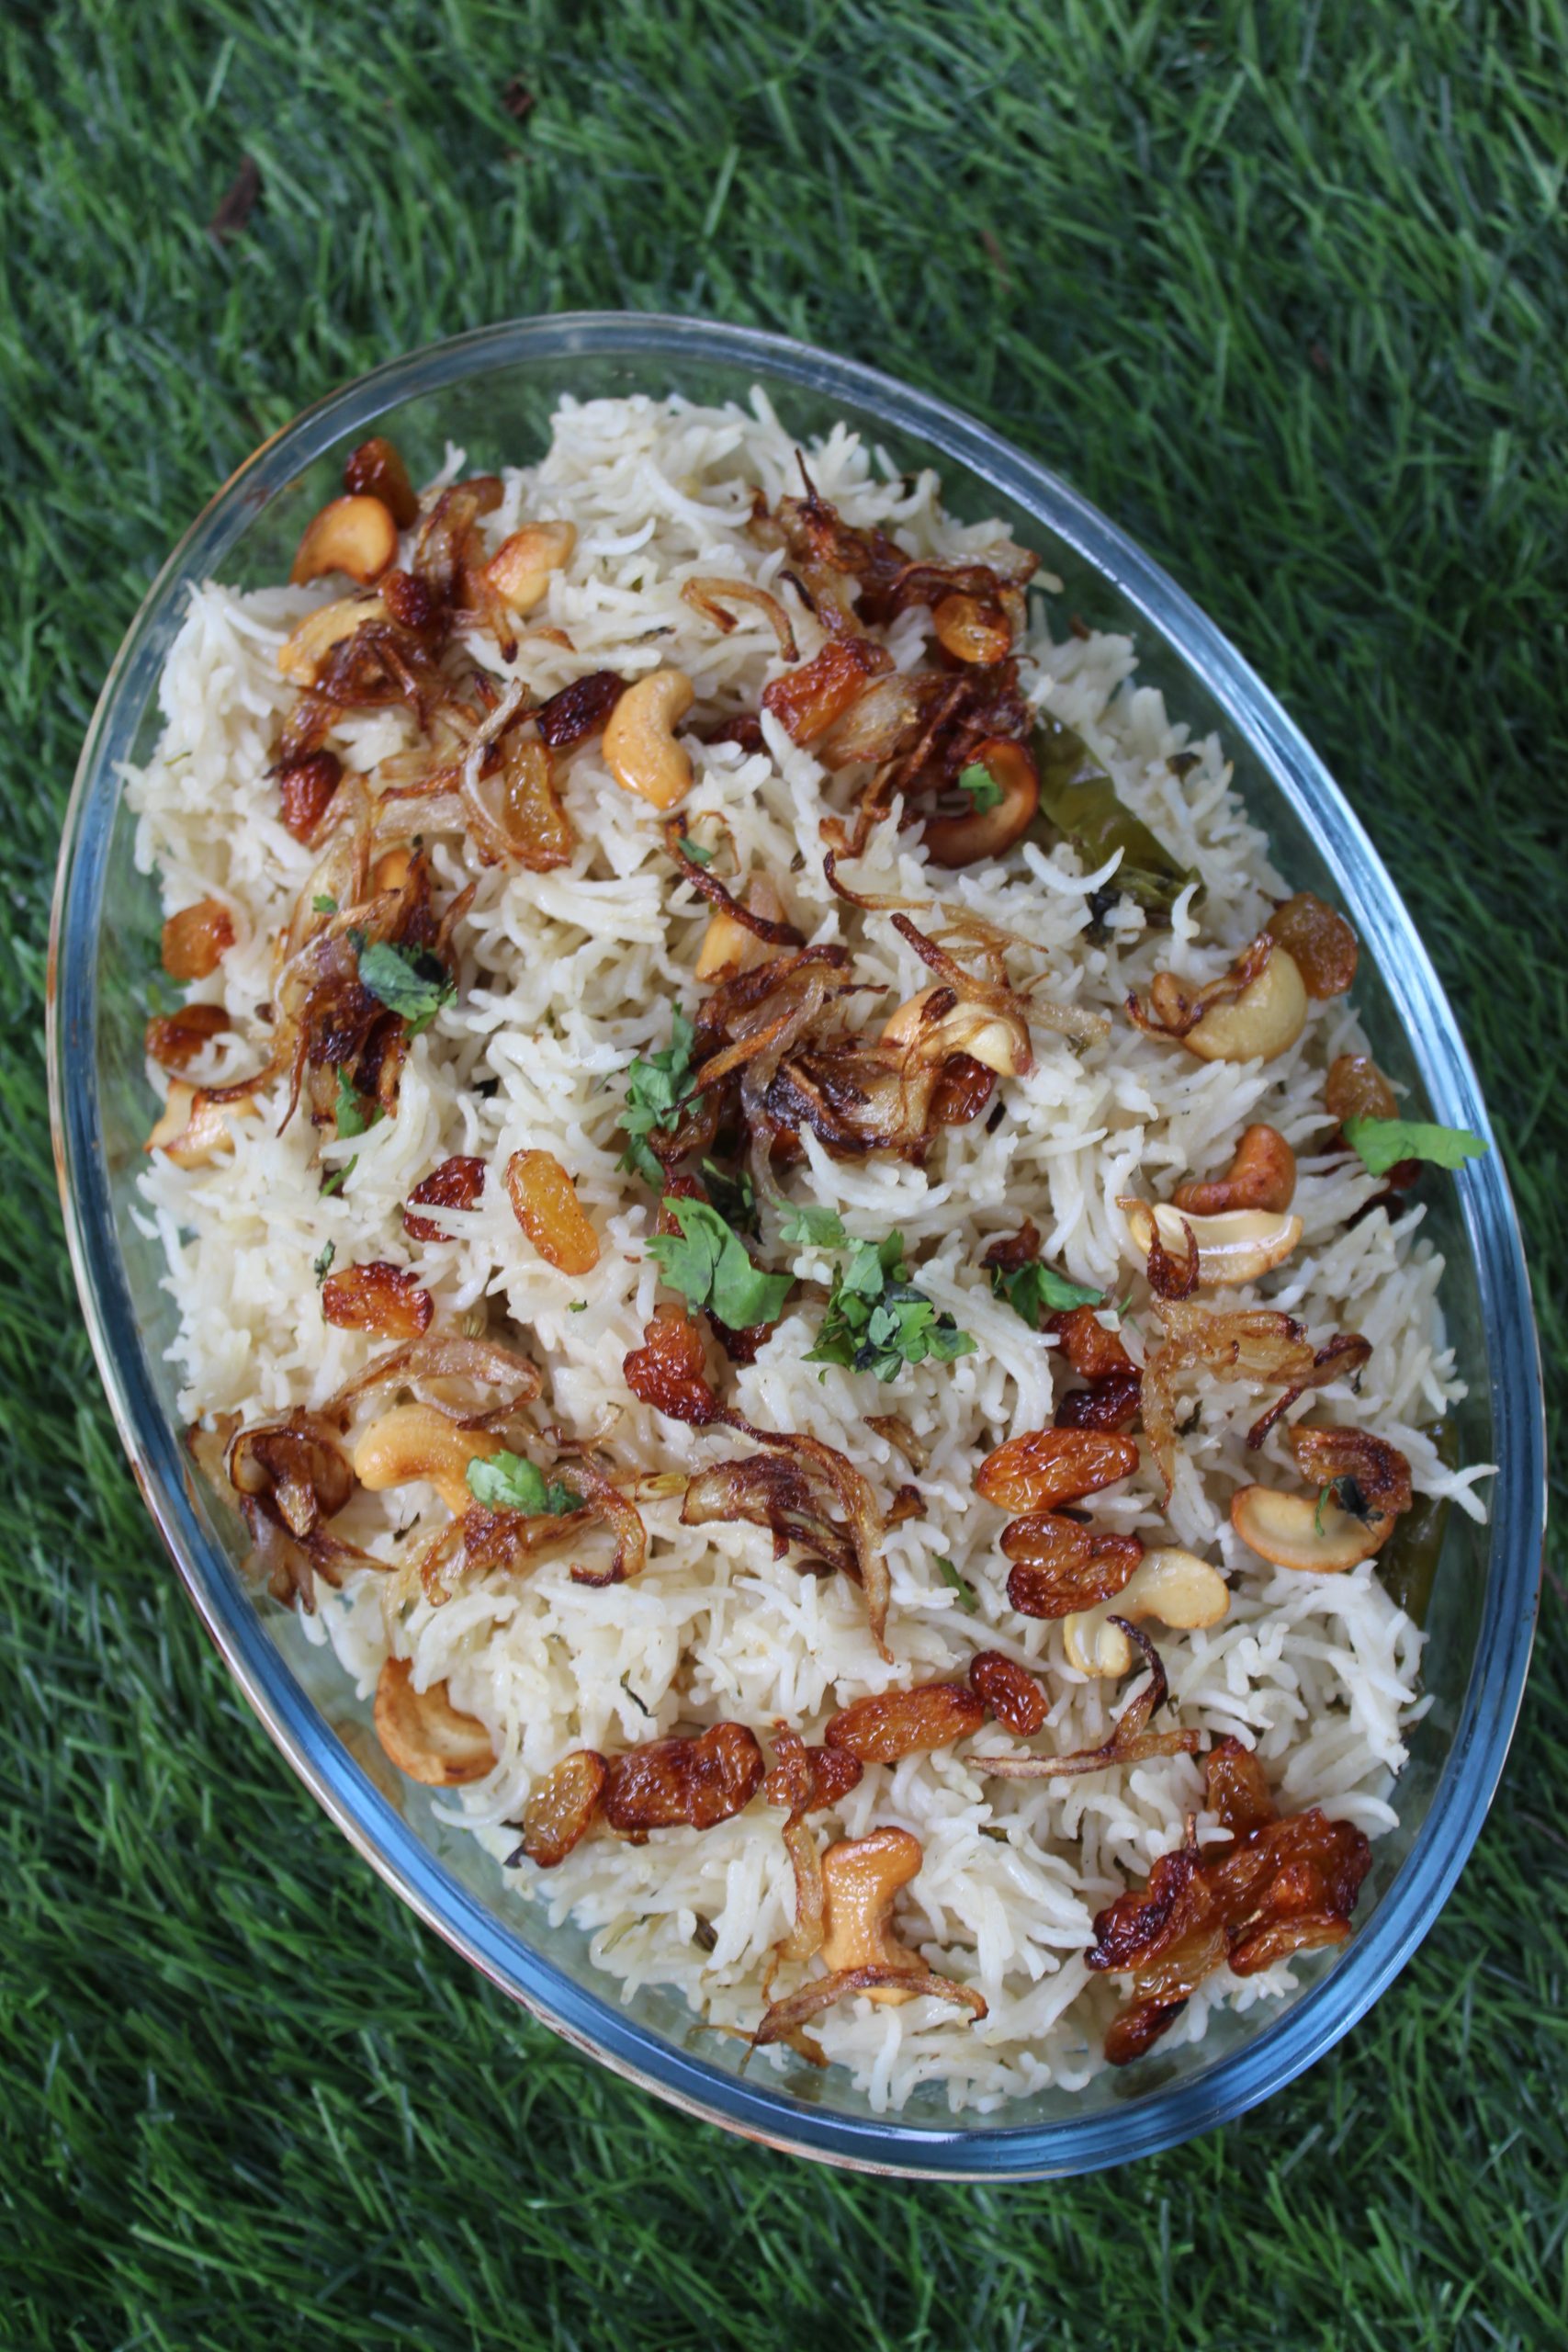
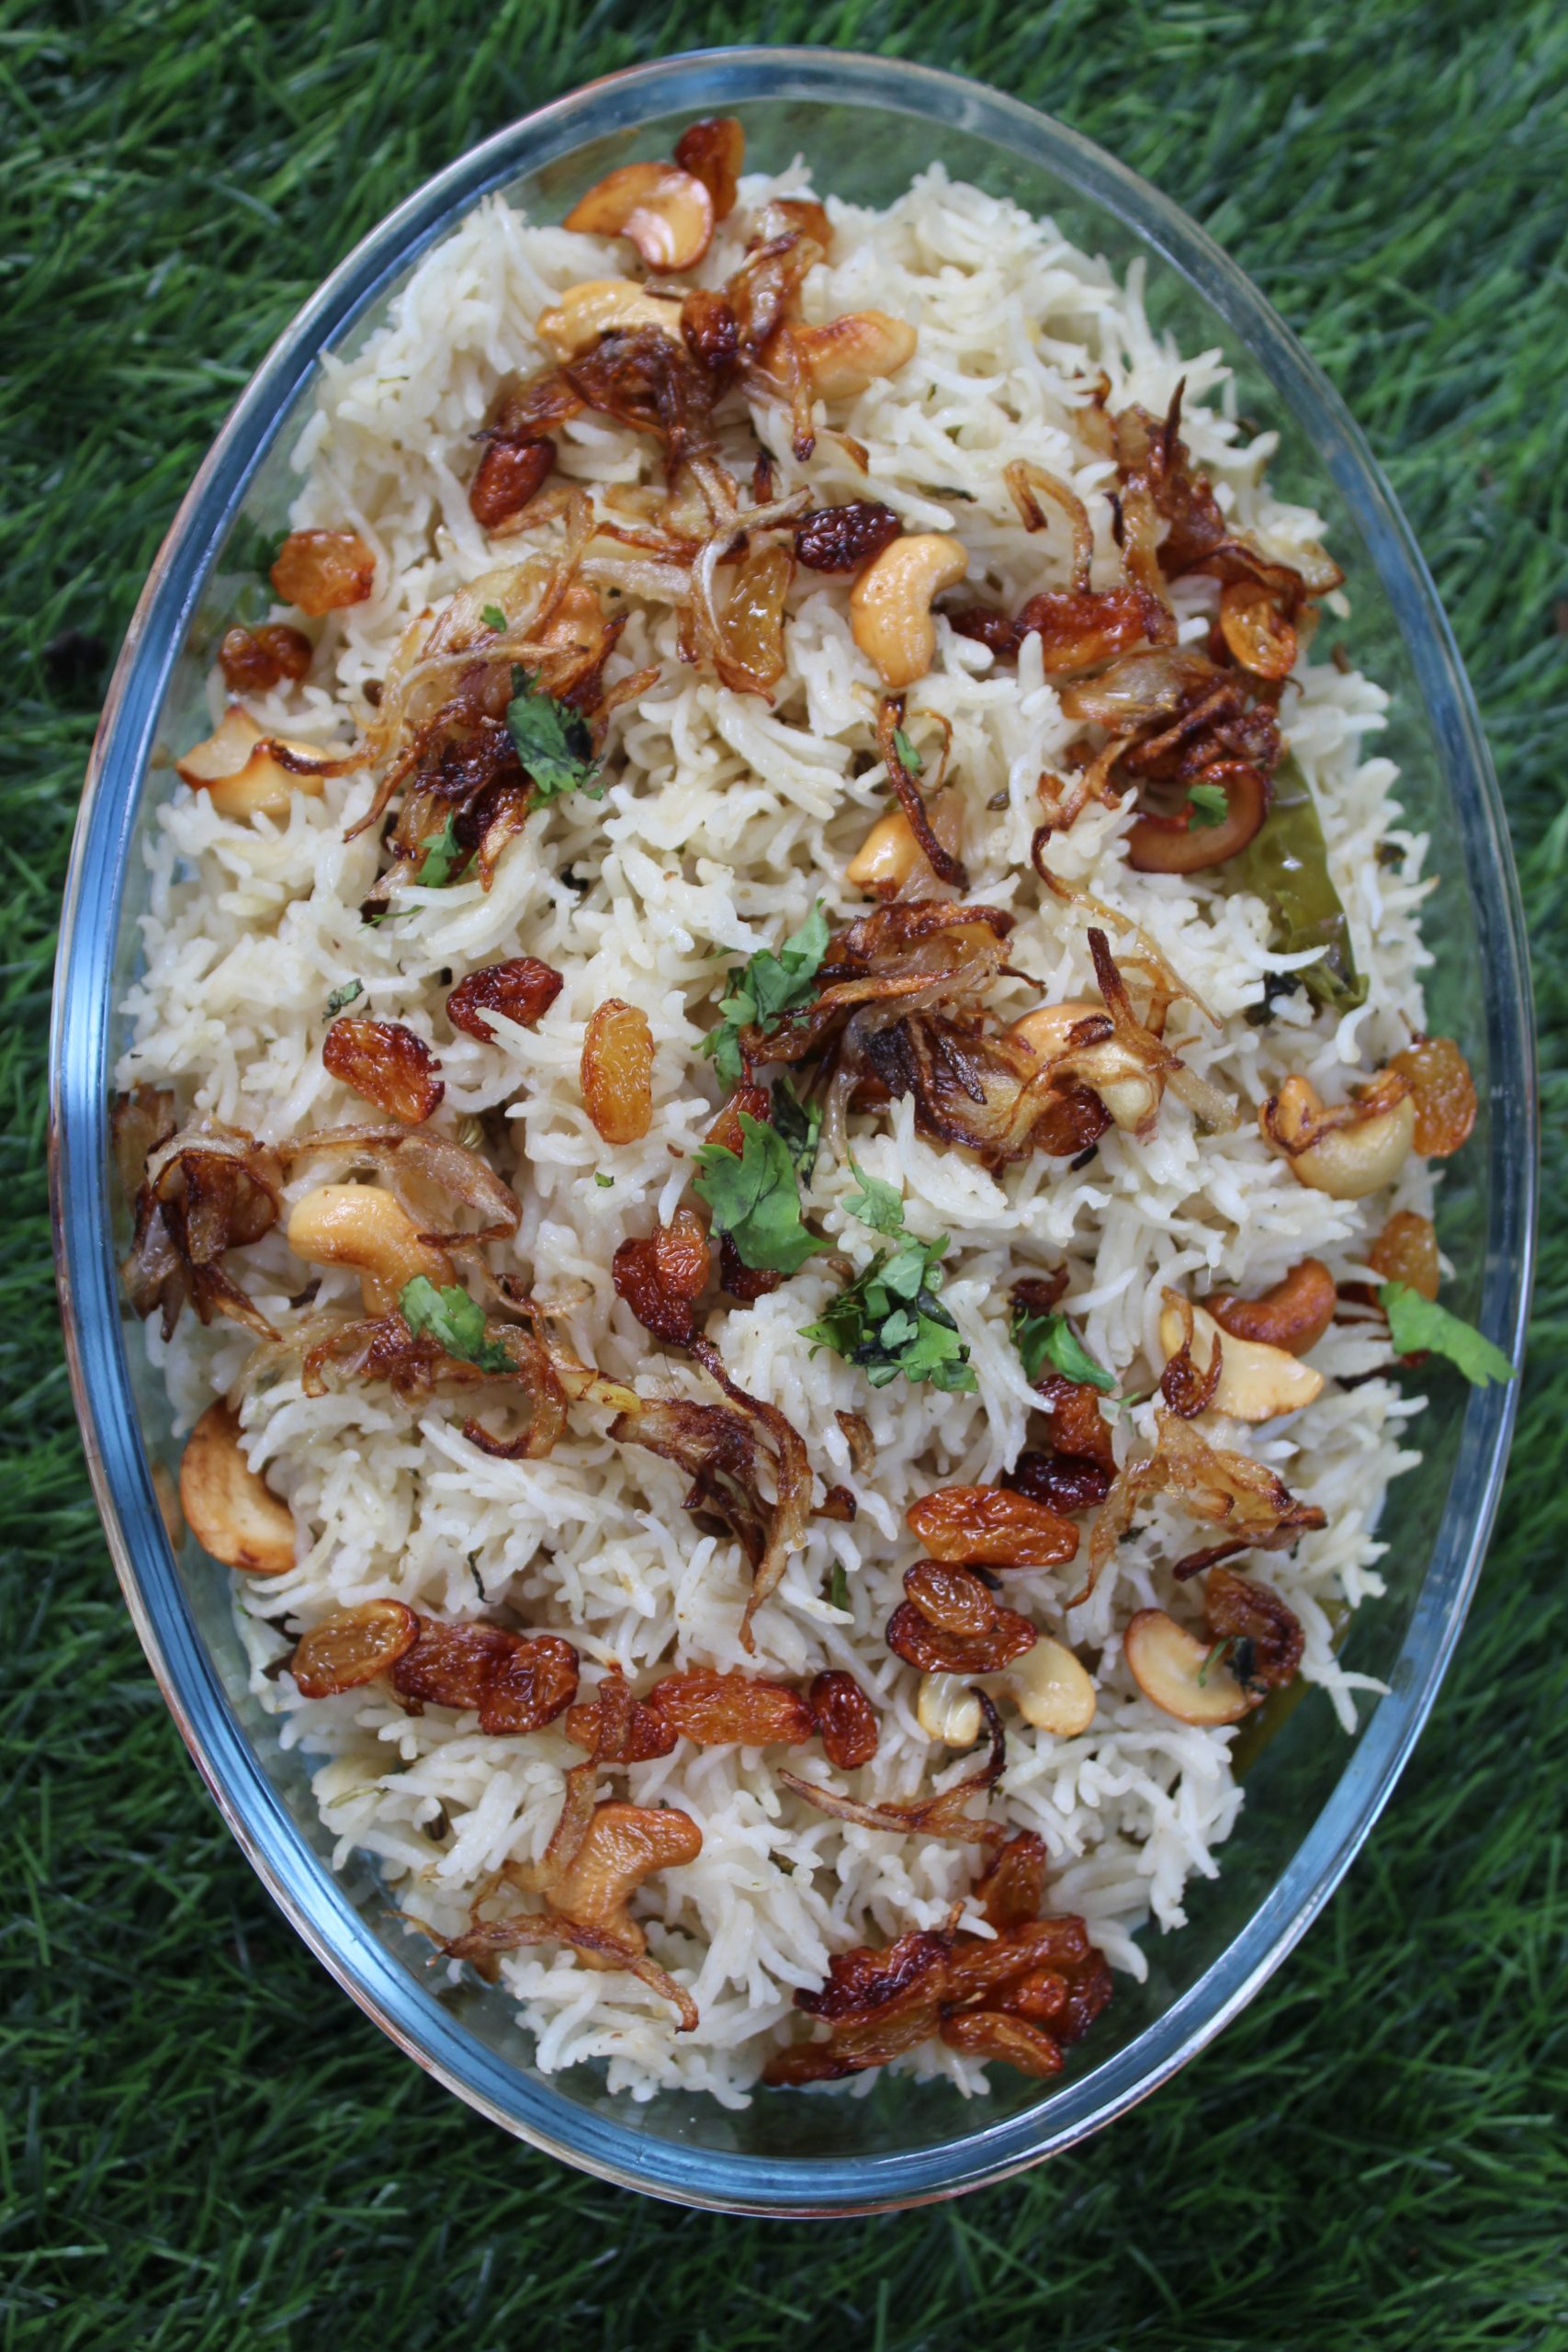
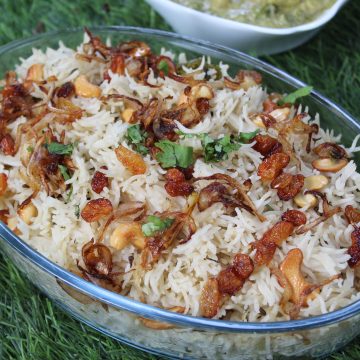
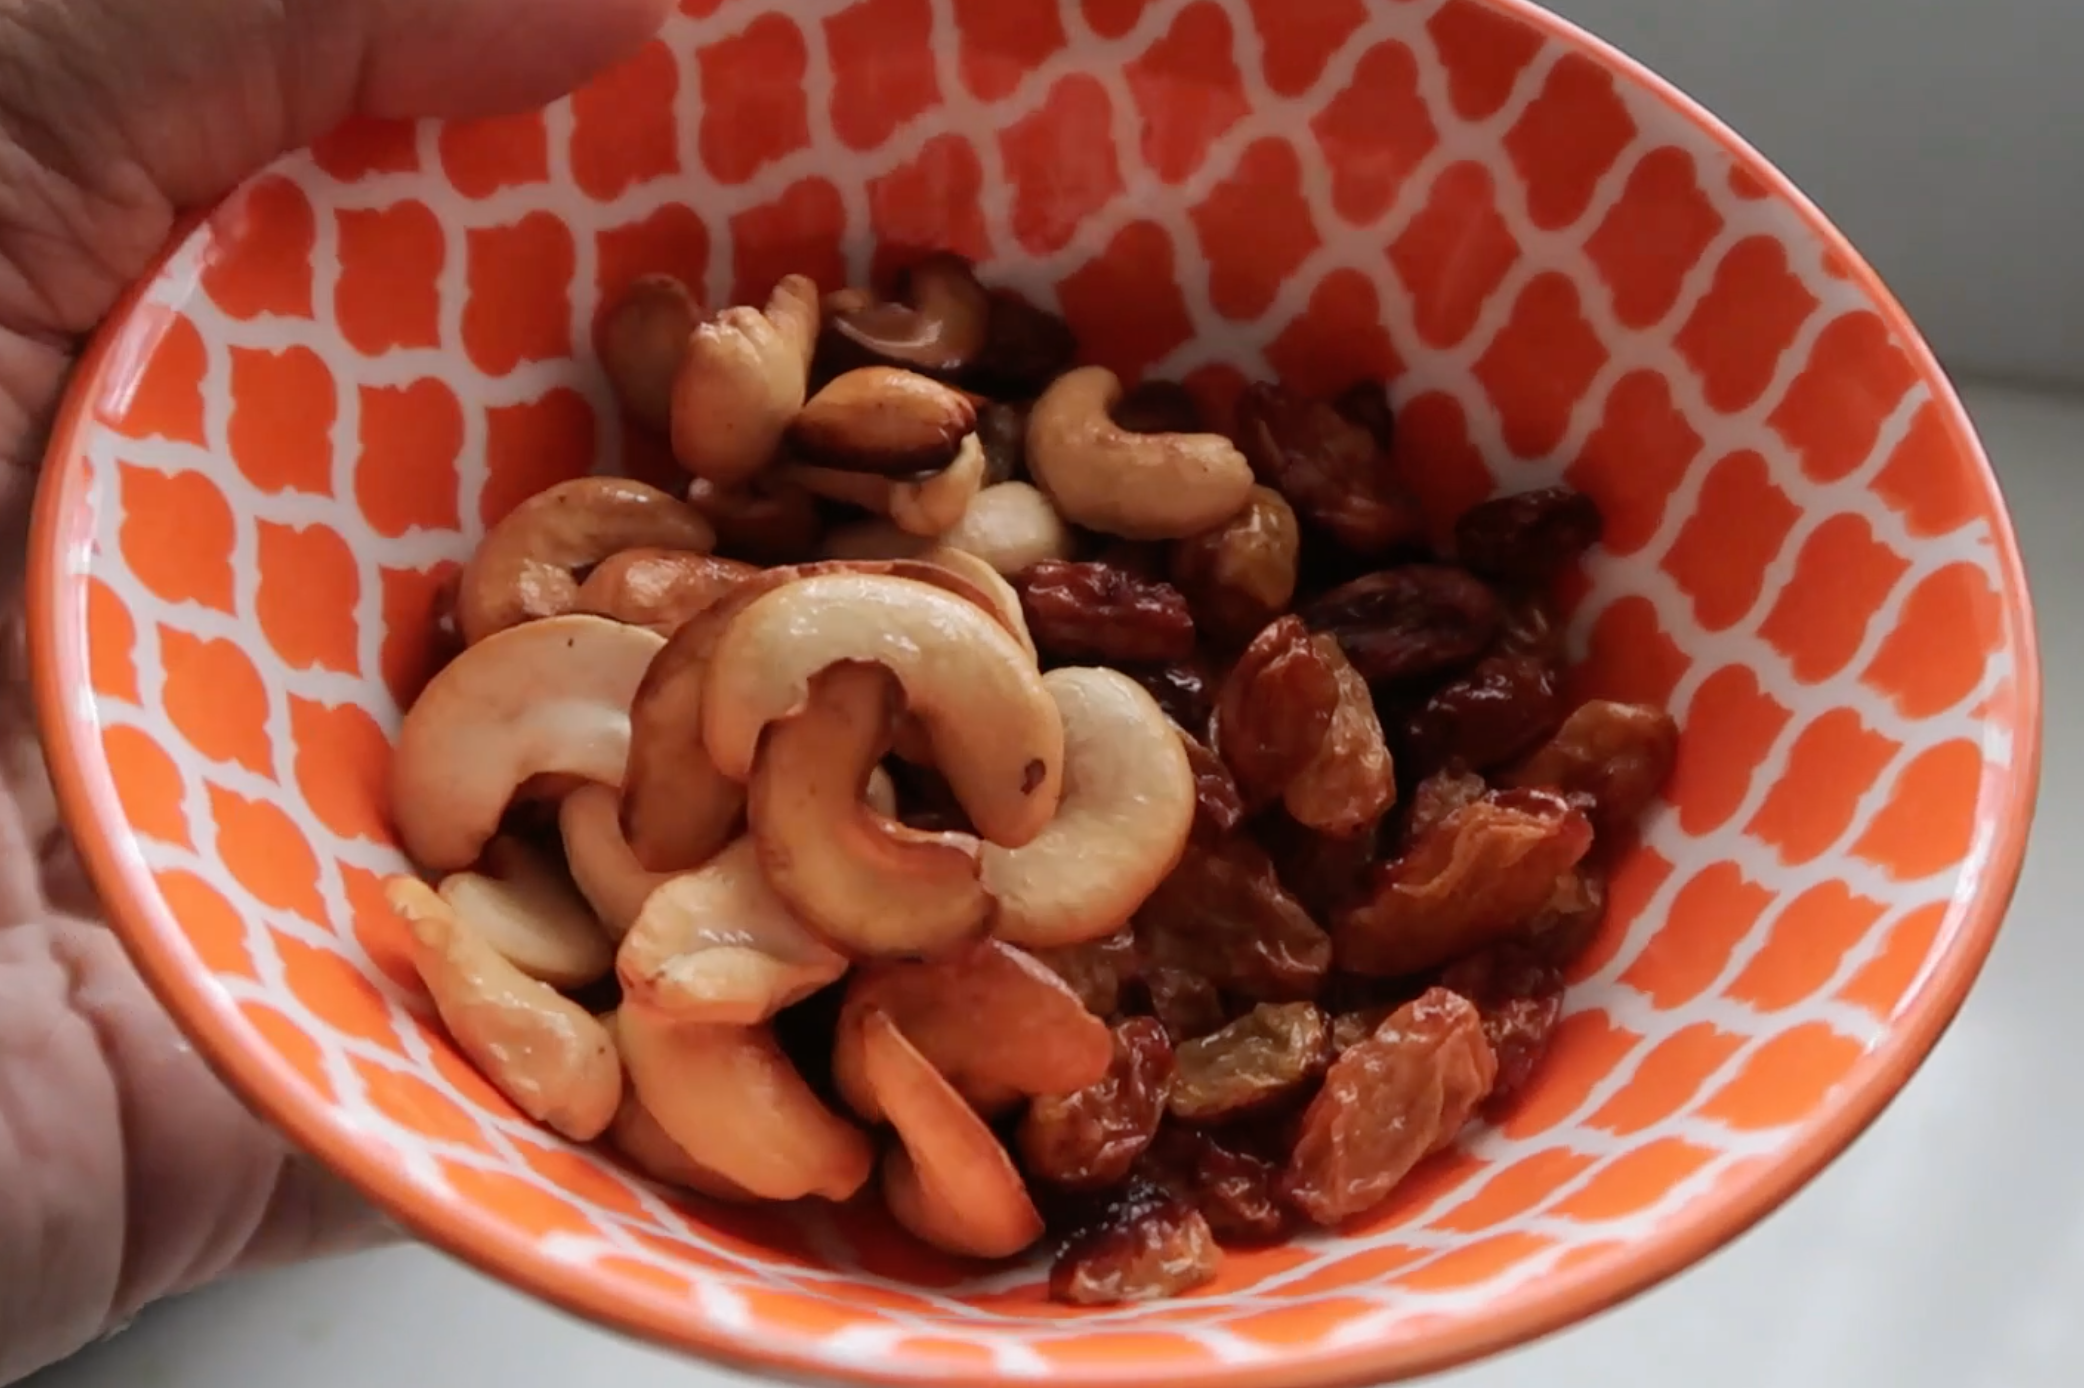
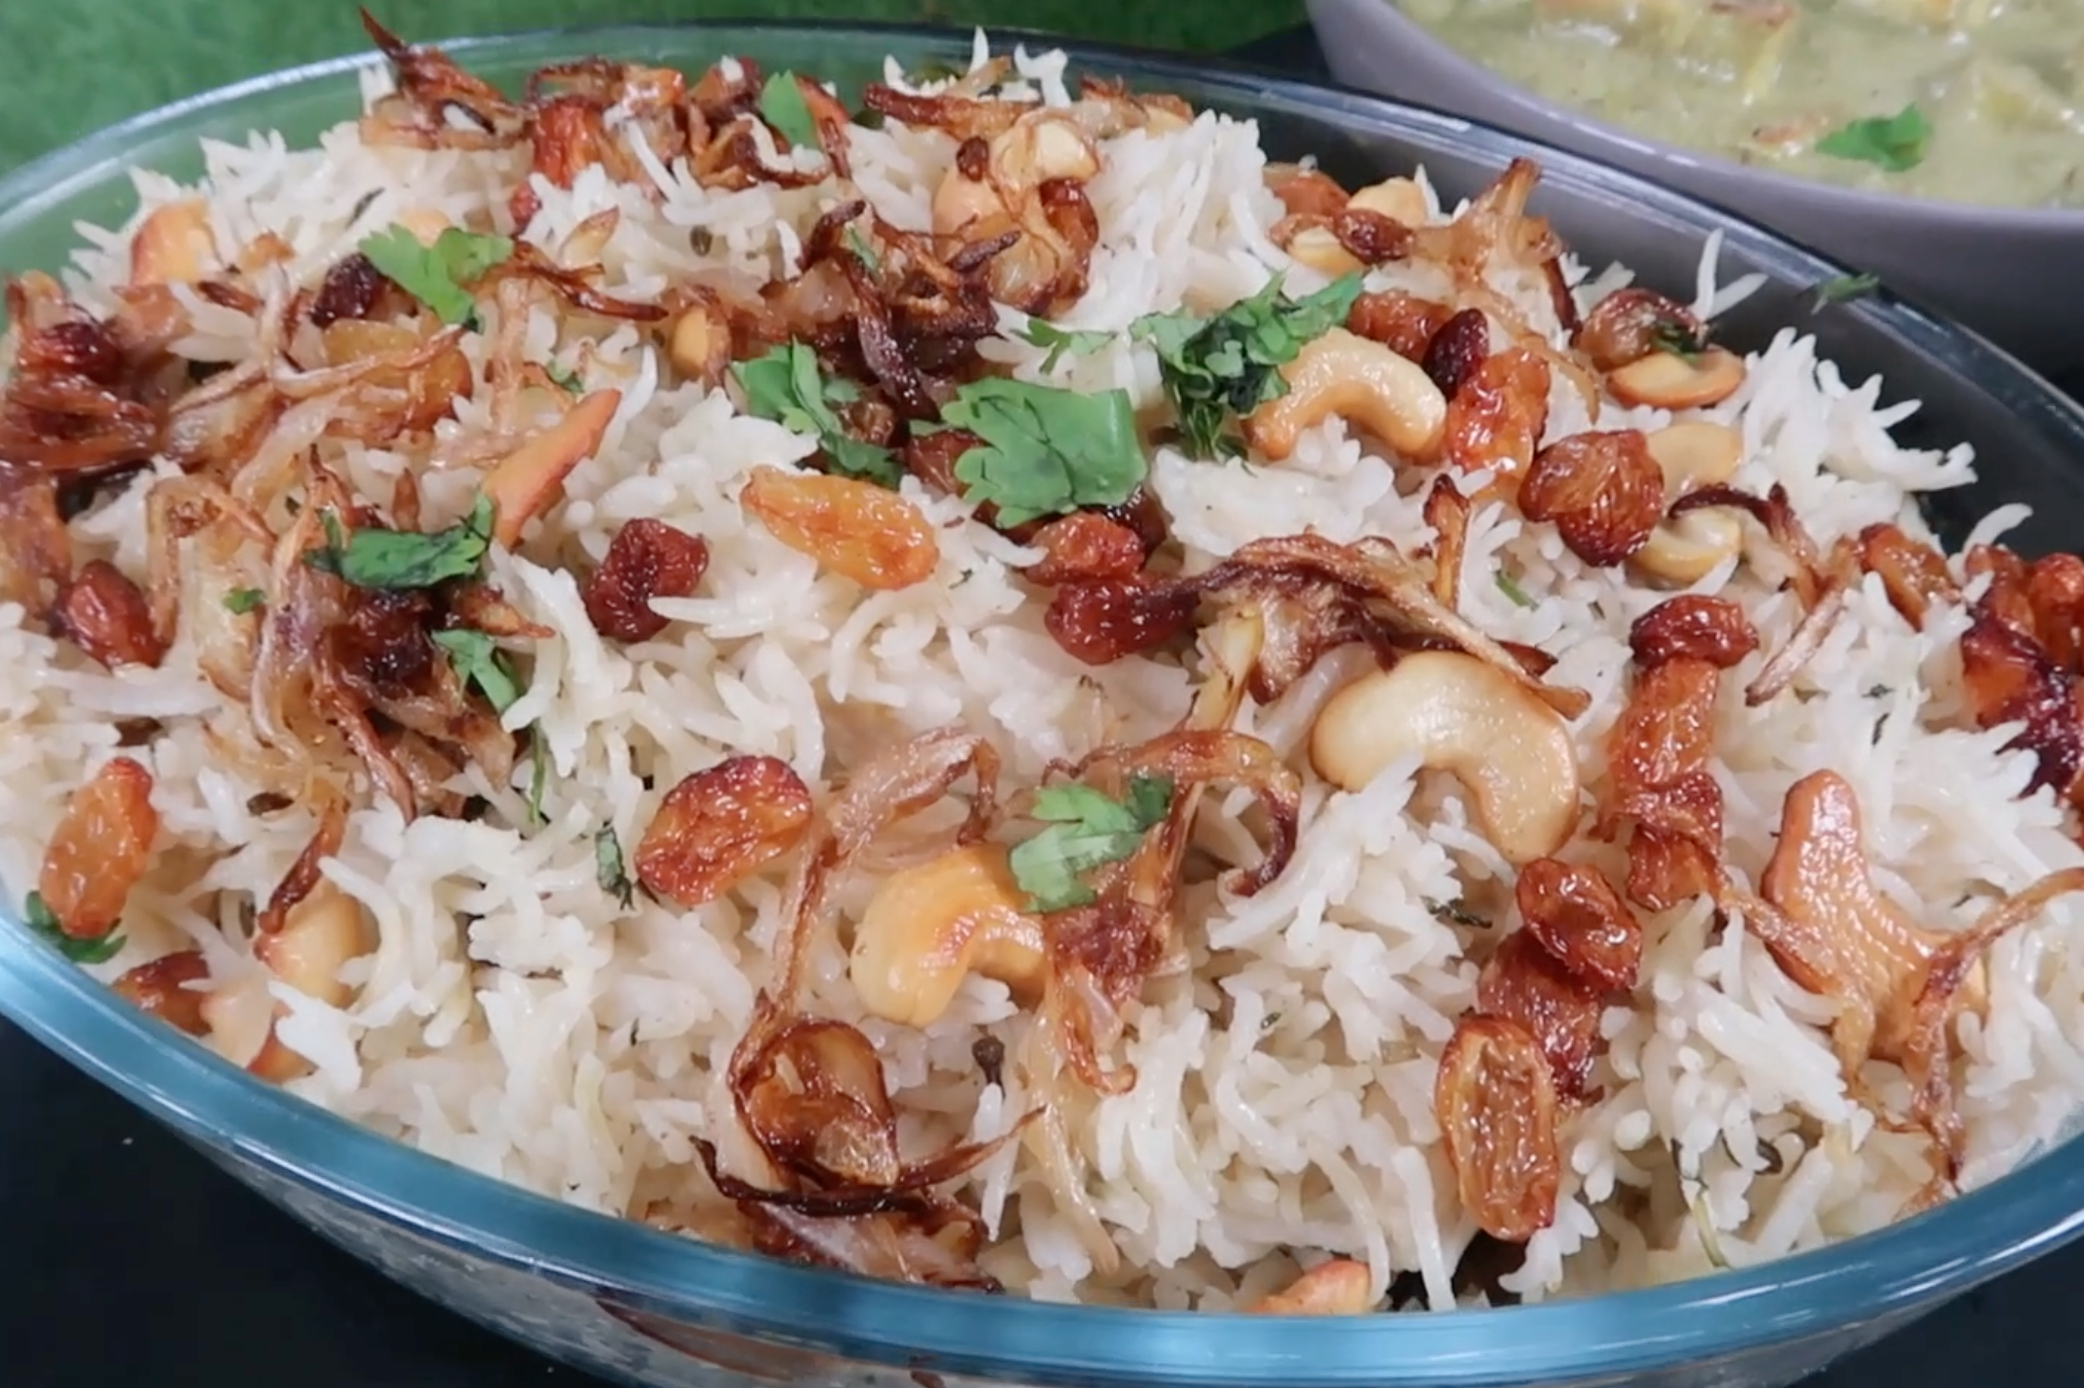
Once the pressure is released in the cooker, open it and gently mix the rice using a fork or a spatula. Be gentle else the rice may get broken. Now spoon this to a serving dish gently. Garnish with fried cashews, sultanas and fried onions. Serve.
Video for Nei Choru Recipe

If you have any questions not covered in this post and if you need help, leave me a comment or mail me @aarthi198689@gmail.com and I'll help as soon as I can.
Follow me on Instagram, Facebook,Pinterest ,Youtube and Twitter for more Yummy Tummy inspiration.
IF YOU MAKE THIS RECIPE OR ANYTHING FROM YUMMY TUMMY, MAKE SURE TO POST IT AND TAG ME SO I CAN SEE ALL OF YOUR CREATIONS!! #YUMMYTUMMYAARTHI AND @YUMMYTUMMYAARTHI ON INSTAGRAM!
📖 Get Recipe
Nei Choru Recipe | Ney Choru Recipe | Kerala Neychoru Recipe
Ingredients
- 2 tablespoon Ghee
- 2 Bay Leaf
- 2 teaspoon Fennel Seeds
- 1 stick Cinnamon
- 2 Mace
- 4 Cardamom
- 2 Cloves
- 1 teaspoon Cumin seeds
- 1 Onion
- 4 Green Chillies
- 2 tablespoon Ginger Garlic Paste
- 2 cups Basmati Rice
- 3 tablespoon Coriander leaves
- 3 tablespoon Mint Leaves
- 3 Cups Water
- Salt to taste
For Garnishing
- 3 tablespoon Ghee
- 3 tablespoon Cashews
- 3 tablespoon Sultanas
- 1 Onion Sliced
Instructions
- Rinse Basmati rice 2 to 3 times in water. Soak rice in water for at least 30 mins.
- Heat 2 tablespoon ghee in a pressure cooker. You can use a casserole to make this ghee rice too. Add in whole spices and let them sizzle. Add in sliced onions and fry till golden brown. Add in green chillies and ginger garlic paste. Sauté this for 1 mins.
- Add in the soaked basmati rice along with water and salt. Add in coriander and mint leaves. Mix well. Bring everything to a boil. Cover and pressure cook for 1 whistle, simmer for 1 min. Turn off the flame and let the pressure release by itself.
- Meanwhile make the garnish. Heat ghee in a pan. Add in cashews fry till golden brown. Remove to a plate. Add in kishmish and fry till golden. Remove this to a plate. In the same ghee fry onions till golden brown. Drain and set aside.
- Once the pressure is released in the cooker, open it and gently mix the rice using a fork or a spatula. Be gentle else the rice may get broken. Now spoon this to a serving dish gently. Garnish with fried cashews, sultanas and fried onions.
- Serve.
Video
Notes
- Wash basmati rice and soak for 30 mins which is very important for fluffier rice.
- Use good quality basmati rice for fragrant and aroma.
- Homemade ghee is best but you can use good quality store bought.
- Don't add too much water or cook longer, else the rice may get mushy.
Nutrition
Tried this Recipe
Mention @yummytummyaarthi or tag #yummytummyaarthi!Nei Choru Recipe Step by Step Pictures
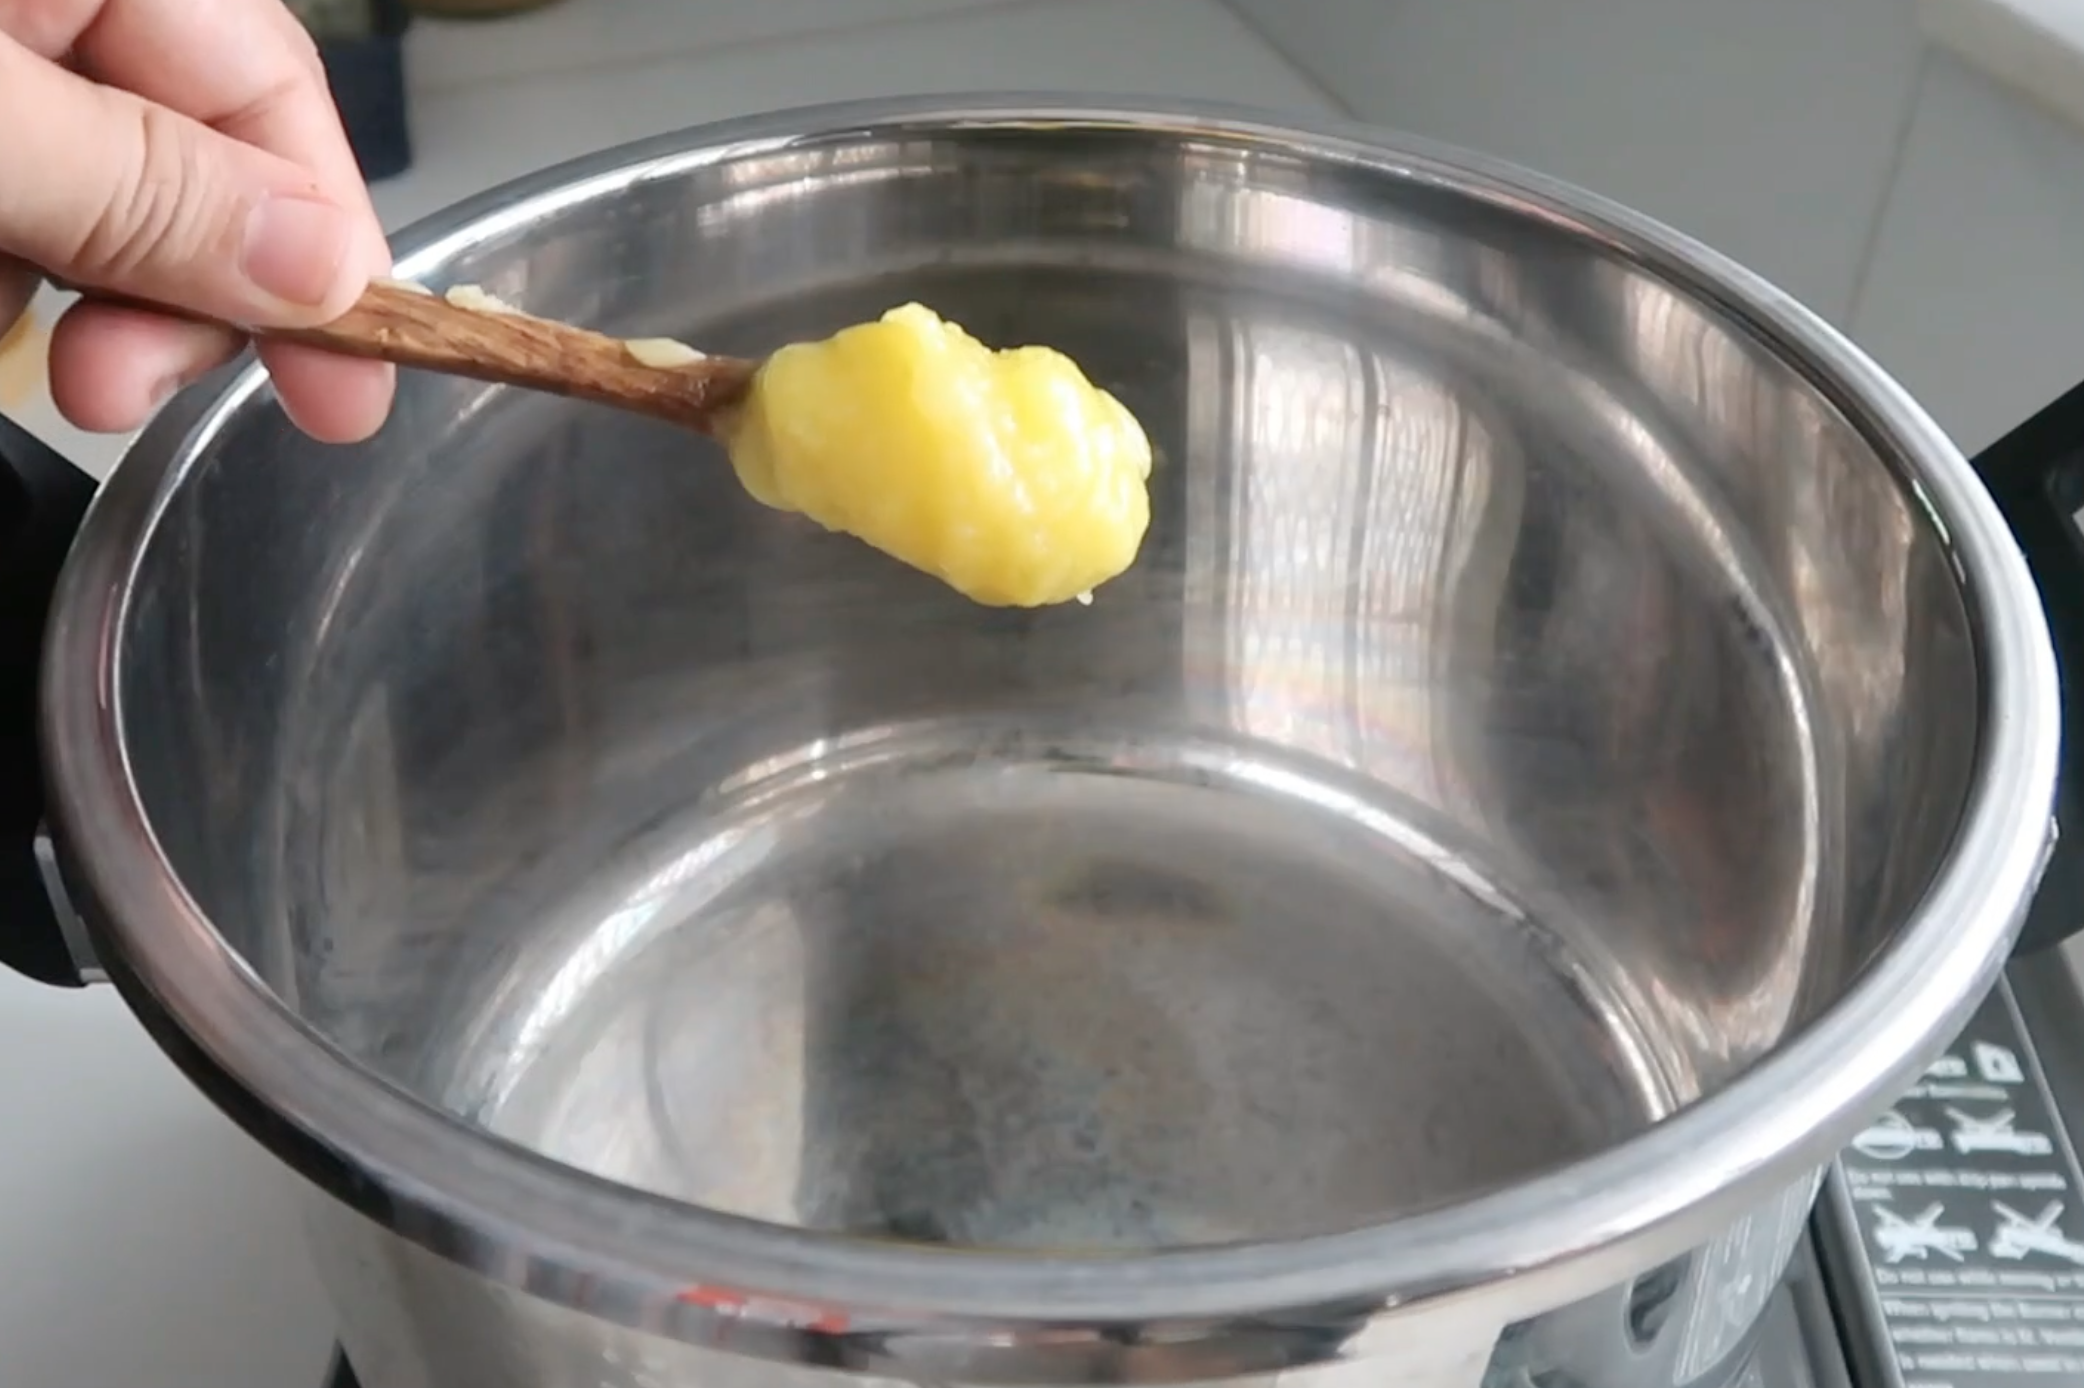
1)Heat 2 tablespoon ghee in a pressure cooker. You can use a casserole to make this ghee rice too.
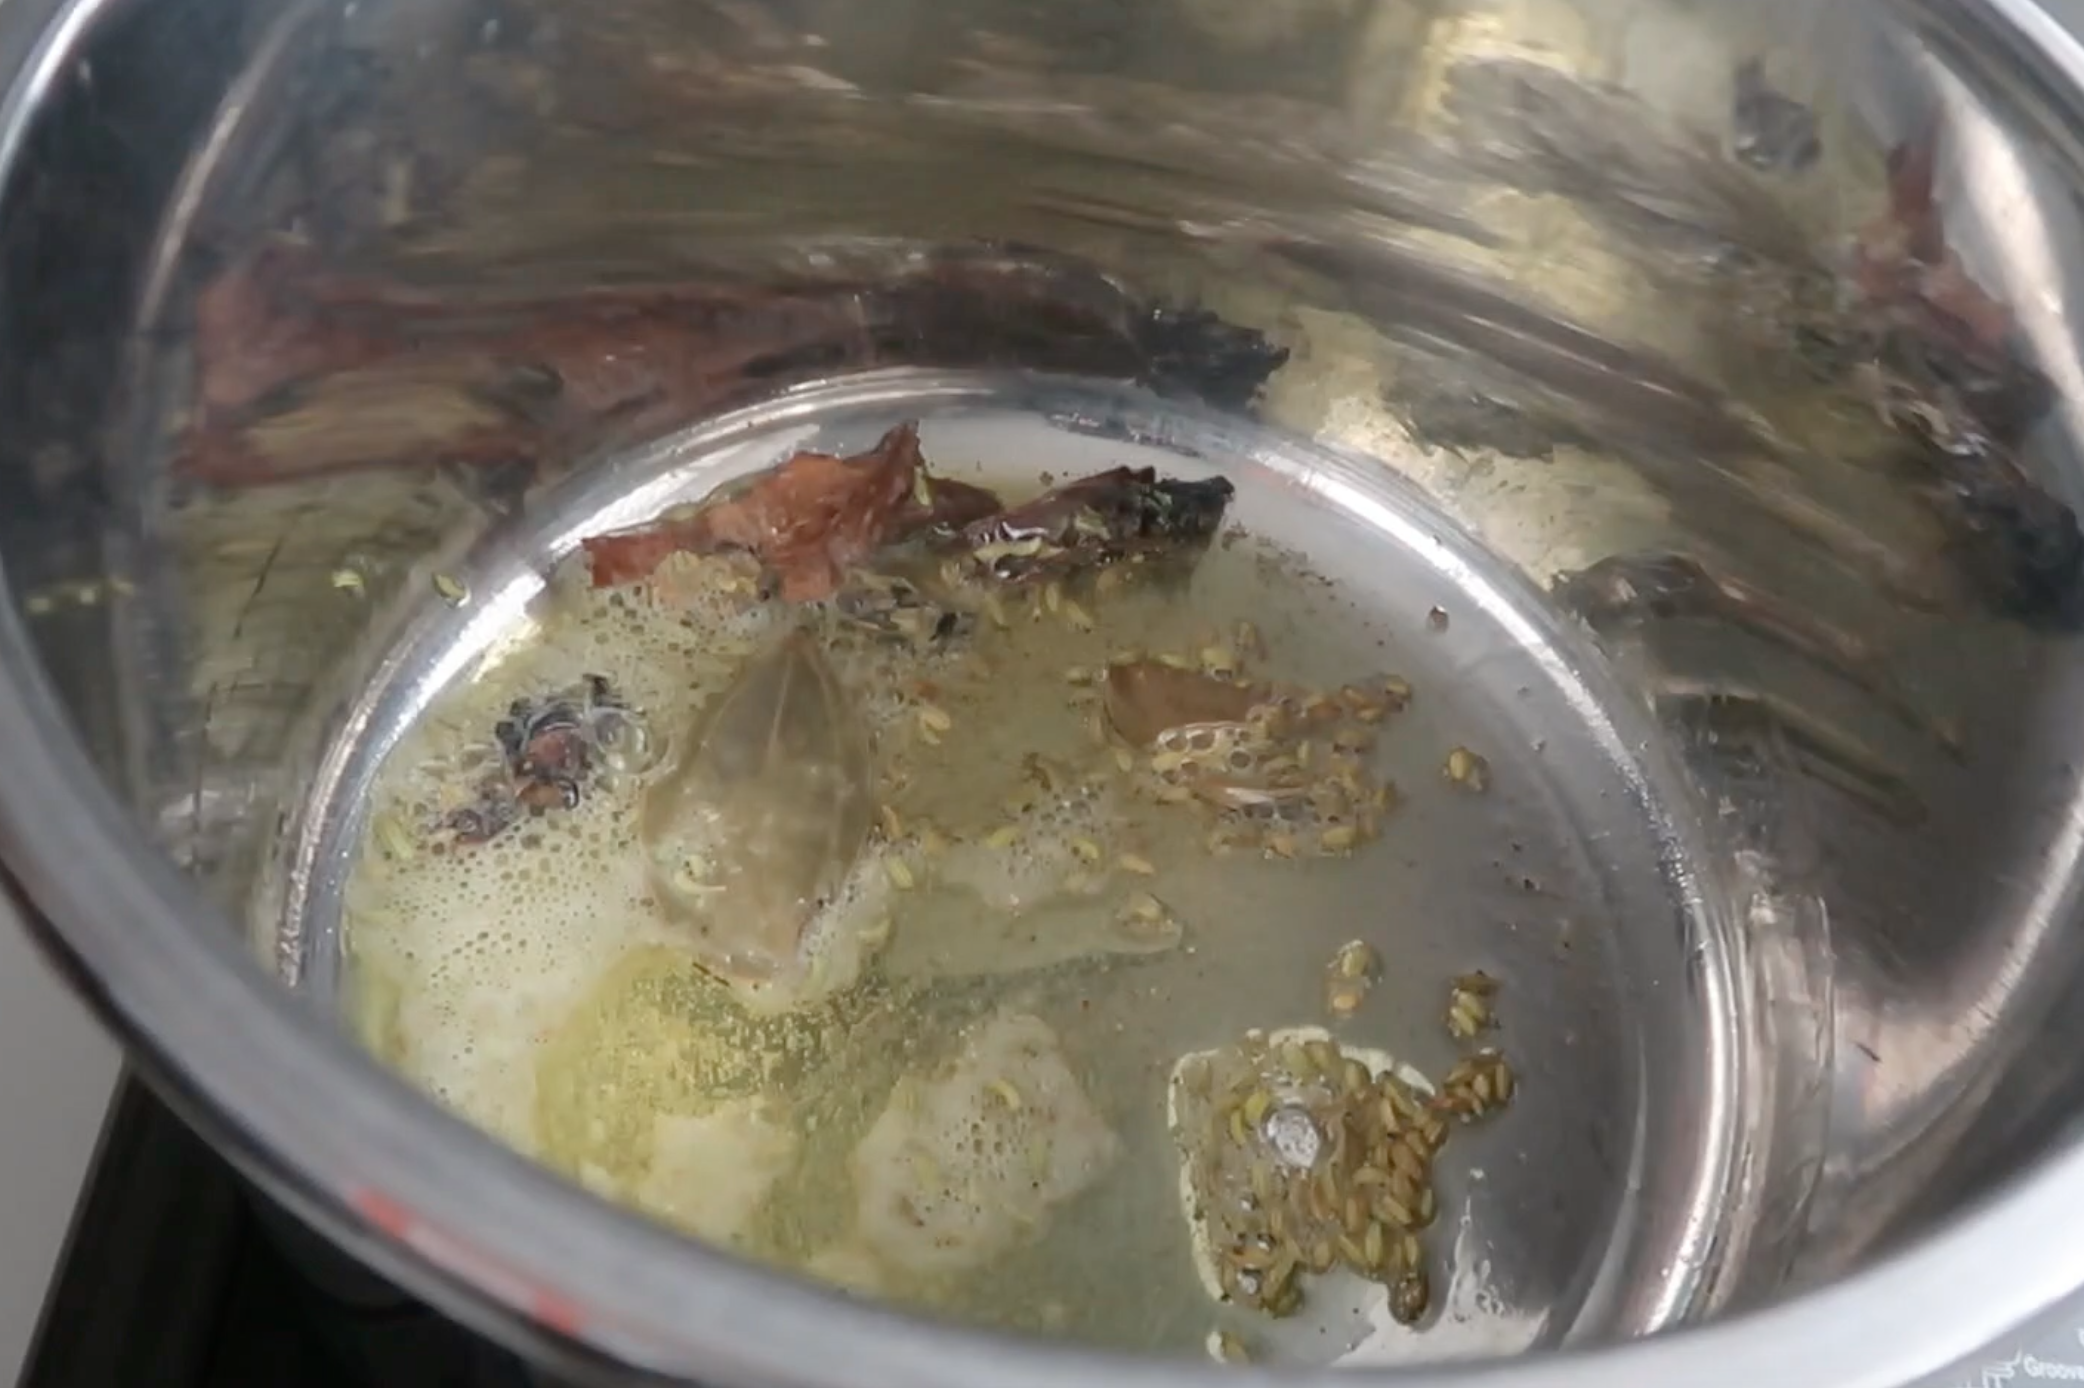
2)Add in whole spices and let them sizzle.

3)let them sizzle
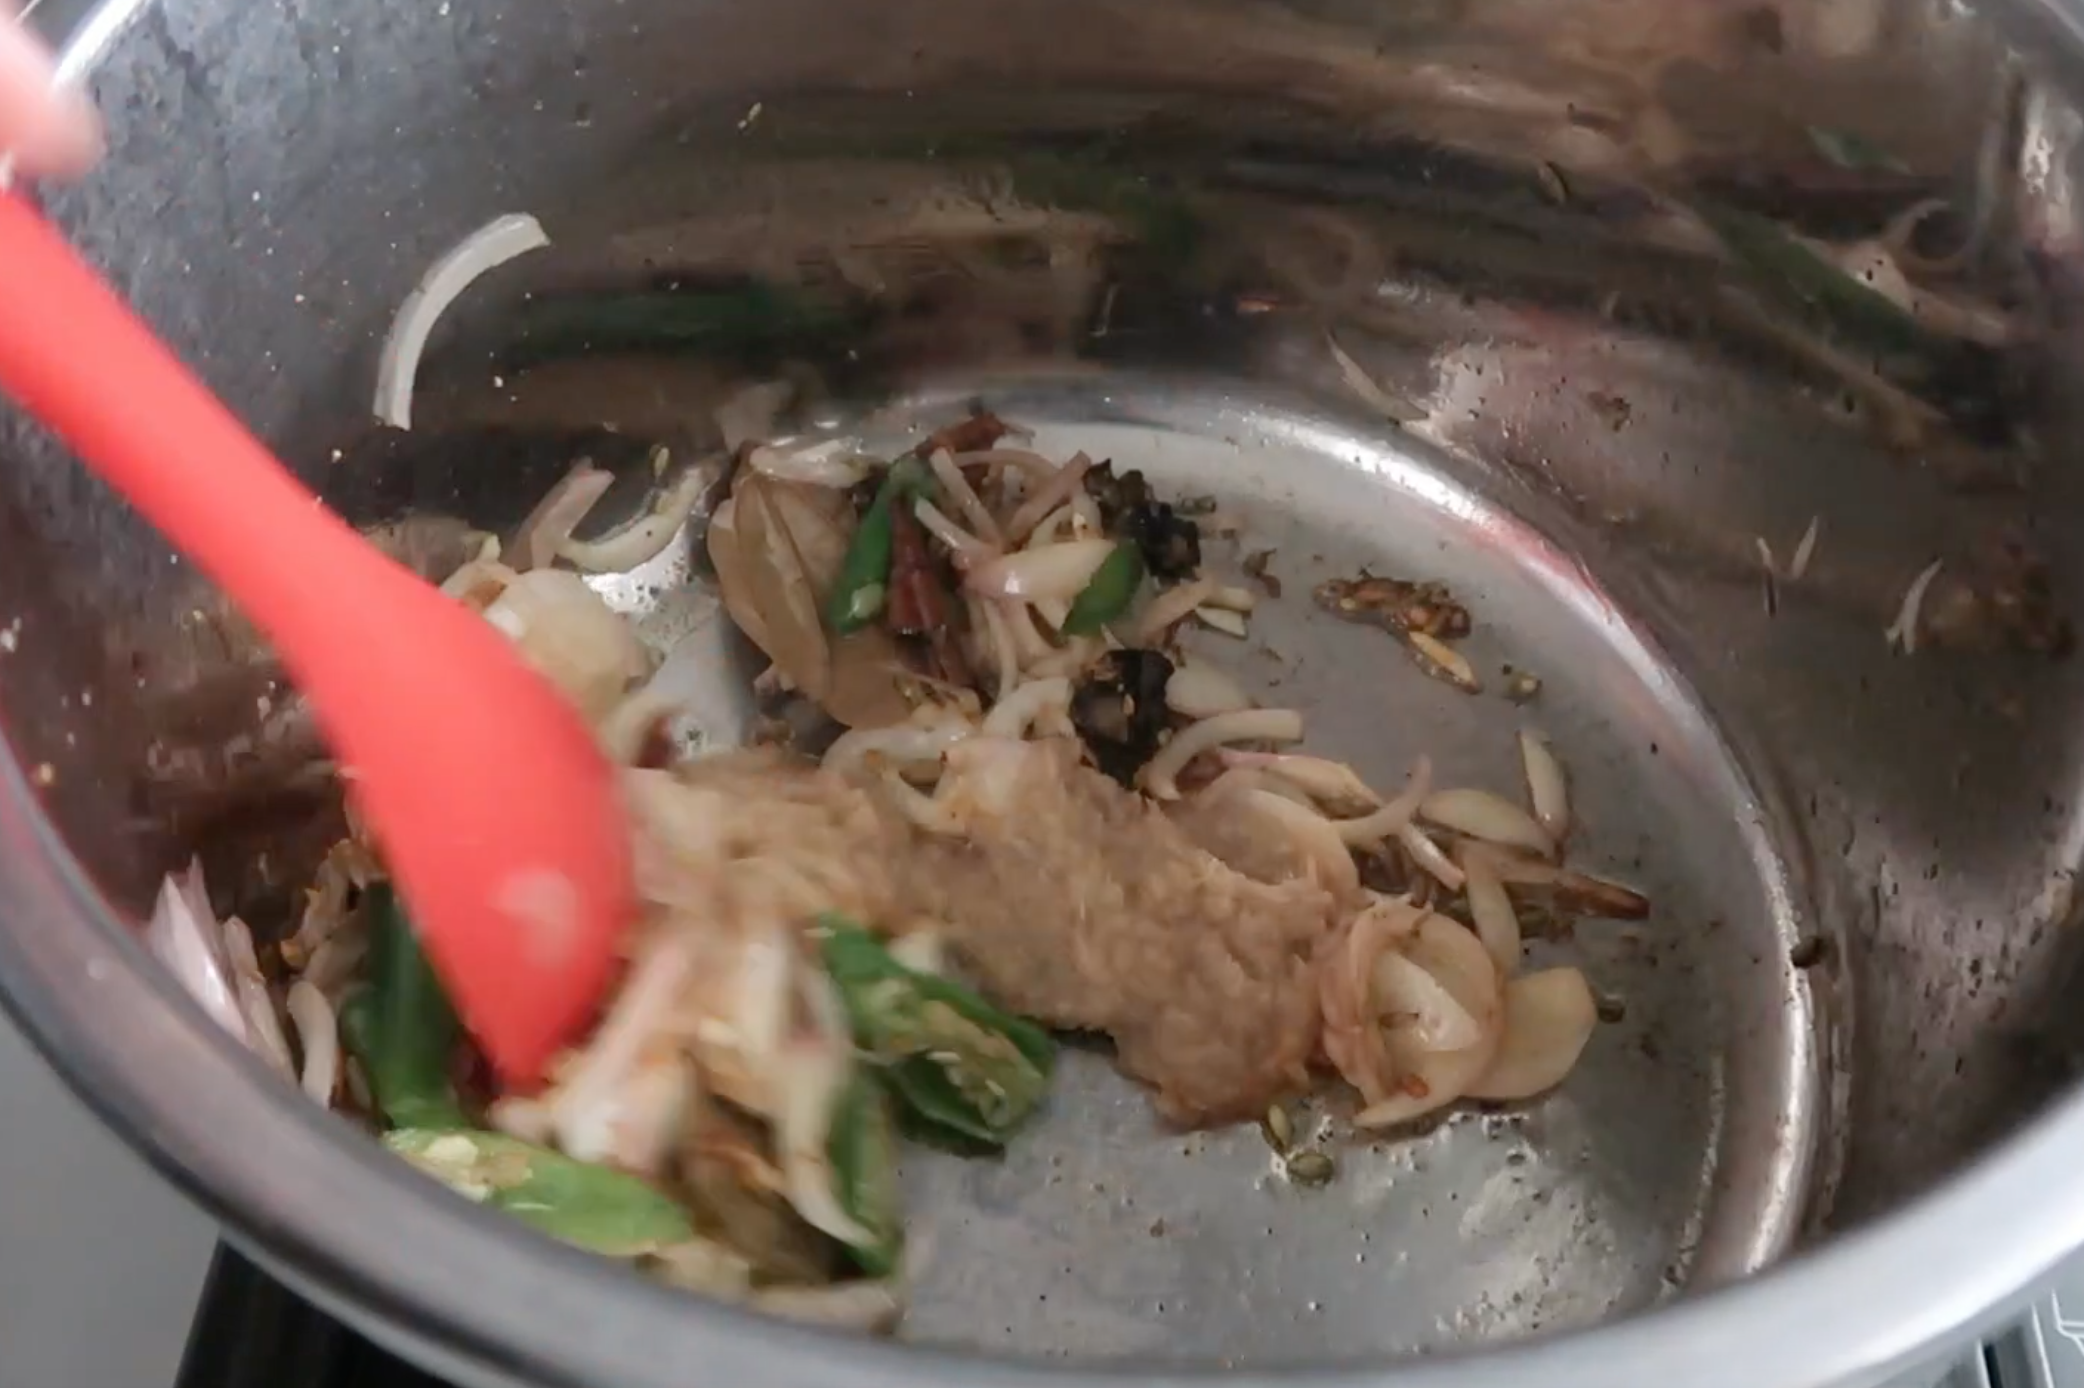
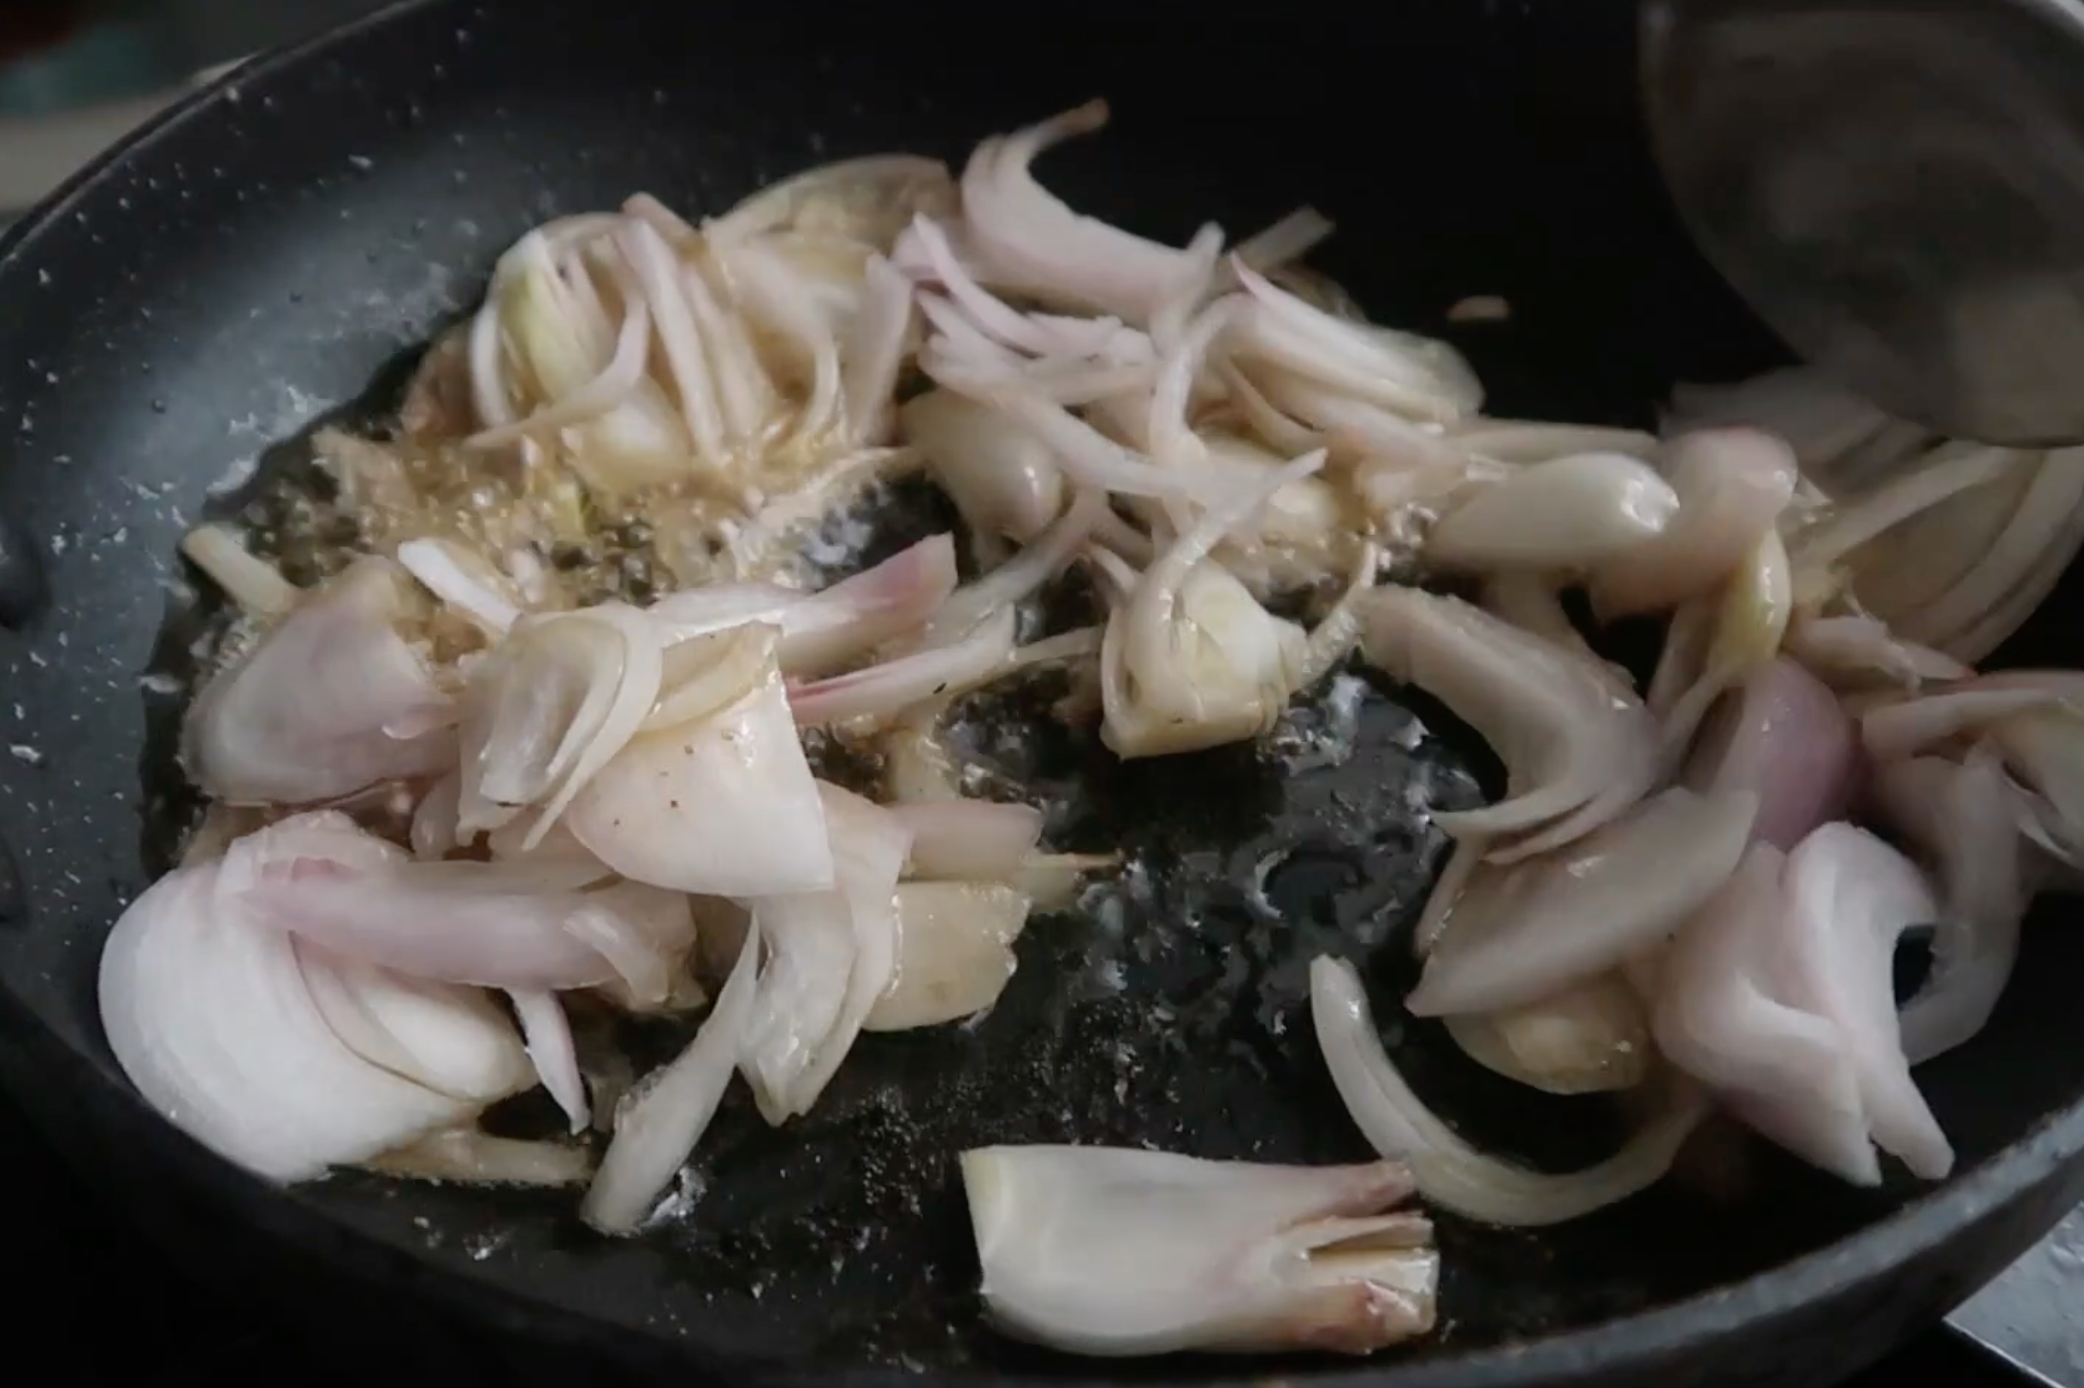
4)Add in sliced onions and fry till golden brown. Add in green chillies.
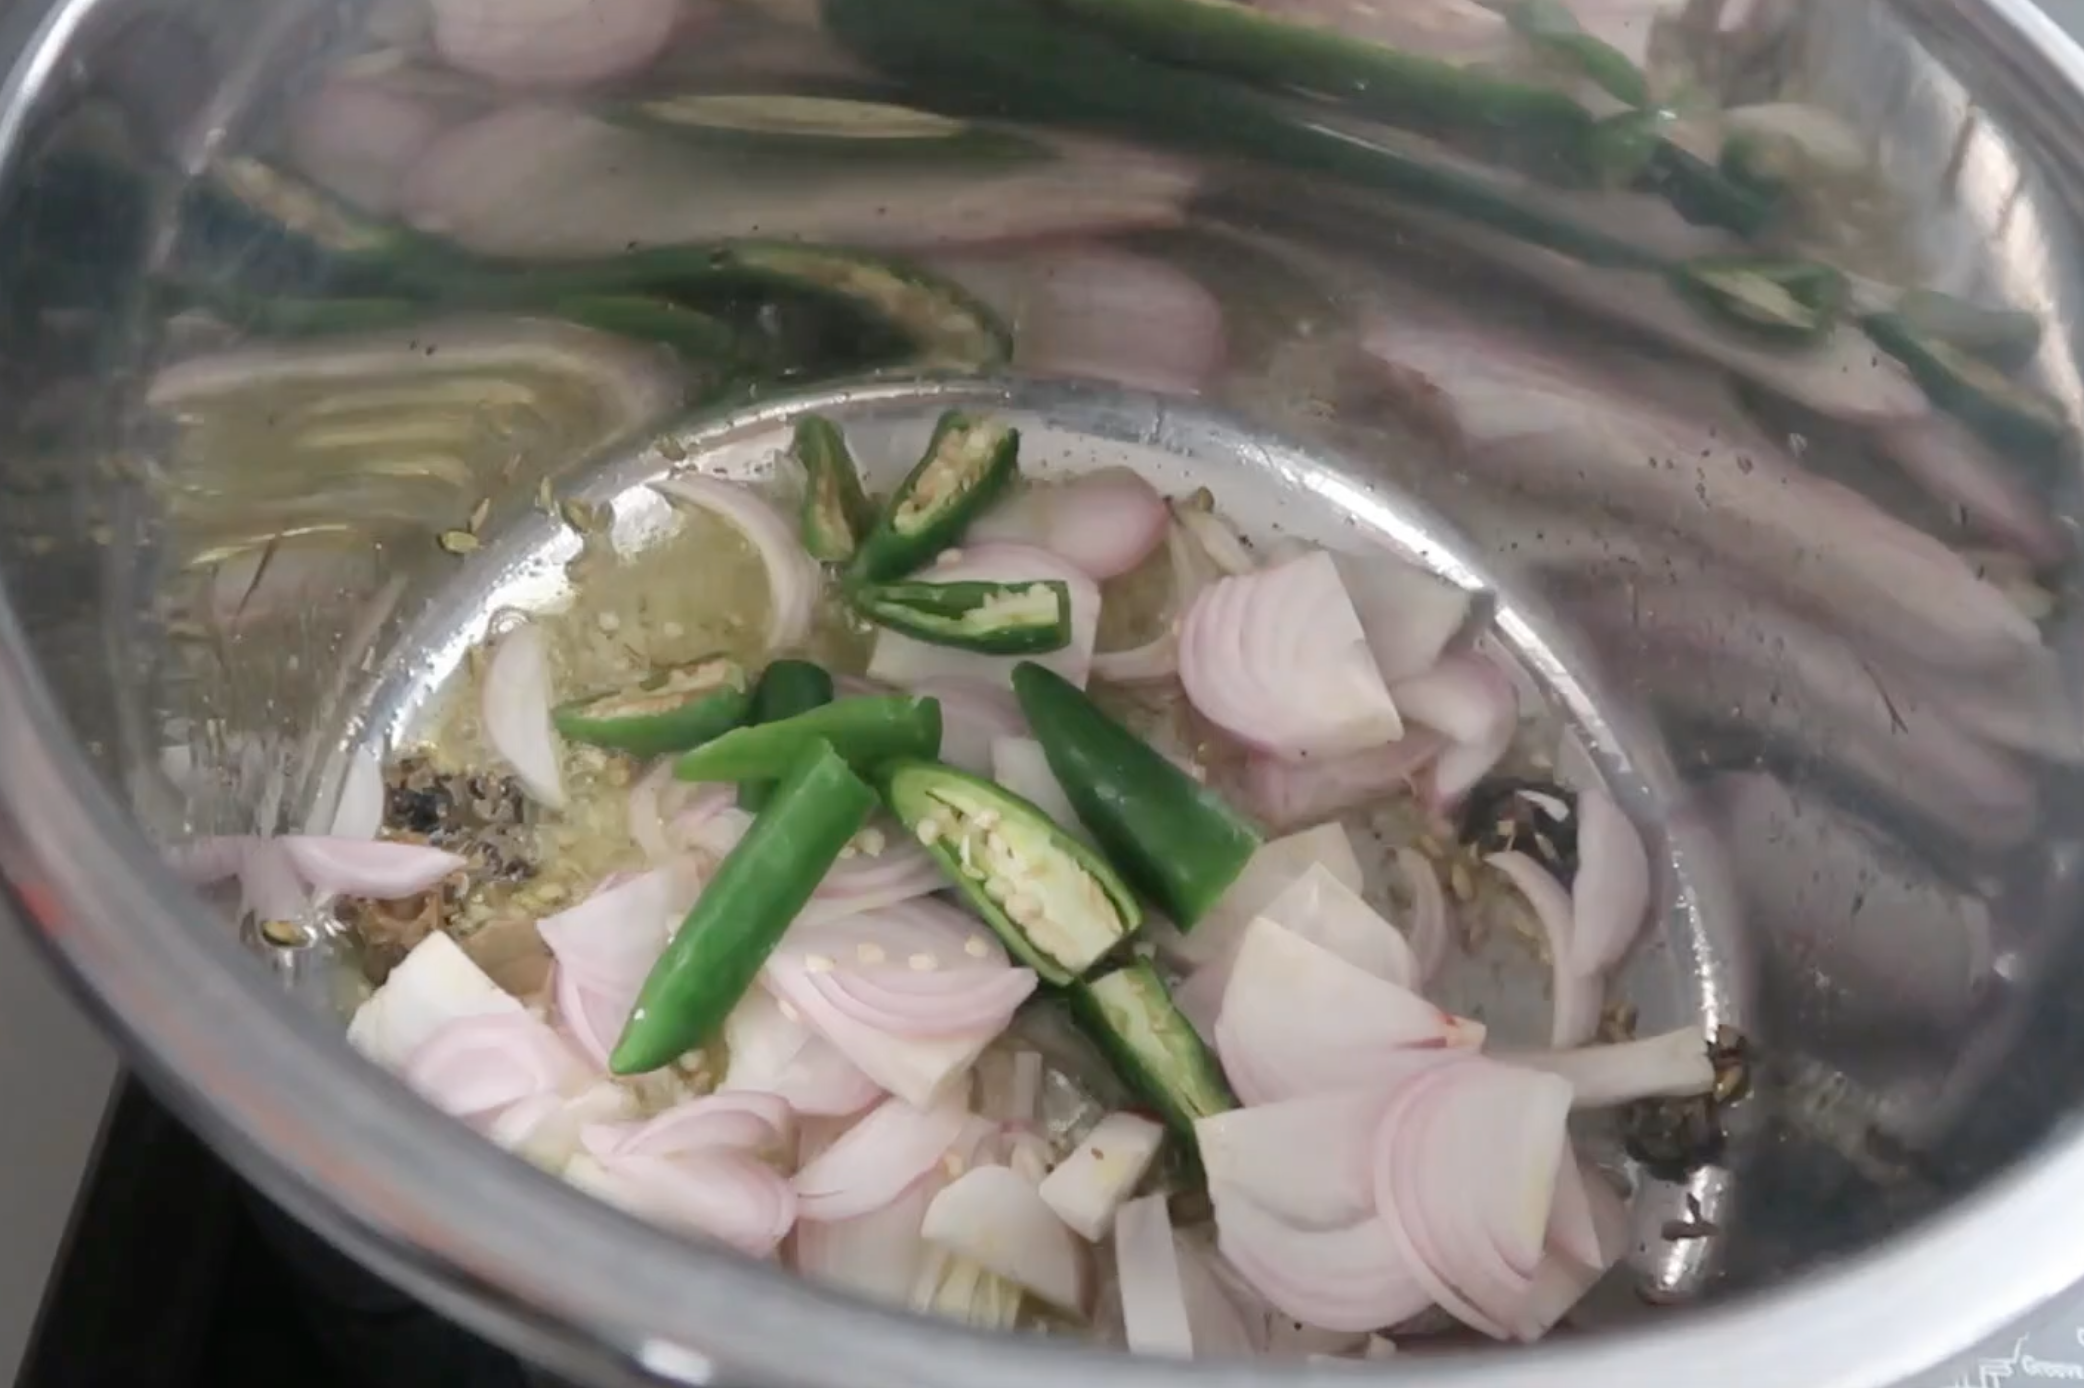
5)fry the onions till golden brown.
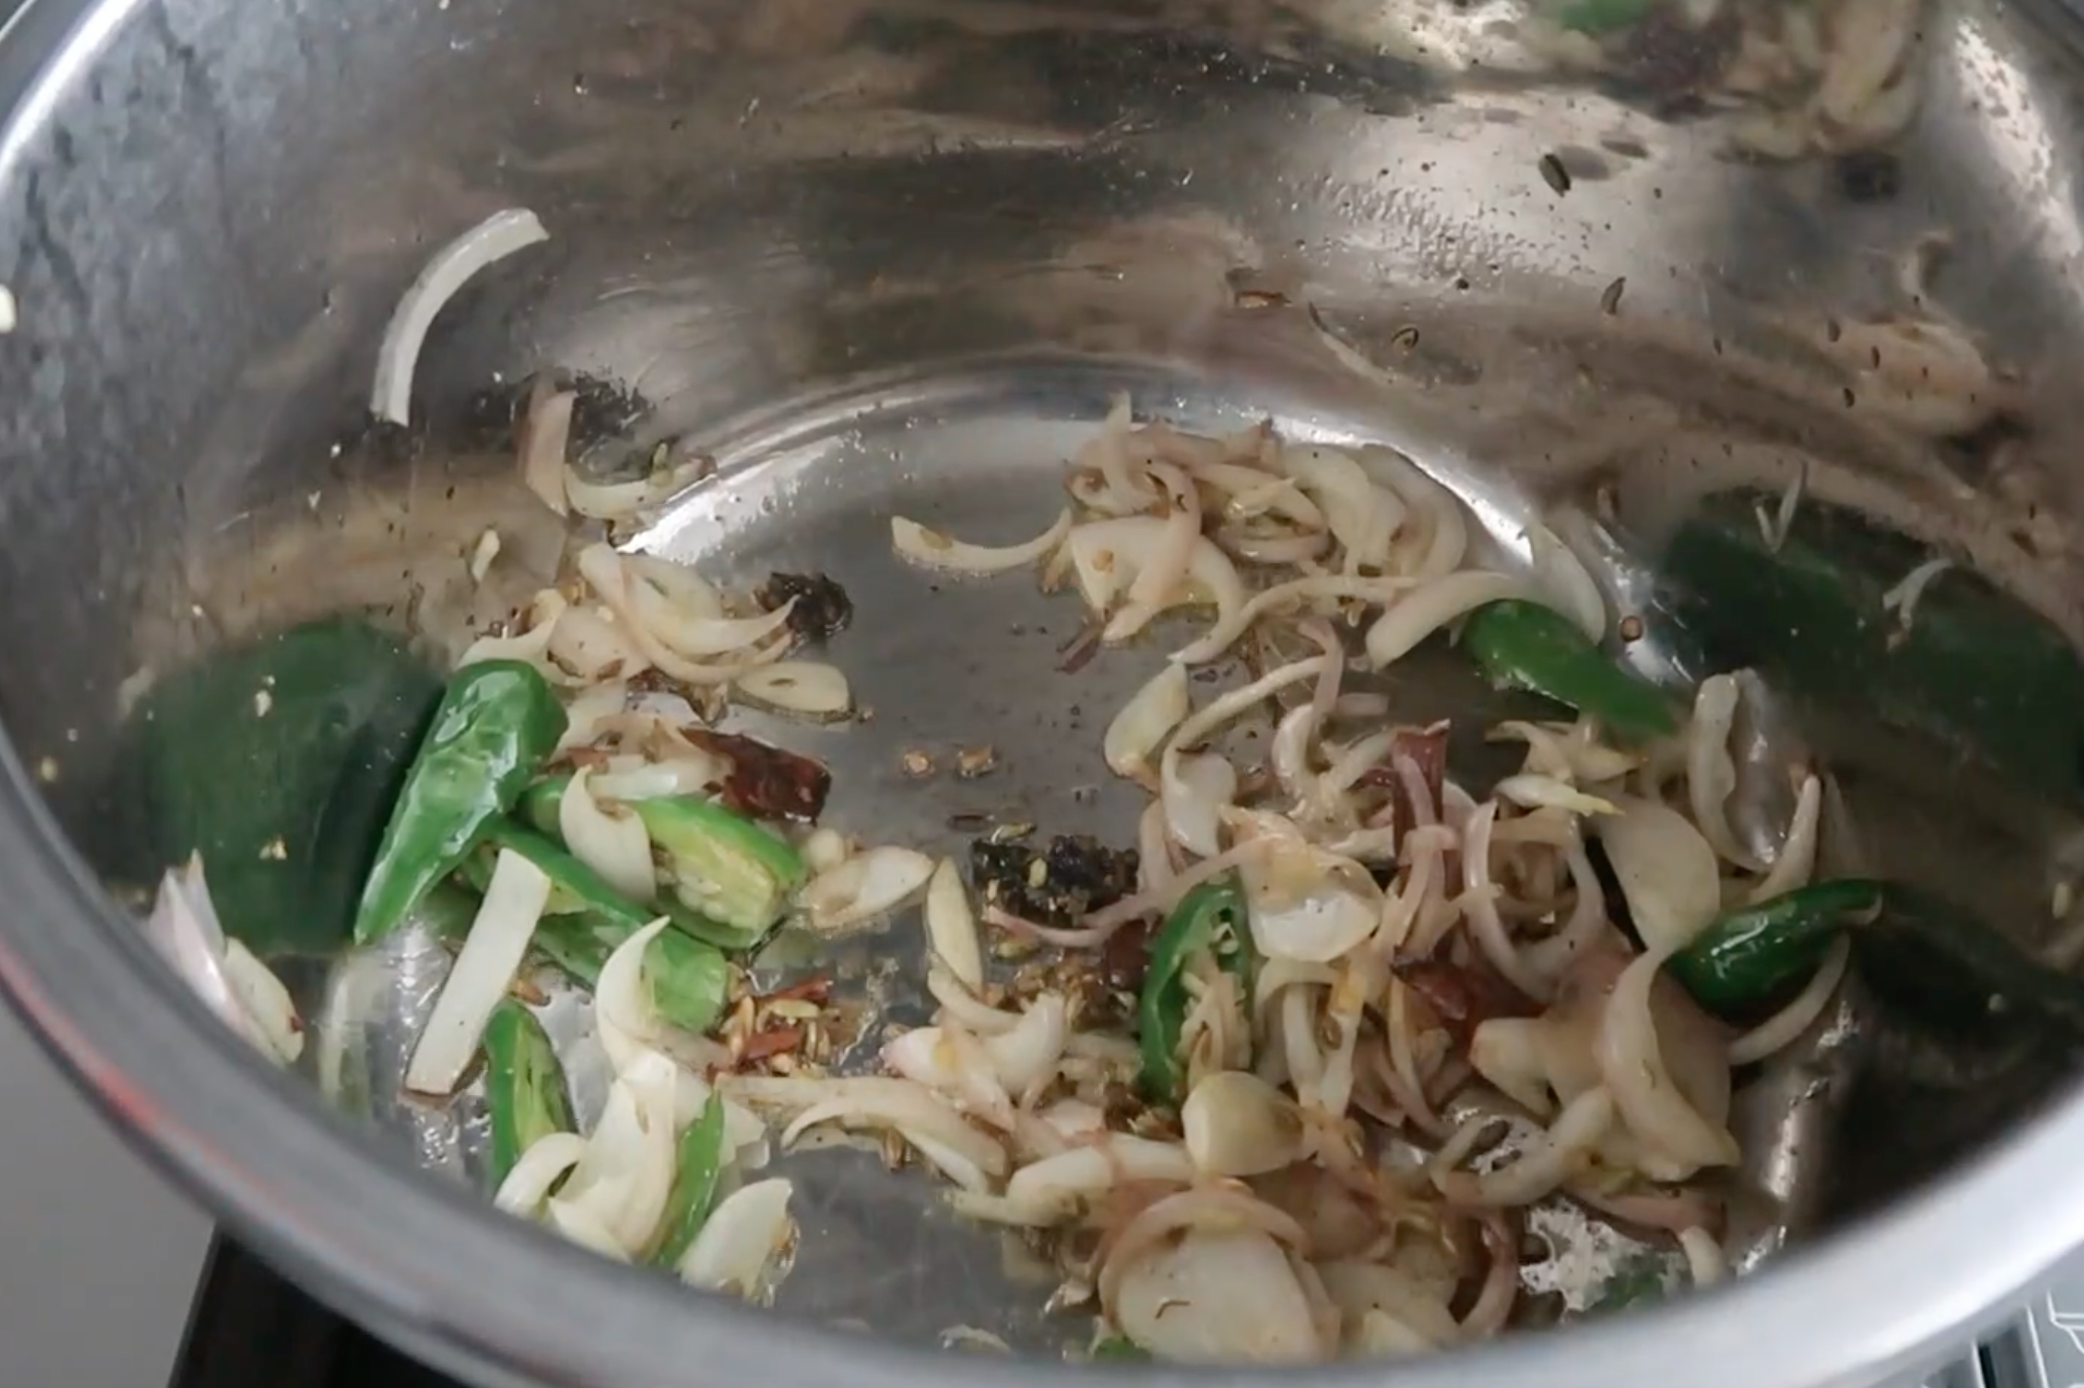
6)Add in ginger garlic paste. Sauté this for 1 mins.
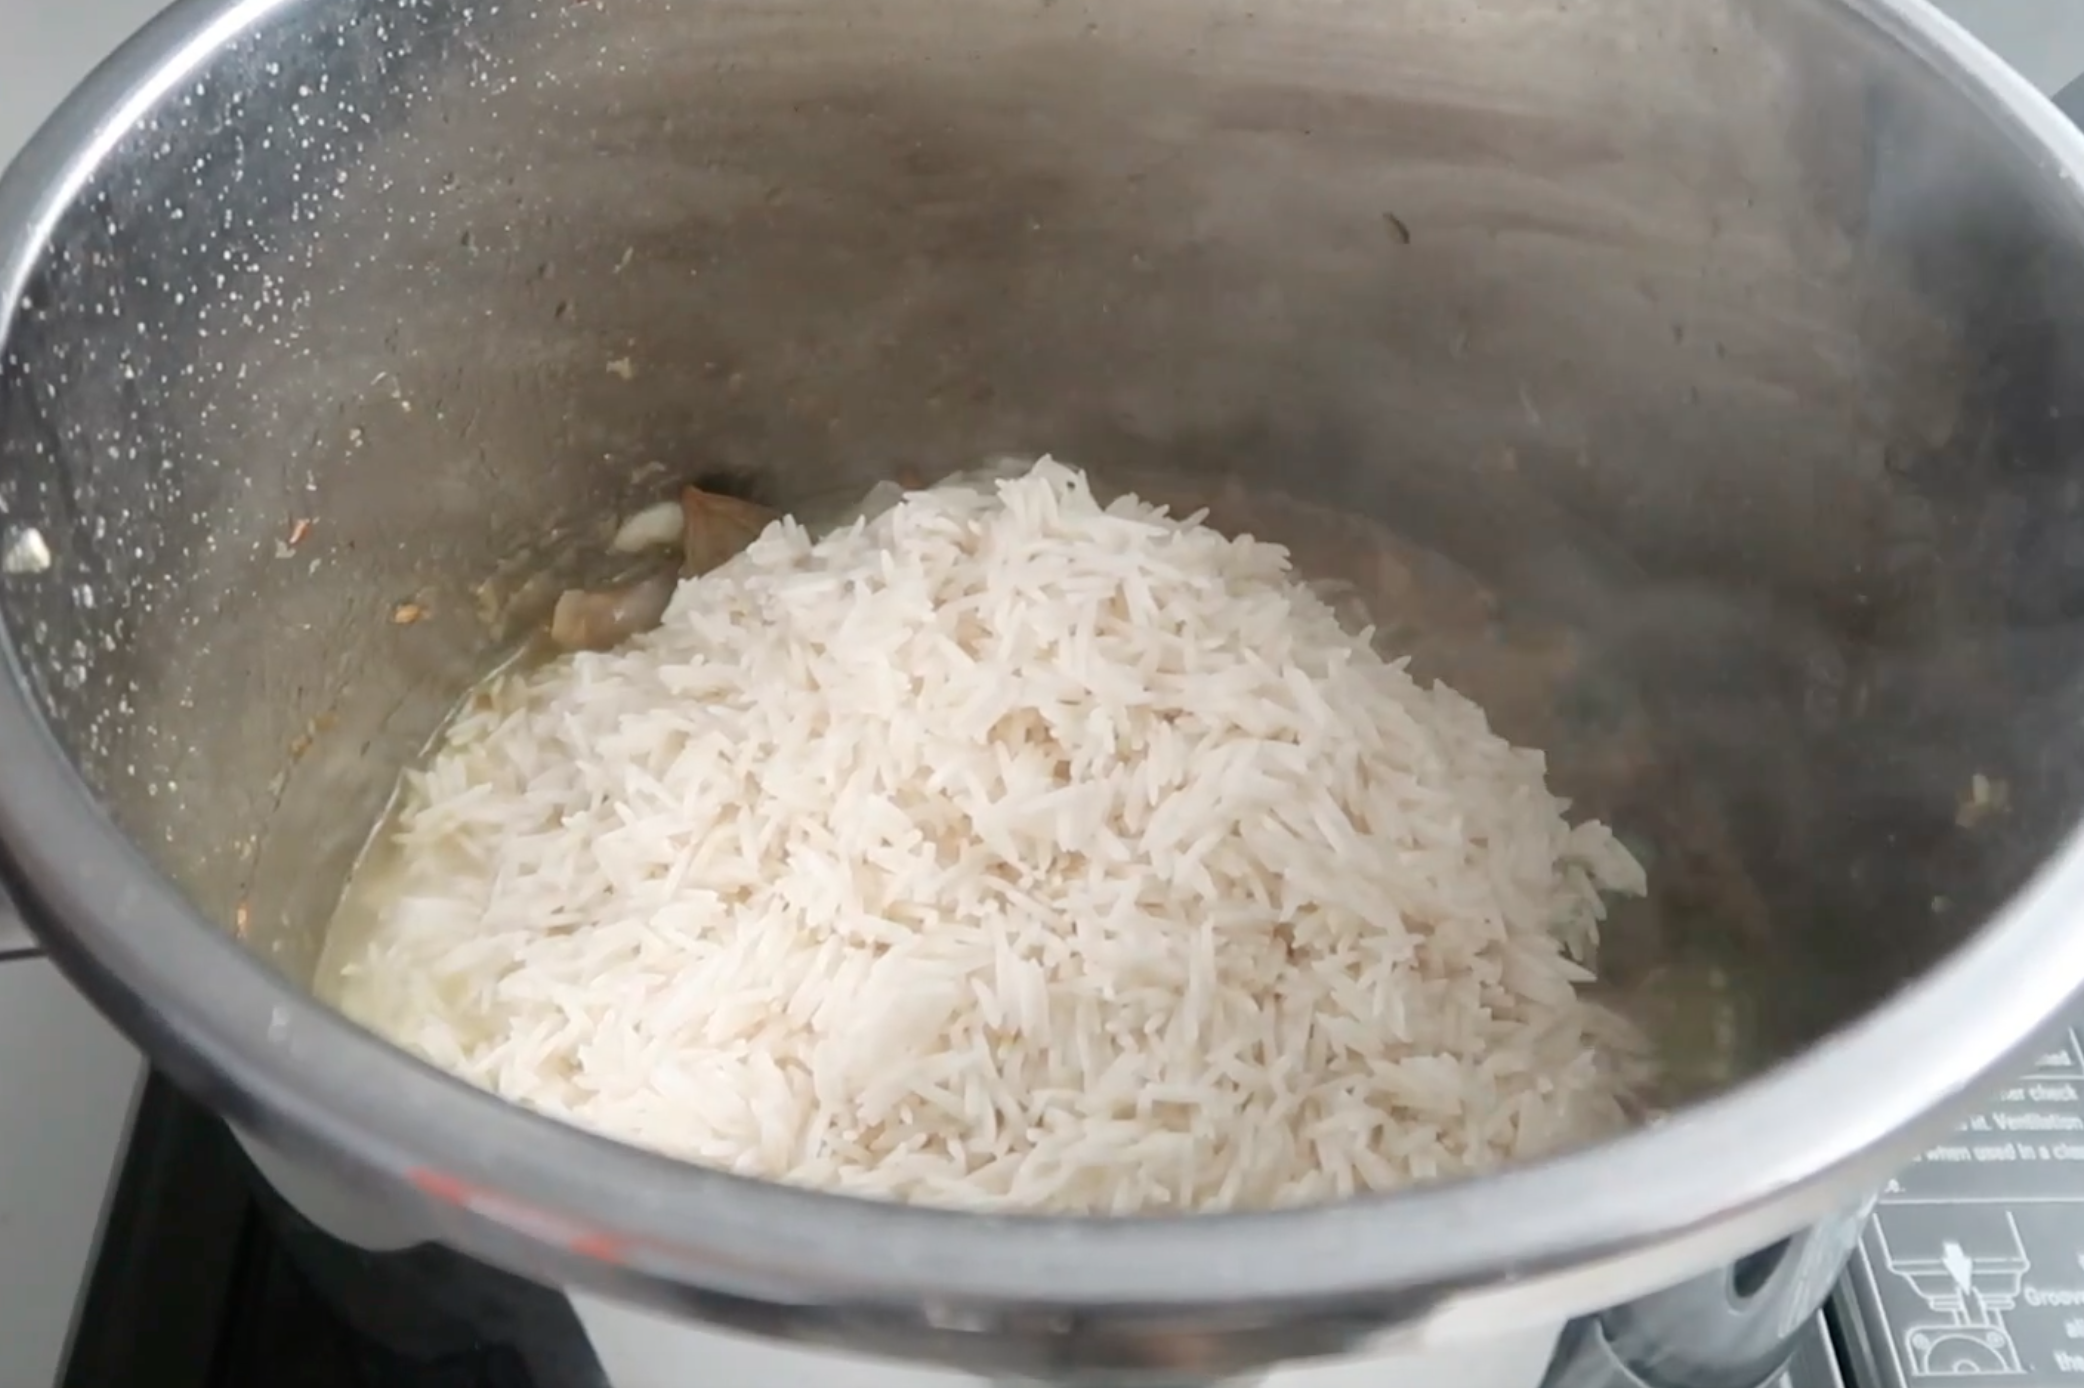
7)Add in the soaked basmati rice. Mix well.
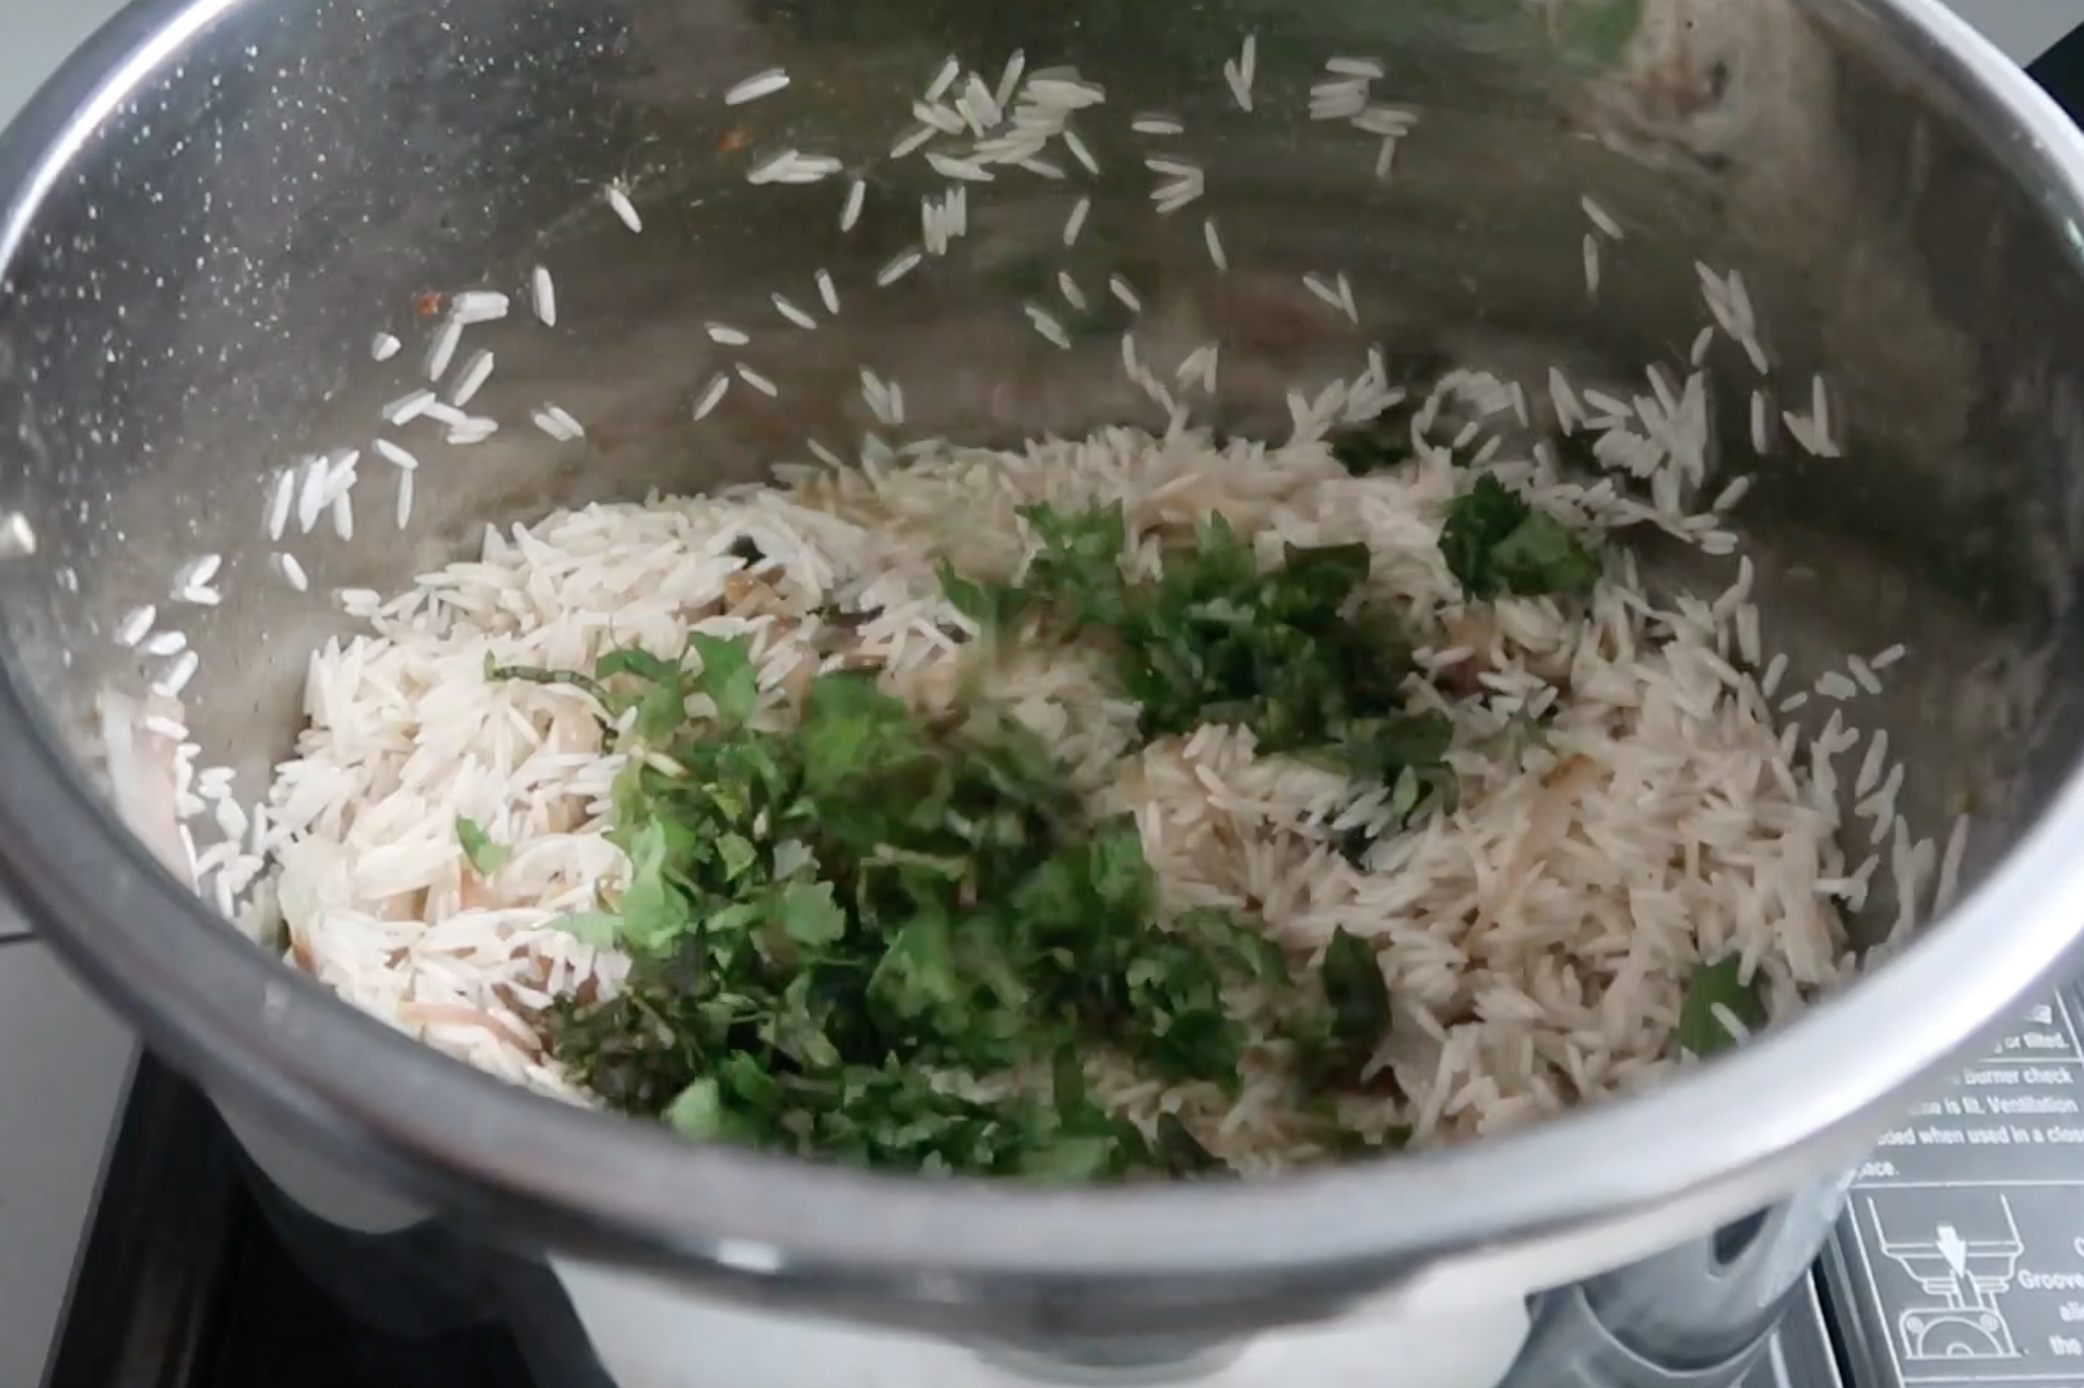
8)Add mint and coriander leaves.
8)Pour in water
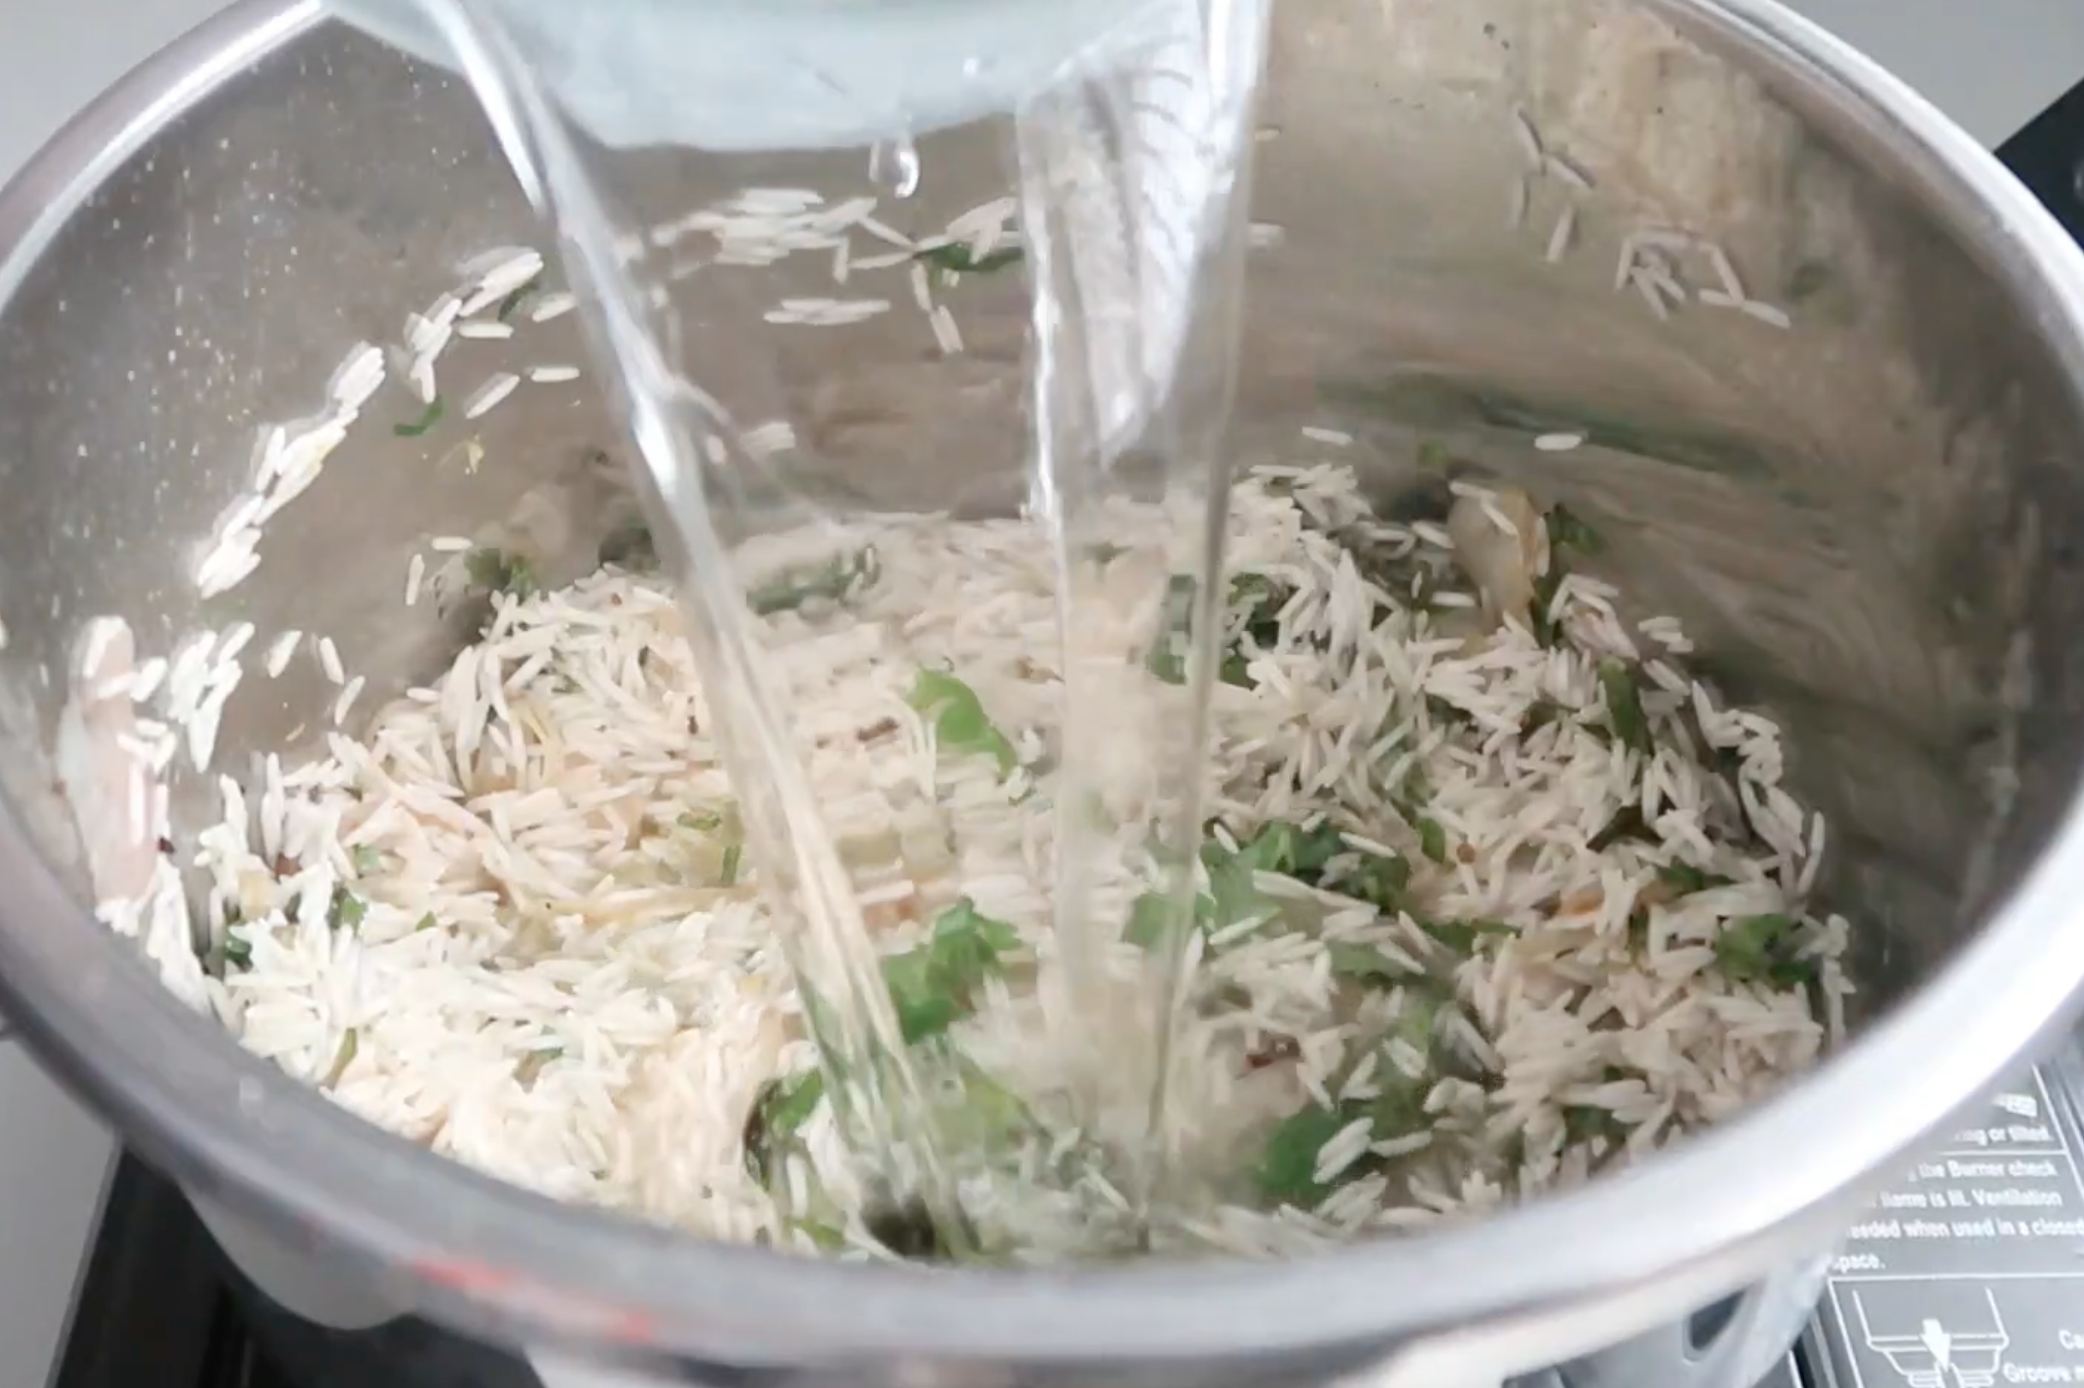
9)Add in salt to taste.
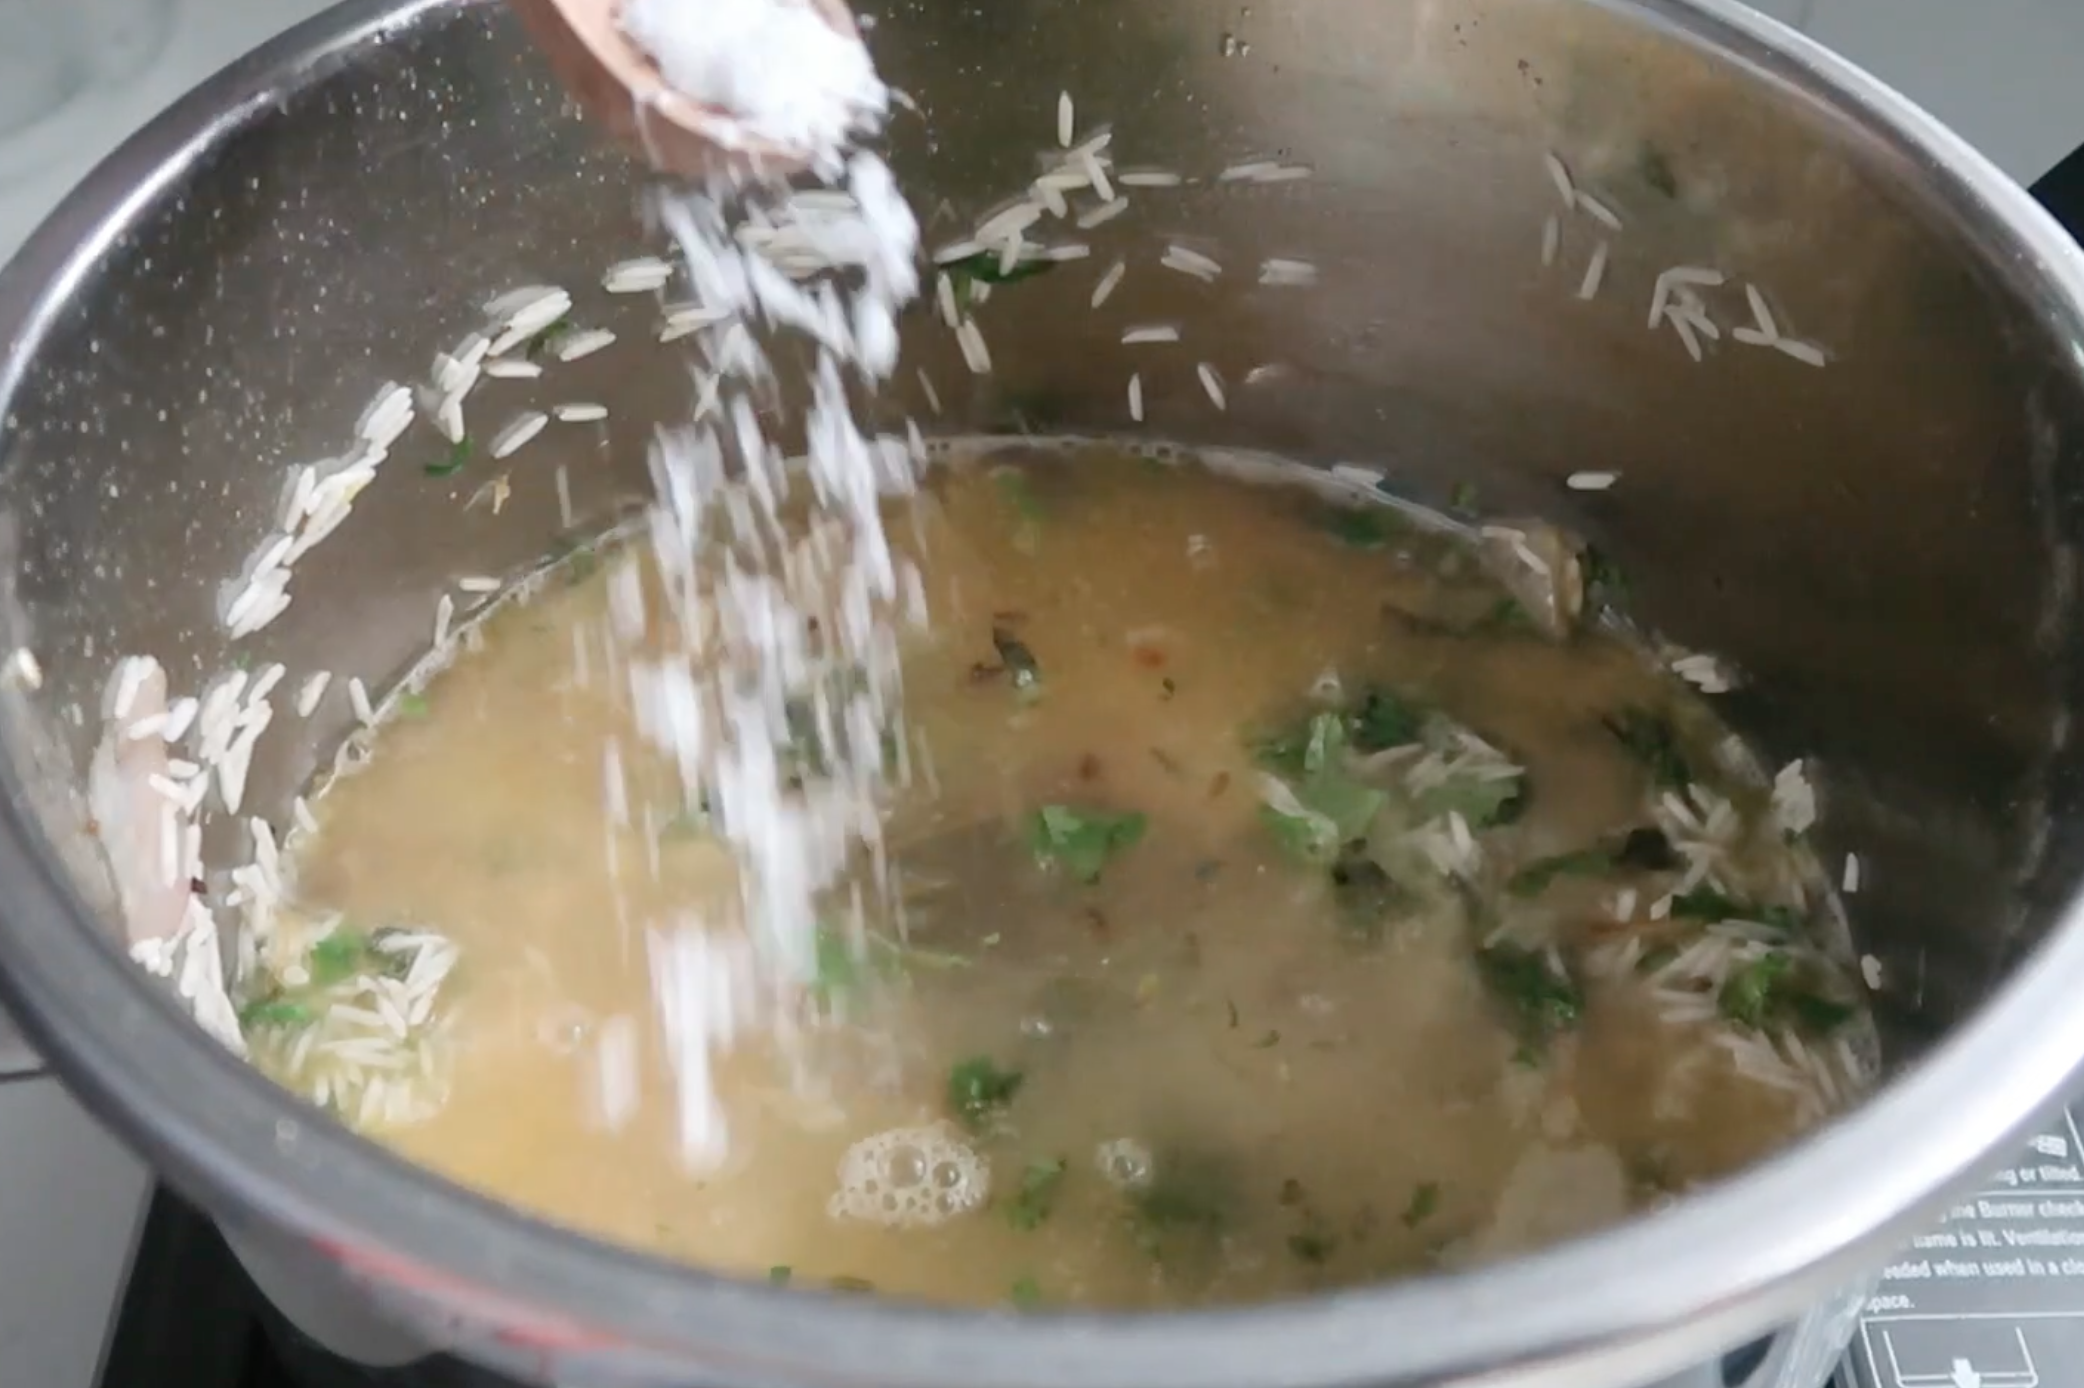
10)mix well.
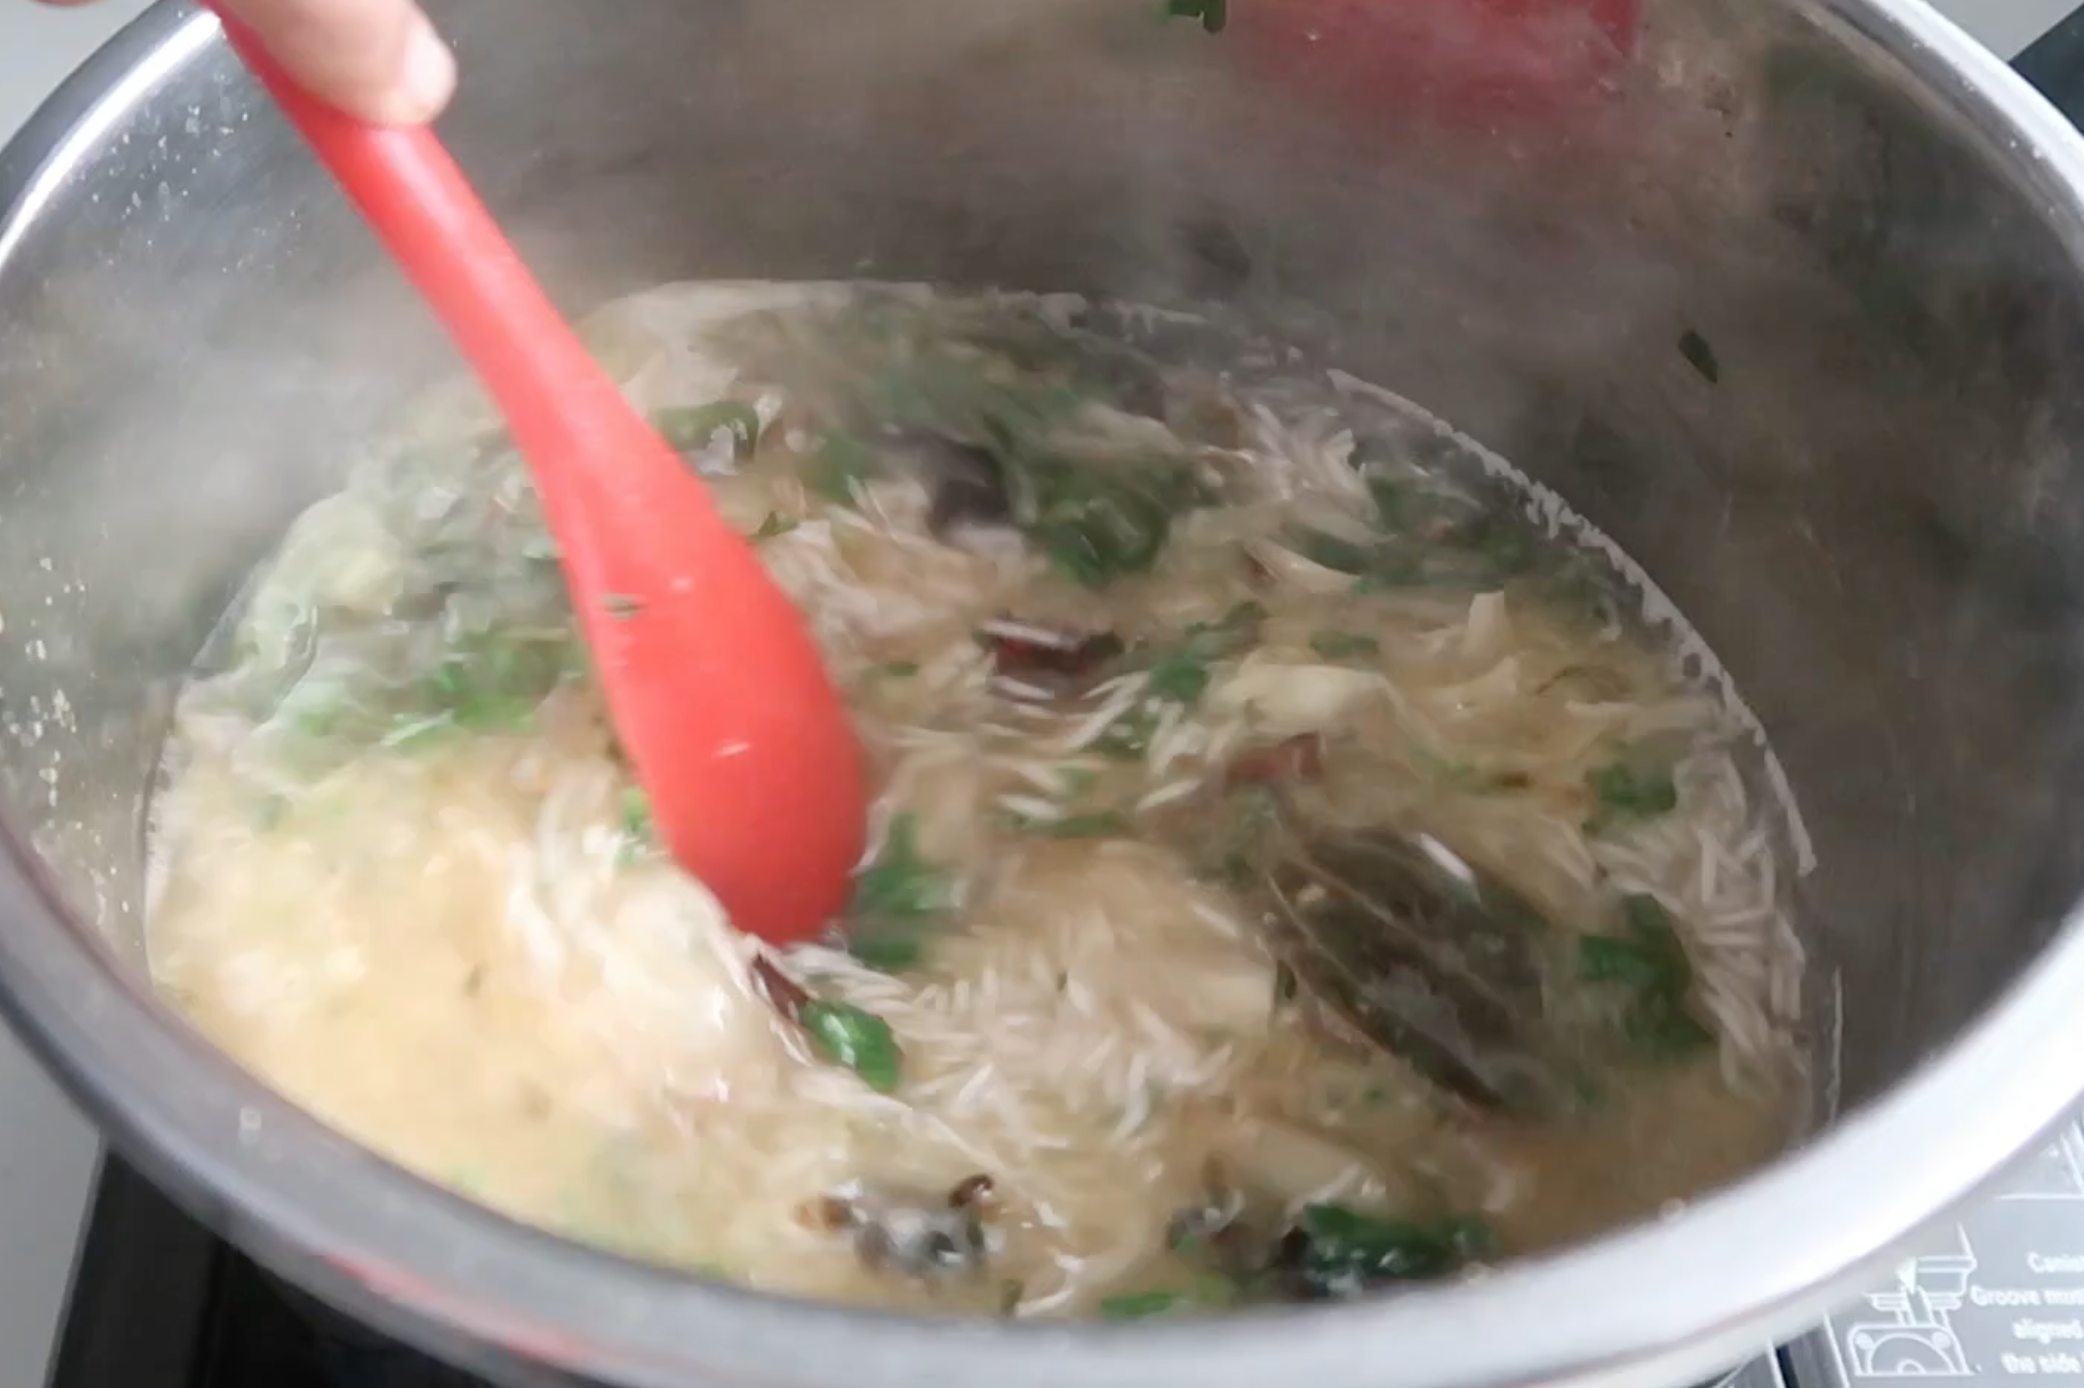
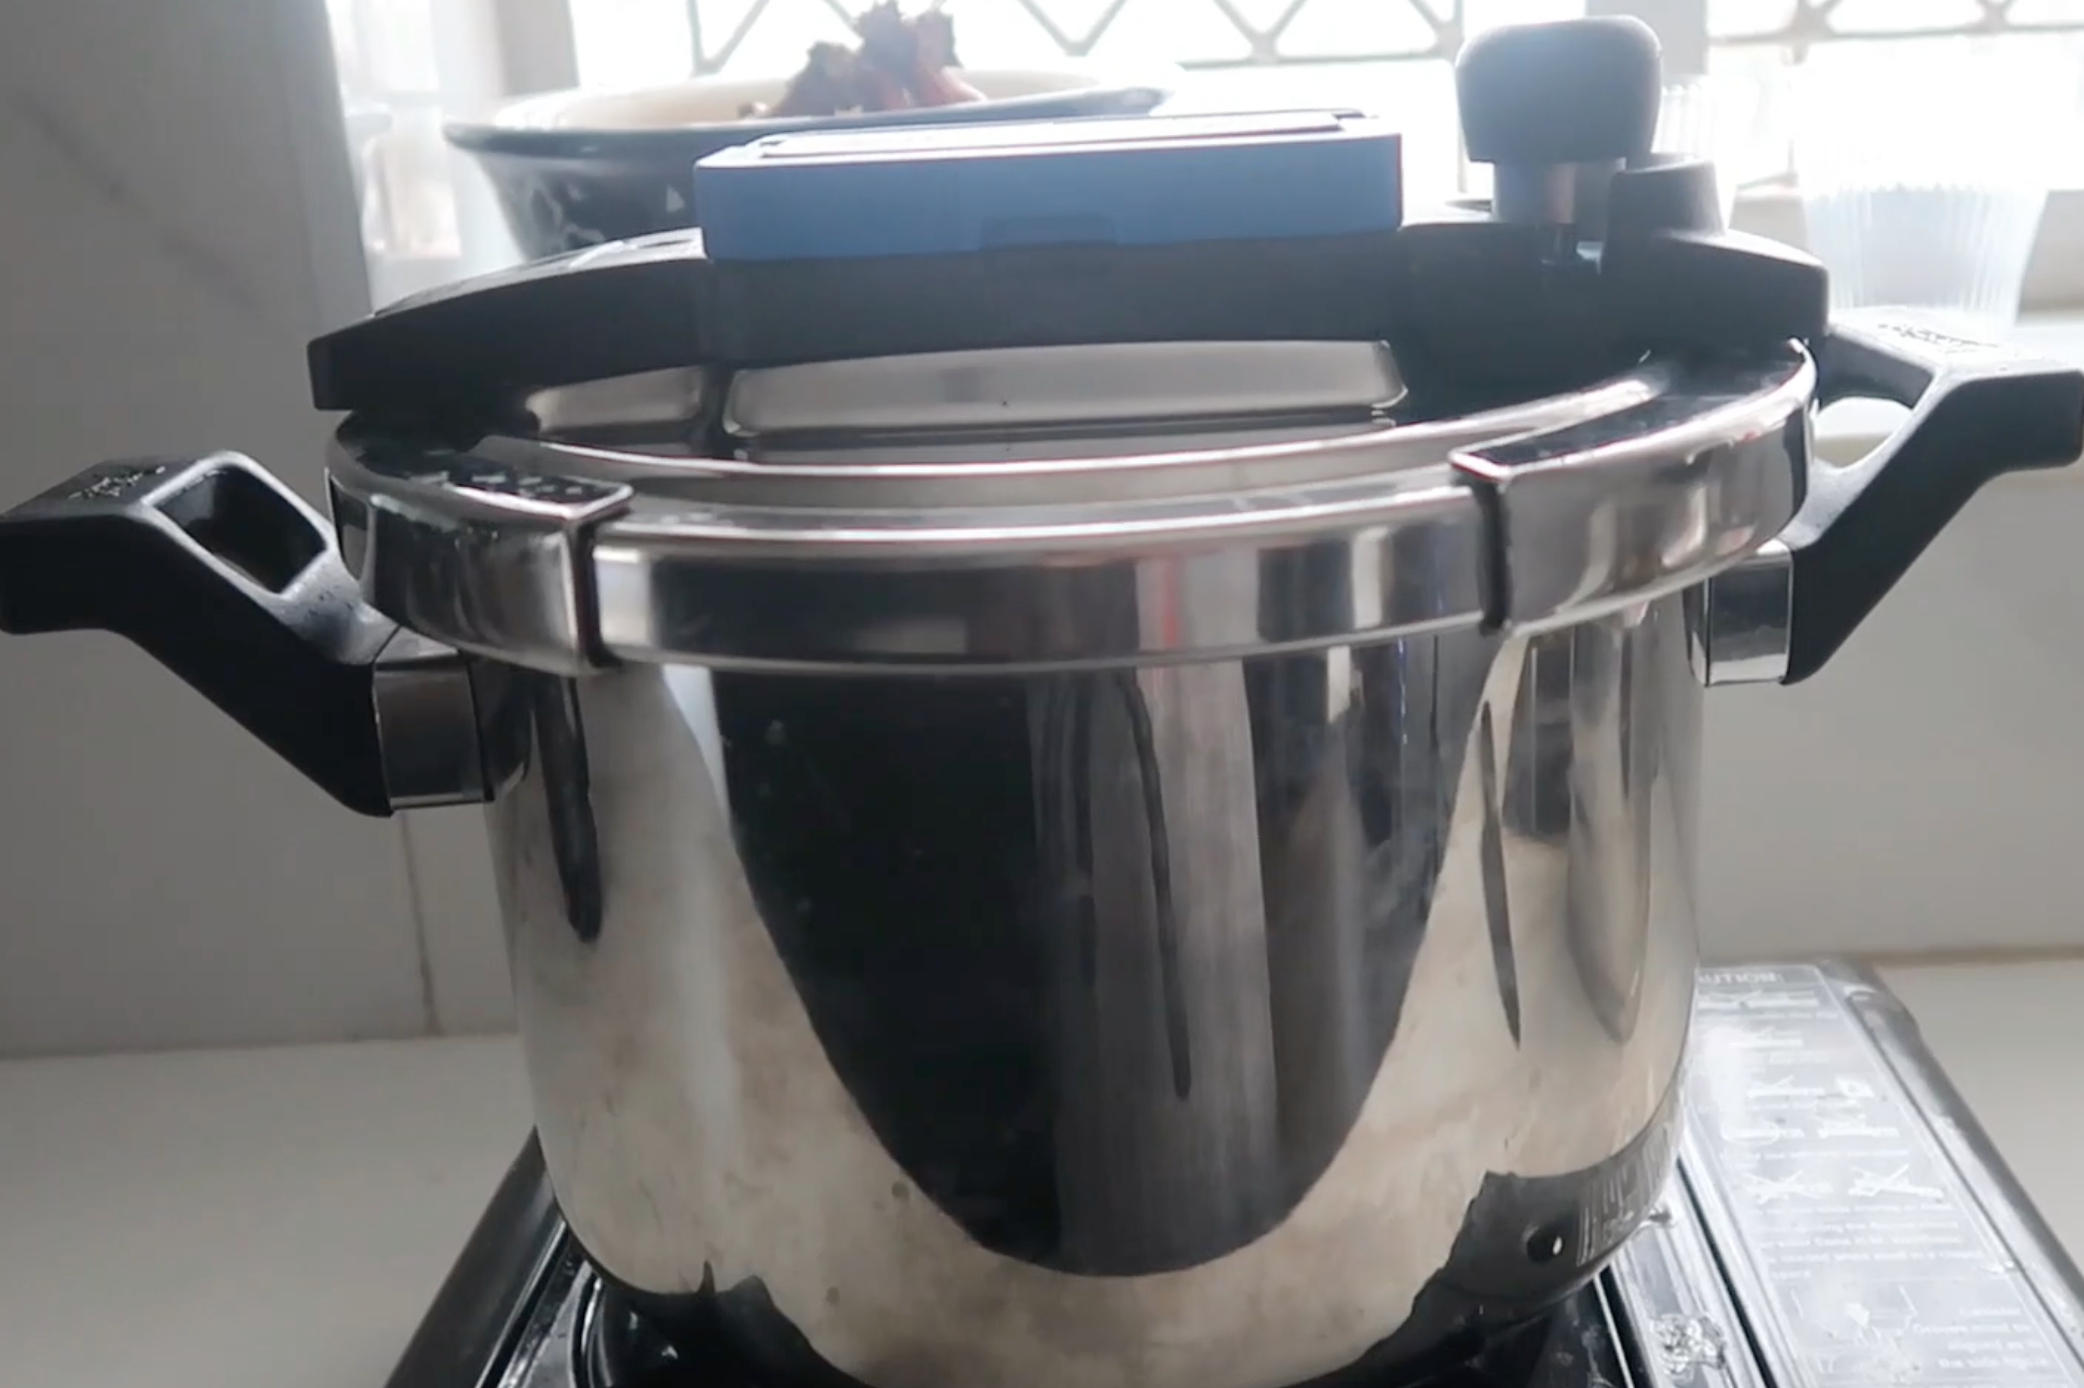
11)Bring everything to a boil. Cover and pressure cook for 1 whistle, simmer for 1 min. Turn off the flame and let the pressure release by itself.
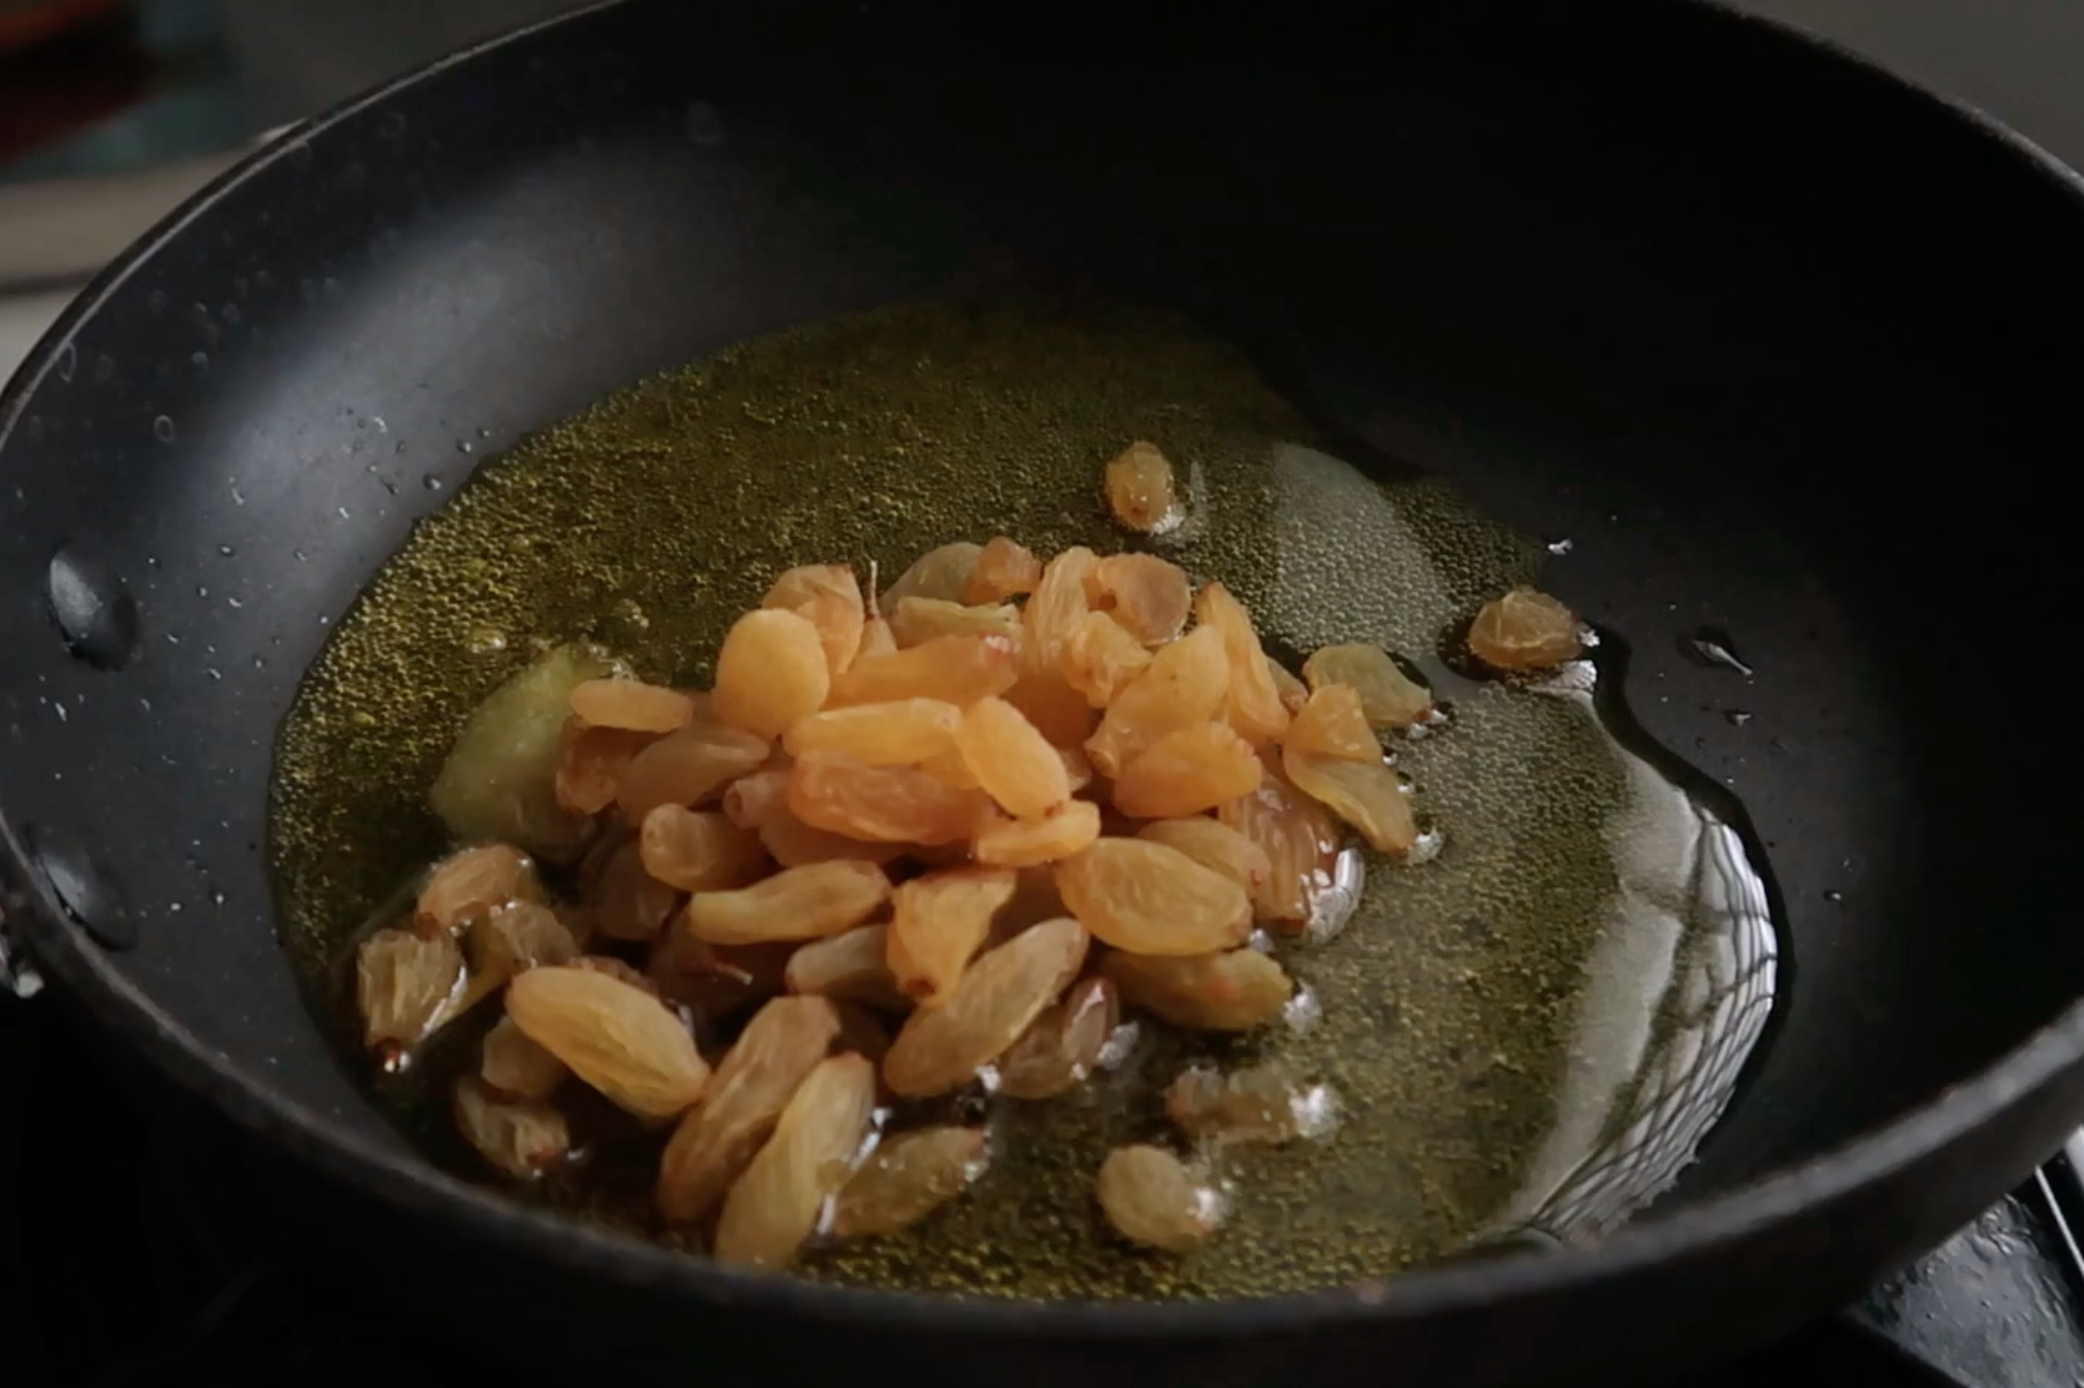
12)Meanwhile make the garnish. Heat ghee in a pan. Add in cashews fry till golden brown. Remove to a plate. Add in kishmish and fry till golden. Remove this to a plate.
13)In the same ghee fry onions till golden brown. Drain and set aside.
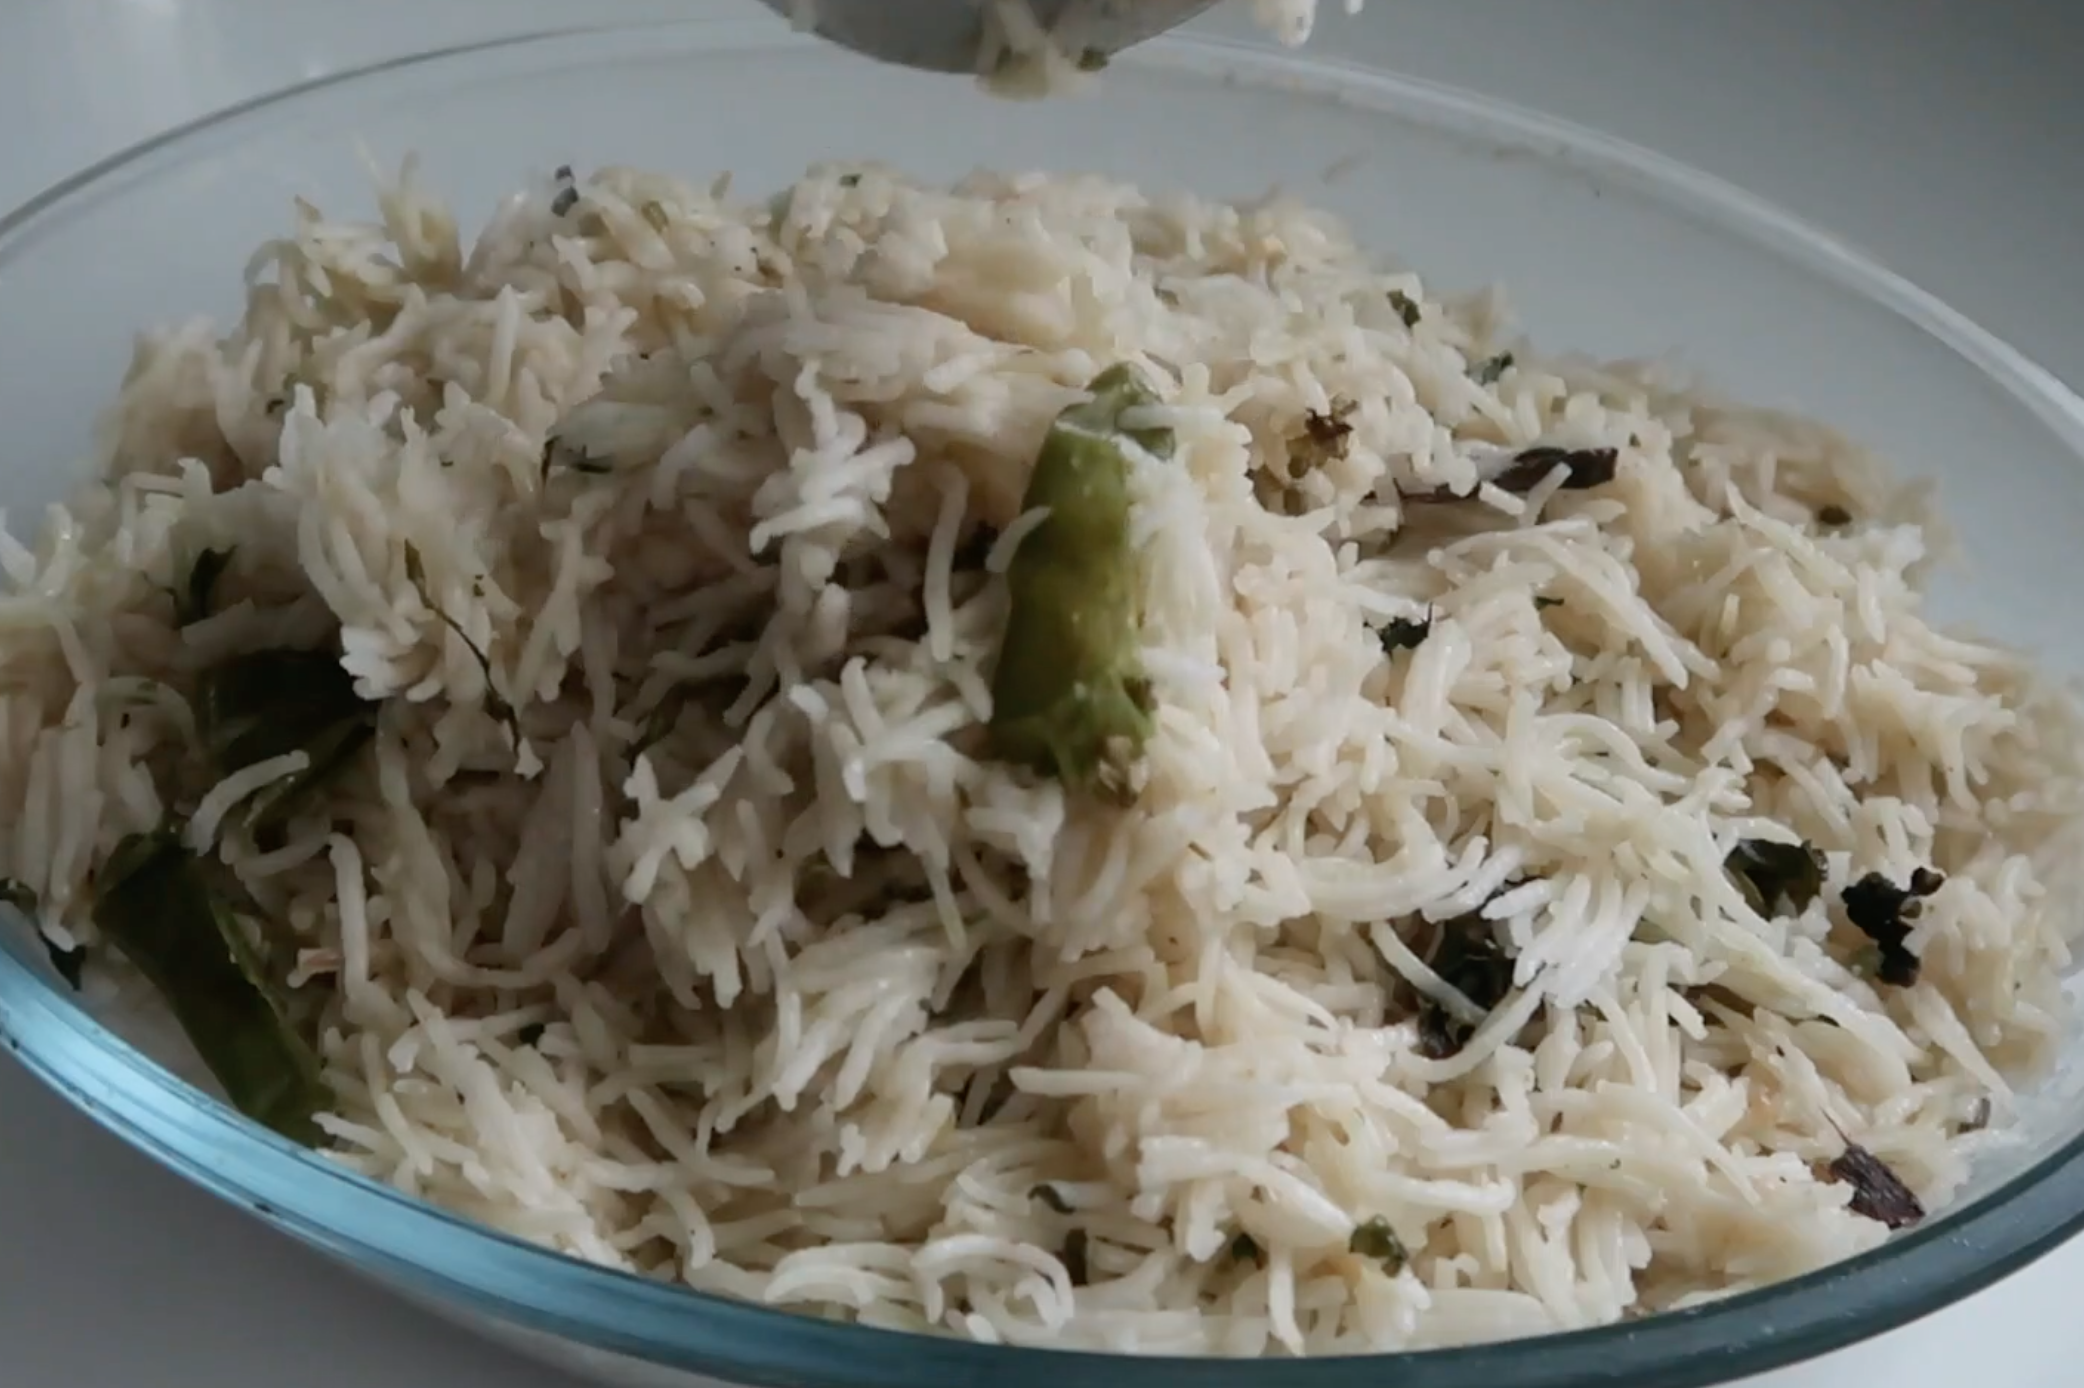
14)Once the pressure is released in the cooker, open it and gently mix the rice using a fork or a spatula. Be gentle else the rice may get broken.
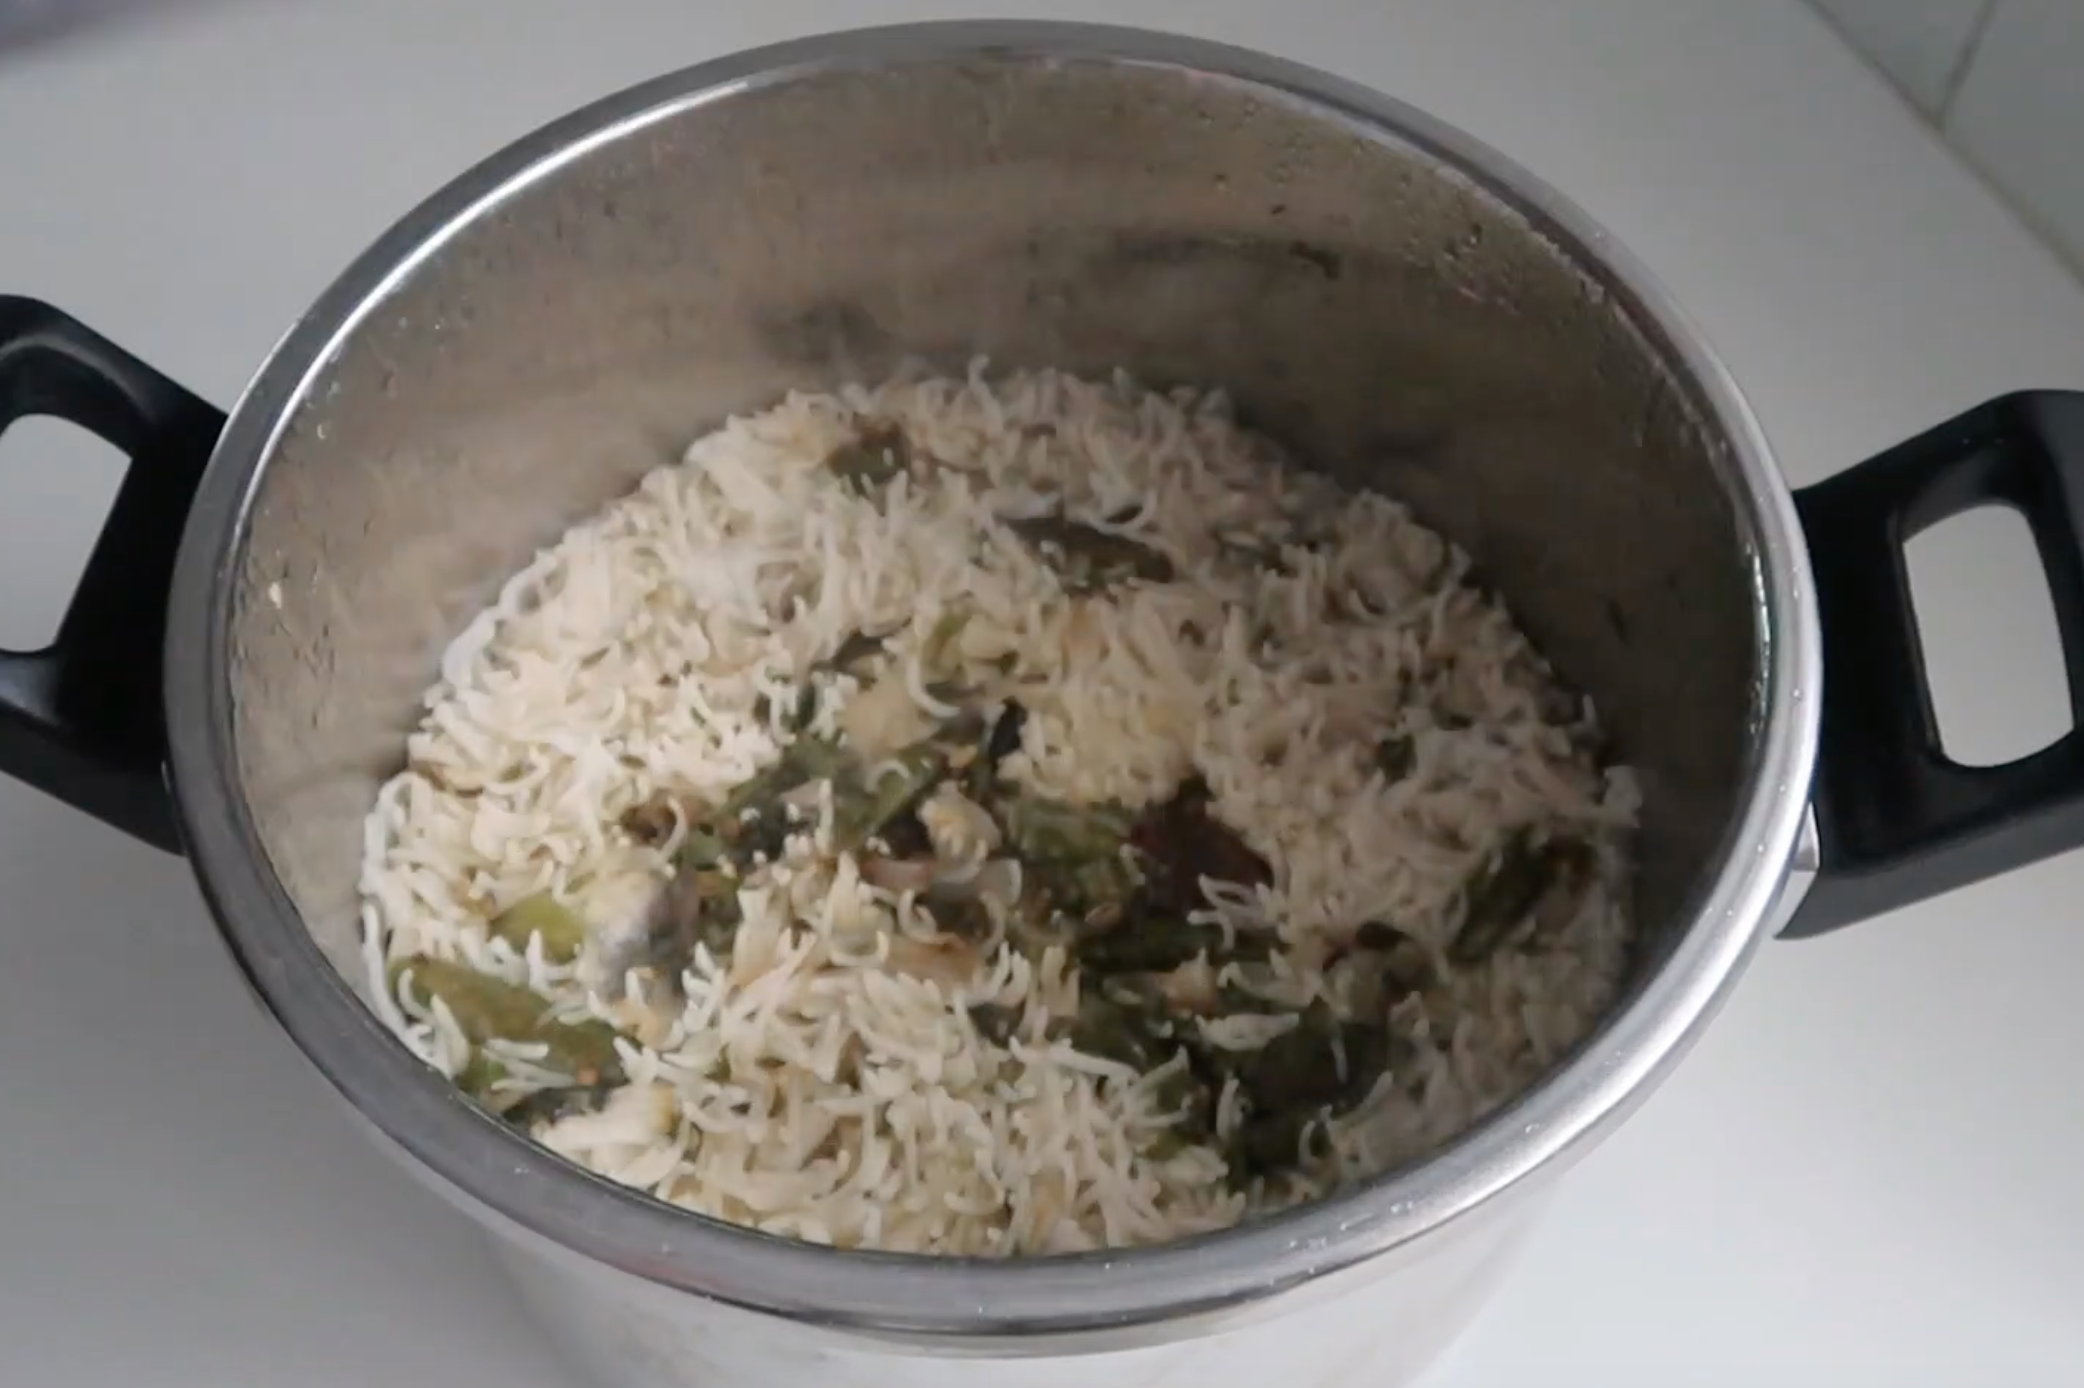
15)Now spoon this to a serving dish gently.
16)Garnish with fried cashews, sultanas and fried onions. Serve.
Tips & Tricks
- Wash basmati rice and soak for 30 mins which is very important for fluffier rice.
- Use good quality basmati rice for fragrant and aroma.
- Homemade ghee is best but you can use good quality store bought.
- Don't add too much water or cook longer, else the rice may get mushy.


If you have any questions not covered in this post and if you need help, leave me a comment or mail me @aarthi198689@gmail.com and I'll help as soon as I can.
Follow me on Instagram, Facebook,Pinterest ,Youtube and Twitter for more Yummy Tummy inspiration.


Leave a Reply