
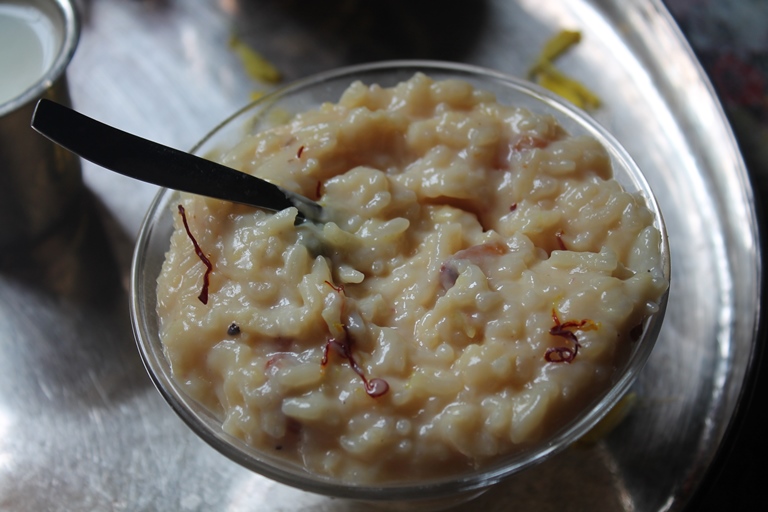
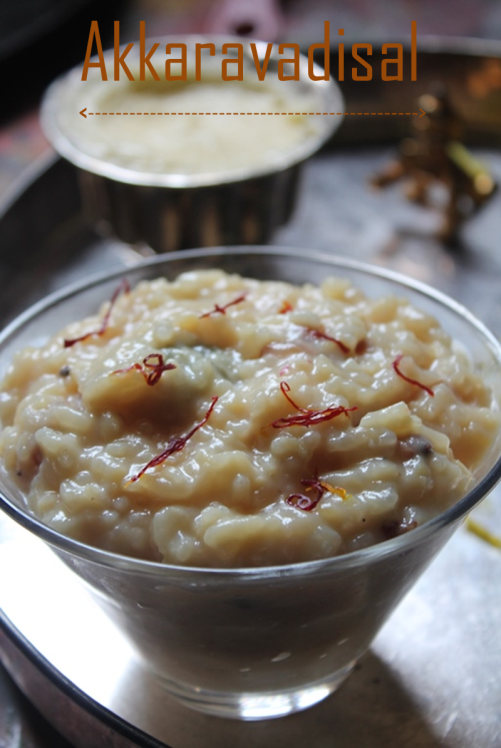
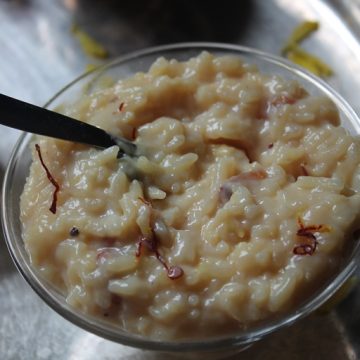
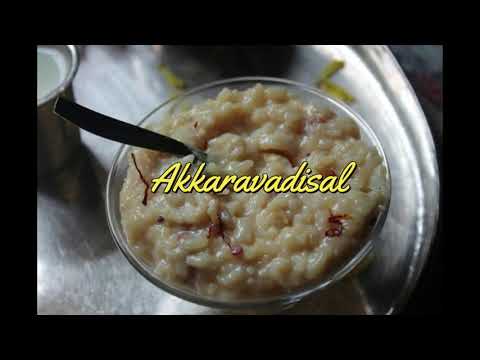
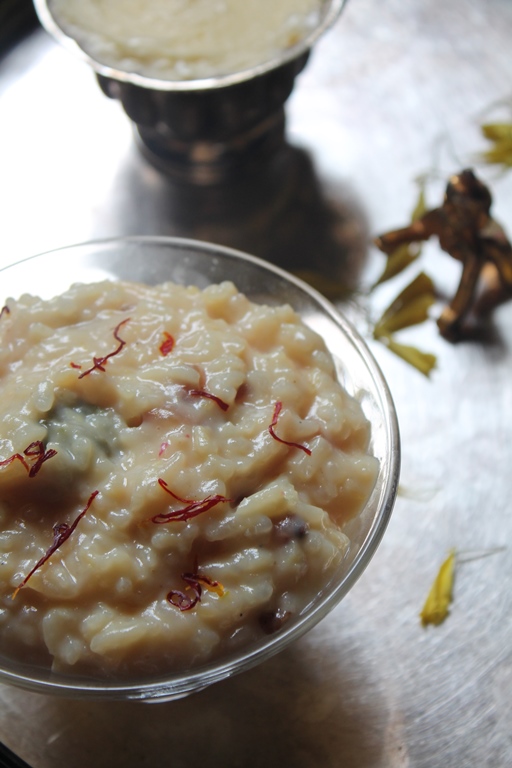
Creamy and delicious akkaravadisal which taste so rich and decadent. This can be served on any special occasions.
Akkaravadisal Recipe
Actually I wanted to post this recipe before krishna jayanthy but i didn't get time to make it. But I made this on krishna jayanthy and i took pics of it. So here i am sharing you the recipe so you can make it for another upcoming festival. Mean while you can check out my sweet pongal recipe and kalkandu pongal recipe(this one is my fav).
Ingredients for Akkaravadisal
- Basmati Rice
- Yellow Split Moongdal / Pasiparuppu
- Sugar
- Milk
- Water
- Cardamom Powder
- Saffron
- Ghee
- Cashews
- Kishmish
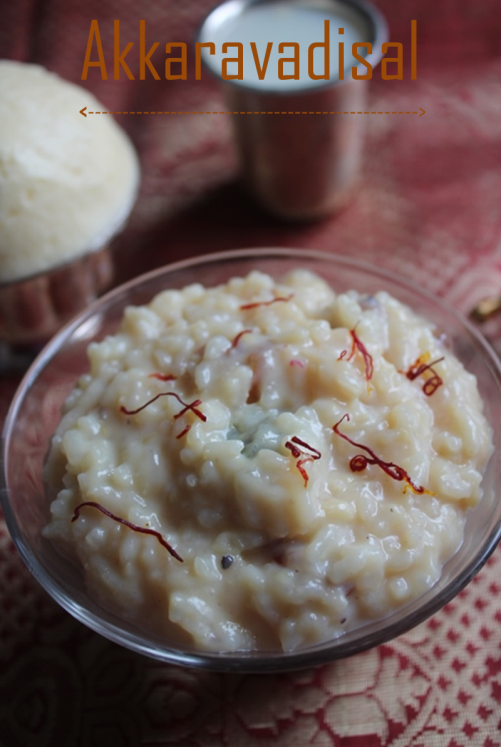
This is not the traditional way of making this dish. The traditional recipe calls for jaggery. I will share that recipe soon.I used sugar in this recipe and it turned out so tasty. Also the little saffron added in this makes it so flavourful and exotic.
Akkaravadisal Preparation
- Wash rice and dal together and soak them for 30 mins. Soak saffron in 1 tblspn of milk.
- Now take a heavy bottom pan, add in a teaspoon of ghee. Add the soaked drained rice and dal and fry for few mins.
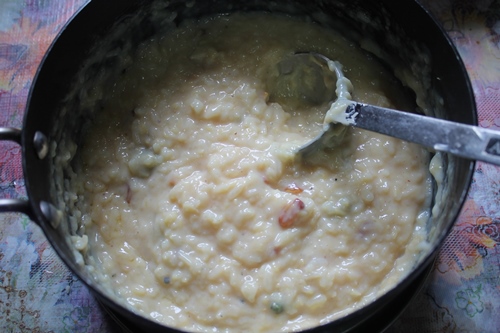
- Now add in milk and water. Bring it to boil, simmer the stove and cook on a low heat for 30 to 35 mins till the rice and dal is completely cooked and mashed up. Keep stirring often.
- Now add in sugar and some more milk if needed. Keep stiring, or it will burn.
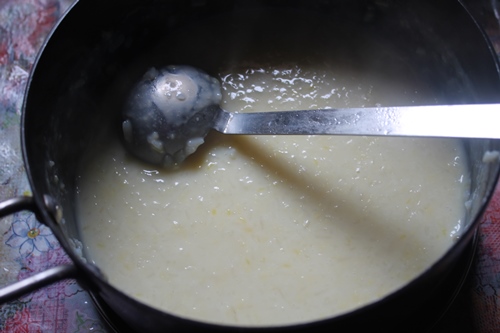
- Once everything is mixed and the mixture has got thick, add in cardamom powder and saffron milk. Mix well.
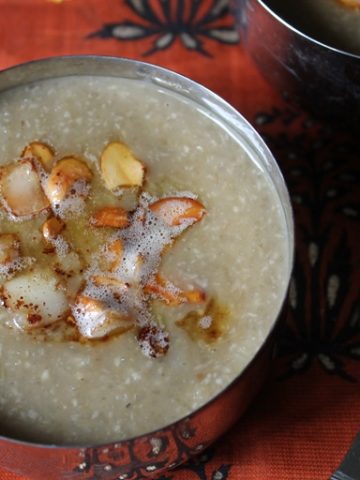
- Now fry cashews and kishmish in ghee and pour that over the rice. Mix well.
- Let it cool so it will get even thicker and then Serve.
I hope you will try this out and let me know how it turns out for you.
If you have any questions not covered in this post and if you need help, leave me a comment or mail me @aarthi198689@gmail.com and I'll help as soon as I can.
Follow me on Instagram, Facebook,Pinterest ,Youtube and Twitter for more Yummy Tummy inspiration.
IF YOU MAKE THIS RECIPE OR ANYTHING FROM YUMMY TUMMY, MAKE SURE TO POST IT AND TAG ME SO I CAN SEE ALL OF YOUR CREATIONS!! #YUMMYTUMMYAARTHI AND @YUMMYTUMMYAARTHI ON INSTAGRAM!
📖 Get Recipe
Akkaravadisal Recipe
Creamy and delicious akkaravadisal which taste so rich and decadent. This can be served on any special occasions.
Ingredients
- Basmati Rice - ½ cup
- Yellow Split Moongdal / Pasiparuppu - ¼ cup
- Sugar - ½ cup
- Milk - 3 cup
- Water - 1 cup
- Cardamom Powder - 1 tsp
- Saffron a pinch
- Ghee - 2 tblspn + 1 tsp
- Cashews - 10
- Kishmish - 15
Instructions
- Wash rice and dal together and soak them for 30 mins. Soak saffron in 1 tblspn of milk.
- Now take a heavy bottom pan, add in a teaspoon of ghee. Add the soaked drained rice and dal and fry for few mins.
- Now add in milk and water. Bring it to boil, simmer the stove and cook on a low heat for 30 to 35 mins till the rice and dal is completely cooked and mashed up. Keep stiring often.
- Now add in sugar and some more milk if needed. Keep stiring, or it will burn.
- Once everything is mixed and the mixture has got thick, add in cardamom powder and saffron milk. Mix well.
- Now fry cashews and kishmish in ghee and pour that over the rice.
- Mix well.
- Let it cool so it will get even thicker and then Serve.
Video
Tried this Recipe
Mention @yummytummyaarthi or tag #yummytummyaarthi!Akkaravadisal Step by Step Pictures
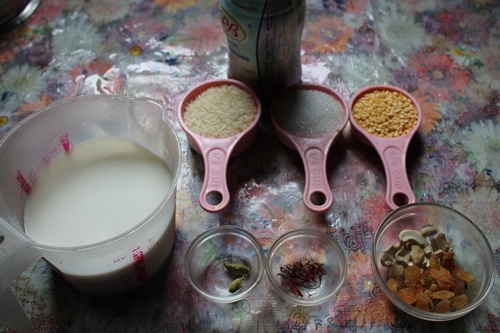 |
| Take your ingredients |
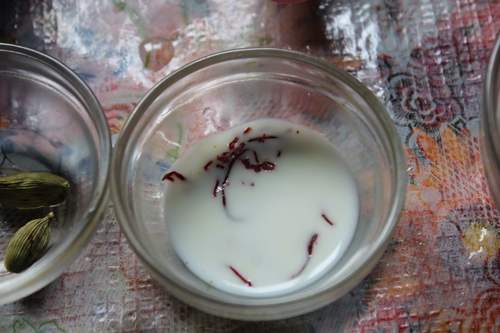 |
| Soak some saffron in milk |
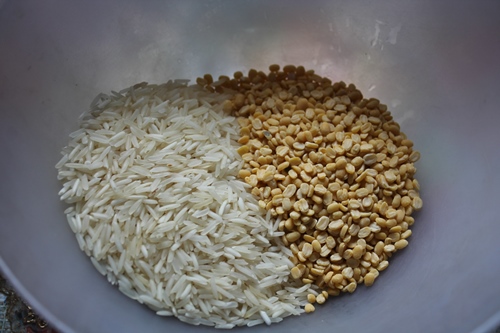 |
| Take rice and moong dal in a bowl |
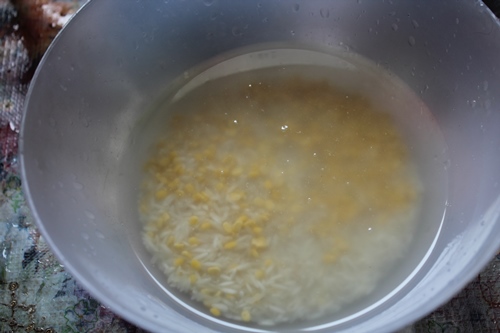 |
| wash them well and soak them for 30 mins |
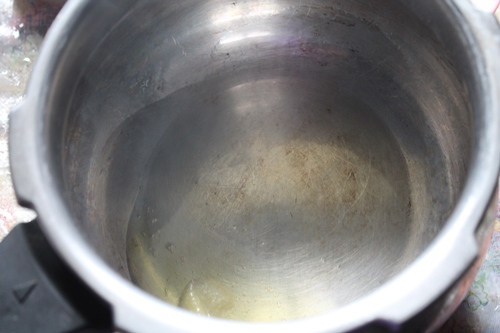 |
| Now heat ghee in a heavy bottom pan |
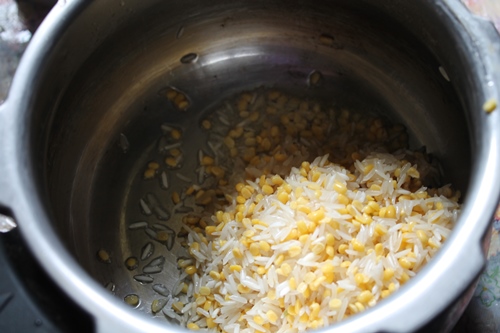 |
| add in rice and dal |
 |
| fry for few mins |
 |
| add in milk |
 |
| and some water |
 |
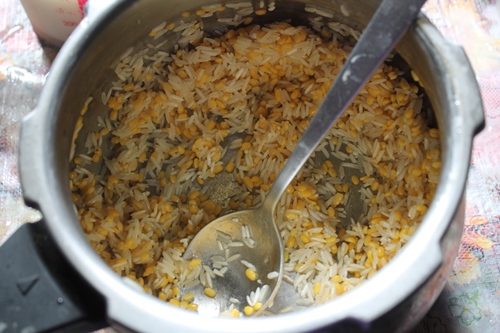
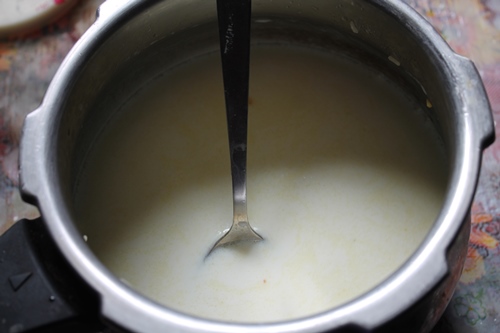
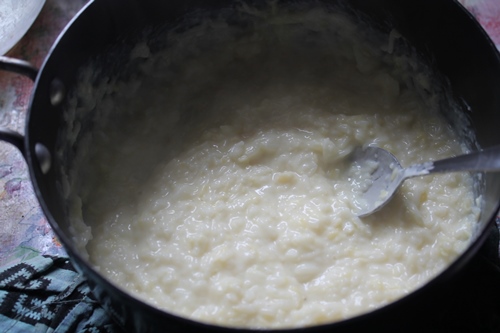
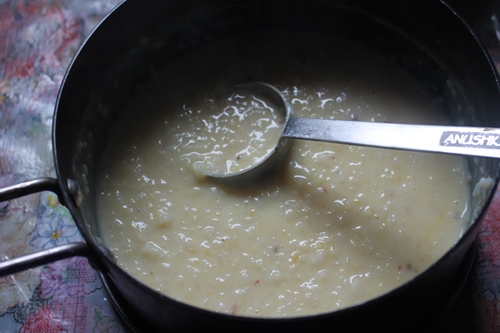
| cook it while stirring often till the rice and dal is completely cooked and mashed up |
 |
| mix well |
 |
| I transfered it to a bigger pan |
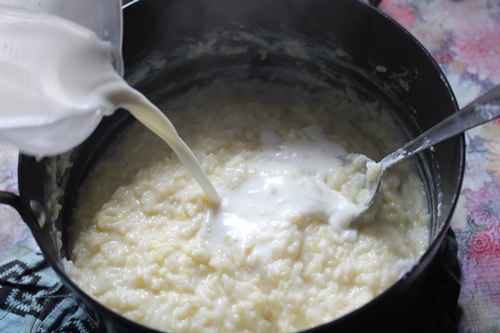 |
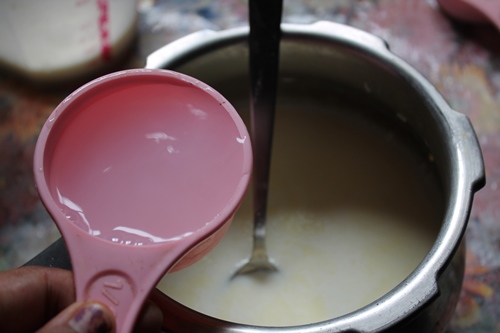
| add in more milk |
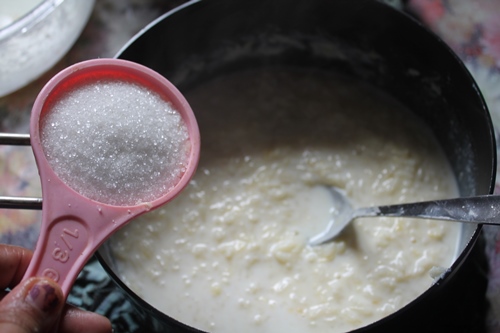 |
| and sugar |
 |
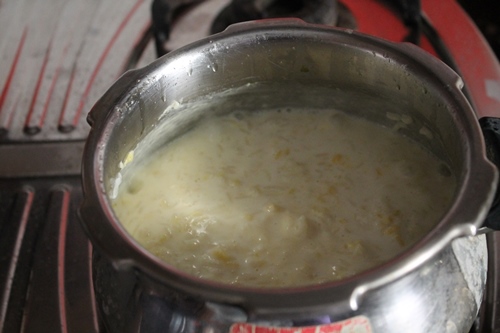
| mix well and keep cooking |
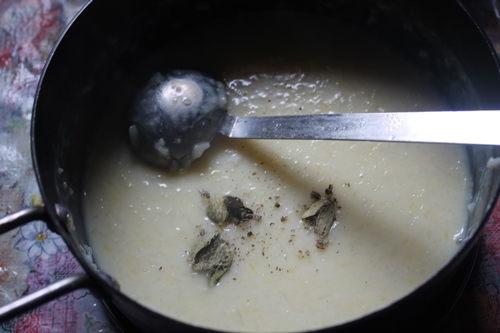 |
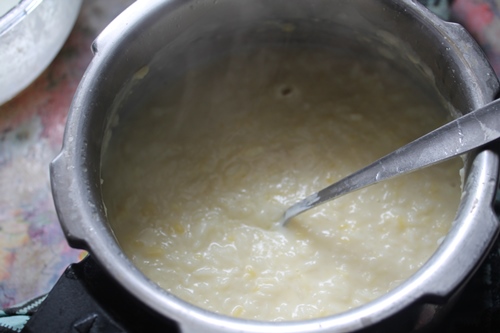
| finally add in cardamom powder |
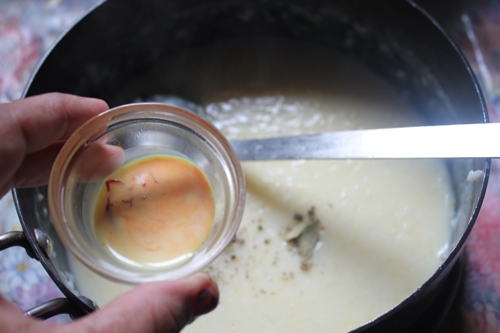 |
| saffron soaked milk |
 |
| mix well |
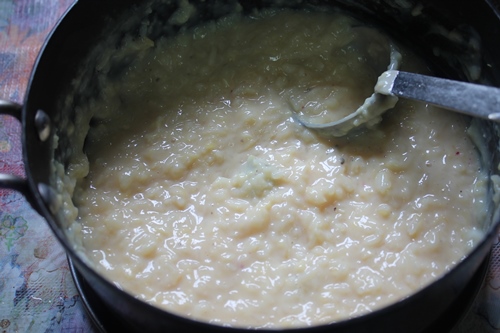 |
| When your allow it to cool down a little it will get thick |
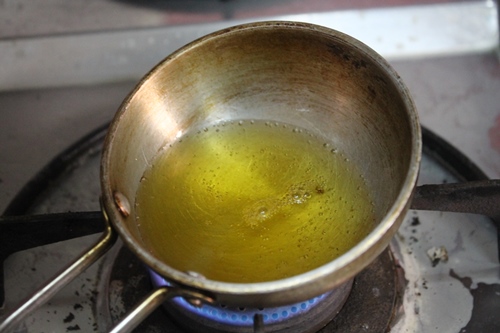 |
| heat ghee in a small pan |
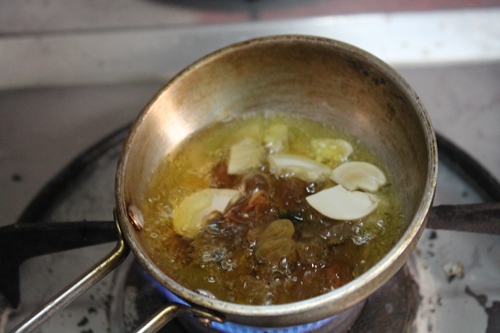 |
| add in cashews and kishmish |
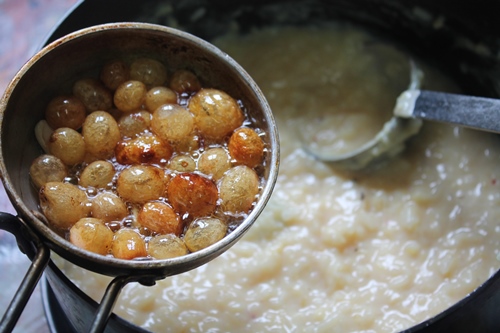 |
| pour that over the rice |
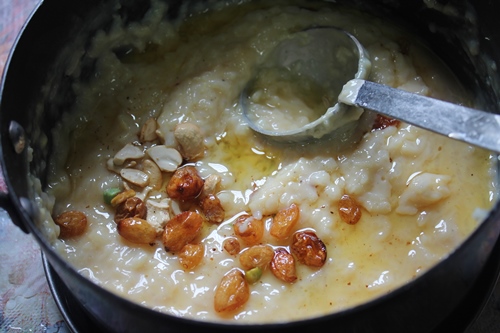 |
| mix well |
 |
| done |
 |
| serve |
saba quamar
lkng soooo tempting n delicious going to make it today only I lov makng sweet dish plz dear always post recipes lik dis
Anonymous
What id pasiparuppu?
Aarthi
@Anonymousit is moong dal.
Anonymous
Can I use the cooker to do the same?
Anonymous
Does it save time if I use the rice cooker to do the same receipe?
Aarthi
@Anonymousyes u can use rice cooker