
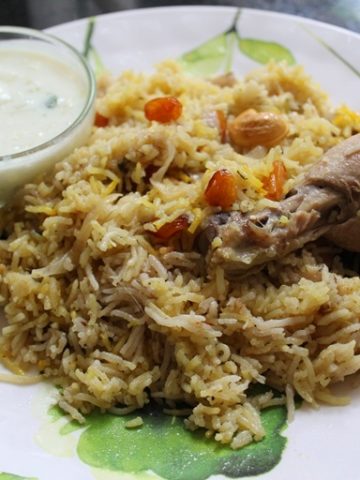
Brinji Recipe with step by step pictures . Simple plain brinji rice recipe is made with rice, spices and coconut milk. This dish pairs well with any spicy curries.

Brinji Recipe
Bay Leaf is one my favorite spice to use in cooking because of its unique aroma..If you can find fresh bay leaf then you can use that, but I always have dried bay leaf in my pantry always. Dried Bay Leaf doesn't have any aroma when you smell them as it is, but once you throw them in hot oil or ghee then it releases it aroma and it just fills your entire house.
I love making this rice because it has lots of spices and while you are frying them in hot ghee, wow the smell will be so good. This rice has some sweetness and richness to it from the coconut milk you use it it. This is one of the must try rice recipe.
How to Make Brinji Rice (Stepwise Pictures)
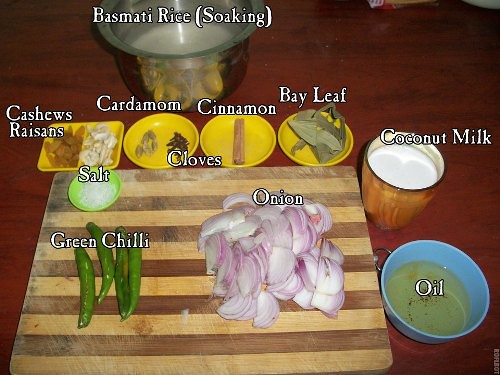
Ingredients
1)Take all your ingredients.
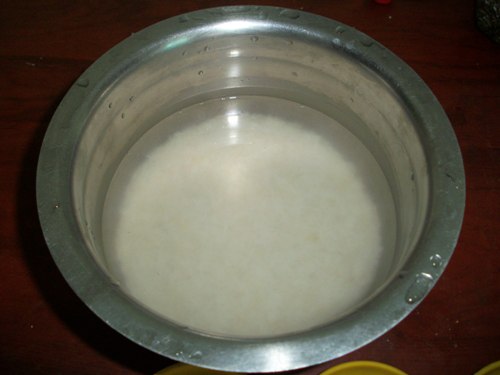
2)Wash and Soak basmati rice for 30 mins.
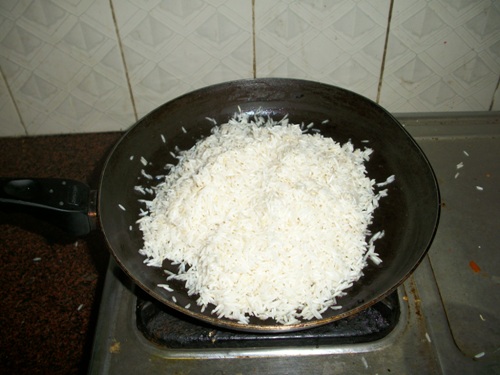
3)Strain it to remove excess water. Now Fry the rice in a teaspoon of ghee for 5 mins.
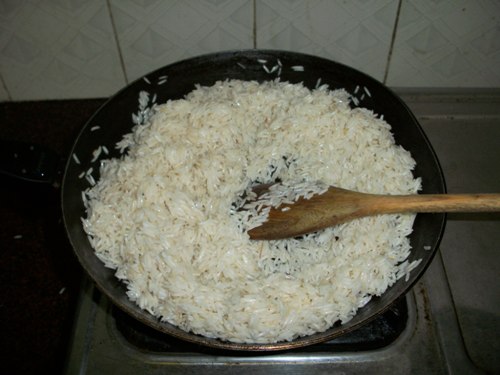
4)toast the rice until slightly roasted.
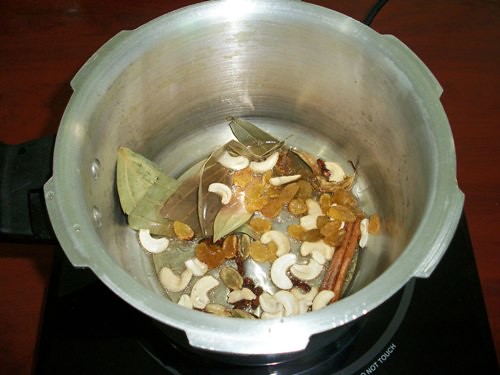
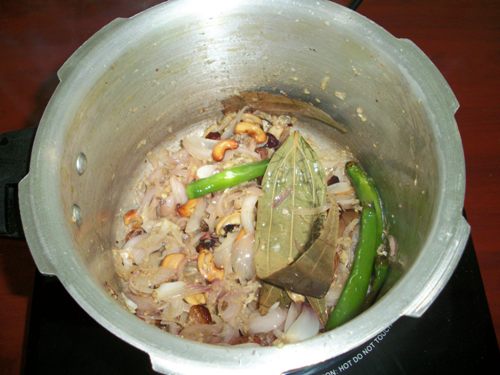
5)Now heat ghee in a pressure cooker. Add all the whole spices along with cashews and raisins and saute for a min.
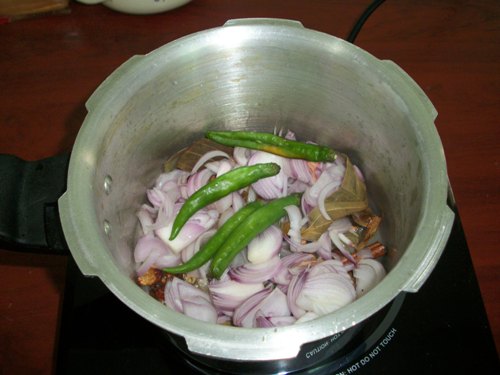
6)Add in onions and green chilli. Saute this for 5 mins.
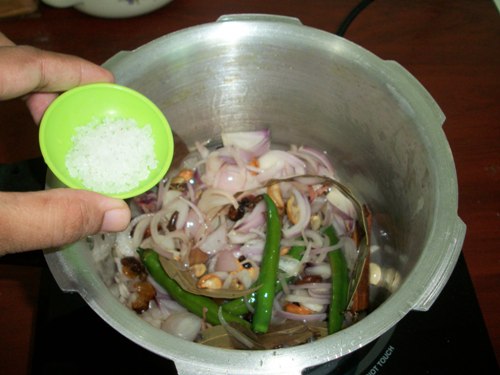
7)Add some salt and mix well.
8)Add in ginger garlic paste and mix well.
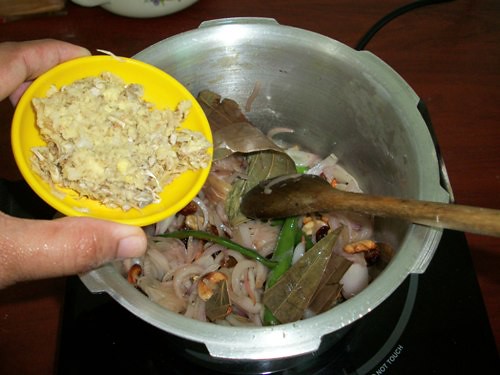
9)saute this for 1 minute.
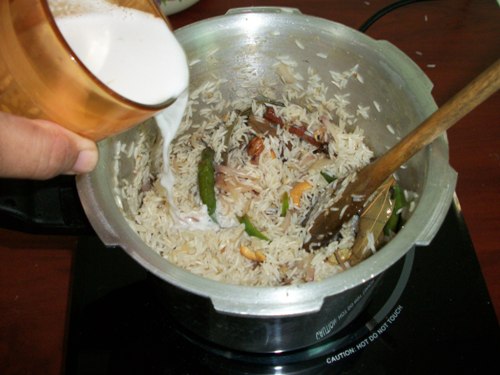
10)Add in the fried basmati rice and toss well.

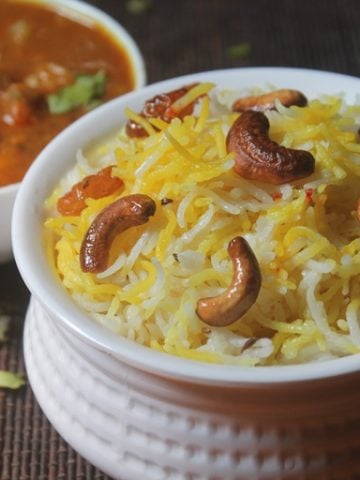
11)Pour in some coconut milk.
12)pour in water and mix well.
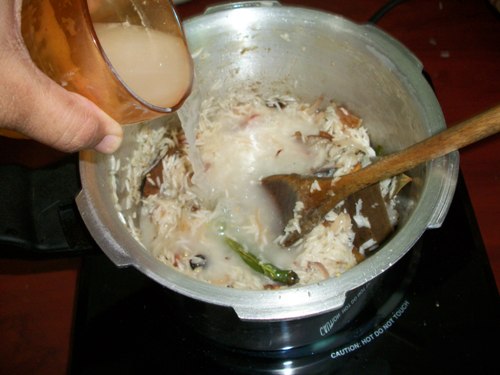
13)Bring this to a full boil.
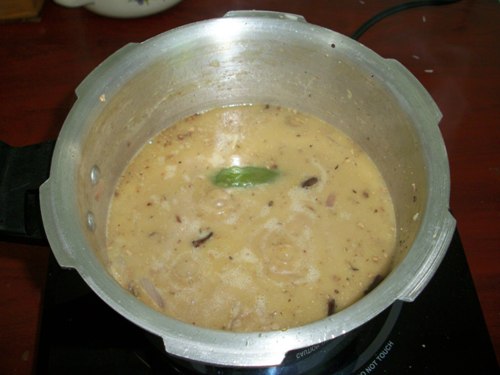
14)Simmer the flame and cover the pressure cooker and cook it for 1 whistle and simmer for 10 mins.
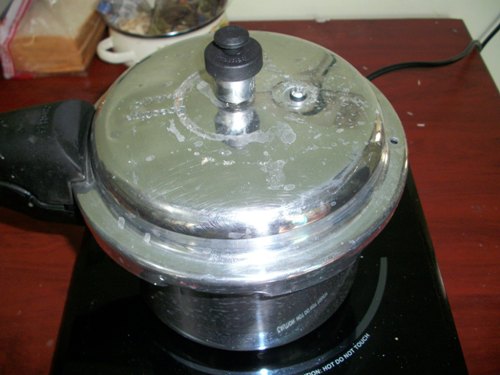
15)Switch off the flame and let the pressure go all by itself.
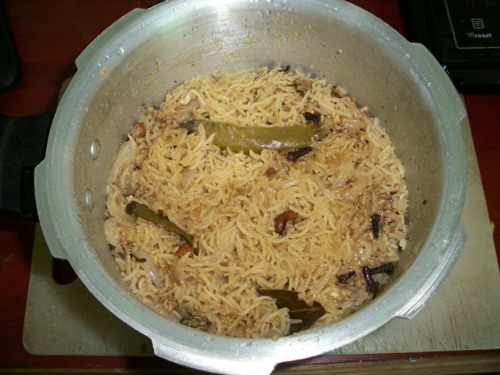
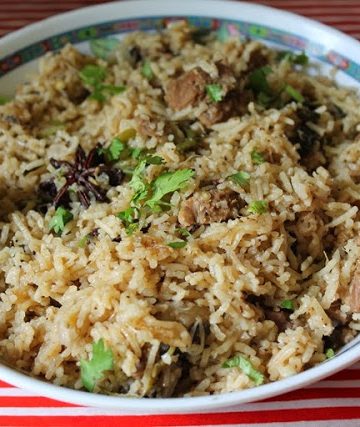
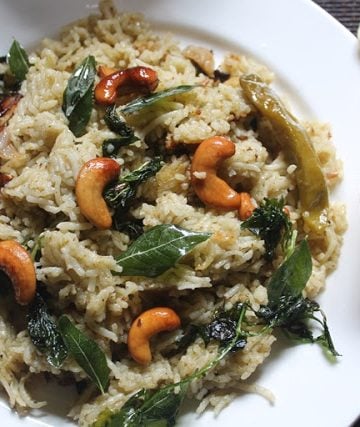
16)Fluff it up with a fork and garnish with coriander leaves. Serve.

More Rice Recipes to Try
📖 Get Recipe
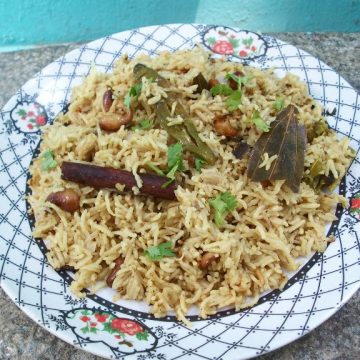
Brinji Rice Recipe (Brinji Recipe)
Equipment
Ingredients
- 2 cups Basmati Rice
- 1 cup Thick Coconut Milk
- 1½ cup Water
- 1 large Onion peeled & sliced thinly
- 3 no Green Chilli slit
- 2 tablespoon Ginger Garlic Paste
- ¼ cup Coriander leaves
For Tempering
- 2 tablespoon Ghee
- 1 piece Cinnamon
- 4 no Cardamom
- 2 no Cloves
- 1 no Bay Leaf
- 2 tablespoon Cashews
- 2 tablespoon Raisins
Instructions
- Soak basmati rice for 30 mins. Strain it and fry it a teaspoon of ghee for 5 mins. Remove and set aside.
- Now heat ghee in a pressure cooker. Add all the whole spices and saute for a min.
- Add in onions and green chilli. Saute this for 5 mins. Add in ginger garlic paste and mix well. Season with some salt.
- Add in the fried basmati rice and toss well. Pour in some coconut milk and water and bring it to a boil.
- Simmer the flame and cover the pressure cooker and cook it for 1 whistle and simmer for 10 mins. Switch off the flame and let the pressure go all by itself.
- Fluff it up with a fork and garnish with coriander leaves.
- Serve.
Nutrition
Tried this Recipe
Mention @yummytummyaarthi or tag #yummytummyaarthi!If you have any questions not covered in this post and if you need help, leave me a comment or mail me @aarthi198689@gmail.com and I'll help as soon as I can.
Follow me on Instagram, Facebook,Pinterest ,Youtube for more Yummy Tummy inspiration.
IF YOU MAKE THIS RECIPE OR ANYTHING FROM YUMMY TUMMY, MAKE SURE TO POST IT AND TAG ME SO I CAN SEE ALL OF YOUR CREATIONS!! #YUMMYTUMMYAARTHI AND @YUMMYTUMMYAARTHI ON INSTAGRAM!


Sudha Sabarish
Wow i love this rice from my school days.Now got the recipe and will try soon
Anonymous
wow awesome
Nisha
I liked the addition of coconut milk
Hema
So nicely done Aarthi, very delicious rice..
Home Cooked Oriya Food
new kind of rice... very yummy!
My Little Space
Hi Aarthi, love all your rice recipes here. Other than that the side dish & desserts look as awesome. Thanks for sharing. Looking forward to more.
Have a great weekend.
Kristy
Viji
Hi, Can you please tell how you made coconut milk for this receipe.Did you add water to coconut or milk to get the essence.
shobi
niceee
Aarthi
@VijiI extracted fresh coconut milk from coconut. Check this post
https://www.yummytummyaarthi.com/2013/09/how-to-make-coconut-milk-at-home.html