
Homemade Coconut Milk Recipe, extracting milk from coconut is super easy and budget friendly. Coconut milk is well-known for its slightly sweet flavor and smooth texture. Thin coconut milk (second or third extract) and thick coconut milk (first extract) are the two different consistencies that can be made. In addition to its food preparation , coconut milk offers many health advantages. Also, it is naturally dairy-free, which makes it an ideal option for people on a vegan diet or who are lactose intolerant.

Homemade Coconut Milk
Coconut Milk is the base of many of the South Indian cooking. Most of my recipes uses first extract and second extract of coconut milk. I have been getting lots of mails from my viewers to post homemade coconut milk recipe. I don't know why i didn't post this till now, because i have been using coconut milk in my cooking often. So here you go to the recipe..Watch out for more coconut milk based recipes.
Jump to:
What is Coconut Milk?
A rich, creamy liquid called coconut milk is taken from the flesh of fully grown coconuts. It is frequently used in curries, soups, desserts, and drinks, and is a basic ingredient of many Asian and tropical recipes. In contrast to coconut water, which is naturally present within coconuts, coconut milk is prepared by blending water with grated coconut flesh, and then filtering.
About Homemade Coconut Milk
Coconut milk is well-known for its slightly sweet flavor and smooth texture. Thin coconut milk (second or third extract) and thick coconut milk (first extract) are the two different consistencies that can be made. In addition to its food preparation , coconut milk offers many health advantages.
Why You'll Love This Recipe - Making fresh coconut milk is so much better than store-bought. Also it requires only two ingredients-fresh coconut and water. More over it is Budget-friendly compared to store-bought coconut milk. The most important thing I like is it is free from preservatives, ensuring a fresh and pure taste. I can extract up to three times for different consistencies.
It contains medium-chain triglycerides (MCTs), which are beneficial fats that may aid in energy production and digestion. Also, it is naturally dairy-free, which makes it an ideal option for people on a vegan diet or who are lactose intolerant.
Now that you know how easy it is to make coconut milk at home, give it a try! Use it in curries, smoothies, or desserts for a fresh and natural flavor. If you make this recipe, don't forget to share your creations by tagging #YummyTummyAarthi on Instagram!
Here are More Homemade Vegan Milk Recipes
Why This Recipe Works?
This is a natural, quick, and simple recipe for making coconut milk. It produces pure, preservative-free milk with just two ingredients: water and fresh coconut. By adjusting the water ratio, you can control the thickness; the first extract is thick and creamy, while the second is lighter. It's affordable, versatile and gives your meals a real, fresh coconut taste.
Ingredients
Coconut - Use fresh young tender coconut for this recipe. Grate the coconut using coconut scraper and remove the flesh from it.
Water - clean water is used to grind with coconut to extract the milk from it.

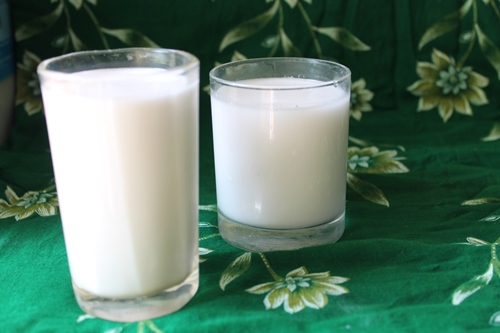
Coconut Milk Different Extracts (Water Ratio)
First Coconut Milk (Thick & Creamy): Gradually add 1⁄2 cup of water to the coconut and blend until smooth. Pour the mixture into a sieve placed over a bowl and press with a spoon to extract the milk. This is the first extract, which is the richest and creamiest.
Second Coconut Milk (Lighter): Put one cup of water into the blender with the coconut pulp and blend one more time. Strain through a sieve and press to extract more milk. This is the second extract, which is slightly thinner.
Optional Third Extract: If needed, you can repeat the process with more water to get a third extract, which will be very light.
Store & Use: Use immediately in your recipes, or refrigerate for up to 2-3 days in an airtight container.

How to Make Coconut Milk (Stepwise Pictures)
|
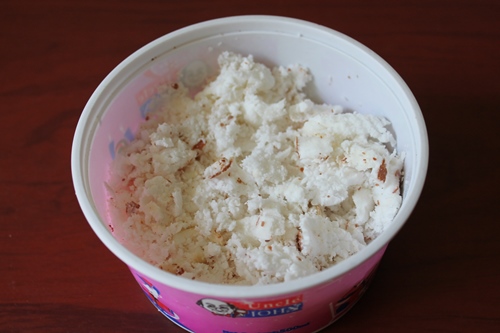
| You need fresh coconut |
 |
| Add it to blender |
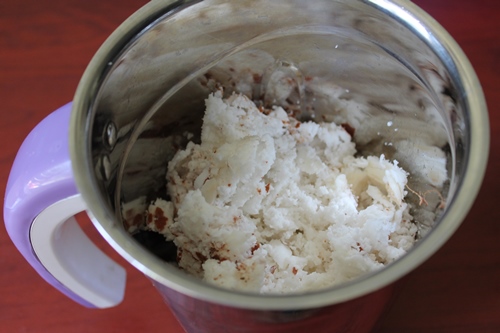
 |
| grind them first |
 |
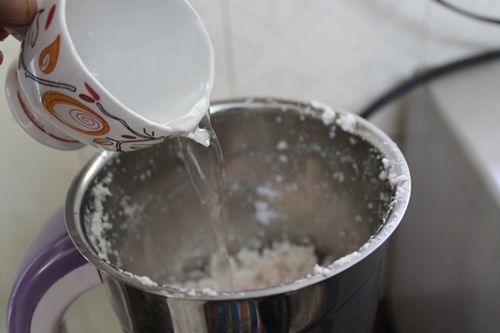
| add some water |
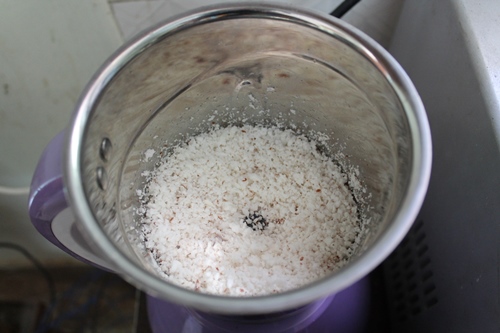
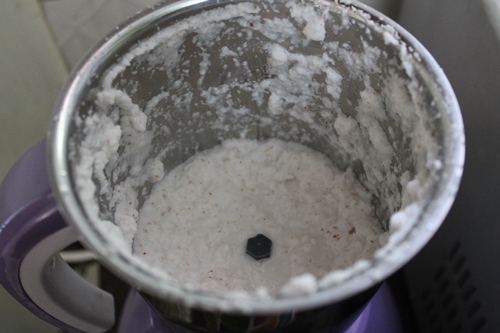
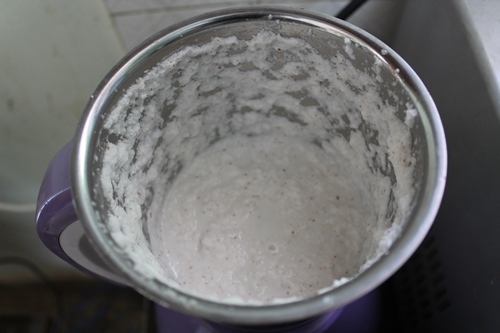 |
| make into a smooth paste |
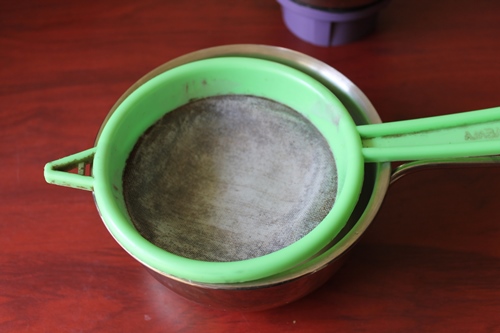 |
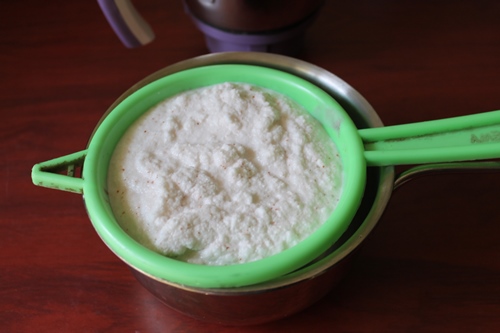
| line a bowl with a sieve |
 |
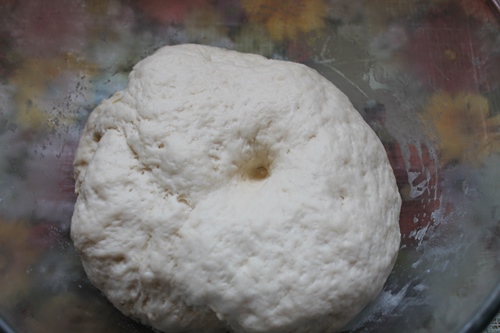
| add the coconut puree in this |
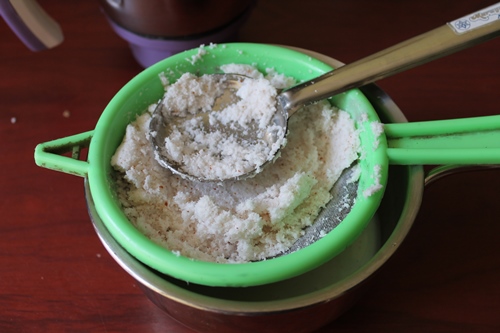 |
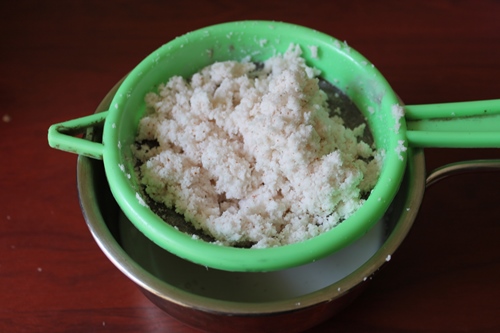
| press with a spoon |
 |
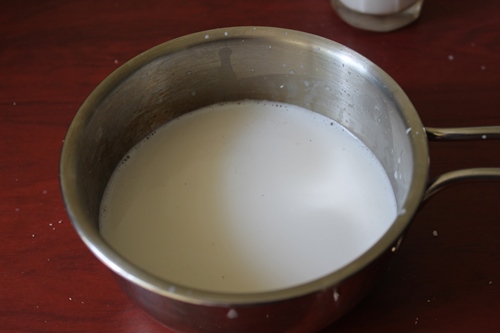
| all milk is extracted |
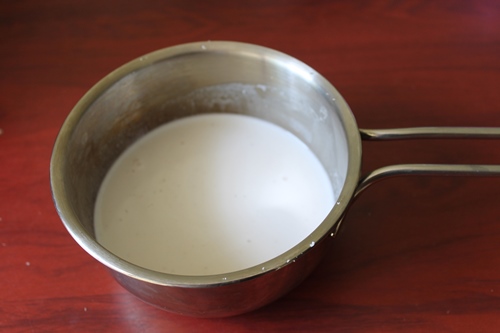 |
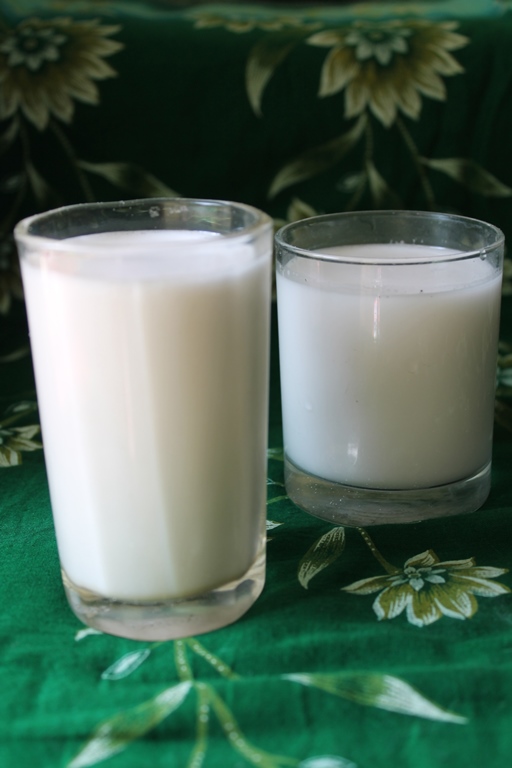
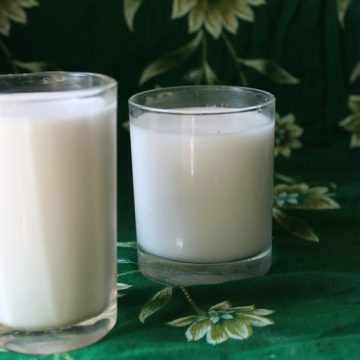
| first coconut milk |
 |
| add the remaining coconut in blender again |
 |
| add some more water |
 |
| puree again |
 |
| pass through sieve |
 |
| press again |
 |
| all milk extracted |
 |
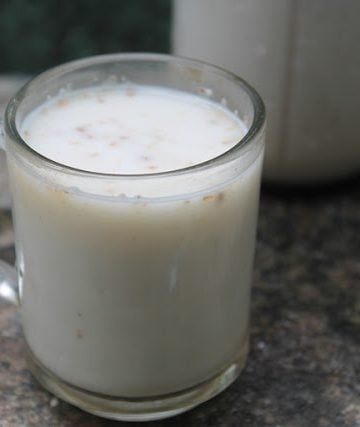
| second coconut milk |
 |
| Use in your favorite recipes |
Expert Tips
- Use fresh coconut for the best flavor and richness.
- Blend in small batches for better extraction.
- Use warm water to help release more milk.
- Store properly in a sealed container to maintain freshness.
FAQ
1. Can I use desiccated coconut instead of fresh?
Yes! Soak desiccated coconut in warm water for 10 minutes before blending.
2. How long does homemade coconut milk last?
It stays fresh for 2-3 days in the refrigerator. Shake well before using as it may separate.
3. Can I freeze coconut milk?
Yes, Store in an ice cube tray and freeze for longer shelf life.
More Kitchen Basic Recipes

📖 Get Recipe
Homemade Coconut Milk Recipe
Equipment
Ingredients
- 2 cups Freshly Grated Coconut
- 1½ cup Water
Instructions
- Take a blender, add the coconut in it and blend them. Add in ½ cup of water slowly so it gets blended properly. Now pour this coconut mixture through a sieve. Press it with a spoon so the coconut milk gets collected in a bowl. This is first extract coconut milk.
- Now add the remaining coconut pulp in the blender and add in 1 cup of water and blend again. Pass this through a sieve again and let it strain. Press to remove as much milk as possible. This is the second coconut milk which is little thin.
- You can stop at this point or go ahead and extract third coconut milk if needed. Use this in your favorite recipes.
Notes
- Use fresh coconut for the best flavor and richness.
- Blend in small batches for better extraction.
- Use warm water to help release more milk.
- Store properly in a sealed container to maintain freshness
Nutrition
Tried this Recipe
Mention @yummytummyaarthi or tag #yummytummyaarthi!If you have any questions not covered in this post and if you need help, leave me a comment or mail me @aarthi198689@gmail.com and I'll help as soon as I can.
Follow me on Instagram, Facebook,Pinterest ,Youtube and Twitter for more Yummy Tummy inspiration.


Coral crue
so useful, especially with the step by step pics. now i will be able to do it correctly.thanks!
Anonymous
The pictorial display is really very good and helpful. ...
Anonymous
Wao...its cheap at home
Anonymous
What to do with remaining coconut in chalni..
Aarthi
@AnonymousYou have extracted all the milk, now there is no taste flavour in that coconut. You can throw it away.
preethi
How to store this coconut milk for Further use.
Aarthi
@preethiu cannot store this for long time use.
ANJALI JAIN
Hey, can you please clarify is the fresh coconut used is the one with dark brown cover?
Aarthi
@ANJALI JAINyes the same one.
Anonymous
Shall we cook this in normal kadai instead of aapam chatti
Aarthi
@Anonymousu can make appam in normal dosa tawa. cover with a lid.
Silvia Jacinto
I must say that you have a very good article.Continue to inspire your reader and Have a good day! You can also visit my site indicated below and share it with your friends.
n8fan.net
http://www.n8fan.net
192.168.1.1
nice! thank you so much! Thank you for sharing. Your blog posts are more interesting and impressive. I think there are many people like and visit it regularly, including me.
hema
Hi,
Can you mention how long we can store this ?
malik
Seriously you say now tonight you tell your plans me try my bast
Malik
You like now where or what time