
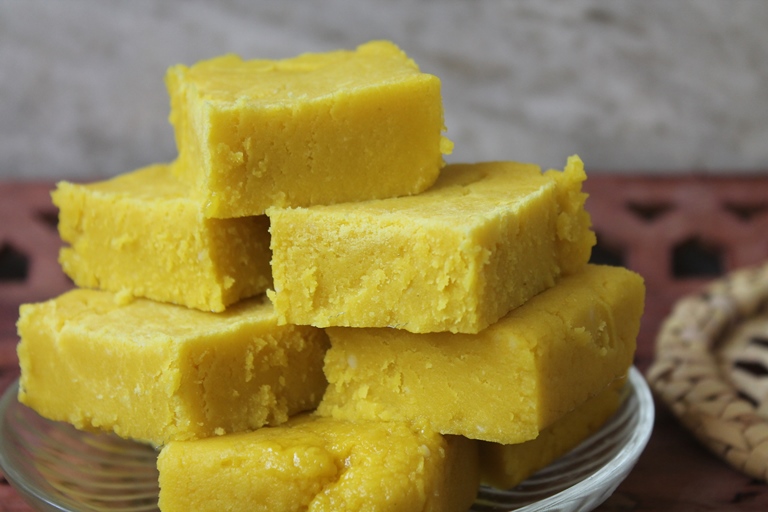
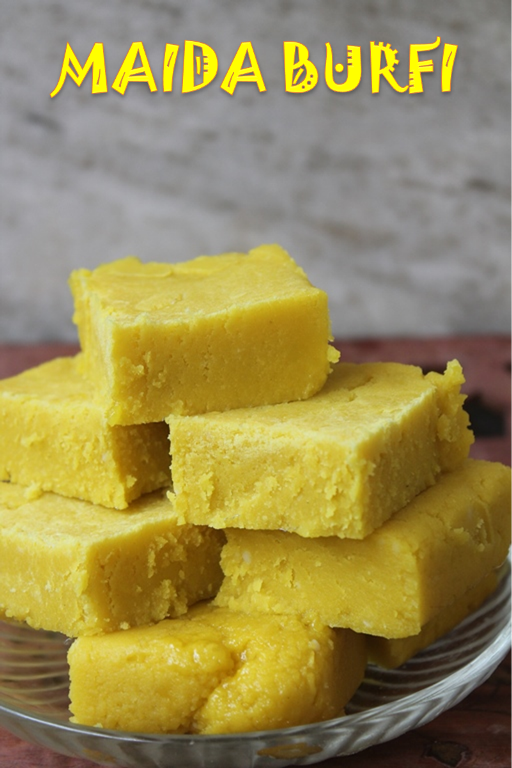
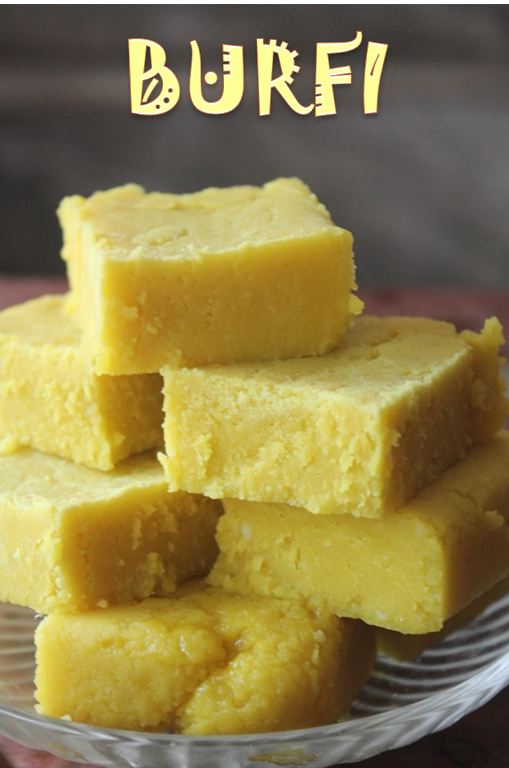
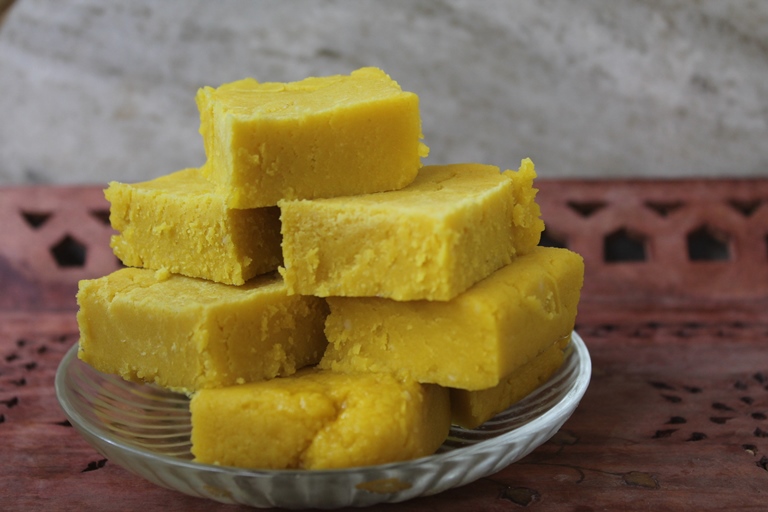
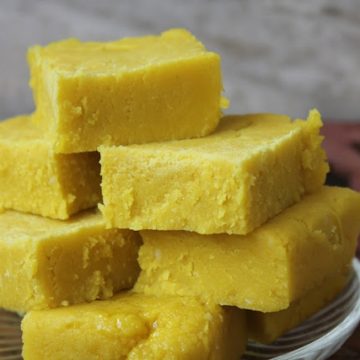
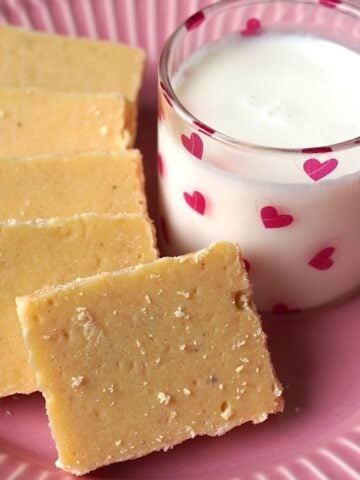
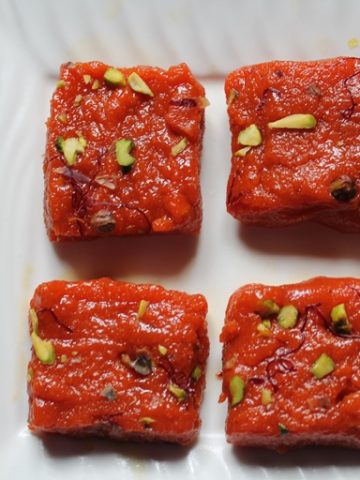
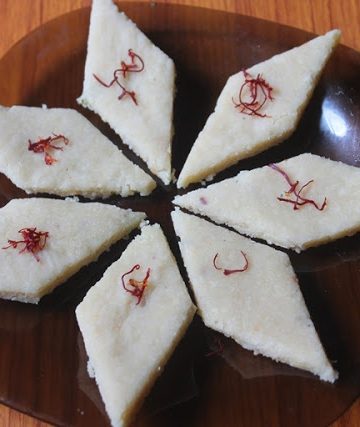
Easy Maida Burfi | Barfi or Fudge made using flour, ghee and sugar which creates this delicious fudge like cake. Perfect and simple burfi to make for this diwali or any festive occasions. Easy sweet which can be made in under 30 mins.
In my place, there is a sweet stall. They sell a burfi which taste so yummy. It is soft and just melt in your mouth. Yesterday me and my mom were having an argument, she told me that those burfis are made with gram flour, but i told her that no not at all, they are made with maida. This argument got very serious and i told her that i will make you that burfi right now, lets taste and decided. Immediately i got into action and made it, and when she tasted it she accepted that it is made with maida.
If you have any questions not covered in this post and if you need help, leave me a comment or mail me @aarthi198689@gmail.com and I'll help as soon as I can.
Follow me on Instagram, Facebook, Pinterest ,Youtube and Twitter for more Yummy Tummy inspiration.
IF YOU MAKE THIS RECIPE OR ANYTHING FROM YUMMY TUMMY, MAKE SURE TO POST IT AND TAG ME SO I CAN SEE ALL OF YOUR CREATIONS!! #YUMMYTUMMYAARTHI AND @YUMMYTUMMYAARTHI ON INSTAGRAM!
📖 Get Recipe
Maida Burfi Recipe
Ingredients
- Ghee - ¼ cup
- All Purpose Flour / Maida - ¾ cup
- Sugar - 1 cup
- Water - ⅓ cup
- Yellow Food Colouring a pinch
Instructions
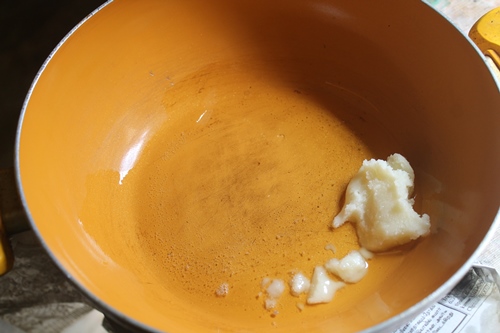
- Heat a nonstick kadai, add in ghee and melt it, once it is melted add in flour and stir fry till the raw smell leaves away. Remove it to a bowl.
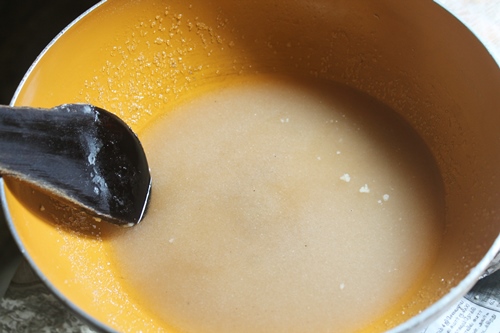
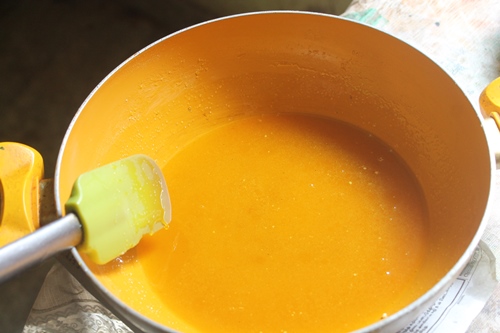
- In the same pan, add in sugar and water. Add in food colouring as well. Now mix well and cook this till 1 string consistency. when you take some of the syrup between your index and thumb finger, you will be able to form 1 string. Check image.Now take it off the heat, this is very important, Turn off the heat and add in the flour mix in.
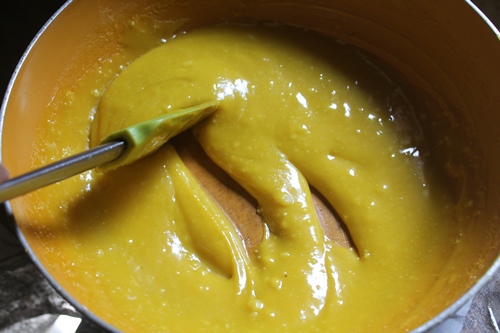
- Now keep on mixing this, it will take 3 to 5 mins. It will get thick.
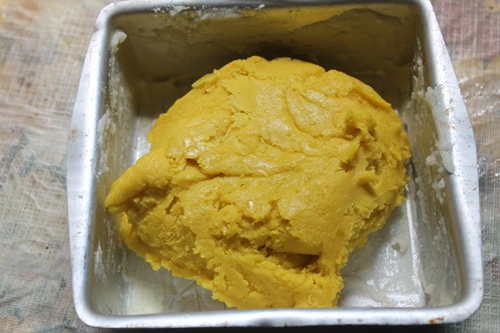
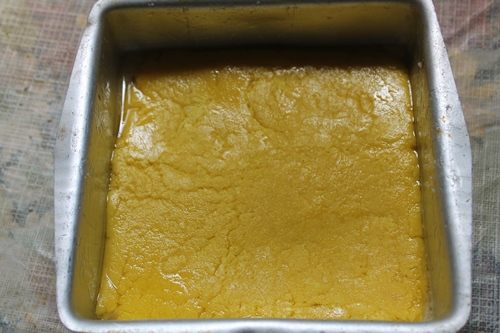
- At this stage pour this into the greased tray and smoothen the top.
- Now set this for 15 to 30 mins.
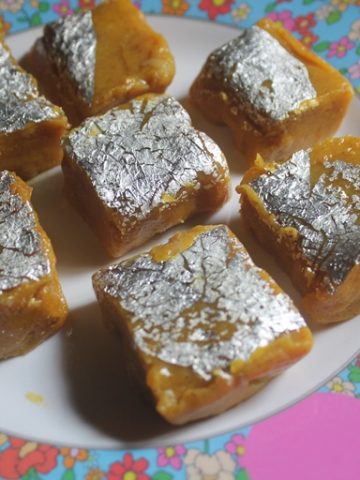
- Cut it into squares and serve.
Video

Tried this Recipe
Mention @yummytummyaarthi or tag #yummytummyaarthi!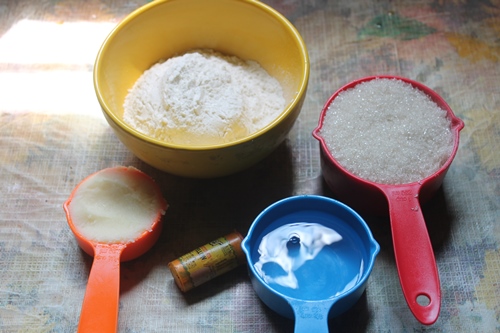 |
| Take all your ingredients |
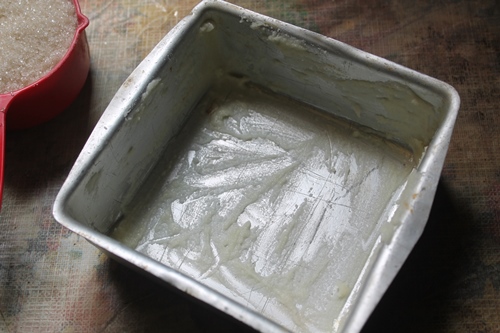 |
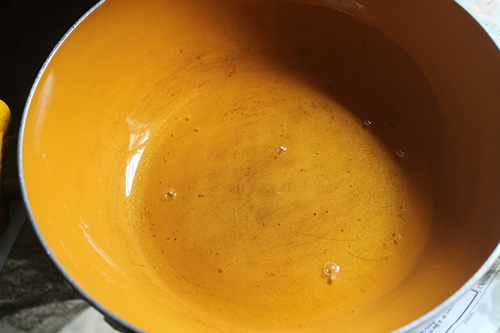
| Grease a square pan with ghee |
 |
| Melt ghee in a nonstick pan |
 |
| once it is melted |
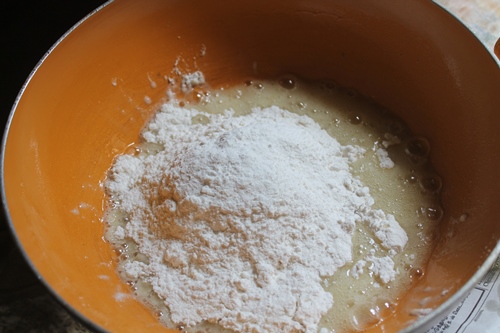 |
| add in maida or all purpose flour |
 |
| mix well |
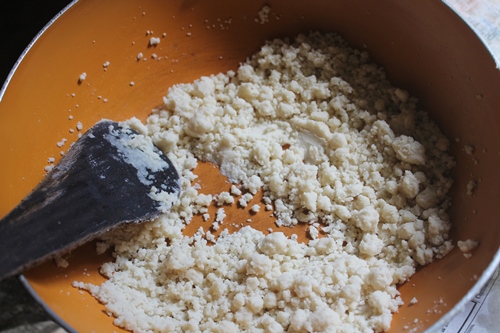 |
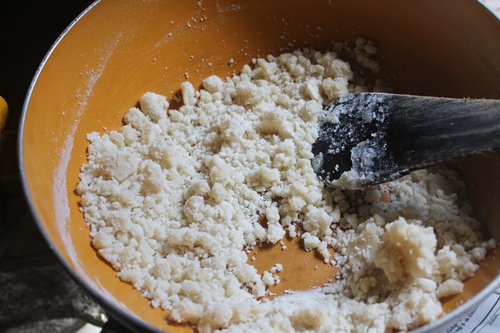
| stir fry till the raw smell leaves from this |
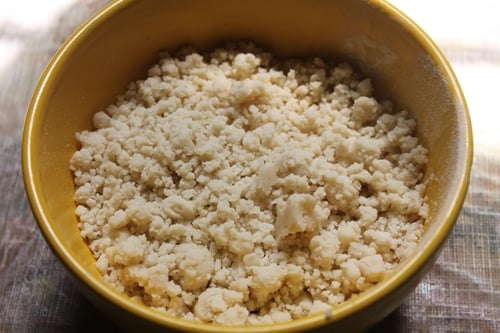 |
| remove to a bowl |
 |
| now in the same pan |
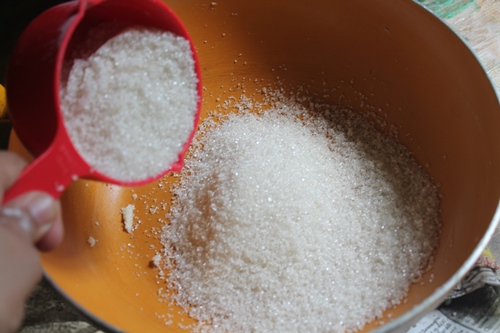 |
| add in sugar |
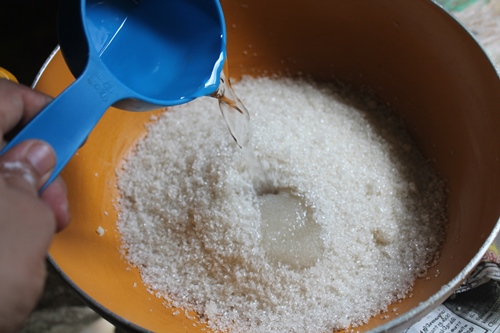 |
| add in water |
 |
| mix well |
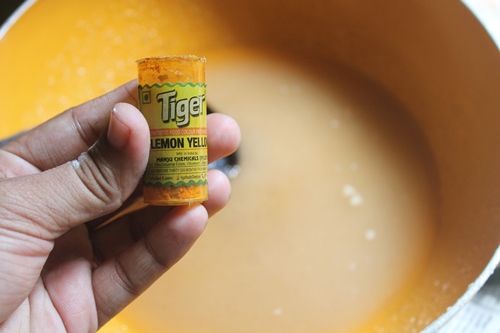 |
| add in little yellow colour |
 |
| mix well |
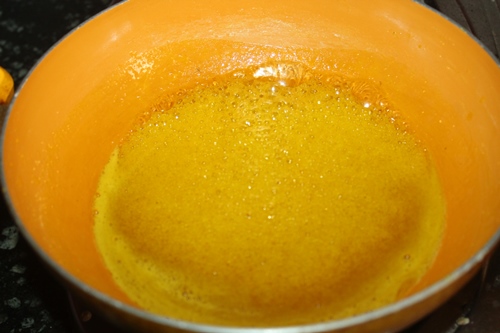 |
| bring it to a boil and cook till 1 string consistency |
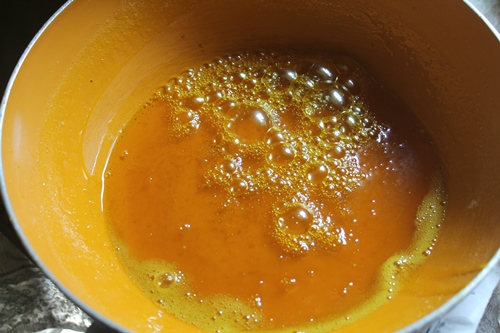 |
| now it has reached the consistency |
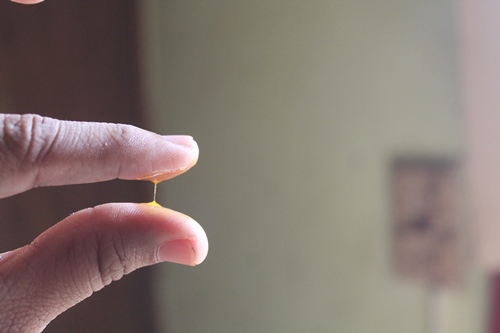 |
| when you take some of the syrup between your finger, you will be able to form 1 string like this |
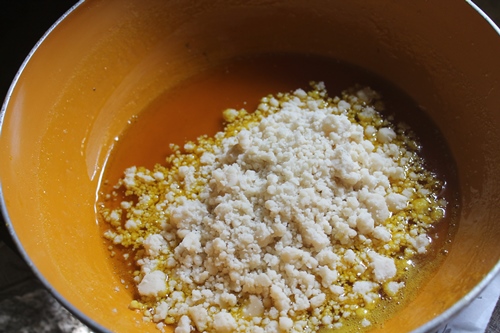 |
| NOW TAKE IT OFF THE HEAT...THIS IS VERY IMPORTANT..Add in the fried flour mix |
 |
| now use a spatula to mix this really well |
 |
| break any lumps as you see.. |
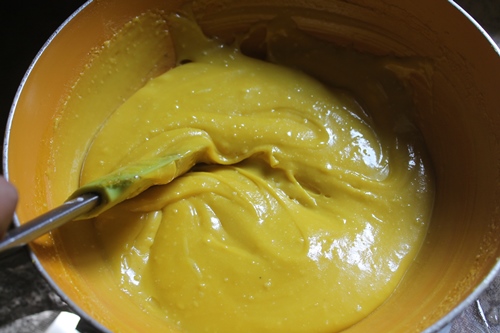 |
| keep on mixing..you will feel that this is not going to work, but trust me..It will.. |
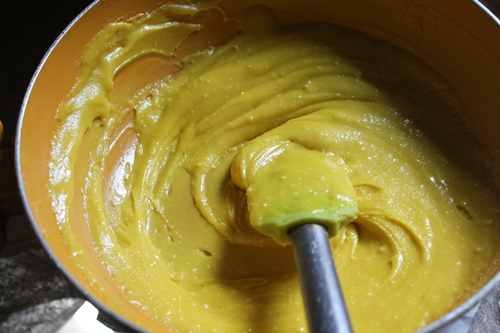 |
| keep mixing, at one point it will get thick |
 |
| this is the stage, if you keep on mixing after this, then it will crumble |
 |
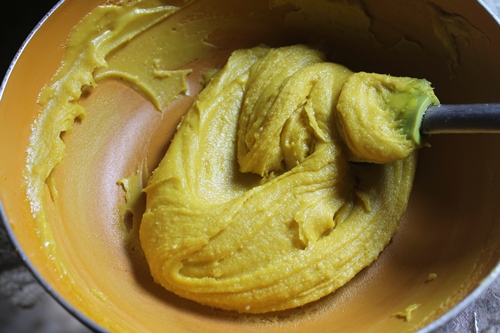
| spoon this into the tray |
 |
| spread evenly..let it set for 15 to 30 mins |
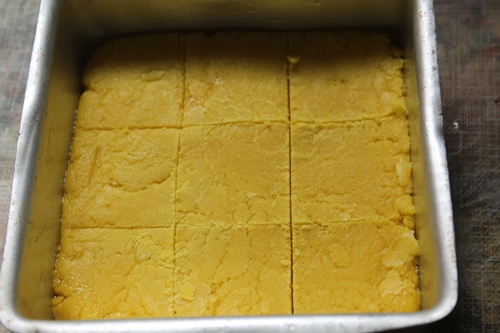 |
| cut it into squares |
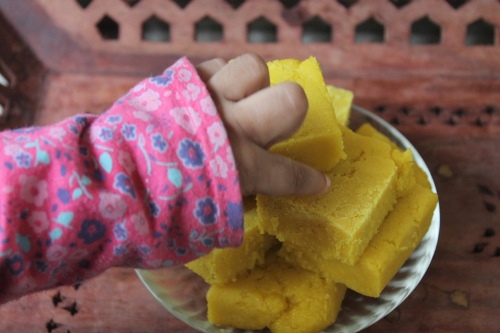 |
| MY LIL ONE LOVES IT.. |
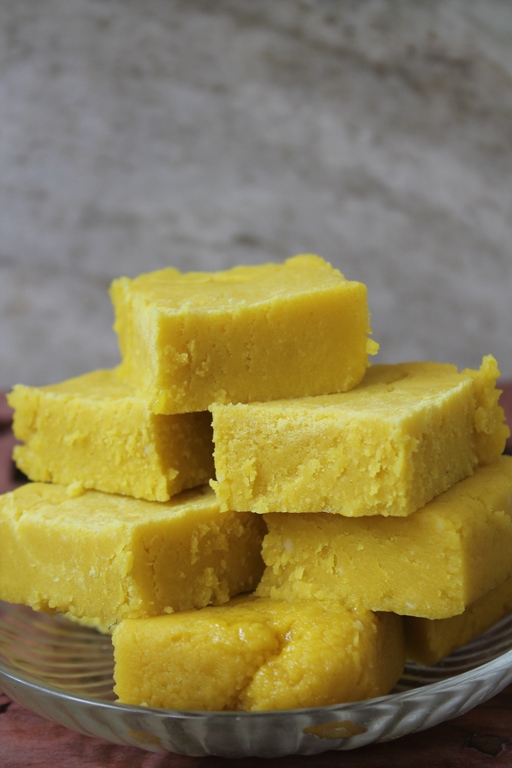 |
| Enjoy these melt in mouth burfi.. |
Related Posts
Anonymous
I am going to make this. I have also noted down 2 other burfi recipes from your blog to make as xmas gifts for friends. I'm glad that it's made with normal flour because I don't use chickpea flour regularly- the rest would go to waste when I buy a bag. Could you also do a soan papdi or patisa recipe- with the flaky layers?
Thanks!
Torviewtoronto
looks soft and delicious
Anonymous
I appreciate your patience and sincerity. You made it back to back just to post in on the blog. Now whenever I enter my kitchen, I remember you and your blog as I have been following it since 3 years. Every day the first thing in the morning, I open google and see what you have posted. Enjoying your posts. Keep it up. Keep posting, We have learnt tons from you and I feel more confident in the kitchen now ... all thanks to you.
thana
Yes agreed with above comment, once turn on my pc will check what you posted today, you doing great job, any recipes i need first thing i will check in blog. I learn a lot from your blog . Thank you very much for all picture with step by step its helps a lot.
ahaneena baker
Hi I made these but it became hard while I was putting it in a square pan why is that?
Aarthi
u have over cooked it
Anonymous
Once we take off the stove and add the maid a mixture...should we mix it and put it back or just keep mixing it with out putting it back on the stove
Jyothi Rao Acharya
Once it is taken off heat need not put back to heat again? The consistency is achieved just by stirring off heat?
Anonymous
Hey Aarthi, Love your recipes ! Especially the step-by-step
pictures and the clear instructions! Glad I discovered your blog today.
Sandhya Venkatesh
I made it for this Diwali. It was an easy recipe to make.