
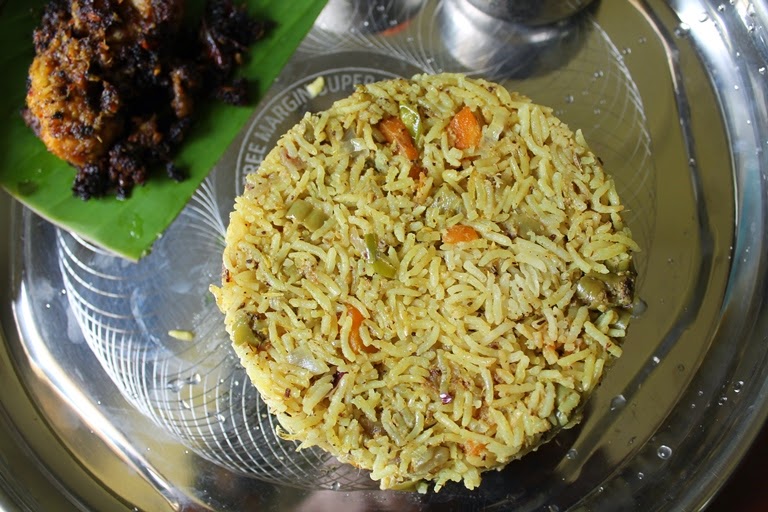
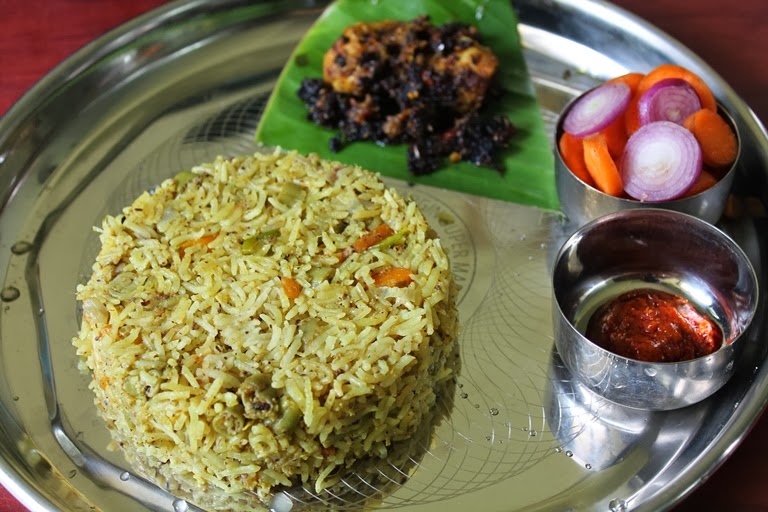
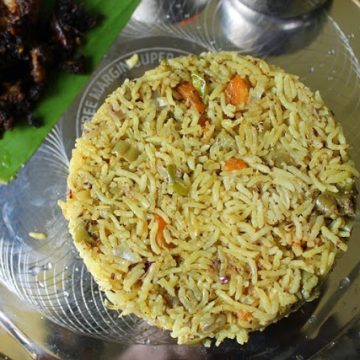
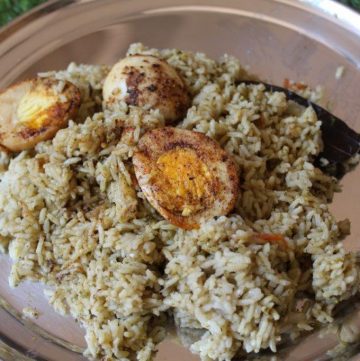
Thengai Paal Sadam Recipe with step by step pictures .This Coconut milk rice is made with vegetables and flavoured with mild spices and coconut milk.
Thengai Paal Sadam Recipe
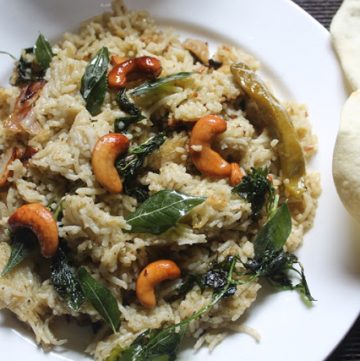
Biryani has taken a important menu in this blog and my house. I have quite a few biryani recipes in this blog. You can check those recipes here. I have made veg biryani using so many different recipes, you can check out my green veg biryani, biryani in pressure cooker, dum veg biryani
Ingredients for Thengai Paal Sadam Recipe
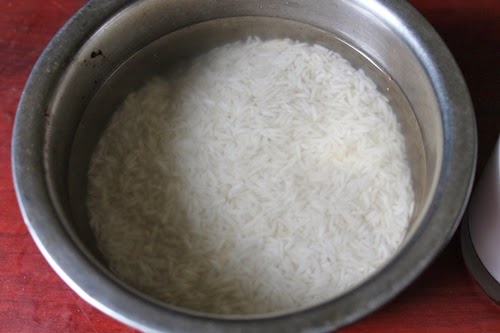
- Basmati Rice - 1 cup
- Onion - 1 large sliced thinly
- Carrot - 1 large chopped
- Beans - 10 chopped
- Turmeric Powder / Manjal Podi - 1 tsp
- Thick Coconut Milk - 1 cup
- Water - 1 cup
- Salt to taste
- Oil - 3 tbsp
- Ghee - 3 tbsp
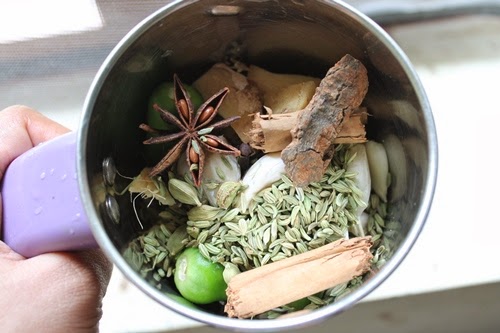
For grinding:
- Cinnamon / Pattai - 2 inch stick
- Fennel Seeds / Sombu / Saunf - 1 tbsp
- Star Anise - 1
- Cardamom / Yelakai - 4
- Cloves / Krambu - 4
- Ginger - 3 tblspn
- Garlic - 10 cloves
- Green Chilli - 5
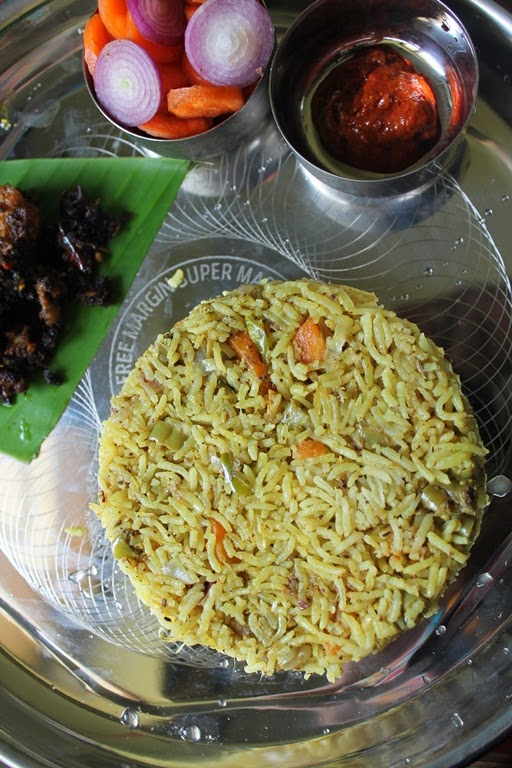
This biryani is a special one, i got this recipe from one of my friend. She told me that adding coconut milk to biryani makes it more tasty. So i followed that and the result was yummy. So try this and let me know how it turned out.
How to make Thengai Paal Sadam Recipe
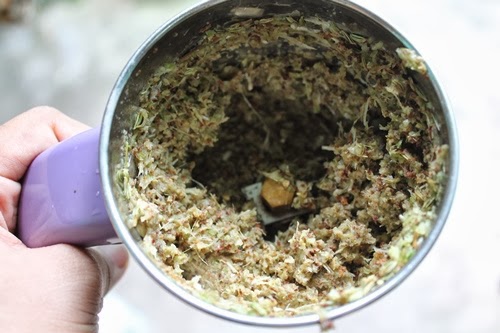
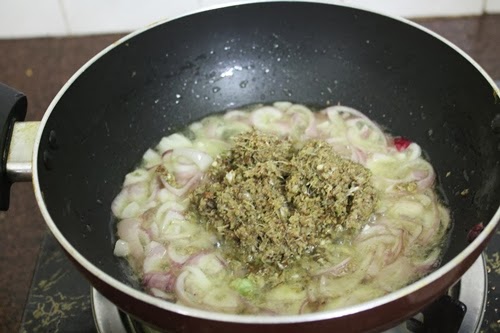
- Soak rice for 30 mins. Grind all the ingredients given in the list to a paste and set aside.
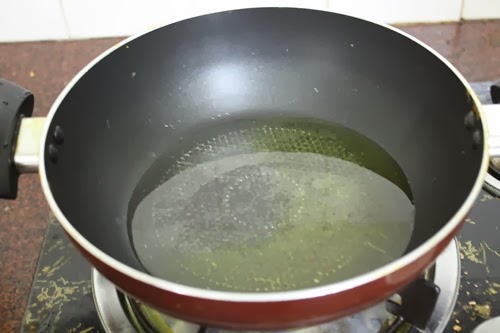
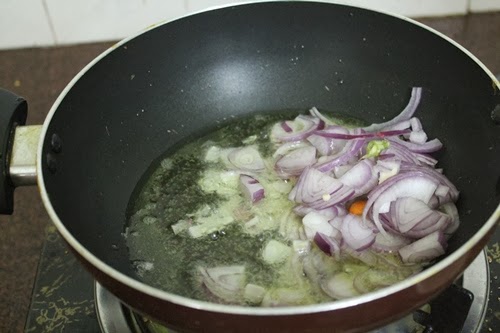
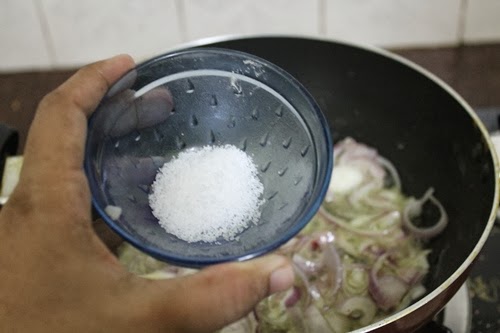
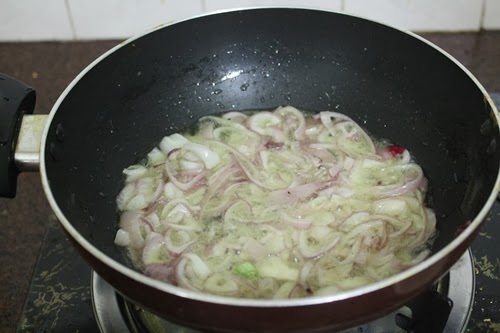
- Heat oil and ghee in a pot, Add in sliced onions, salt and saute them for 5 mins or so till it turns light golden.
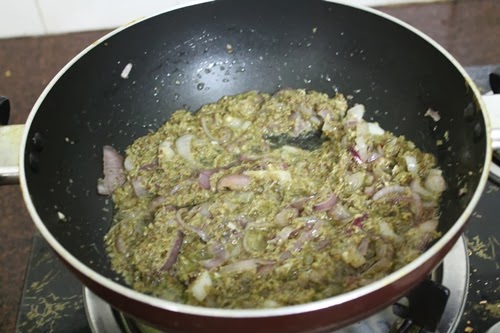
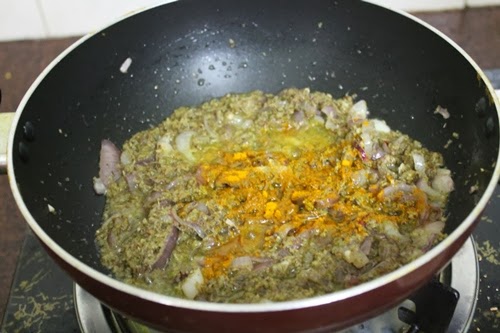
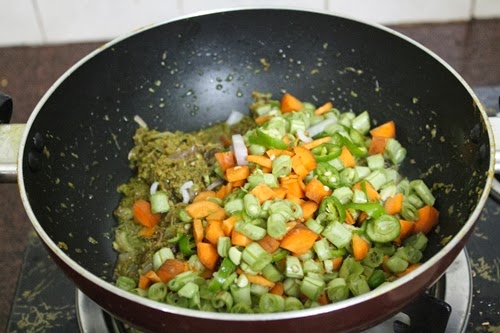
- Add in the ground masala and saute for couple of mins. Add in turmeric powder and mix well.
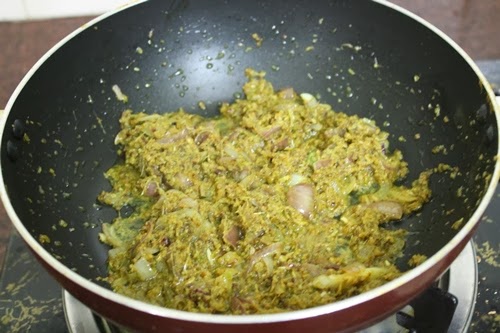
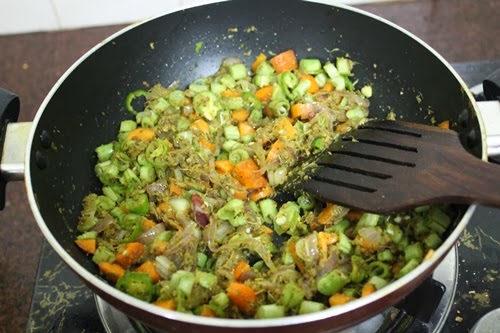
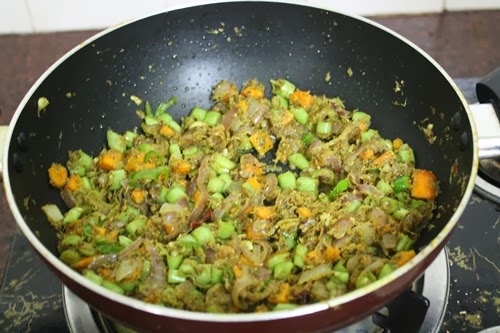
- Now add in chopped beans and carrots and saute for 5 mins till the raw smell leaves away.
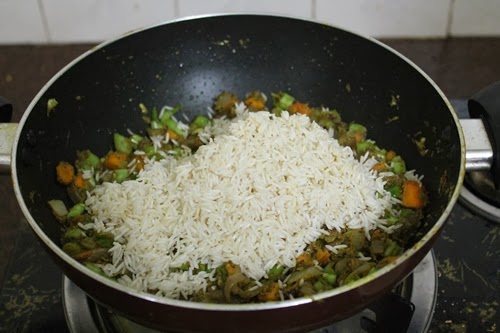
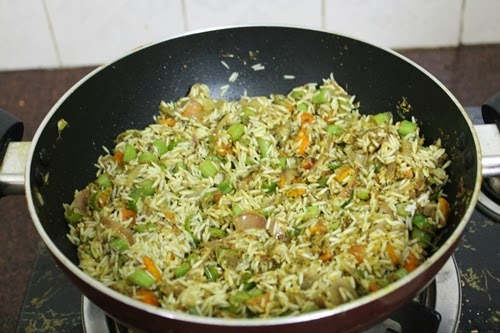
- Now add in drained rice and toss well in the masala.
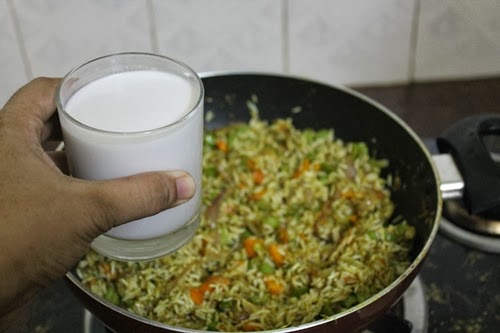
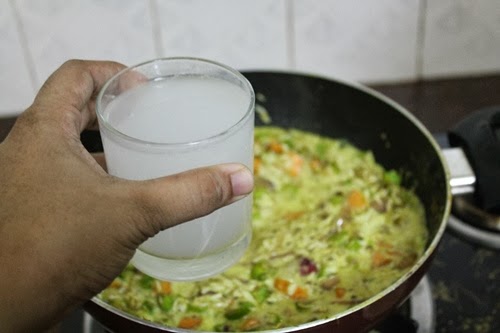
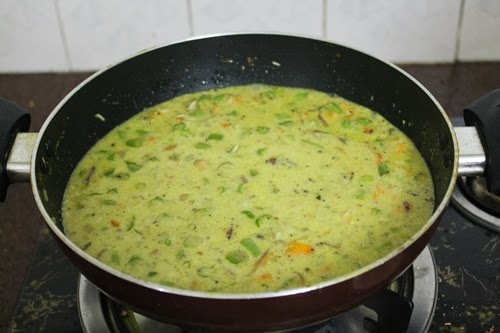
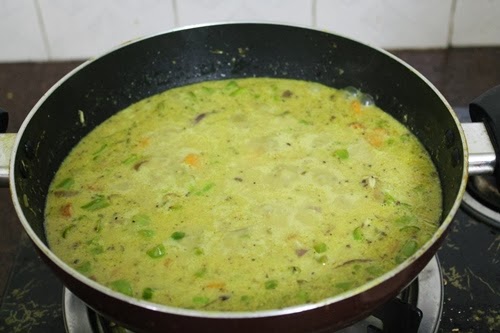
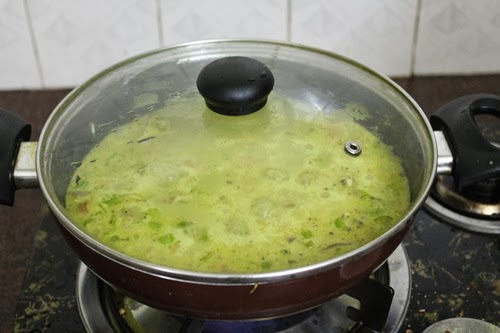
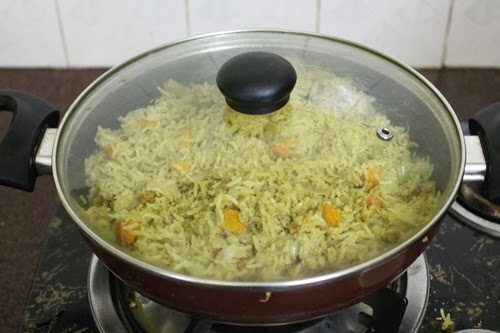
- Pour in coconut milk and water. Mix well. Bring it to a boil, simmer and cook covered for 20 to 25 mins till the rice is done.
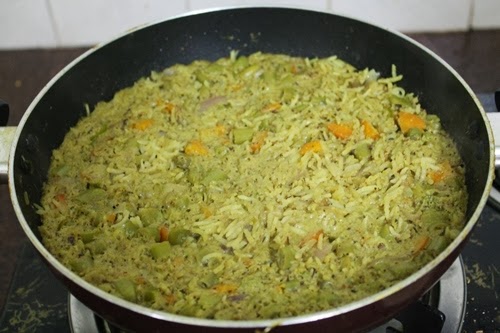
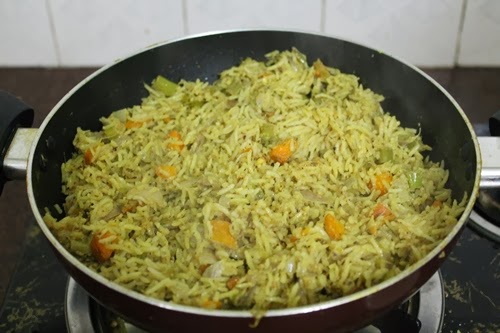
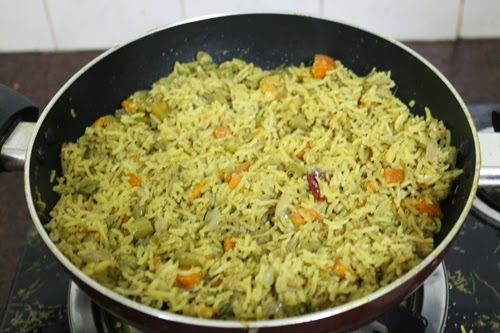
- Now open the pot, fluff it with a fork, switch off the flame and cover the pot and leave it for 10 mins this will make the rice fluffier.
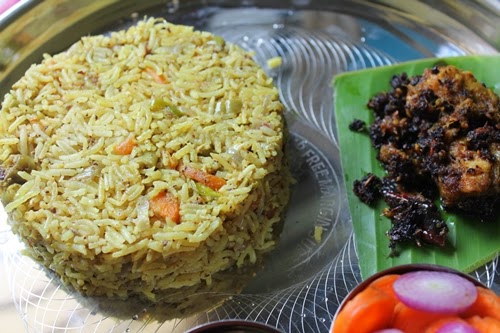
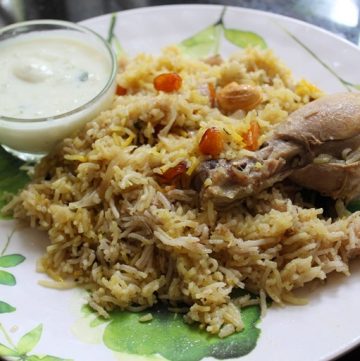
- Serve with raita
If you have any questions not covered in this post and if you need help, leave me a comment or mail me @[email protected] and I’ll help as soon as I can.
Follow me on Instagram, Facebook,Pinterest ,Youtube and Twitter for more Yummy Tummy inspiration.
IF YOU MAKE THIS RECIPE OR ANYTHING FROM YUMMY TUMMY, MAKE SURE TO POST IT AND TAG ME SO I CAN SEE ALL OF YOUR CREATIONS!! #YUMMYTUMMYAARTHI AND @YUMMYTUMMYAARTHI ON INSTAGRAM!
📖 Recipe Card
Thengai Paal Sadam Recipe | Coconut Milk Rice Recipe
Ingredients
- 1 cup Basmati Rice
- 1 large Onion sliced thinly
- 1 large Carrot chopped
- 10 Beans chopped
- 1 tsp Turmeric Powder
- 1 cup Thick Coconut Milk
- 1 cup Water
- Salt to taste
- 3 tbsp Oil
- 3 tbsp Ghee
- For grinding:
- 2 inch Cinnamon
- 1 tbsp Fennel Seeds
- 1 Star Anise
- 4 Cardamom
- 4 Cloves
- 3 tbsp Ginger
- 10 cloves Garlic
- 5 Green Chilli
Instructions
- Soak rice for 30 mins. Grind all the ingredients given in the list to a paste and set aside.
- Heat oil and ghee in a pot, Add in sliced onions, salt and saute them for 5 mins or so till it turns light golden.
- Add in the ground masala and saute for couple of mins. Add in turmeric powder and mix well.
- Now add in chopped beans and carrots and saute for 5 mins till the raw smell leaves away.
- Now add in drained rice and toss well in the masala.
- Pour in coconut milk and water. Mix well. Bring it to a boil, simmer and cook covered for 20 to 25 mins till the rice is done.
- Now open the pot, fluff it with a fork, switch off the flame and cover the pot and leave it for 10 mins this will make the rice fluffier.
- Serve with raita
Video

Nutrition
Video Recipe for Coconut Milk Rice
Thengai Paal Veg Biryani Recipe step by step picture
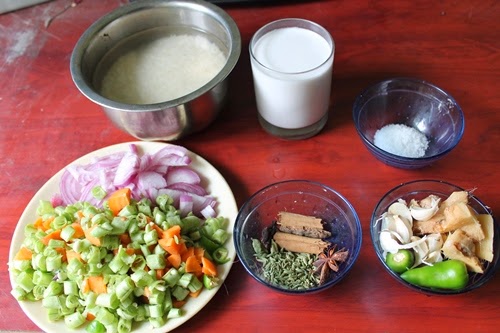 |
| Take all your ingredients |

Mrs.Leela
wow...look so delicious...will give a try...thanks for sharing
revathi
Thankyou very much for sharing this cocunut milk vegetable biryani. Today i have made this biryani for lunch and served with raita. Nice taste and will not felt heavy because vegetables used are only carrot and beans. Even though 2 vegetables , taste was very good. Thankyou very much once again.
parkavi g
Cool..very delicious ...thanks for sharing....if u r not adding termeric powder it luks as real coconut Briyani
parkavi g
It luks delicious.. i am going to prepare it today...hope my husband likes it...thanks for sharing..
parkavi g
Cool..very delicious ...thanks for sharing....if u r not adding termeric powder it luks as real coconut Briyani
Anonymous
Nice recipe will try thanks for sharing 🙂
Madhubashini Kannan
This recipe was delish!! Even though, I did some substitutions and omissions from the ingredients called for, the end product was awesome! I used a black cardamom and one japathri instead of star anise and added grated carrot only instead of chopped carrots and beans.. also, instead of thick coconut milk and water, I added two cups of light coconut milk and had to add extra water - if this helps anybody 😉
vaishu chandrasekaran
Can I transfer d rice to pressure cooker instead of boiling in a pan?... If yes, how many sounds should b left?....Wil b waiting fr ur reply
Aarthi
@vaishu chandrasekaranif u are cooking it in cooker, use 1.5 cup of liquid for 1 cup of rice and bring the mix to a boil, then lower the flame and cover the cooker. COok on low heat for 15 mins. thats it
Jenifer Juliya
Can we use ready-made Briyani masala instead of grinding these ingredients?
Dhaaranee Naidu
Thank you for the recipe 😊 can ordinary rice be used instead of basmati? If so then how much water to add on a pan for normal rice and how many whistles in cooker? Will the quantity of water change?
Arya
Thanks for the recipe. Biriyani came out great and was packed in flavours.. Even my 3 year old daughter loved it.
sussy
This can be eaten with what?