
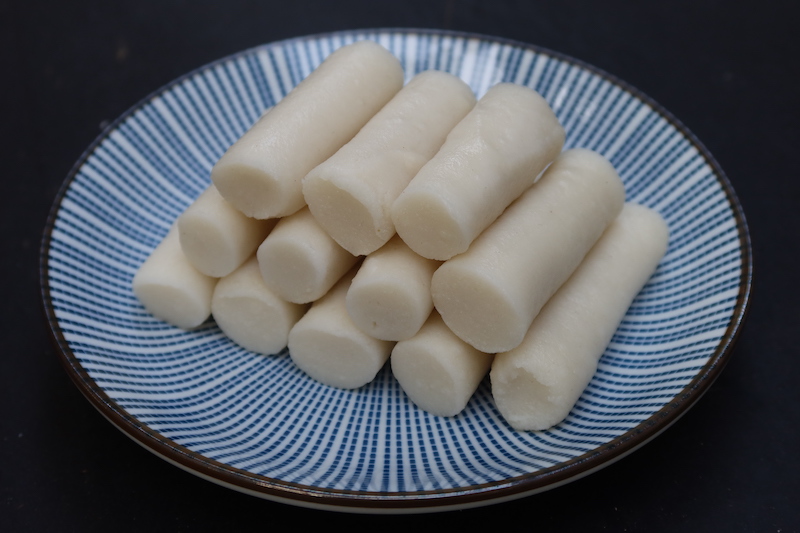
Garaetteok is also known as Korean rice cake used to make tteokbokki (spicy rice cakes) and tteokguk (rice cake soup). It is very easy to make at home, all you need is rice flour, water and sesame oil. You can make these rice cake in microwave or in a steamer. In this blog post, learn how to make rice cake with step by step pictures and video.
Korean Rice Cake
During our last trip to Korea, we had lots of tteokbokki. Specially it has become my kids favorite dish of all time. We tried tteokbokki in street food stalls. One of our favorite way to eat rice is when it is grilled and coated with honey and sesame seeds. It is too good.
Jump to:
Nowadays you can easily find rice cake in online shops including Amazon. But i wanted to try making it at home, specially with the rice flour available in India. To my surprise it tasted delicious and relatively easy to make. In this blog post, I have shared how to make rice cake in microwave and using a steamer.
About Korean Rice Cake (Garaetteok )
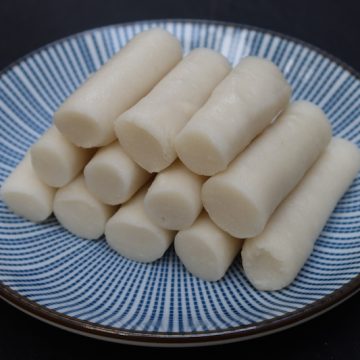
Garaetteok also known as Korean rice cake is white in colour and doesn't naturally has any strong taste on its own. Hence it is used in making tteokbokki or added to stir fries like dak-galbi. It is chewy and bouncy which makes it fun to eat.
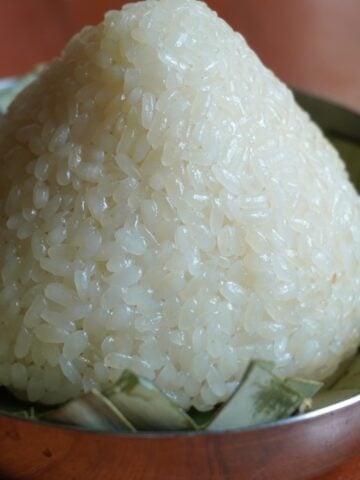
Korean rice cake is made using short grain rice which is wet milled. Like the rice flour which we make for idiyappam or putti. Rice is soaked, dried and ground into a powder. So you can use raw rice flour available in the super market.
Depending on the rice flour you use. The water quantity will vary. You start by adding little at a time so the mixture doesn't turn dough like. I used microwave to cook the rice cake which took me only 4 minutes to make. You can use a steamer to cook the rice flour mixture. I have shared it in the blog post.
Similar Recipes
Watch Korean Rice Cake Video
Korean Rice Cake Ingredients
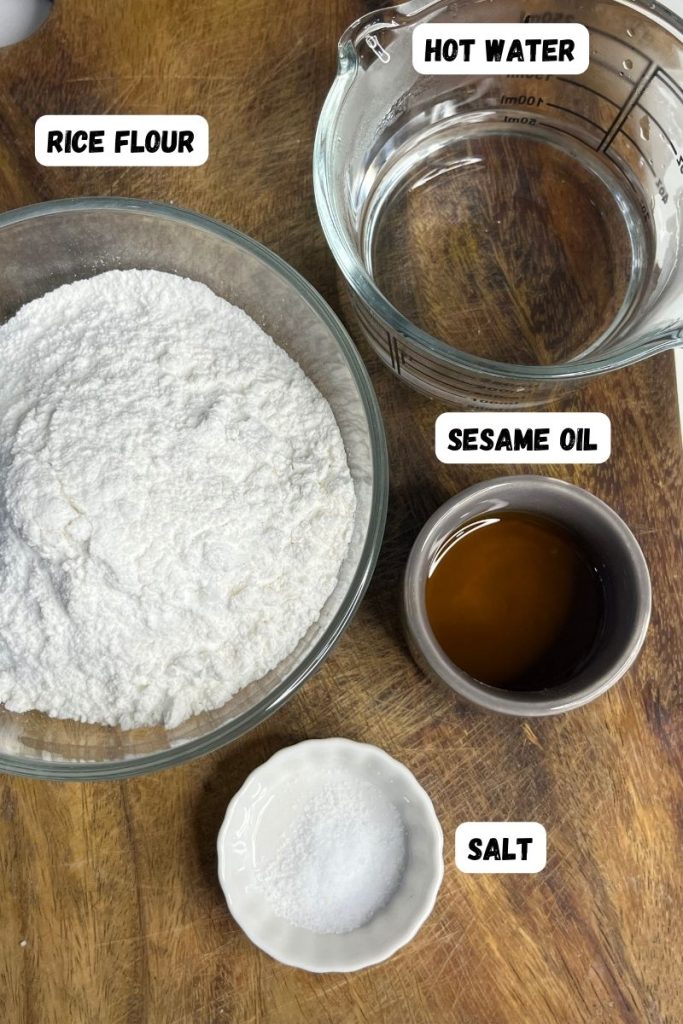
Rice Flour - use short grain rice flour also known as sweet rice for making rice cake. In India you can use raw rice flour also known as pacharisi maavu. It has high starch which is great for making rice cakes.
Salt - I added pinch of salt to make rice cake for flavour and taste.
Sesame Oil - toasted sesame oil is used in making rice flour to provide the flavour and also prevents them from sticking to each other.
Water - Depending on the rice flour you use. The water quantity will vary. You start by adding little at a time so the mixture doesn't turn dough like.
Which Rice flour to Use
Traditionally rice cake is made using short grain rice. Basmati rice or long grain rice like jasmine rice will not work in this recipe. So I picked raw rice from India. It has higher starch content which will help making the rice cake chewy. I bought store bought rice flour made with raw rice. The rice flour which we use for making puttu or idiyappam.
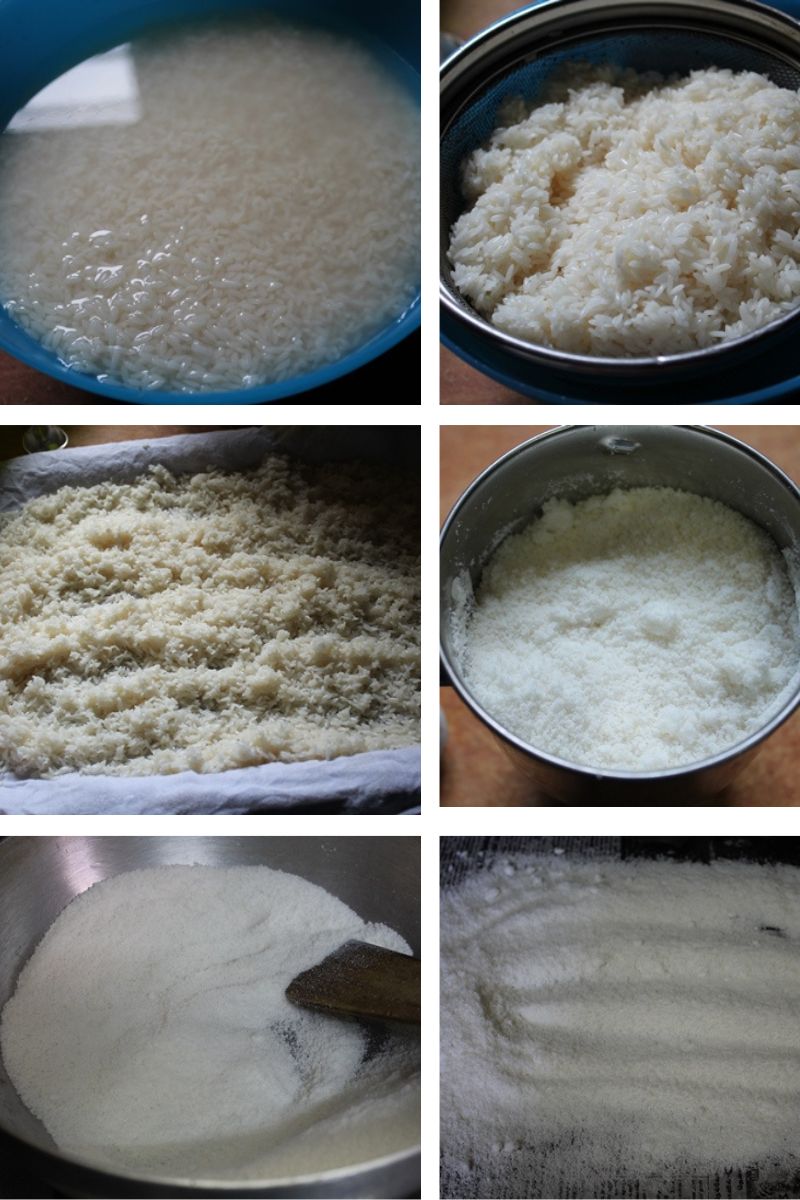
If you want to make rice flour at home. It is very easy as well. All you need is to follow these steps.
Soaking - Wash and soak raw rice in water for 3 hours. Strain in a sieve and let it sit for 15 minutes for all the water to drip off.
Air Drying - Spread the rice on a clean cloth and let it air dry for 2 hours.
Grinding - Take the dried rice in a blender and grind to a fine powder.
(Optional )Roasting - Dry roast the rice flour in a pan for 2 minutes. Take it off the heat and spread on a parchment paper to cool. Some people skip the roasting part, But I do it to extend the shelf life. Roasted rice flour tends to absorb extra water than un roasted.
Pro Tips - Please note that it is very hard to get the homemade rice flour to be as fine as professionally ground rice flour by a mill. You can store this rice flour in fridge or freezer for many months.
How to Make Korean Rice Cake (Stepwise Pictures)
Mixing Rice Cake Ingredients
1)take rice flour in a bowl. I used regular store bought raw rice flour (also known as pacharisi maavu). You can use any short grain rice flour or asian rice flour.
Depending on the rice flour you use, the texture of the rice cake and the amount of water to use will vary.

2)Add a little bit of salt for flavour. You can skip adding salt, but I like to add a pinch of it.
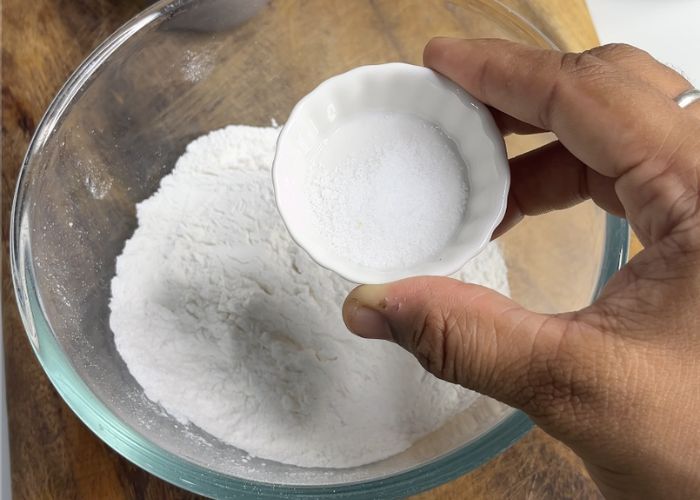
3)Mix the salt into the rice flour using a spatula before adding the water.

4)Pour in hot water, I used around ¾ cup of boiling hot water for 1 cup of rice flour.
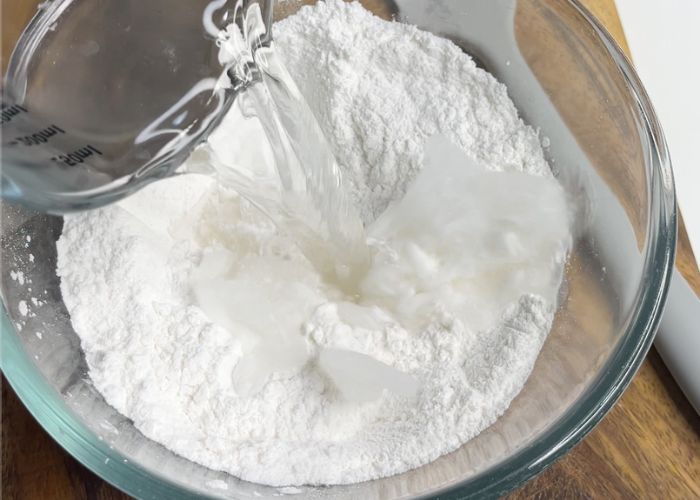
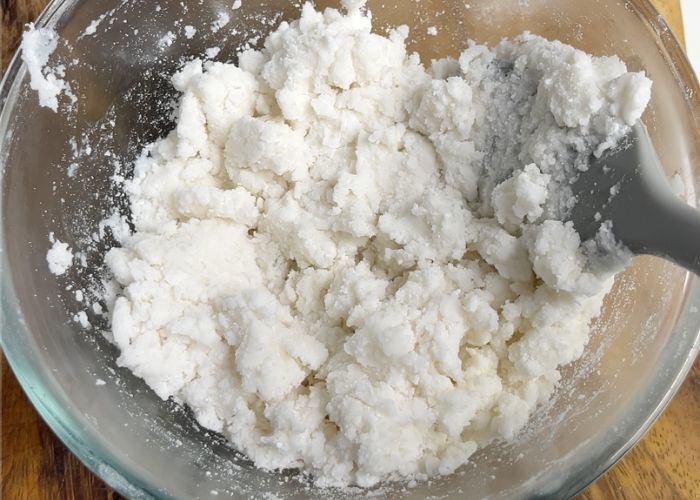
5)Mix the hot water into the rice flour. Depending on the type of rice flour you use the water consumption will vary. Your mixture has to resemble like this, it has to be crumbly without being so wet.
Cooking Rice Cake Mix
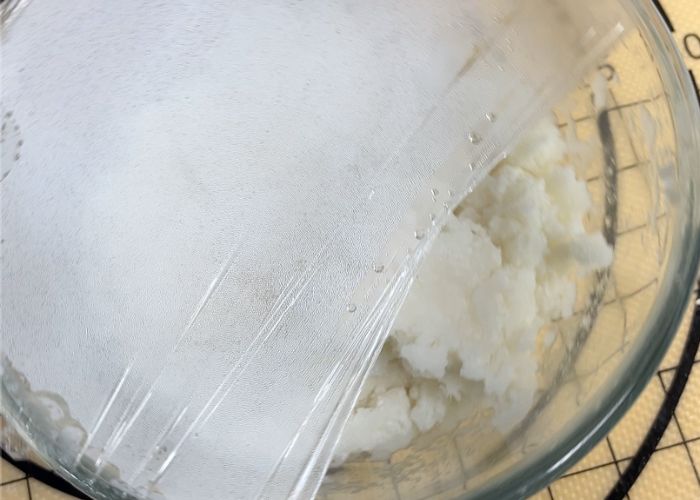
6)Cover the bowl with plastic wrap. leave a small gap in the side of the bowl for it to steam.
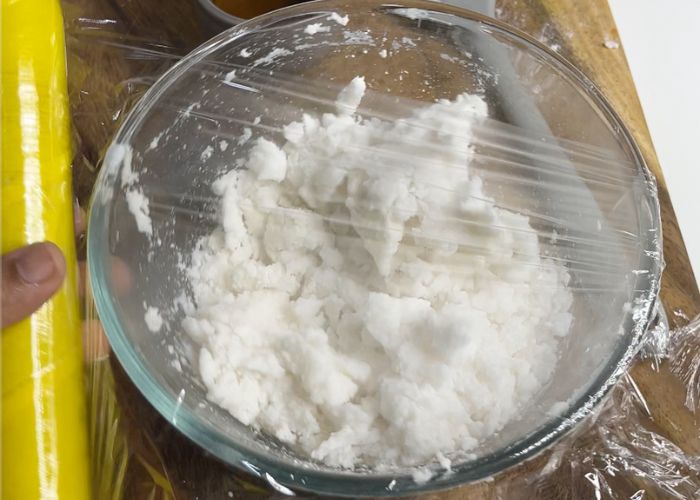
7)I am cooking mine in a microwave. if you don't have a microwave, I have shared how to steam this below this. You can check it.
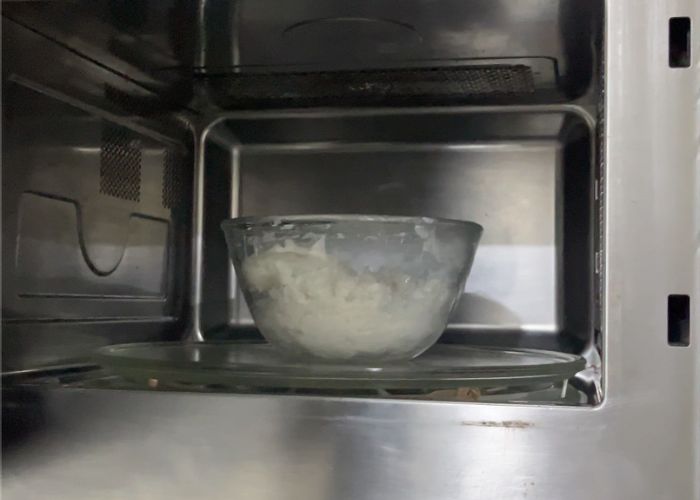
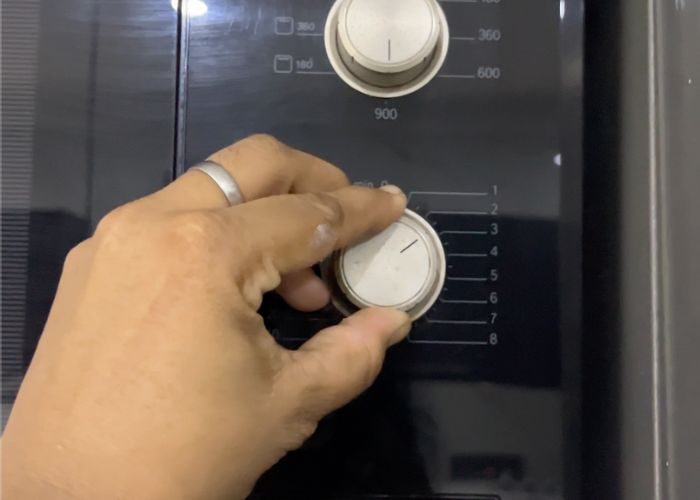
8)I microwaved it for 2 minutes.
9)After 2 minutes the bowl will be super hot, so be careful when you remove this from microwave.
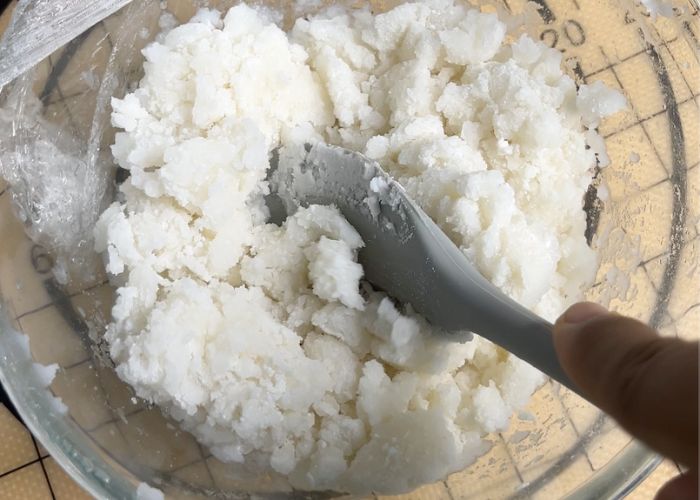
10)Give this a good mix using a spatula. Make sure it is gently combined. If it is too dry at this point, you can add some hot boiling water into it.
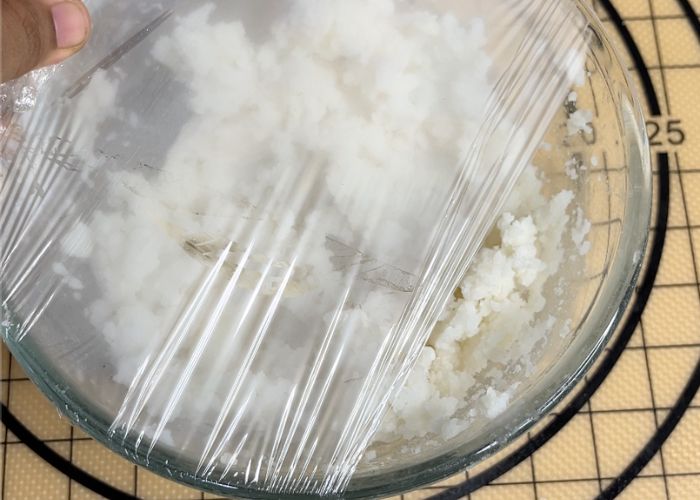
11)Now cover the bowl again and microwave for another 2 minutes.
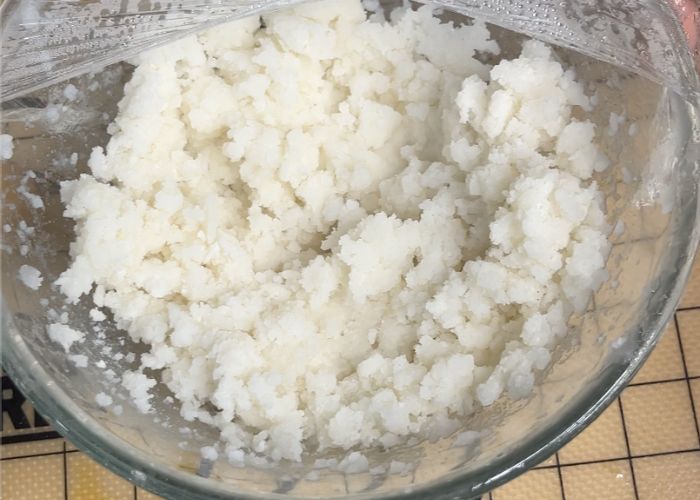
12)Now the rice flour mixture is cooked completely. Now we are going to knead it well.
Pounding & Kneading
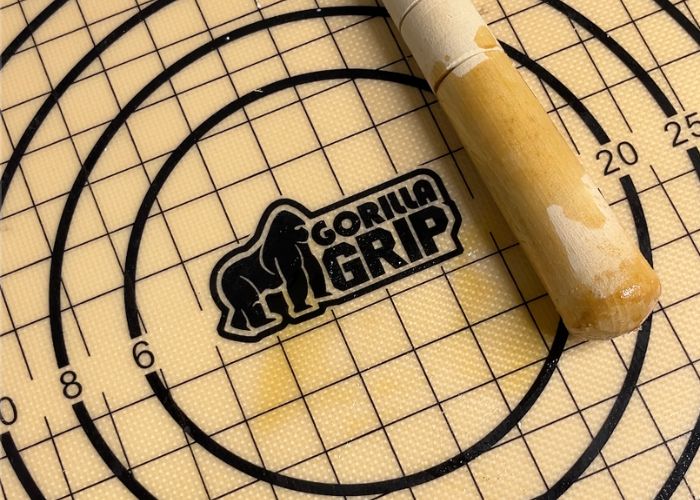
13)Drizzle some toasted sesame oil on a silicon sheet and apply oil on the wooden mortar.
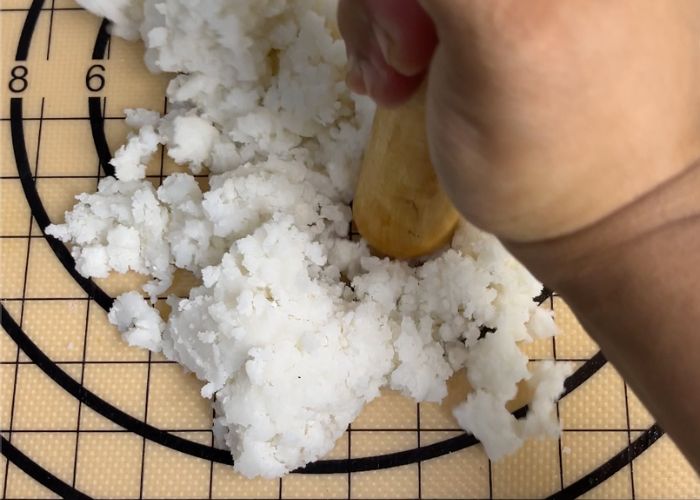
14)Transfer the rice flour to the sheet. Start pounding the rice flour mixture using the wooden pounder.
15)Once it is mashed well, i added a spoonful of hot boiling water and kneaded it using my hands till it is elastic and soft.
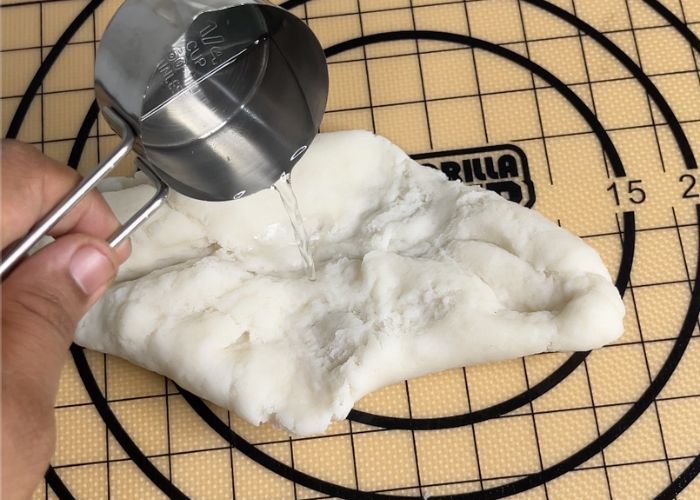
16)It will be relatively easy to knead this using hands. So keep kneading till it comes together smooth.
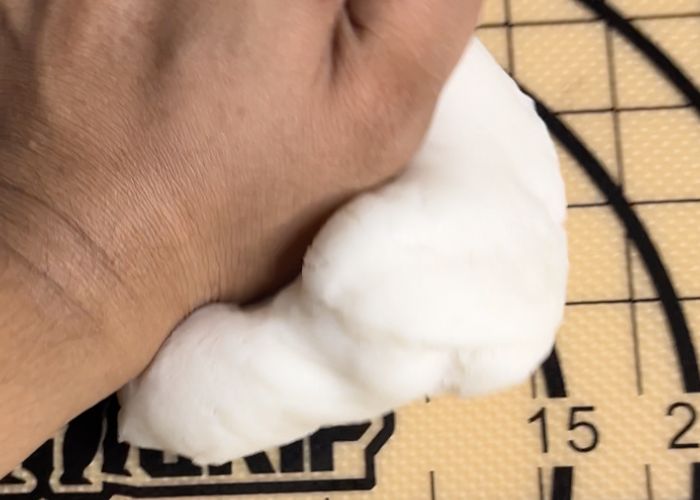
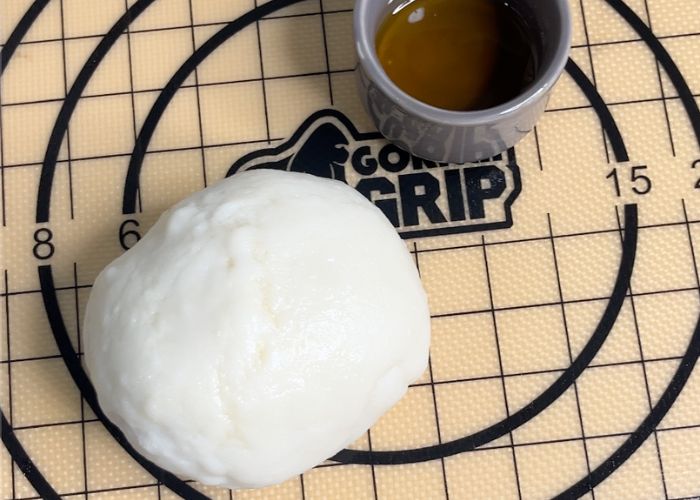
17)Now apply some oil on top of the dough ball and lets shape and cut it.
Shaping rice flour mix
18)Take the portion of rice flour ball. Cut it into 4 portions.
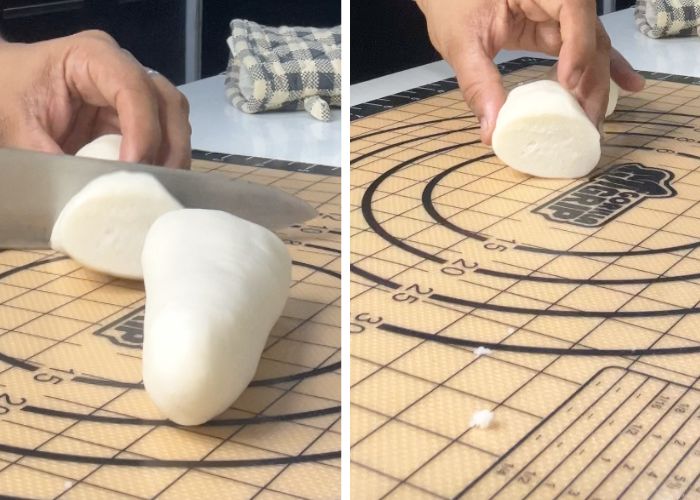
19)Apply some oil on your hands. Roll each portion into a rope like. It will be very easy to do this.
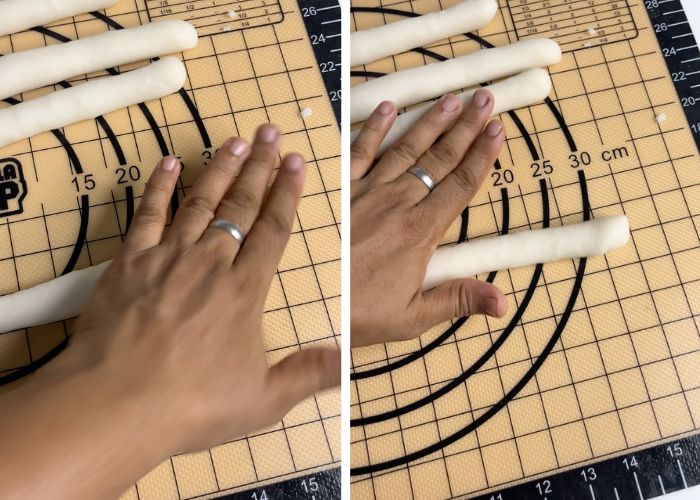
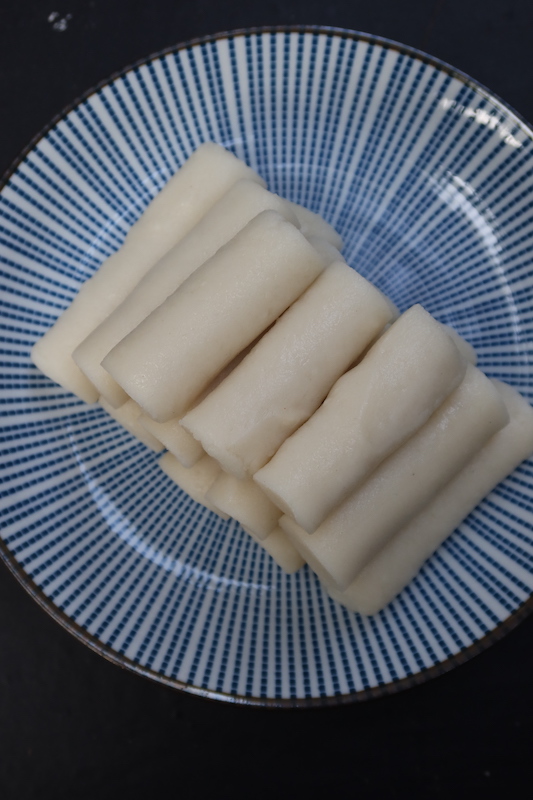
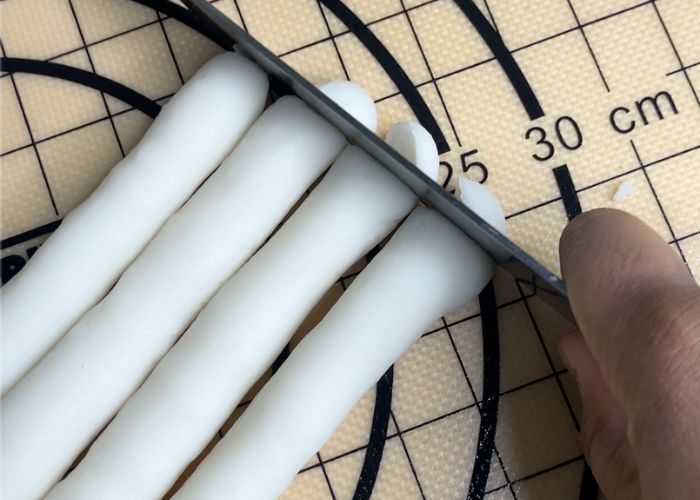
20)Once the rice flour is rolled like this. You can cut it to your desired length.
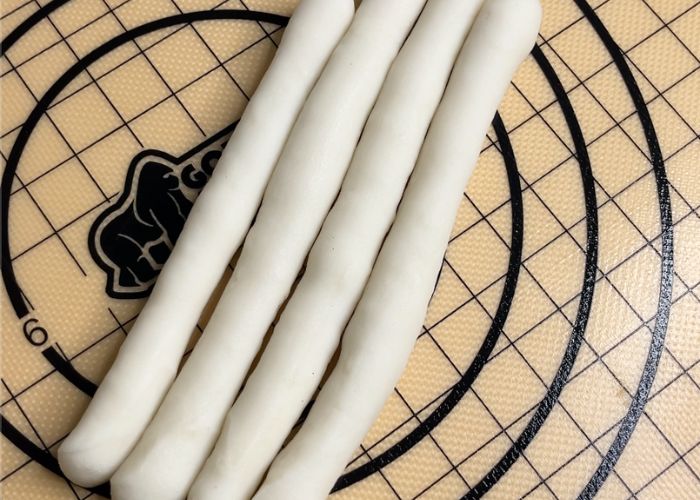
21)Remove the ends of the rice cake and cut into small pieces. Coat with sesame oil to prevent sticking.
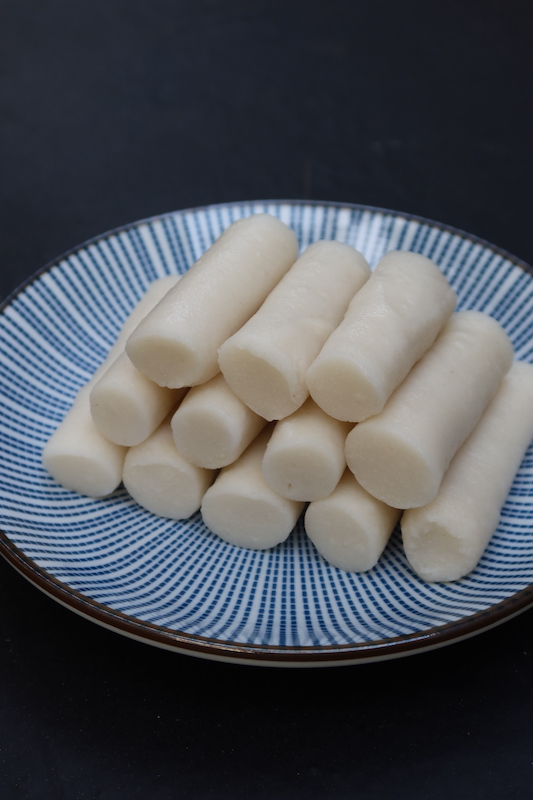
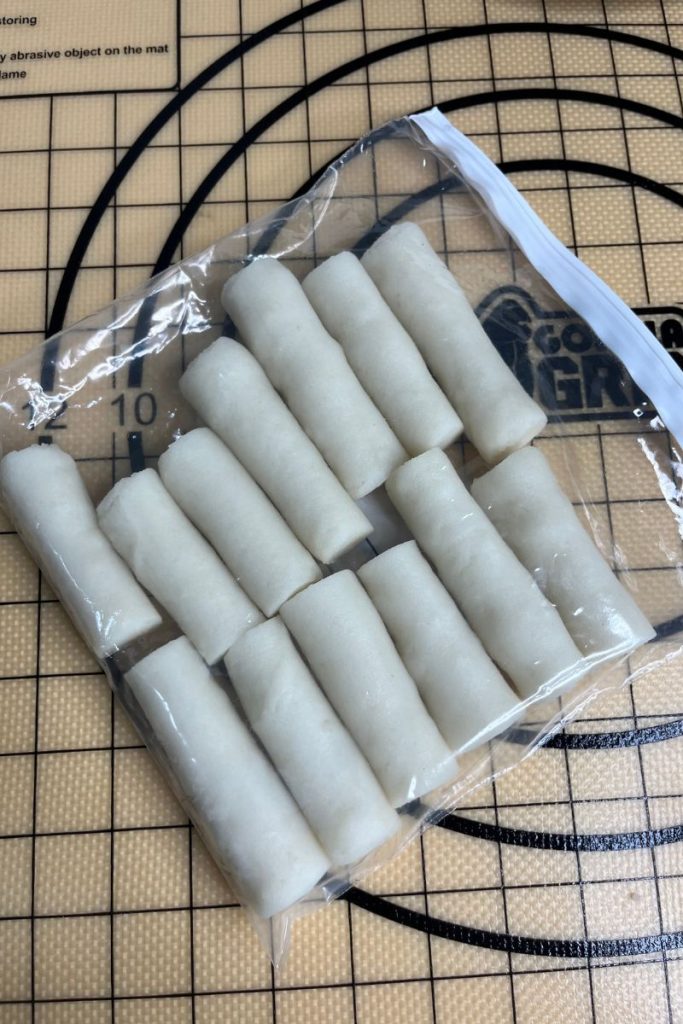
22)Your rice cake is ready. You can use it immediately or store in a ziploc bag in fridge for one day and in freezer for many months. Check below on how to use this from frozen stage.

How to Cook Rice Cake (in a steamer)
You can cook rice cake in a steamer if you don't have a microwave. It is easy.
- Take 1 cup rice flour, salt and hot water in a bowl and mix well. This time the mixture has to be like a thick batter. Pour this in a greased shallow vessel.
- Place this into a steamer or idli pot with water boiling underneath. Cover and steam cook for 30 minutes.
- After 30 minutes the mixture will be cooked and look like a solid mass.
- Remove the rice cake mixture to a greased silicon mat and start pounding till it gets elastic. After it cools a bit, you can start kneading with your hands till it is soft and supple.
- Shape into rice cake as mentioned above.
Expert Tips
Rice flour - using the right rice flour is important. If you can, you can buy shortgrain rice flour from Korean grocery store if you have access to one. It is usually available in the freezer section. If not you can make it at home or use raw rice flour.
Water Quantity - be cautious when using hot water into the rice flour, you have to add little at a time. The mixture should be crumbly and not dough like.
Cooking method - if you own a microwave, look no firther and cook rice cake in microwave. If not use the steamer to cook it.
Pounding & Kneading - The important step in making rice cake is the pounding | kneading of the rice cake mixture. You have to keep kneading it till it is soft, supple, elastic and bouncy. The longer you knead the dough, the chewier the rice cake will be.
Storage
- Once the rice cake is made, coat it lightly with some sesame oil which prevents it from sticking to each other.
- Take this in a ziploc bag and remove the excess air. You can store this in fridge or freezer.
How to use rice cake from frozen?
Take the frozen rice cake in a bowl, cover it with warm water and let it soak for 5 minutes. Now you can directly add it to Tteokbokki sauce and cook as required.
More Korean Recipes to Try


📖 Get Recipe
Korean Rice Cake Recipe | Garaetteok Recipe
Equipment
Ingredients
- 1 cup Short Grain Rice Flour (Sticky rice or Sweet rice flour)
- ½ teaspoon Salt
- ¾ cup Hot Water
- 2 teaspoon Toasted Sesame Oil
Instructions
- In a microwave safe glass bowl. Take rice flour, salt and give a good mix so the salt is evenly combined. Pour in the hot water and mix gently so the rice flour is well mixed with the water. It should resemble crumbly texture, add water slowly little at a time when mixing else it get too wet.
- Cover the bowl with plastic wrap, leave a small gap in the side of the bowl for the rice flour to steam. Place the bowl in microwave and cook on high for 2 minutes. After 2 minutes remove the bowl carefully from the microwave since it will be very hot. Give the rice flour a good mix using a spatula, you can sprinkle some water at this point if the mix is too dry. Cover it again with plastic wrap leaving a small gap in the end. Place it back into the microwave and cook for 2 more minutes.
- Once the rice cake mix is cooked. Remove it to a greased silicon mat. I drizzled some sesame oil. Transfer the rice flour mix into the mat and start pounding using a masher or pestle. Keep pounding till it starts to come together. Now i like to knead the dough, sprinkle some extra hot water if the rice flour mix is little dry and hard. Knead it using your hands till it is soft and smooth. It will be easy to kneading using hands.
- Once the dough is soft. Divide it into 4 equal portions. Roll each portion into a rope like. Cut the ends off and cut into desired height. Coat it with some sesame oil so nothing sticks to each other. You can store this in ziploc bag in fridge or freezer.
Video
Notes
How to make rice cake (in a steamer)
- Take 1 cup rice flour, salt and hot water in a bowl and mix well. This time the mixture has to be like a thick batter. Pour this in a greased shallow vessel.
- Place this into a steamer or idli pot with water boiling underneath. Cover and steam cook for 30 minutes.
- After 30 minutes the mixture will be cooked and look like a solid mass.
- Remove the rice cake mixture to a greased silicon mat and start pounding till it gets elastic. After it cools a bit, you can start kneading with your hands till it is soft and supple.
- Shape into rice cake as mentioned above.
Storage
- Once the rice cake is made, coat it lightly with some sesame oil which prevents it from sticking to each other.
- Take this in a ziploc bag and remove the excess air. You can store this in fridge or freezer.
How to use rice cake from frozen?
Take the frozen rice cake in a bowl, cover it with warm water and let it soak for 5 minutes. Now you can directly add it to Tteokbokki sauce and cook as required.Nutrition
Tried this Recipe
Mention @yummytummyaarthi or tag #yummytummyaarthi!If you have any questions not covered in this post and if you need help, leave me a comment or mail me @aarthi198689@gmail.com and I'll help as soon as I can.
Follow me on Instagram, Facebook,Pinterest ,Youtube for more Yummy Tummy inspiration.
IF YOU MAKE THIS RECIPE OR ANYTHING FROM YUMMY TUMMY, MAKE SURE TO POST IT AND TAG ME SO I CAN SEE ALL OF YOUR CREATIONS!! #YUMMYTUMMYAARTHI AND @YUMMYTUMMYAARTHI ON INSTAGRAM!


Kathy Canipe
I made them I think they're great I'm an American 62-year-old woman and I love them