
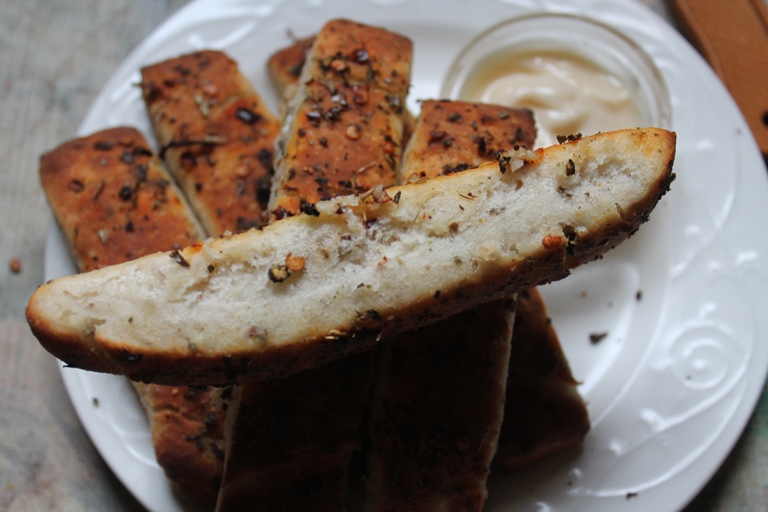
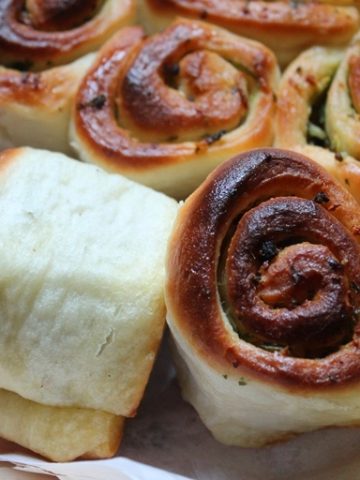
Dominos Garlic Breadsticks Recipe with step by step pictures. This recipe is crunchy on the outside, soft and buttery on the inside.

Dominos Garlic Breadsticks
This is one recipe which i wanted to try for a very very long time. Finally i made it yesterday and it turned out delicious i cannot wait to share it. It is pretty simple recipe to make. You just need a handful of ingredients and few herbs for this..
Similar Recipes,
Garlic Bread
Cheesy Garlic Bread
Dominos Cheese Burst Pizza
Real Dominos Cheese Burst Pizza
Oregano Seasoning Mix
Basic Cheese Sauce
Ingredients for Dominos Garlic Breadsticks
- Oregano Seasoning as needed (RECIPE HERE)
- Butter or Oil as needed
For Dough:
- Warm Water - 1 cup
- Dry Yeast - 1.5 tsp
- Sugar - 2 tsp
- All Purpose Flour / Maida - 2 cup + extra
- Salt - ½ tsp
- Garlic - 7 to 8 cloves crushed
- Oregano Seasoning - 1.5 tablespoon (RECIPE HERE)
- Olive Oil - 2 tbsp

The main ingredients for this the oregano seasoning mix, you can either use the one which comes with the dominos pizza or make your own as i did. You just need few herbs, i always have a good supply of those dried herbs..And the dough has to be perfect. I have given measurements for the dough, so follow it and make it..
This is a simple garlic version of the breadstick. Will share a stuffed version of breadstick soon. So hope you will give this a try and let me know how it turns out for you..
How to Make Dominos Garlic Breadsticks Recipe
- Take warm water, yeast, sugar in a bowl and set aside for 5 mins till the yeast it bubbly and activated.
- Now add in flour, salt, garlic and mix well. It will form into a sticky dough.
- Add in oil and knead well. Cover with plastic wrap and set aside for a hour till it is doubled in size.
- Now add oregano seasoning and fold well. Add more flour and knead to a soft dough.
- At this point Preheat oven to 180 degree C. Line a baking tray with foil and butter or oil it well. Set aside.
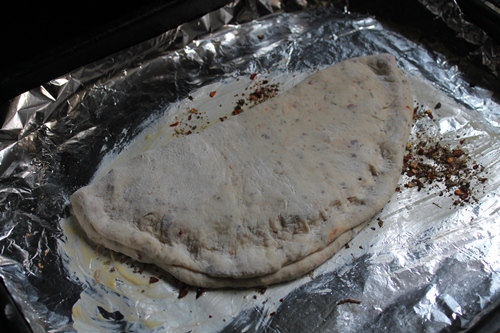
- Now divide the dough into two portion and roll one into thick circle. Fold it over and seal the edges.
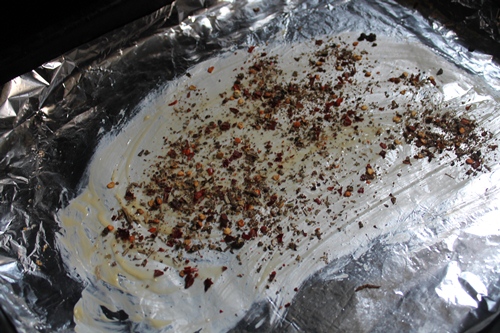
- Now take the tray and sprinkle it with some oregano seasoning.
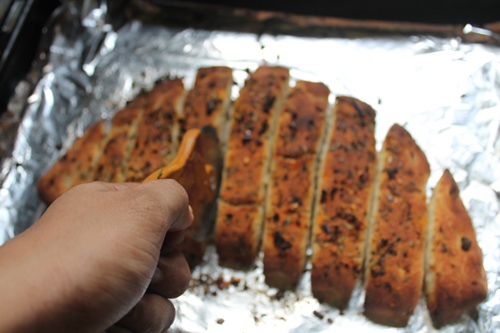
- Place the garlic bread over it and use a pizza cutter to cut into sticks.
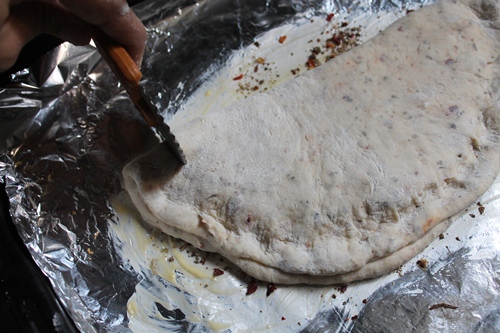
- Now brush the top with oil or butter and sprinkle with some more seasoning.
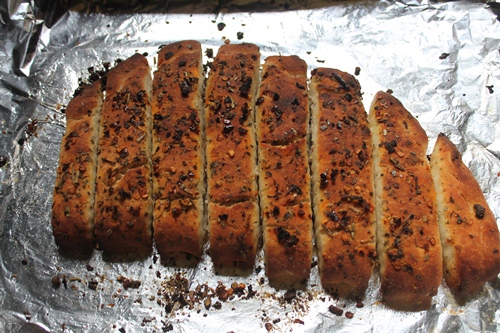
- Bake this for 10 mins in 180 degree C. Now increase the heat to 220 Degree C and bake for 5 mins this till give nice colour to the bread.
- Remove it and brush with some more butter if needed.
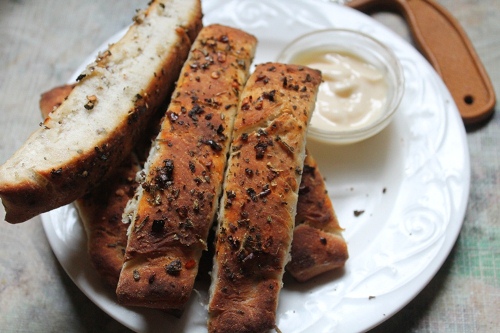
- Serve with cheese sauce.

If you have any questions not covered in this post and if you need help, leave me a comment or mail me @aarthi198689@gmail.com and I'll help as soon as I can.
Follow me on Instagram, Facebook,Pinterest ,Youtube and Twitter for more Yummy Tummy inspiration.
IF YOU MAKE THIS RECIPE OR ANYTHING FROM YUMMY TUMMY, MAKE SURE TO POST IT AND TAG ME SO I CAN SEE ALL OF YOUR CREATIONS!! #YUMMYTUMMYAARTHI AND @YUMMYTUMMYAARTHI ON INSTAGRAM!
📖 Get Recipe
Dominos Garlic Breadsticks Recipe
Ingredients
- Oregano Seasoning as needed RECIPE HERE
- Butter or Oil as needed
- For Dough:
- 1 cup Warm Water
- 1.5 teaspoon Dry Yeast
- 2 teaspoon Sugar
- 2 cup + extra All Purpose Flour / Maida
- ½ teaspoon Salt
- 7 to 8 cloves Garlic crushed
- 1.5 tablespoon Oregano Seasoning
- 2 tablespoon Olive Oil
Instructions
- Take warm water, yeast, sugar in a bowl and set aside for 5 mins till the yeast it bubbly and activated.
- Now add in flour, salt, garlic and mix well. It will form into a sticky dough.
- Add in oil and knead well. Cover with plastic wrap and set aside for a hour till it is doubled in size.
- Now add oregano seasoning and fold well. Add more flour and knead to a soft dough.
- At this point Preheat oven to 180 degree C. Line a baking tray with foil and butter or oil it well. Set aside.
- Now divide the dough into two portion and roll one into thick circle. Fold it over and seal the edges.
- Now take the tray and sprinkle it with some oregano seasoning.
- Place the garlic bread over it and use a pizza cutter to cut into sticks.
- Now brush the top with oil or butter and sprinkle with some more seasoning.
- Bake this for 10 mins in 180 degree C. Now increase the heat to 220 Degree C and bake for 5 mins this till give nice colour to the bread.
- Remove it and brush with some more butter if needed.
- Serve with cheesesauce.
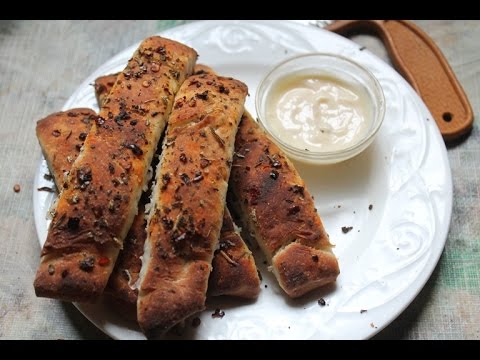
Video
Nutrition
Tried this Recipe
Mention @yummytummyaarthi or tag #yummytummyaarthi!Garlic Breadsticks Recipe Step by Step
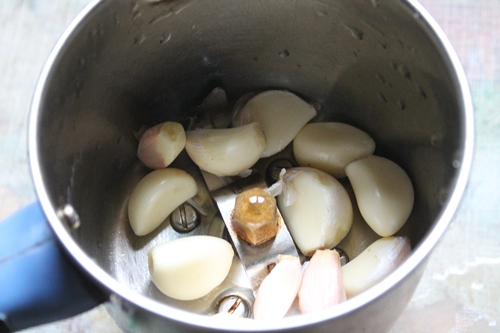 |
| First take some peeled garlic in a blender |
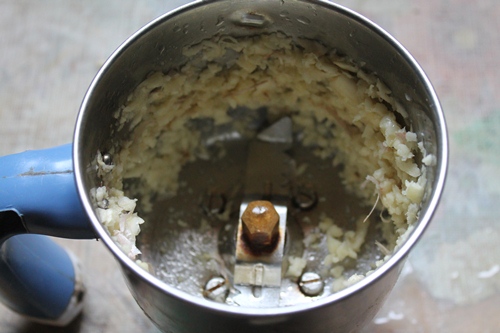 |
| pulse few times so it is all crushed |
 |
| Take warm water in a bowl..Make sure the water is luke warm.. |
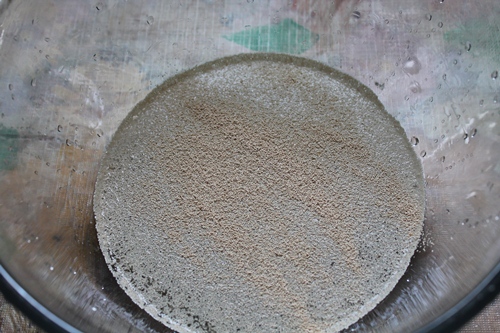 |
| Sprinkle over the yeast |
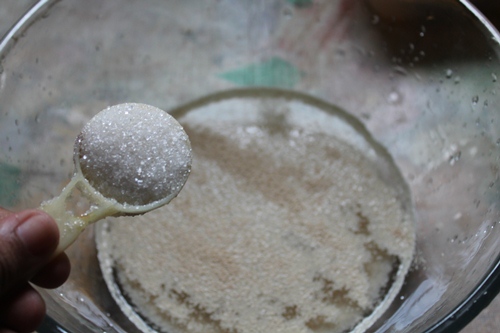 |
| add in sugar |
 |
| set aside.. |
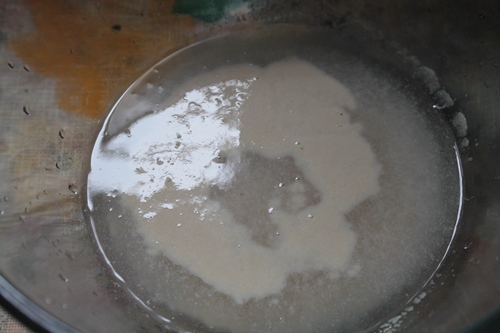 |
| the yeast will activate.. |
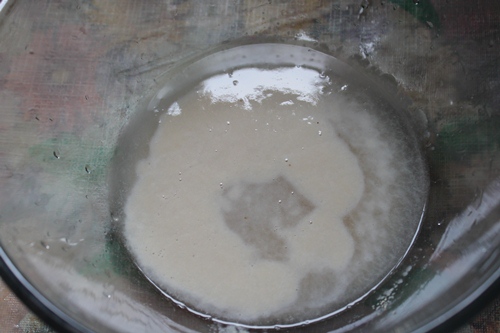 |
| you will see some cloudy thing on top of water |
 |
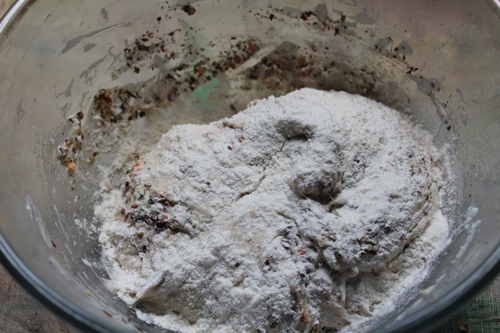
| Add in flour |
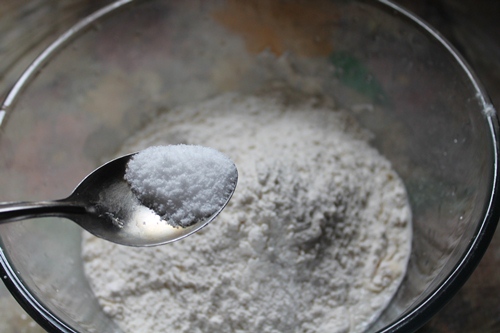 |
| add in salt |
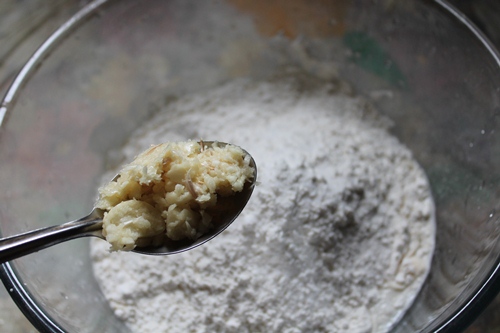 |
| garlic |
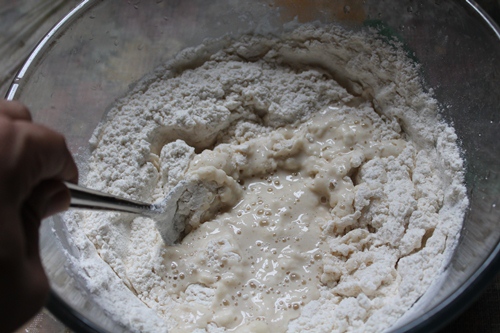 |
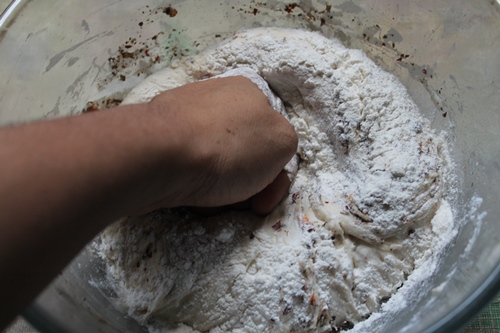
| i used a spoon to mix this up |
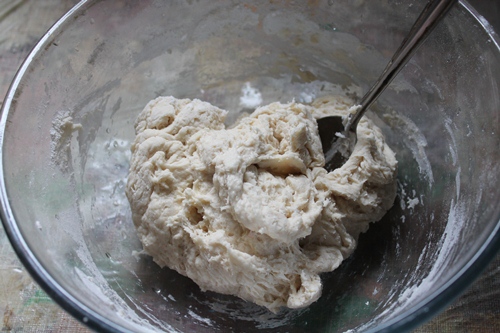 |
| it will start to come together..but still the dough will be sticky |
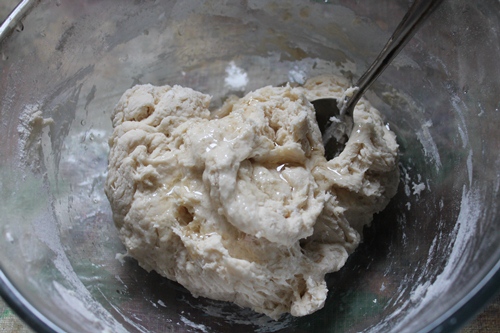 |
| add in some oil |
 |
| mix well.. |
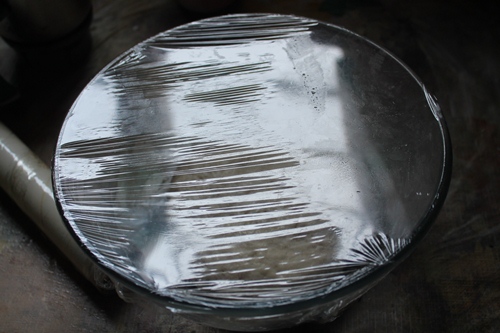 |
| cover it with plastic wrap |
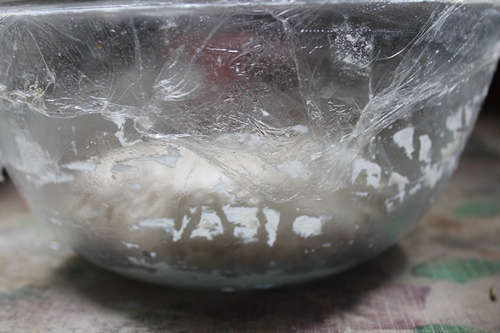 |
| set aside for a hour or so |
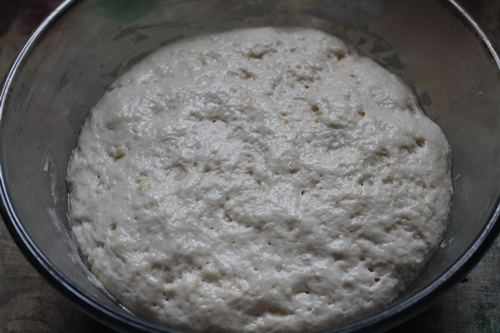 |
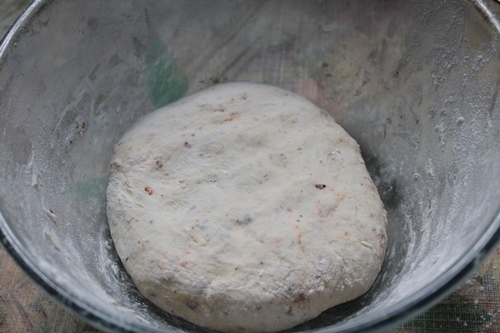
| now it is more than doubled in size |
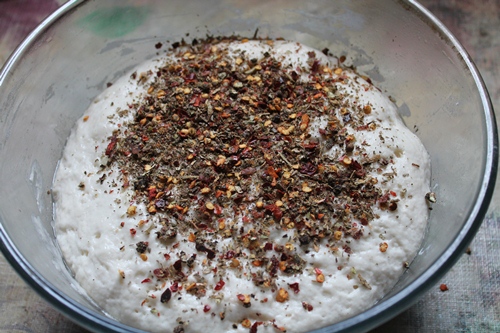 |
| add a good amount of the oregano seasoning mix |
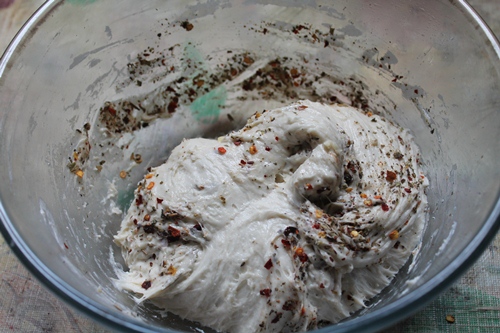 |
| mix well |
 |
| you can sprinkle more flour if the dough is sticky |
 |
| keep kneading |
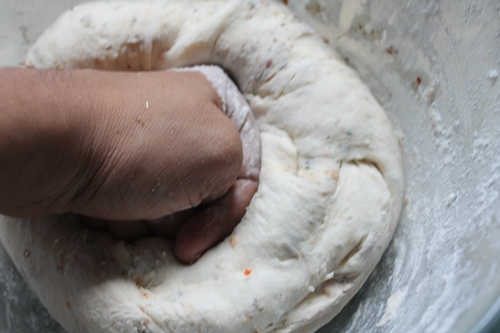 |
| keep kneading.. |
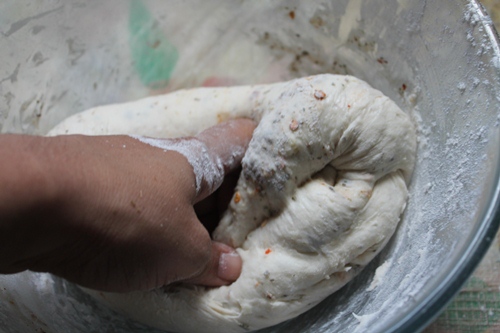 |
| kneading |
 |
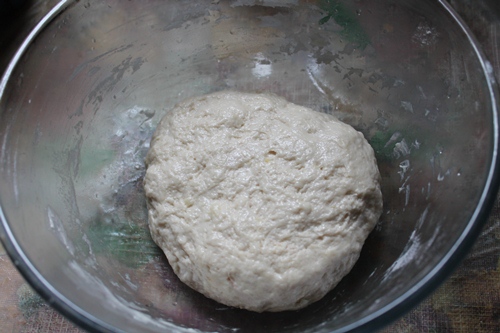
| it will form a smooth ball now |
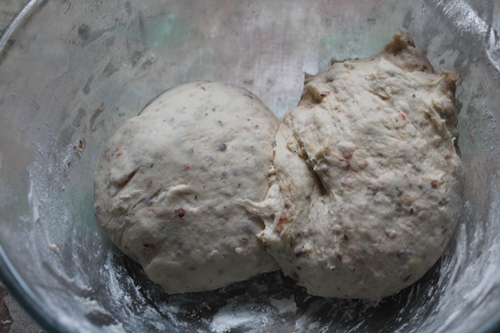 |
| divide it into two portion |
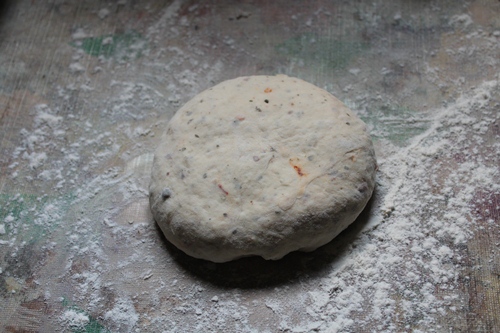 |
| take one portion |
 |
| roll it thick |
 |
| fold it over |
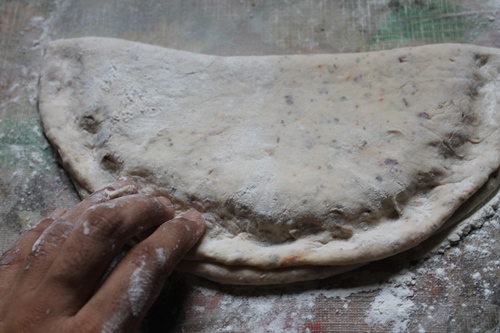 |
| seal the edges |
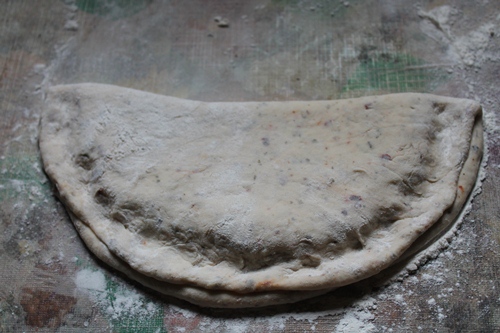 |
| now it is sealed |
 |
| Now line a tray with foil |
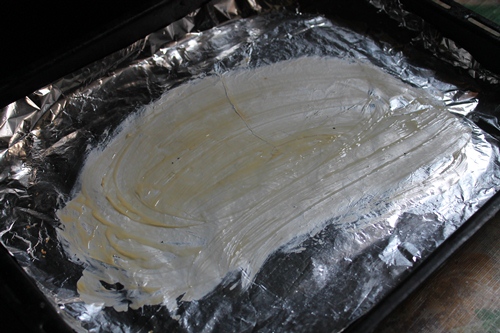 |
| oil or butter it..i used butter |
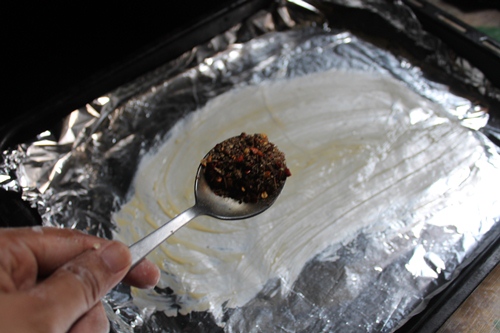 |
| sprinkle some seasoning over |
 |
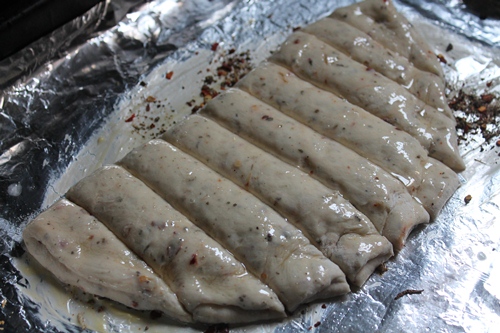
| Place the dough over it |
 |
| use a pizza cutter to cut it..you can use knife |
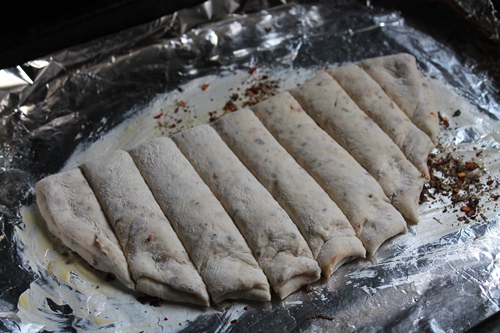 |
| Cut sticks like this |
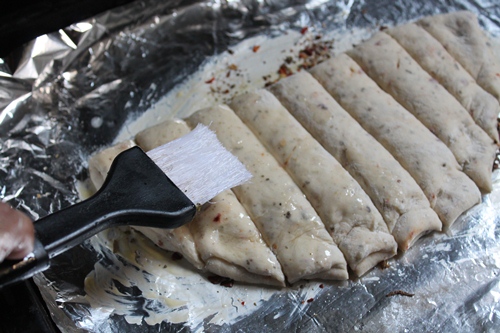 |
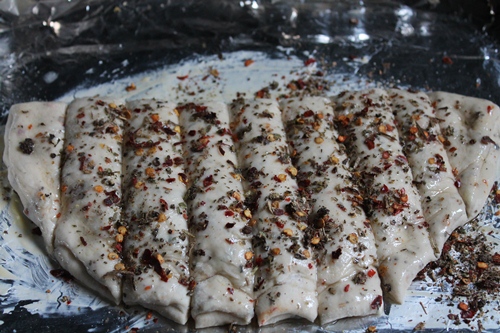
| brush the top with butter or oil |
 |
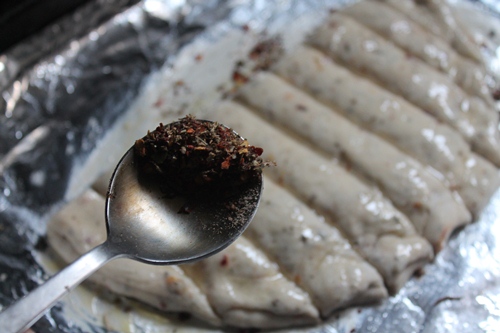 |
| sprinkle more seasoning over it |
 |
| time to bake |
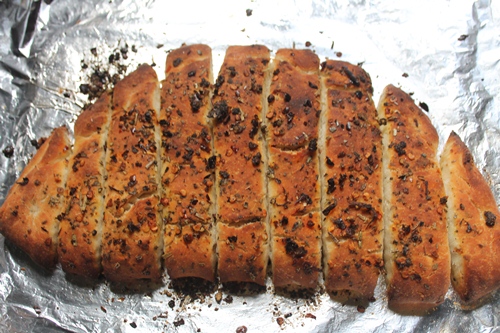 |
| now it is baked |
 |
| use the pizza wheel to separate the sticks |
 |
| Enjoy |
 |
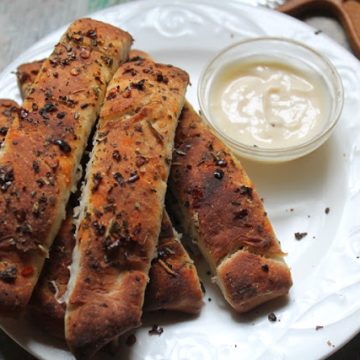
| It is absolutely addictive.. |
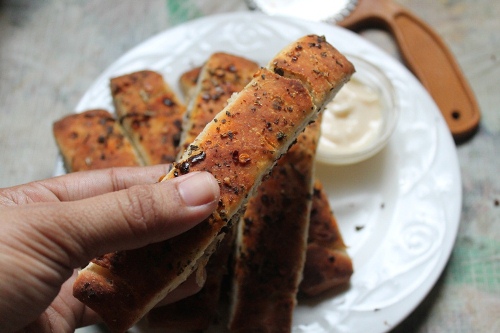 |
| You just want to pick one |
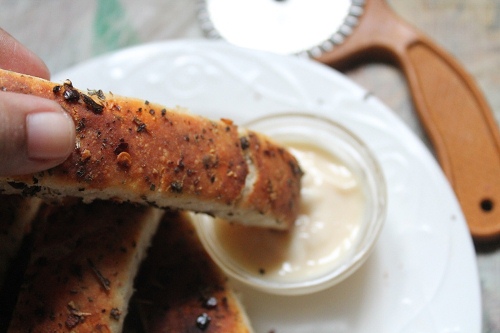 |
| dip onto some cheese sauce..RECIPE HERE |
 |
| and just bite it |
 |
| Look how soft it looks |


Anonymous
Bi I tried these stick in microwave convection oven.stick eas like rusk it became haed could you please tell me where I went wrong. I made in combination mode.
Rasika Paul
Wow...looks so tempting..i am going to try this over the weekend.
Aarthi
@Anonymousi think u have over baked it
Rashmi Tubachi
pls tell me which otg u r having and how many ltrs
Anonymous
pls tell me which otg oven you use and how many ltrs it is and what type of foil you have used for baking.
Rashmi Tubachi
pls tell me which otg oven you r using and how many ltrs it is and what type of foil u have used for baking
Aarthi
@Rashmi Tubachicheck this link
https://www.yummytummyaarthi.com/2014/03/meet-my-ovens-ovens-which-i-use-best.html
Anonymous
Should it bake on middle rack of oven with both the elements on?
Anonymous
I cannot open the above link provided by u.
sandhu singh
I have tried it yesterday but i don't know why m not getting brown crust over top of bread sticks,i bake it for 20 mint on convection mode then grill it for to 5 mints,but still color is white only ,plz help where i was wrong ,plz confirm kneading time also
Aarthi
@sandhu singh browning depends on each oven, dont bake longer and dont grill it. It will turn hard. Knead the dough for 5 to 8 mins till it get springy
Aarthi
@Anonymousyes bake it in middle rack with both elements on
Aarthi
@Anonymouscheck this , copy and paste
https://www.yummytummyaarthi.com/2014/03/meet-my-ovens-ovens-which-i-use-best.html
umamahi
akka can we bake this without lining with foil?coz i dnt hav in my hand.can we bake it simply by buttering or oiling the tray??thanks 🙂
Aarthi
@umamahiu can bake it..
Meenakshi
Can you please post video of your kneading..
Meenakshi
How much extra flour needs to be added.. My dough remains sticky even after 15 mins of kneading
Aarthi
@Meenakshiit depends on the wetness, keep adding flour till it gets soft.
Rishu Sehgal
It was so tempting ! I tried but it didn't come out soft & fluffy - taste was good so i cud get it finished. What cud be the reason?
Also pls let me know what if yeast did not show bubbles...How do u know yeast is activated. In my case i did not notice any bubbles...cud that be the reason for bread not turning out soft?
Aarthi
@Rishu Sehgalif your yeast is not activated, the dough wont rise. If you dough wont rise the bread will be hard.
Rishu Sehgal
Thanx for responding Aarthi !It was first time i used yeast. So i have couple of questions
1. How do i know whether yeast is activated or not?
2. What if there are no bubbles observed
3. If yeast is left dissolved for more time what happens?
4. Is there any substitute for yeast?
Aarthi
@Rishu Sehgal yeast will be foamed that is when you know it is activated. If you leave it for more time then it will lose it power. And no sub for yeast in this
Niranjana Binoy
Hi..
Thanks in advance for ur patience to clarify my doubts.
1. Regarding baking... While you bake do u use both the top and bottom coil or just the bottom coil??
2. Is it necessary we do a plastic wrapping when we set aside the dough to rise? Will it be okay if i just cover it with a lid? If not can you give me an alternative for plastic wrap method?
Thanks
Niru
Aarthi
@Niranjana Binoyi use both coils on.
yes u can cover with a plate also..or a towel
Anonymous
Hi I tried your recipe and it came out good. The only thing is,my bread didn't get the crust. It was white even after baking .
24*7 mother
Hi can we use wheat flour instead of maida?
Aarthi
@24*7 motheryou can use wheat flour, but it will make the bread a little dense, but still it will taste good
Sathya
Hi aarthi...i hav noticed many of your kitchen utensils are same as mine..hope v both havesimiilar taste.. How long shld i knead the dough?I used the same quantity mentioned in t recipe but still not getting the consistency yaar..dough is still very very sticky..
Aarthi
@Sathyaadd little more flour and knead it after the first rise. the soft dough will give the soft bread..so after the first rise of the sticky dough, you can add more flour and knead it till soft
Dhija Albert
Can we use plain dried oregano geb alone instead of the oregano seasoning mix because I dont have all the other herbs
Anonymous
I brought activated yeast! Should that too b soked in water and then used??
Unknown
Any substitute for yeast
Valli
Hi aarthi!! I tried this twice but both the times it turned out chewy.. i dont what I am doing wrong.. My yeast did not get cloudy.. but my dough did increase in size... I have regular 20 ltr microwave oven.. i followed the baking instruction exactly as provided... I think there was something wrong with my yeast.. what brand of yeast is the best?
Taruna
Hi!!
Can it be baked on gas stove or air fryer?? If yes than what will be the settings??
Thanks
Aarthi
180 degree c.