
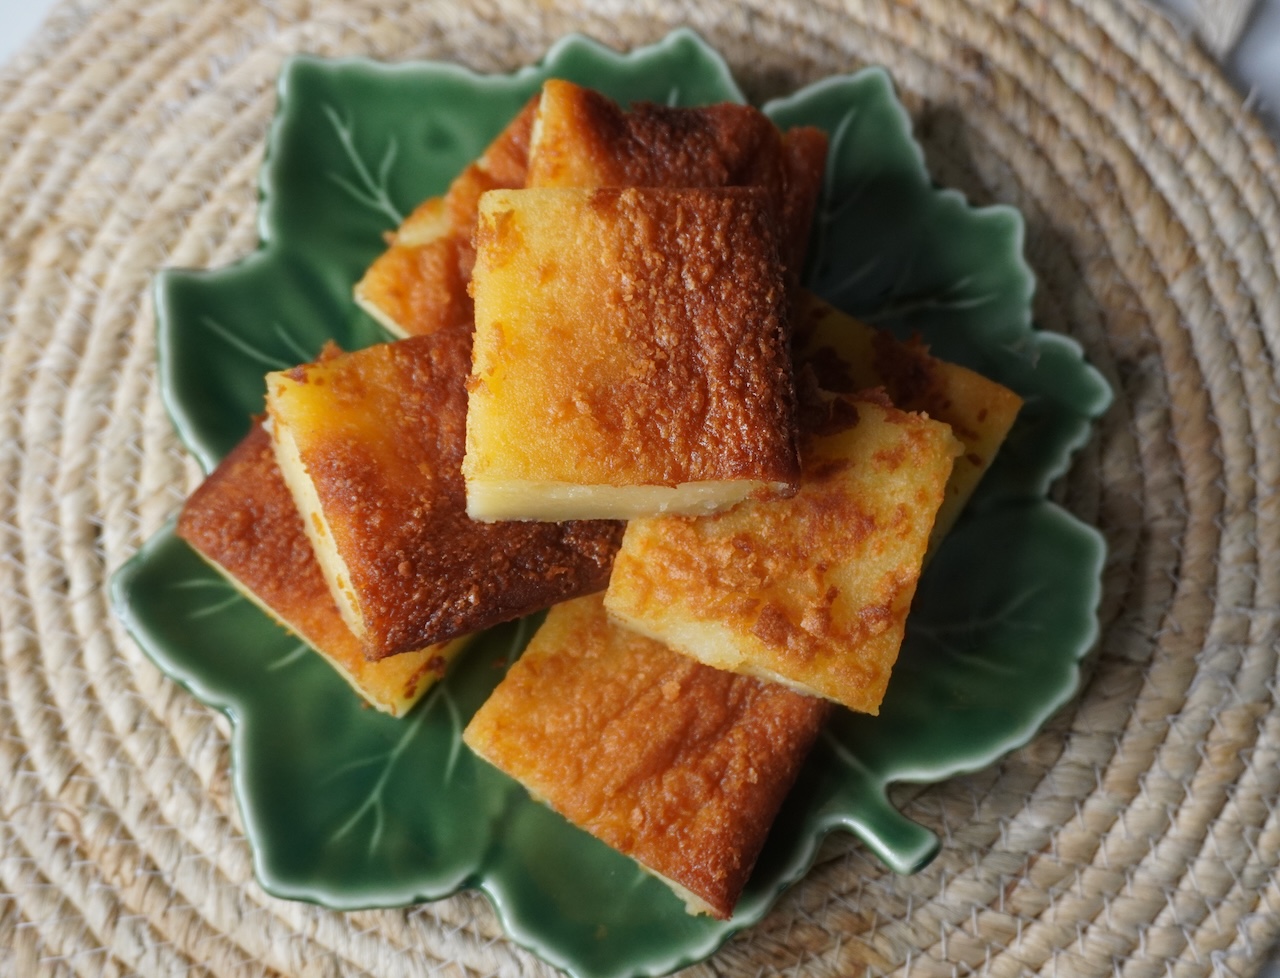
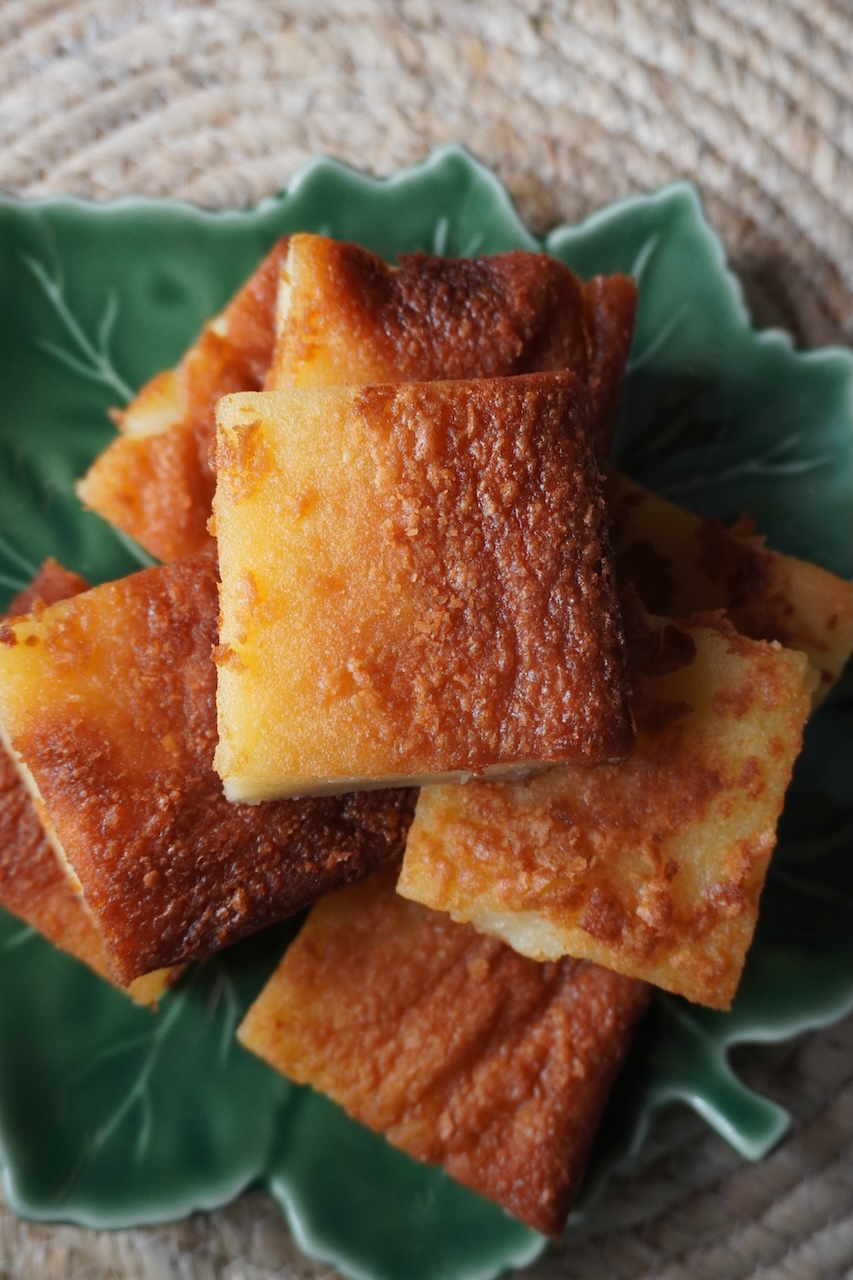
Hawaiian Butter Mochi is a classic Hawaiian treat made using glutinous rice flour, butter, coconut milk, sugar, eggs and butter. Butter Mochi cake taste so chewy and buttery and naturally gluten free, hence the name. In this blog post, learn how to make perfect butter mochi with step by step pictures and video.
Butter Mochi
Butter Mochi is very new to me. I have never tasted it or heard about it before. It is very recently I heard about it from a friend's Instagram page. It was very interesting so thought of giving it a try.
This recipe is ridiculously easy. You barely even have to measure anything, because you just dump a can of this, a can of that, and a box of mochiko. ALL you have to do is mix, pour, bake, cut. SO easy and the result is so delicious! Fattening, yes, but delicious. And isn't it okay to indulge sometimes?
About Butter Mochi
I thought to stop baking for a little while and concentrate more on cooking (I have been baking a lot for Christmas that's why) but yesterday I was so tempted by a friend's butter mochi post in Instagram. That was the first time I heard about it. Luckily I had all the ingredients. So tried it first thing in the morning.
I was very surprised by the taste never expected it. It is chewy and delicious. Plus it is gluten free since it is made using glutinous rice flour. Thanks to her for the inspiration. Next time I will bake it in a smaller pan so the pieces would be more chewy.
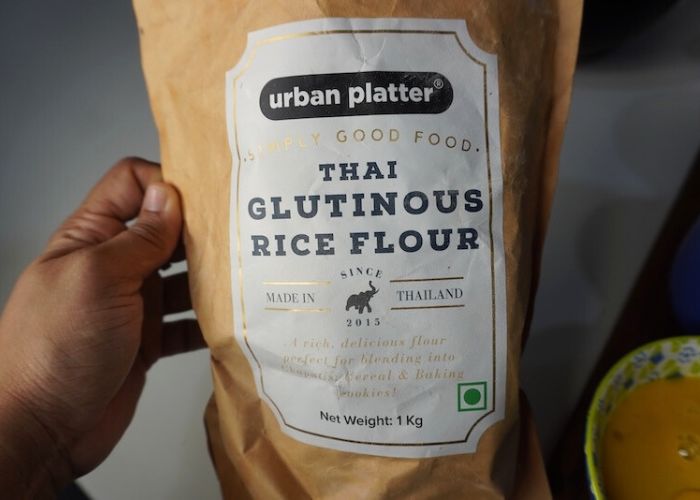
The one ingredient which you need for butter mochi is glutinous rice flour, you can easily find it on amazon these days. It comes in 500 grams & 1 kg pack. Looking for Similar Recipe, Check out Sweet Bean Mochi
Looking for more glutinous flour recipes,

HOW TO MAKE BEST HAWAIIAN BUTTER MOCHI
- Butter : i used ½ cup of butter, you can add extra ¼ cup if you want it to be rich. but I found out that ½ cup (100 grams) butter to be perfect.
- Sugar: I used normal granulated sugar
- Glutinous rice flour: you have to use glutinous rice flour | mochiko | sweet rice flour for the proper texture.
- Other stuffs: coconut milk adds nice coconut flavour and the fragrant.
- Baking: never over bake this bake just right.
- Pan Size Matter: bake mochi in a smaller pan with depth which creates more chewiness.
Ingredients
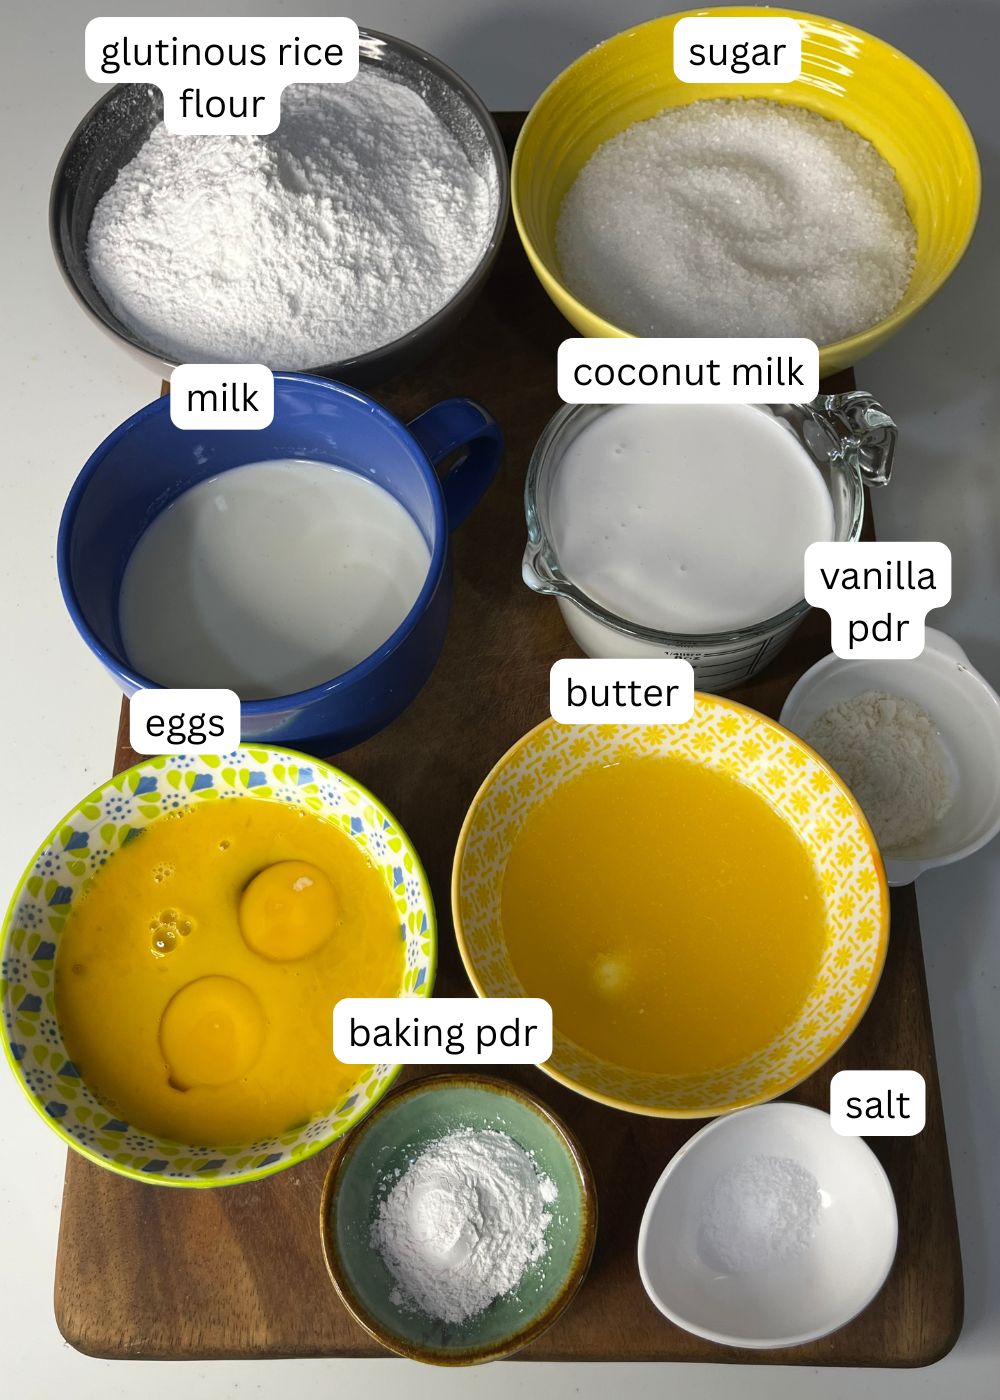
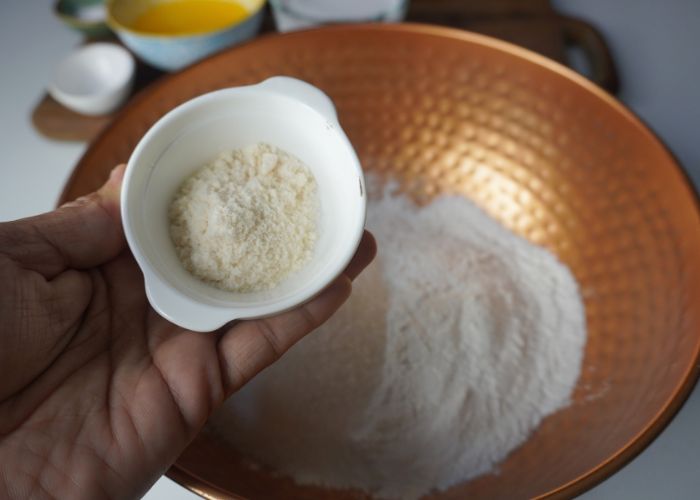
Glutinous Rice Flour - This is the main ingredient for making butter mochi. Glutinous rice flour which gives the iconic chewy texture to the cake. It also helps make this gluten free. You cannot swap it for regular rice flour.
Sugar - use granulated sugar for this recipe which is perfect. Brown sugar will not work well.
Butter - make sure to use unsalted butter and it should be melted and cooled.
Eggs - eggs are the main ingredients which helps the cake bake and set.
Baking powder - a small amount of baking powder helps with the lift of the cake and also makes it soft.
Coconut milk - coconut milk is important for the flavour. You can use coconut cream for more rich flavour.
Milk - if you want to keep this dairy free, you can use any dairy free milk or even use coconut milk.
Salt - a pinch of salt, enhances the taste.

Hacks
- Use glutinous rice flour | sweet rice flour for proper texture. It is also called as sushi rice flour | mochi flour | mochiko. Normal rice flour doesn't work.
- Don't skip on the butter, it adds nice flavour.
- Use thick creamy coconut milk for more coconut flavour.
- You can use evaporated milk instead of regular milk. but regular milk work just fine.
- Don't over bake the cake else it will turn hard.
- Use right size pan so the cake will have depth and more chewiness. I used larger pan so my cake was shallow. More thick cake taste more chewy and delicious.
Storage
If you can resist this cake stays good for 2 days at room temp. But it is best served fresh.

IF YOU LIKE THIS RECIPE YOU MIGHT ALSO LIKE:
- Upside Down Orange Cake
- Banana Upside Down Sundae
- Pineapple Sundae
- Pineapple Cake
- Eggless Apple Cake
Butter Mochi (Step by Step Pictures)
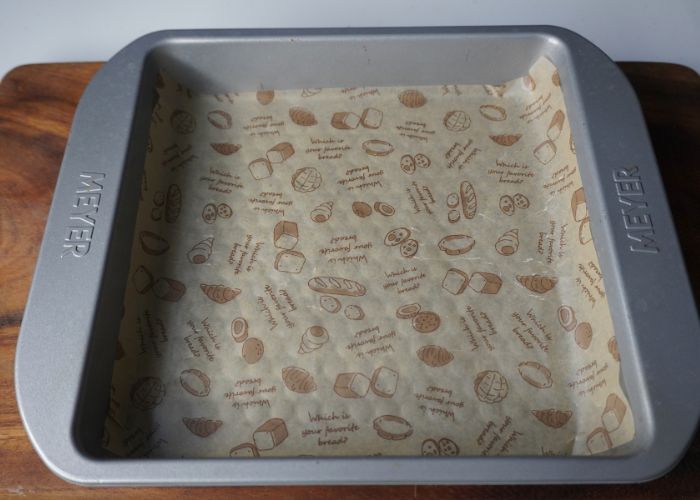
1)Line a baking pan with parchment paper and preheat oven to 180 degree C.
1)This is the main ingredient for making butter mochi. Glutinous rice flour which gives the iconic chewy texture to the cake. It also helps make this gluten free.
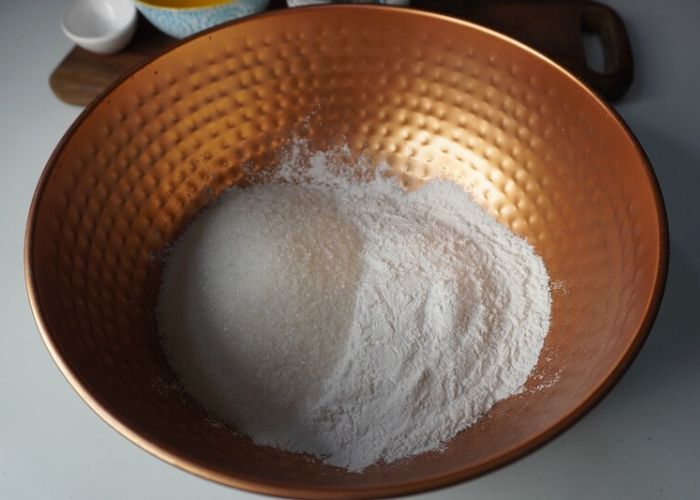
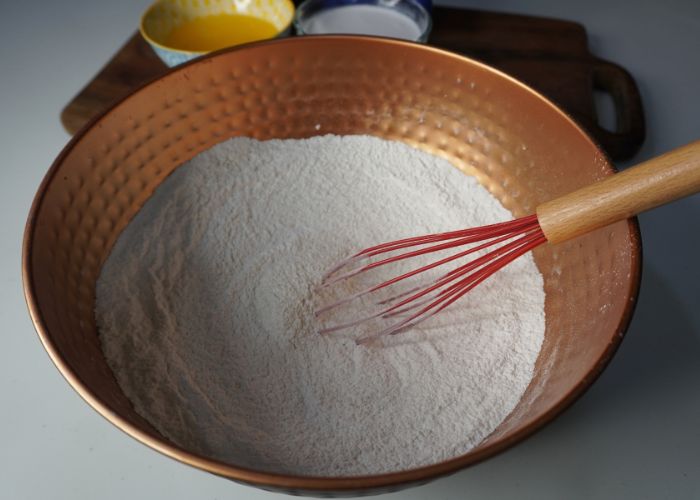
2)take rice flour and sugar in a bowl. I used granulated sugar.
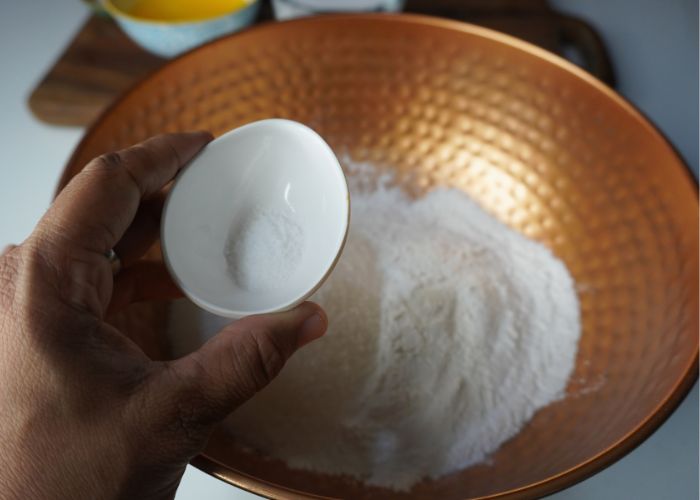
3)Add in salt.
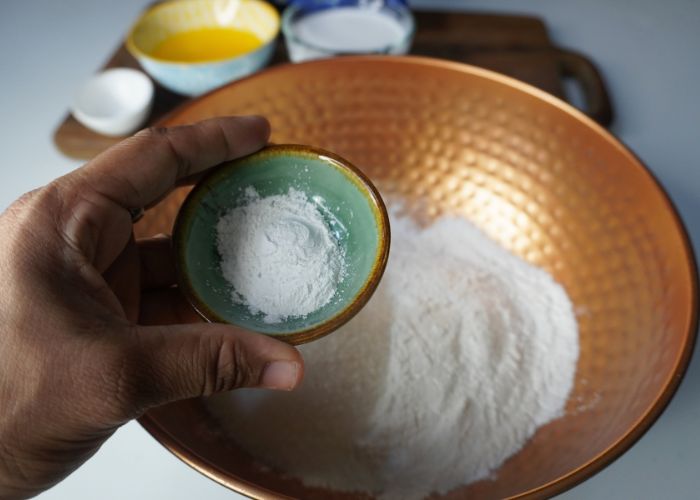
4)Add in baking powder.
5)Add in vanilla powder. Instead of this, you can use vanilla extract too.
6)Mix this gently so the dry ingredients is evenly mixed.
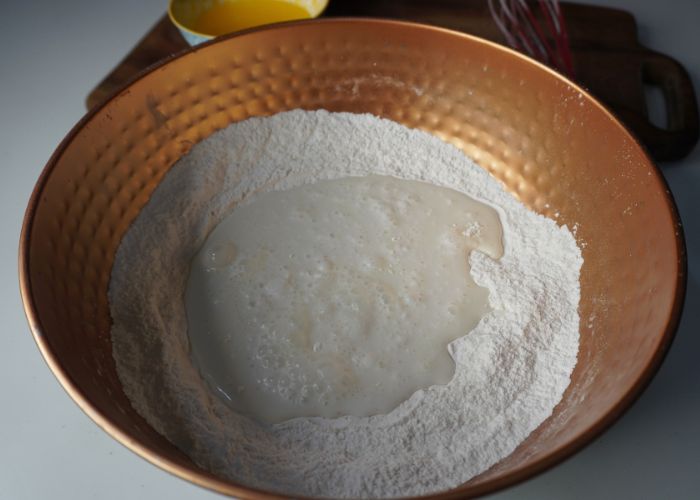
7)Add in coconut milk and milk.
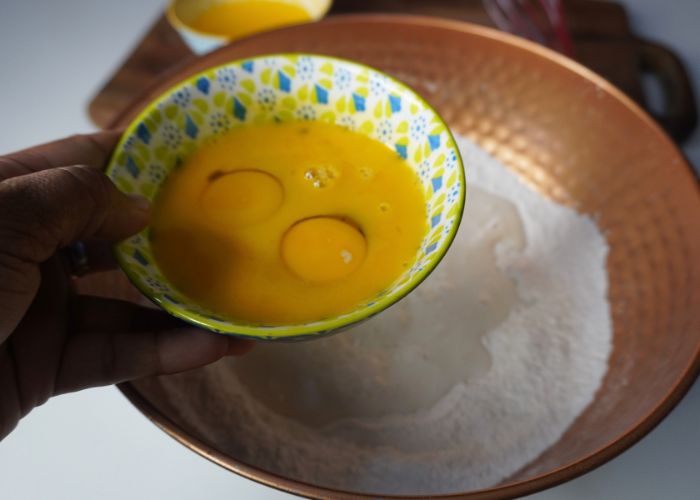
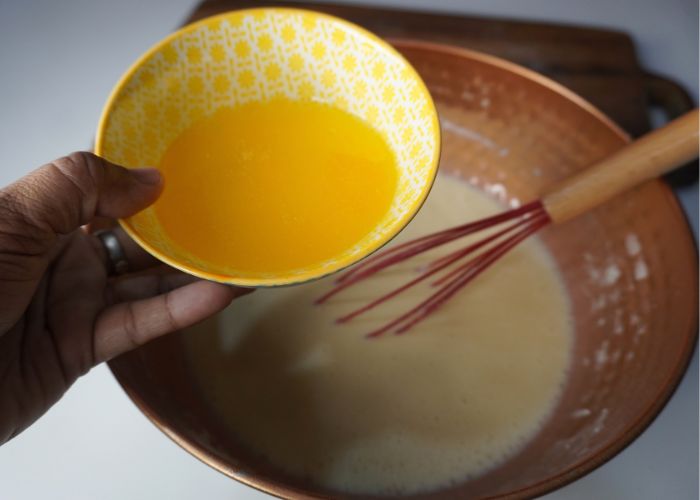
8)Add in eggs. Mix it to a smooth batter.
9)Add in melted butter.
10)Mix the batter really well so the butter is evenly mixed into the batter.
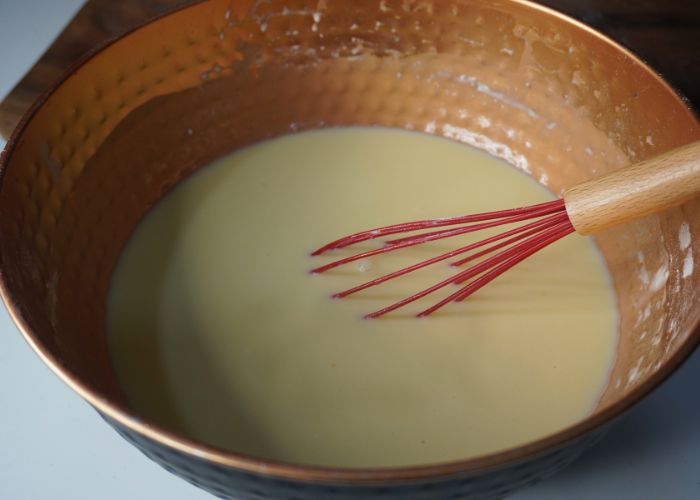
11)The batter will be slightly thin in consistency.
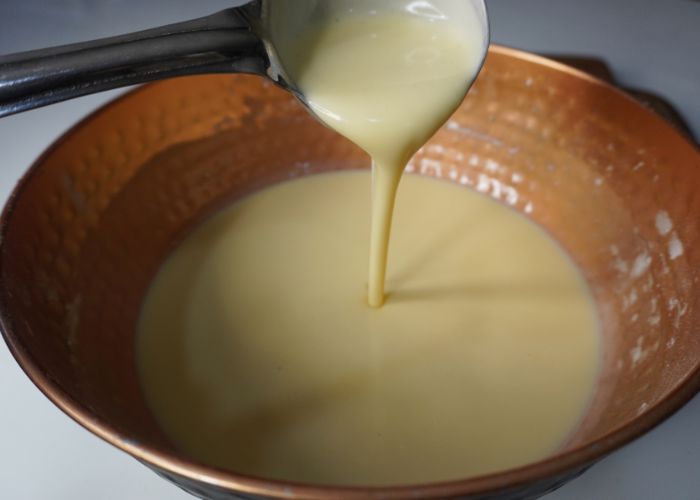
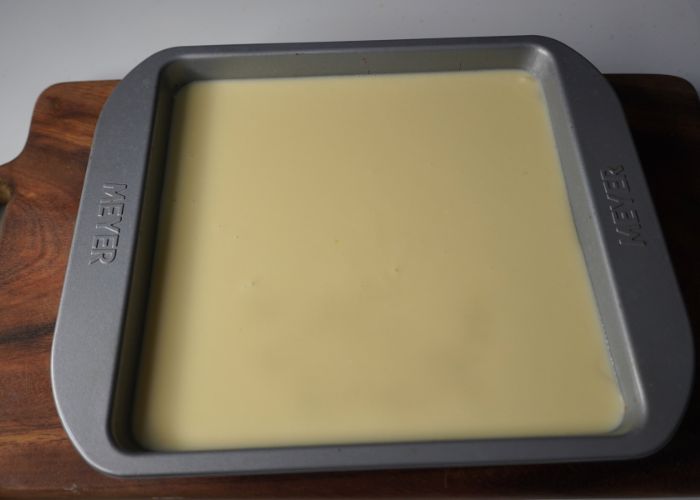
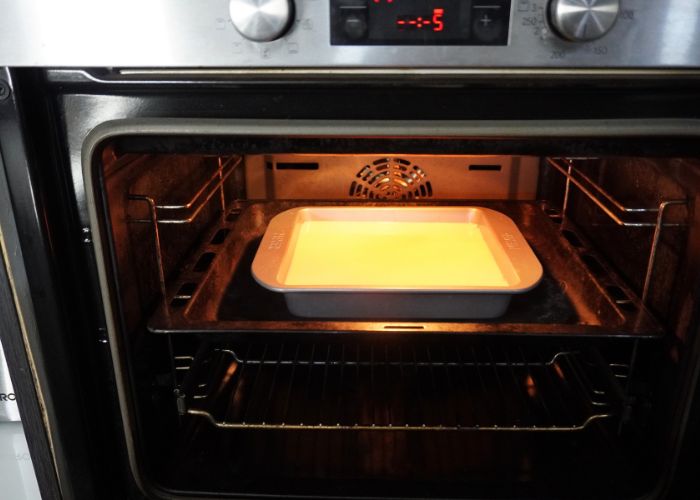
12)Pour the batter into the pan.
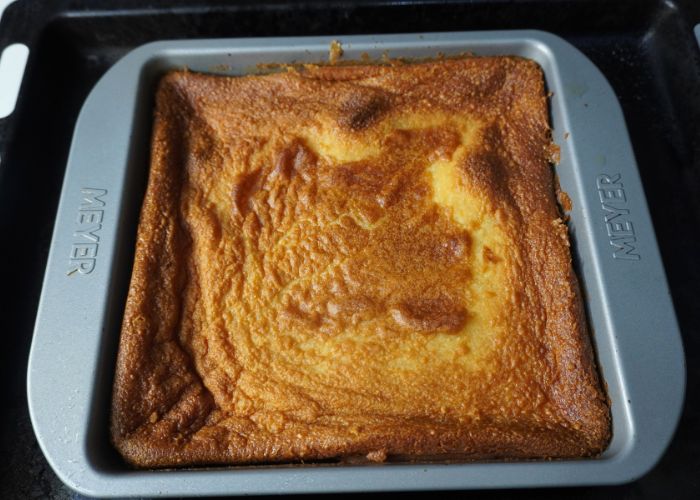
13)Bake the cake until it is cooked.
14)Remove it from oven and allow it to cool in the pan for 20 minutes.
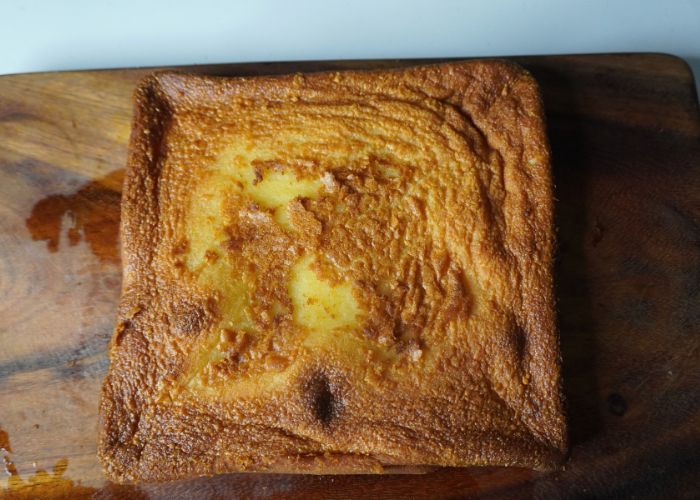
15)Un mould the cake into a serving platter.
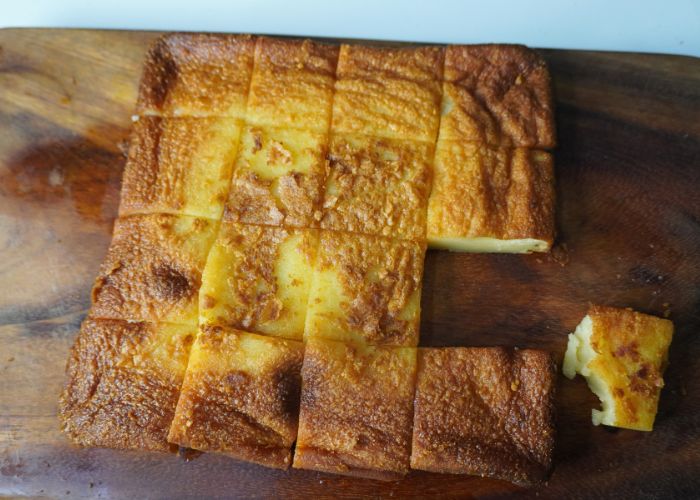
16)Cut into cubes and enjoy.
More Hawaiian Recipes

📖 Get Recipe
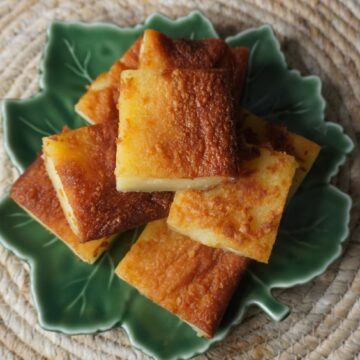
Butter Mochi Recipe (Hawaiian Butter Mochi)
Equipment
Ingredients
Dry Ingredients
- 300 grams Glutinous Rice Flour 100 grams
- 300 grams Granulated Sugar
- 1 teaspoon Baking powder
- ¼ teaspoon Salt
- 2 teaspoon Vanilla Extract or Vanilla Powder
Wet Ingredients
- 250 ml Coconut Milk
- 200 ml Whole Milk
- 3 large Eggs
- 100 grams Unsalted butter melted
Instructions
- Preheat oven to 180 degree C. Line a 23x23 cm square pan with parchment paper and set aside.
- Take a large mixing bowl. Add in glutinous rice flour, sugar, baking powder, salt and vanilla powder and mix well so the baking powder is evenly mixed.
- Now add in milk, coconut milk and eggs. Mix well to a smooth batter. pour in melted butter and combine everything really well until you get a smooth batter.
- Pour this into parchment lined baking tray. Place this in oven and bake for 50 mins to 1 hour. Remove and cool for 30 minutes, un-mould, and peel off the parchment paper. Cut into cubes and enjoy.
Notes
- Use glutinous rice flour | sweet rice flour for proper texture. It is also called as sushi rice flour | mochi flour | mochiko. Normal rice flour doesn't work.
- Don't skip on the butter, it adds nice flavour.
- Use thick creamy coconut milk for more coconut flavour.
- You can use evaporated milk instead of regular milk. but regular milk work just fine.
- Don't over bake the cake else it will turn hard.
- Use right size pan so the cake will have depth and more chewiness. I used larger pan so my cake was shallow. More thick cake taste more chewy and delicious.
Storage
If you can resist this cake stays good for 2 days at room temp. But it is best served fresh.Nutrition
Tried this Recipe
Mention @yummytummyaarthi or tag #yummytummyaarthi!If you have any questions not covered in this post and if you need help, leave me a comment or mail me @aarthi198689@gmail.com and I'll help as soon as I can.
Follow me on Instagram, Facebook,Pinterest ,Youtube for more Yummy Tummy inspiration.
IF YOU MAKE THIS RECIPE OR ANYTHING FROM YUMMY TUMMY, MAKE SURE TO POST IT AND TAG ME SO I CAN SEE ALL OF YOUR CREATIONS!! #YUMMYTUMMYAARTHI AND @YUMMYTUMMYAARTHI ON INSTAGRAM!


Jissu
Hi Aarthi,pls suggest the oven temp this has to be baked in?
Cheshire Cat
Your recipe directions do NOT match the pictures and directions there. VERY confusing!!
Aarthi
Kindly check now. Sorry for the confusion. the recipe has been updated.