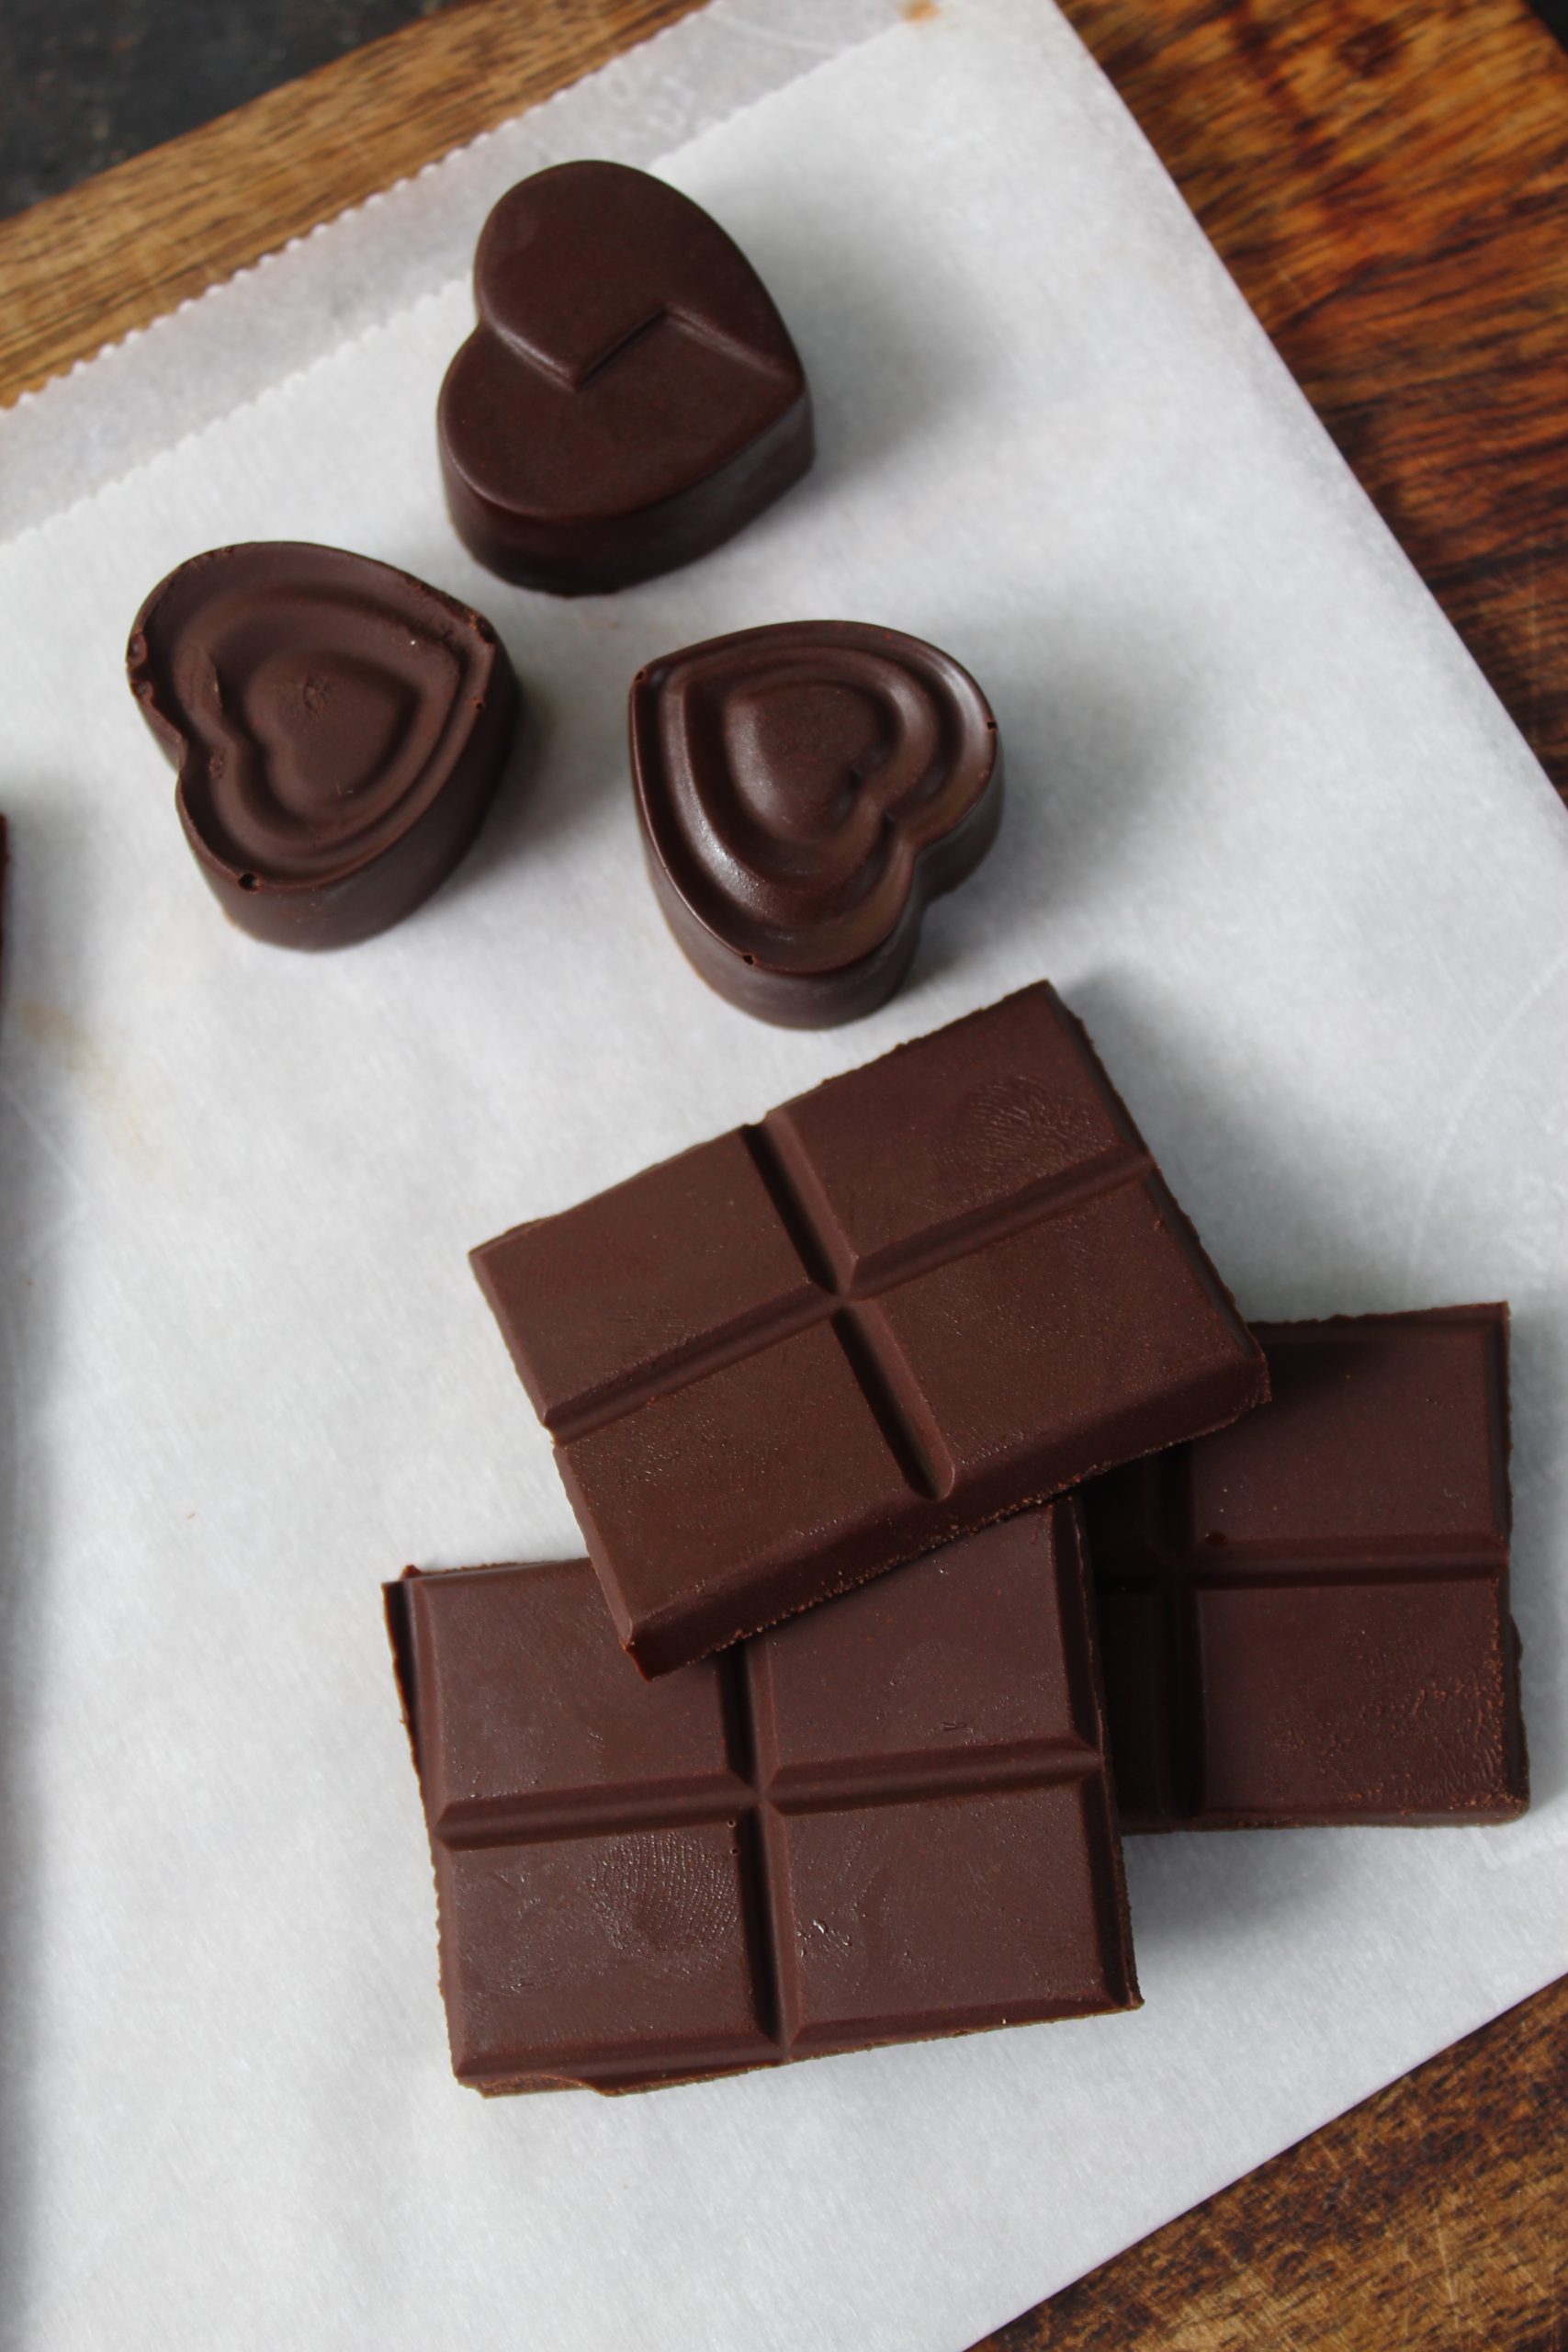
Homemade Dark Chocolate Recipe with Step by Step Pictures. Healthy dark chocolate recipe made from cocoa nibs, sugar and cocoa butter. Learn how to make 70% dark chocolate from cocoa fruit.
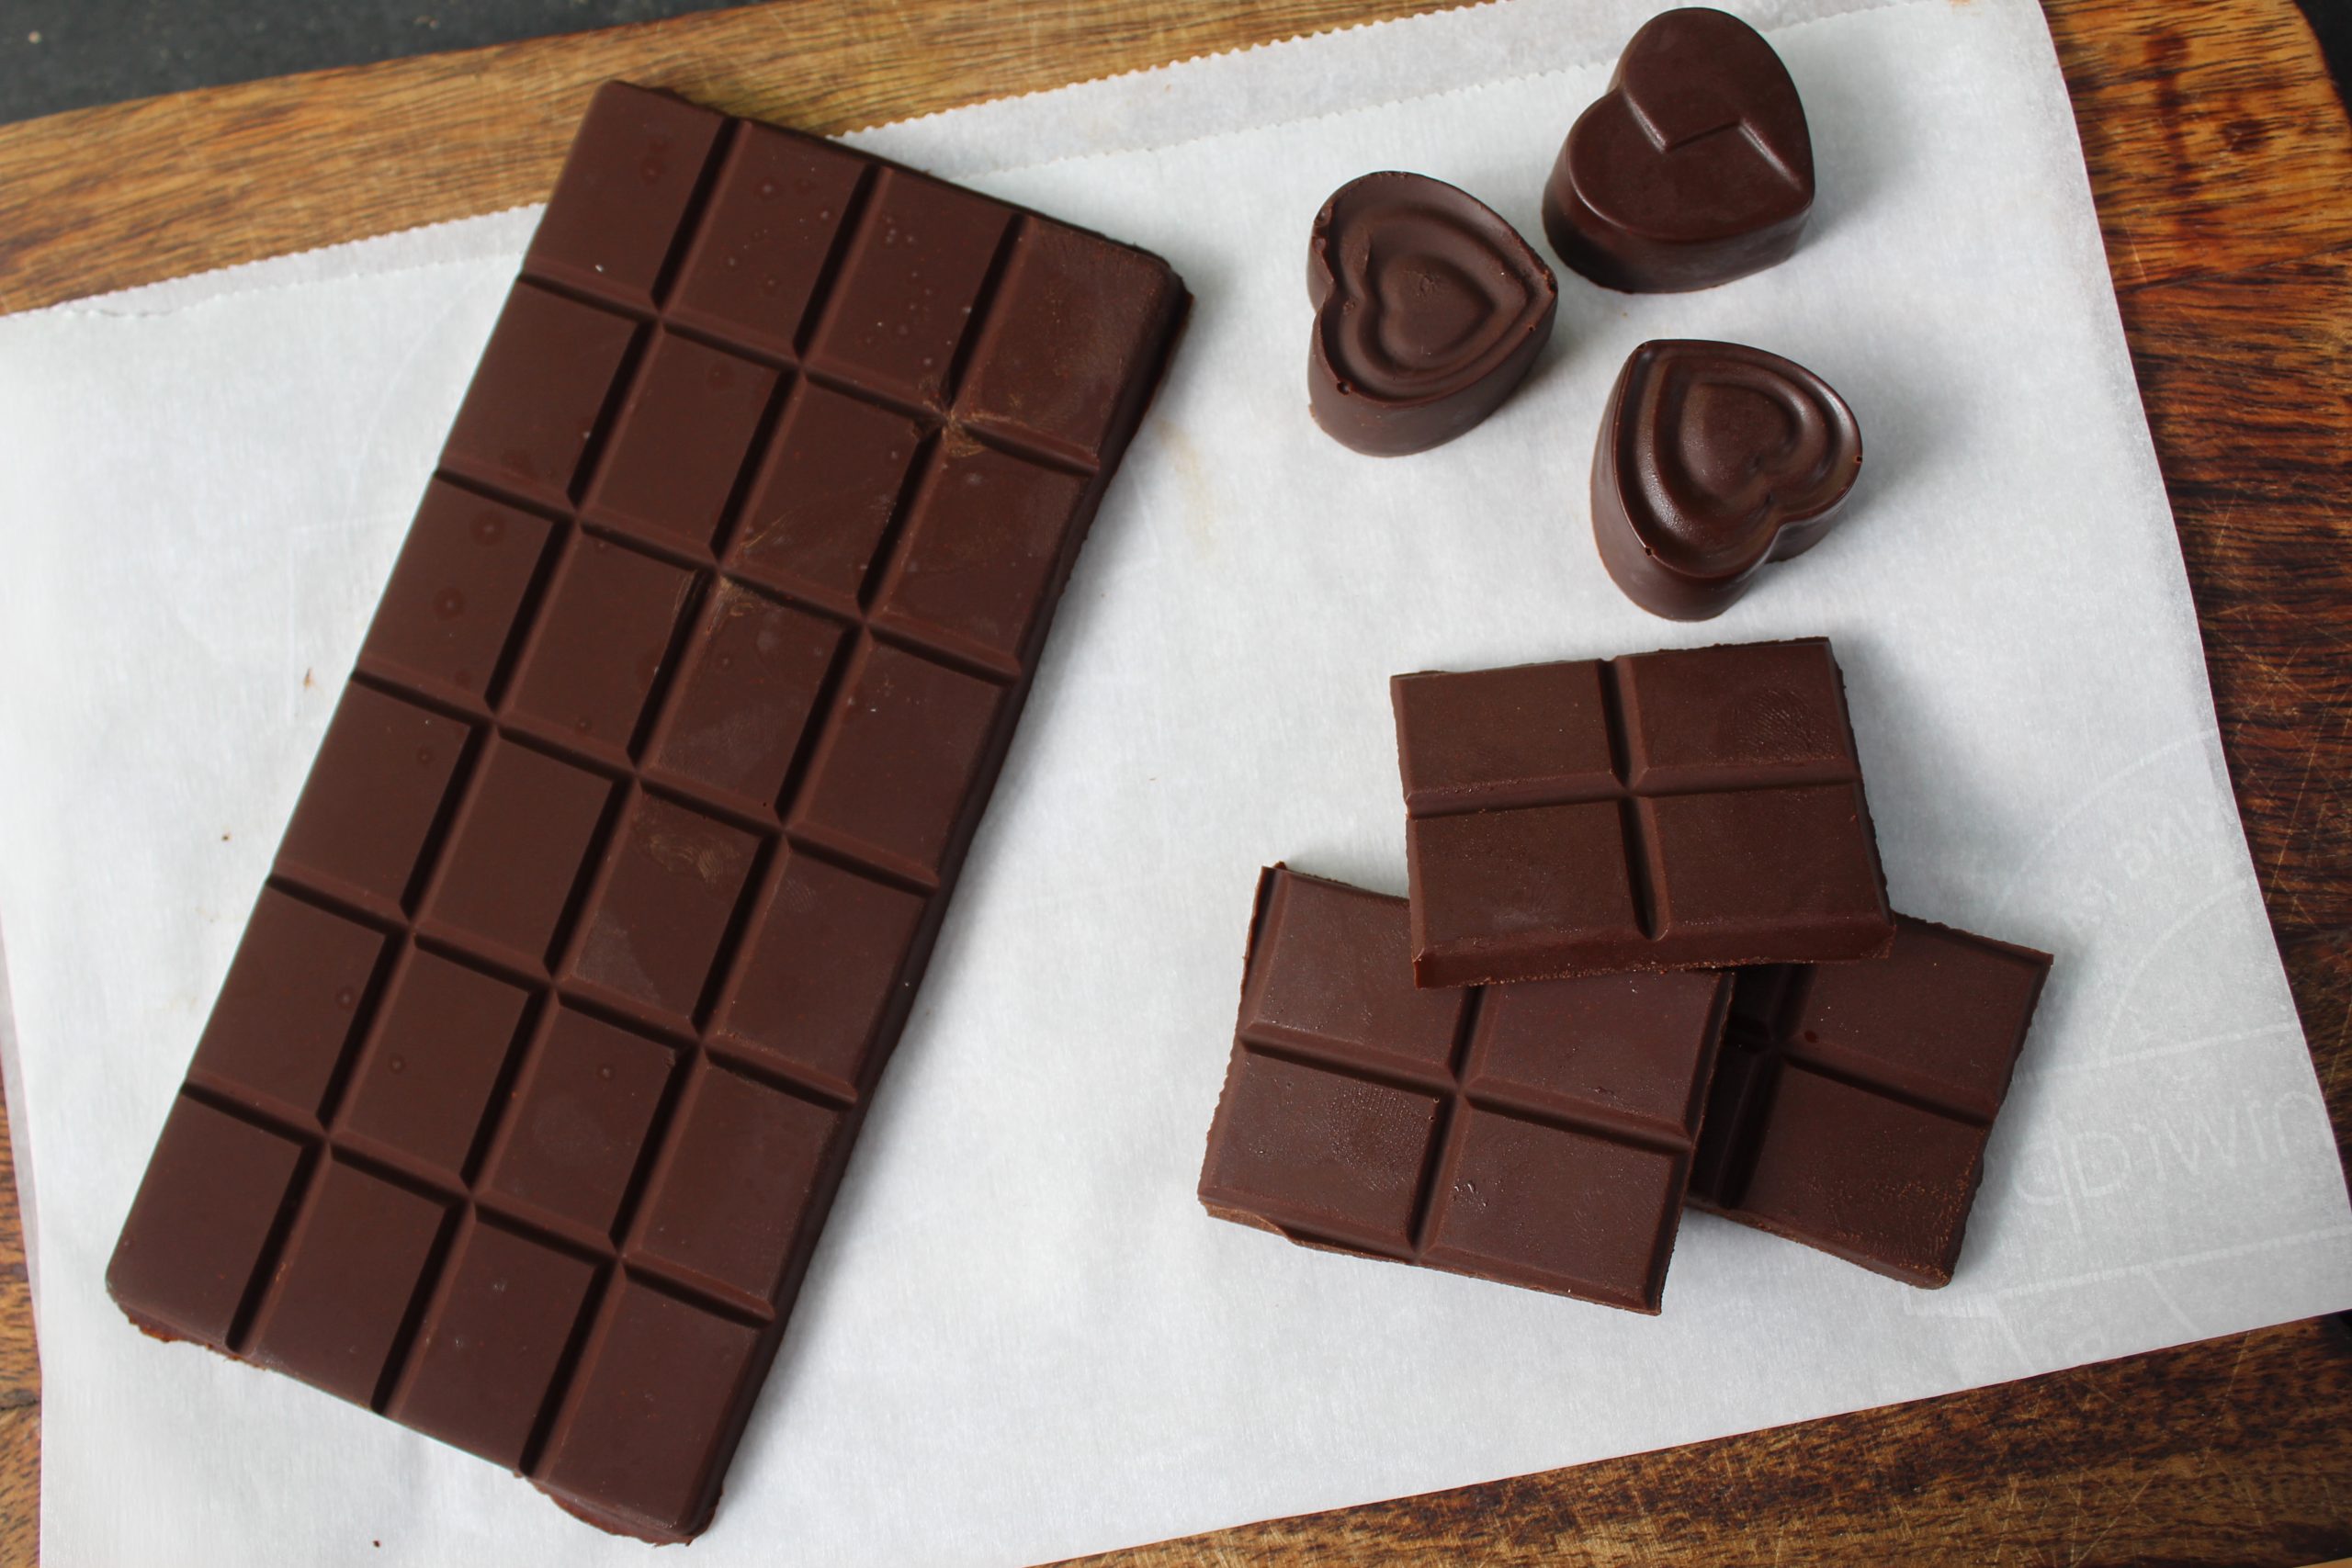
Homemade Dark Chocolate Recipe
Making Dark chocolate from scratch is one of my dream. I wanted to make chocolate from scratch, I mean from scratch, I mean from cocao fruit to a bar of chocolate. I was reading so many books about chocolate and watching so many videos on chocolate making for the past month. Finally decided to give it a try. I ordered my cocoa fruit from an online shop in Kerala. It arrived in a week time. Once I got the fruit on hand, I was amazed by the cocoa fruit because it was my first time seeing it.
Table of Contents
About Homemade Dark Chocolate Recipe
Making dark chocolate from scratch is easy but very time consuming. All you need is cocoa fruit. If you cannot find cocoa fruit you can use cocoa nibs which are more readily available online. But I wanted to try it right from the cocoa fruit to a bar of chocolate.
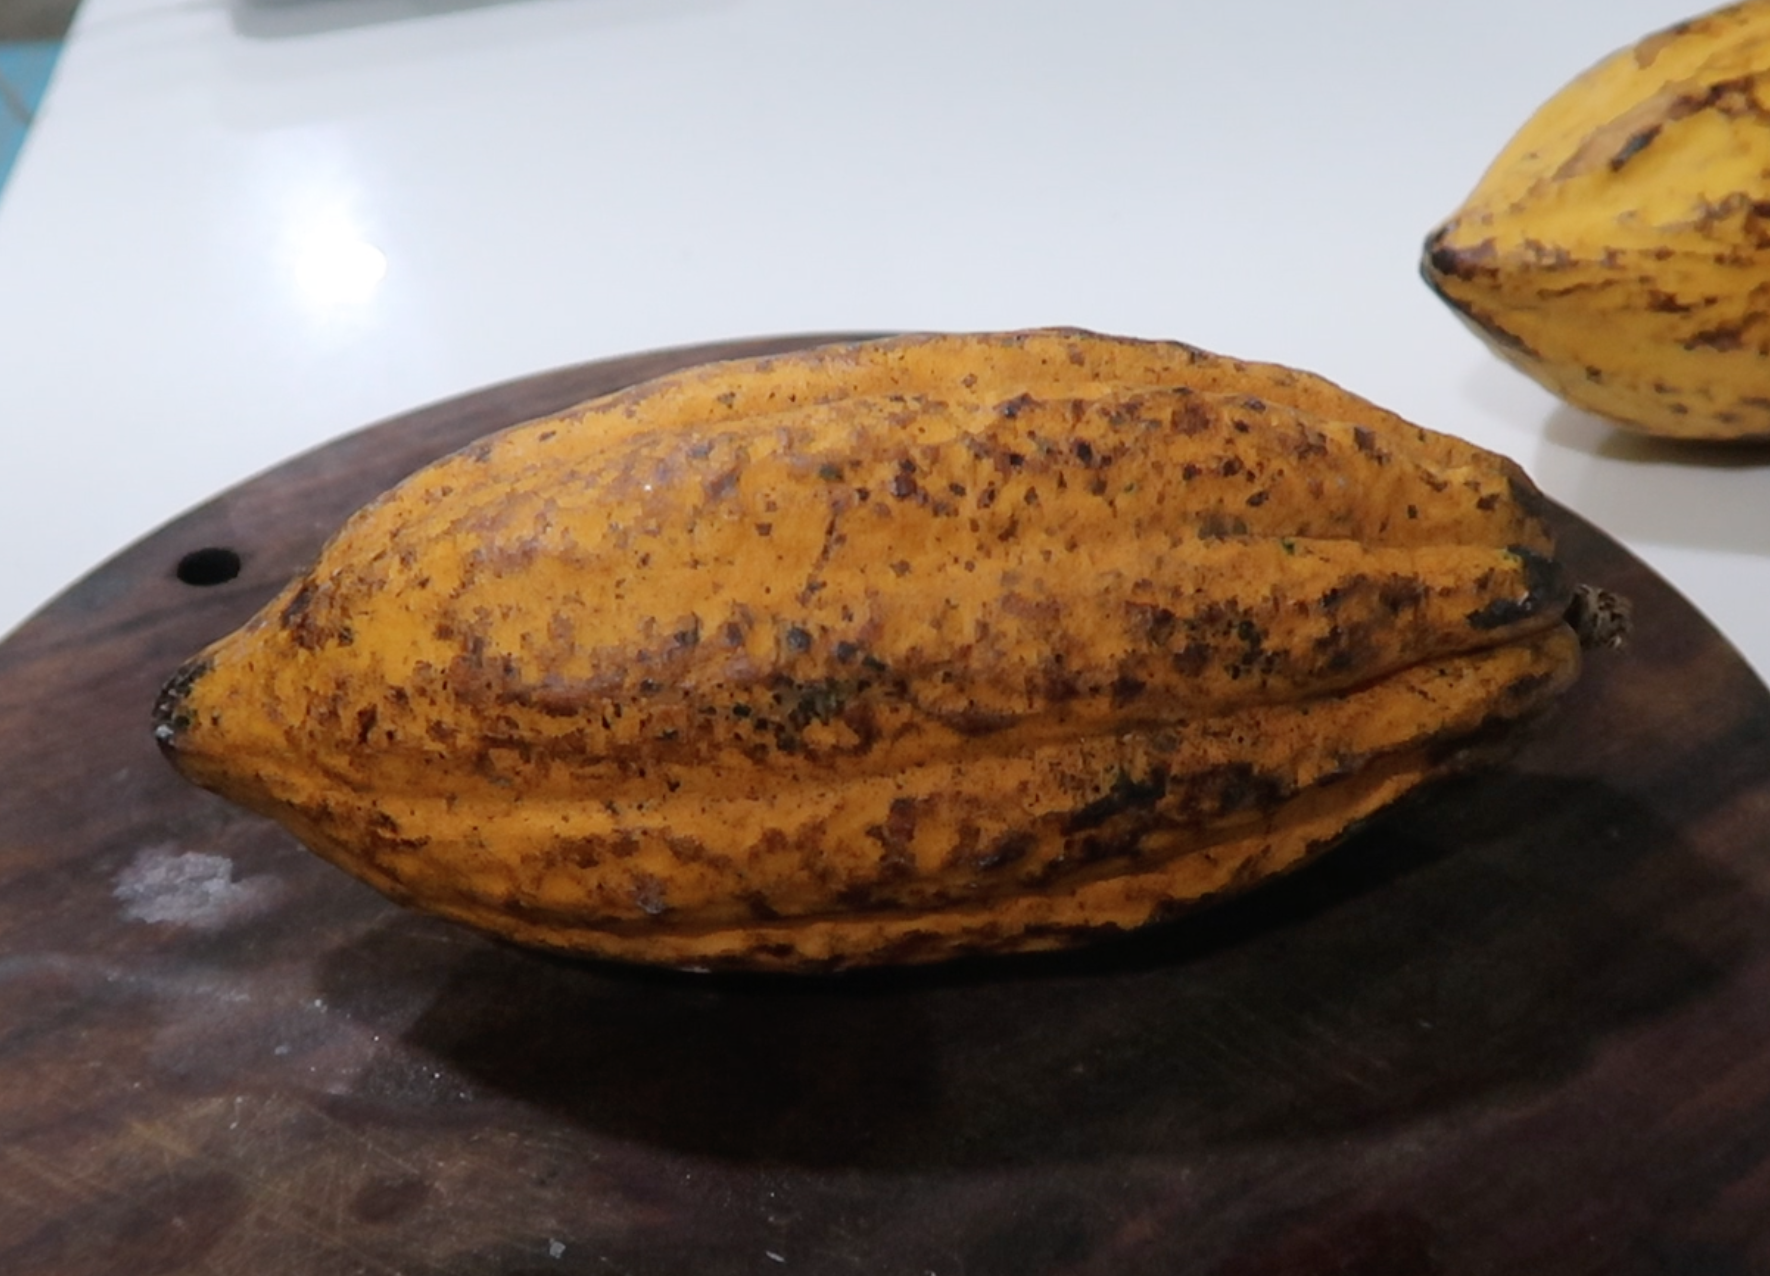
The cocoa fruit had a hard yellow shell on it which is easy to break with a knife. The fruit had pulpy seeds inside which almost smelled like a ripe banana(at least for me). There were a good amount of seeds in each fruit. You will know the cocoa fruit is ready to open when it turns yellow in colour.
I collected all the seeds from the fruit. Added it to a bowl and converted with a loose fitting lid and allowed it to ferment for a week. The fermentation increases and improves the flavour of the chocolate. Once the seeds are fermented, it turns into light red in colour.
The fermented seeds are sun-dried and shipped to factories to proceed with the making of chocolate.
Similar Recipes,
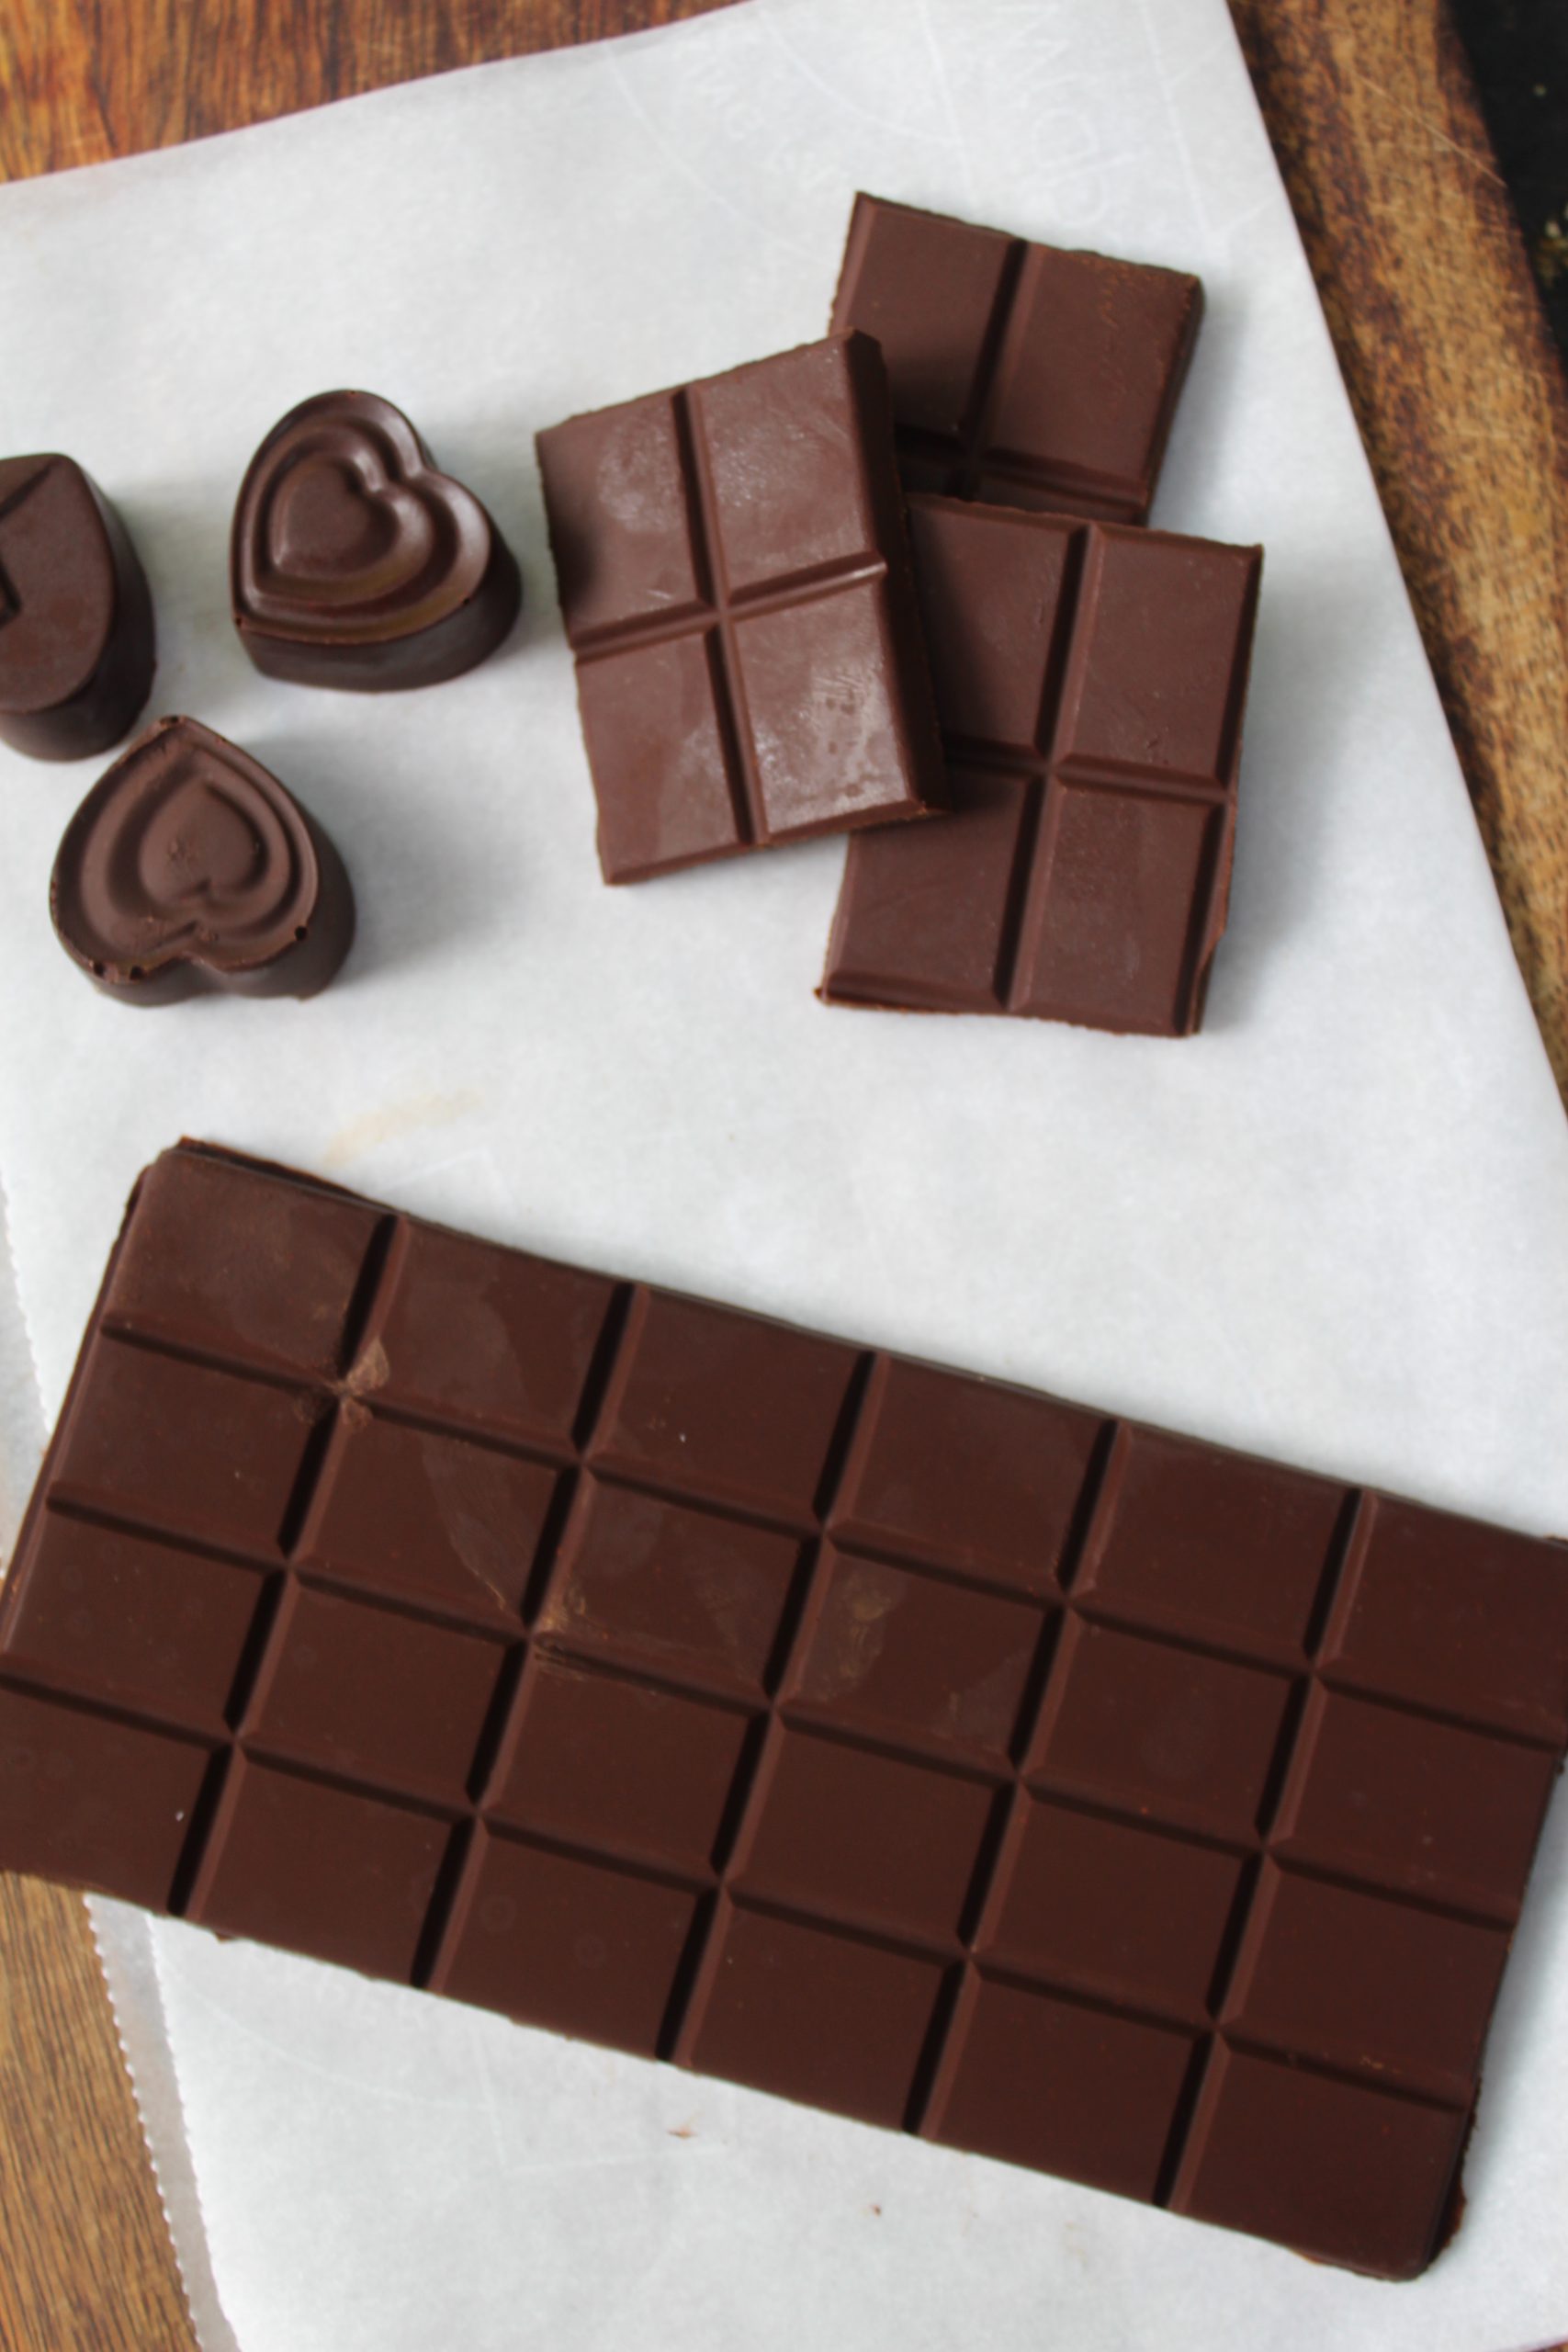
The Process of Making of Chocolate
The Cocoa Tree
The tree begins to bear fruit once it is four years old and has an active lifespan of at least 60 years. Its fruit grows directly out of the trunk and the main branches. Ripened fruit is rich golden in colour and inside there is purplish brown cocoa beans or surrendered by pale pink pulp.
After the pods are cut from the tree, beans and pulp or left to ferment together. The beans turn dull red colour and develop their characteristic flavour. After fermentation, the beans are dried in the sun occurring the final chocolate colour. The beans on now ready for shipping to various countries.
Processing the Beans
The dried beans are cleaned and checked for quality and then roasted. Roasting is an important stage in the manufacturing process which develops the flavour of the beans and loosens the beans from the hard outer shell. Each chocolate manufacturer has their own roasting secrets. After roasting the beans it gets a chocolate smell. The Next step is to crack the beans open, discarding their shell and expose the kernels which is called as cocoa nibs.
The roasted nibs contains average of 54 percentage cocoa butter. The nibs are ground into a dark thick paste called cocoa mass. When more pressure is applied to the cocoa solids, the resulting product are cocoa butter and solid cocoa cake. From the cocoa cake it is crushed to get cocoa powder.
Conching
Chocolate is generally cocoa solids and sugar, with added cocoa butter. Conching in which chocolate mixture is heated in huge vats and rotated with paddles as to blend. Usually conching is done for 48 hours to 72 hours to attain the smooth texture of the chocolate. Small additions of cocoa butter and emulsifiers are added to create the smooth final product.
Sweetening Chocolate
Baking chocolate is simply cocoa solids and cocoa butter.
To make milk chocolate, milk solids replace some of the cocoa solids.
White chocolate is not, in fact, a real chocolate since it is made without cocoa solids.
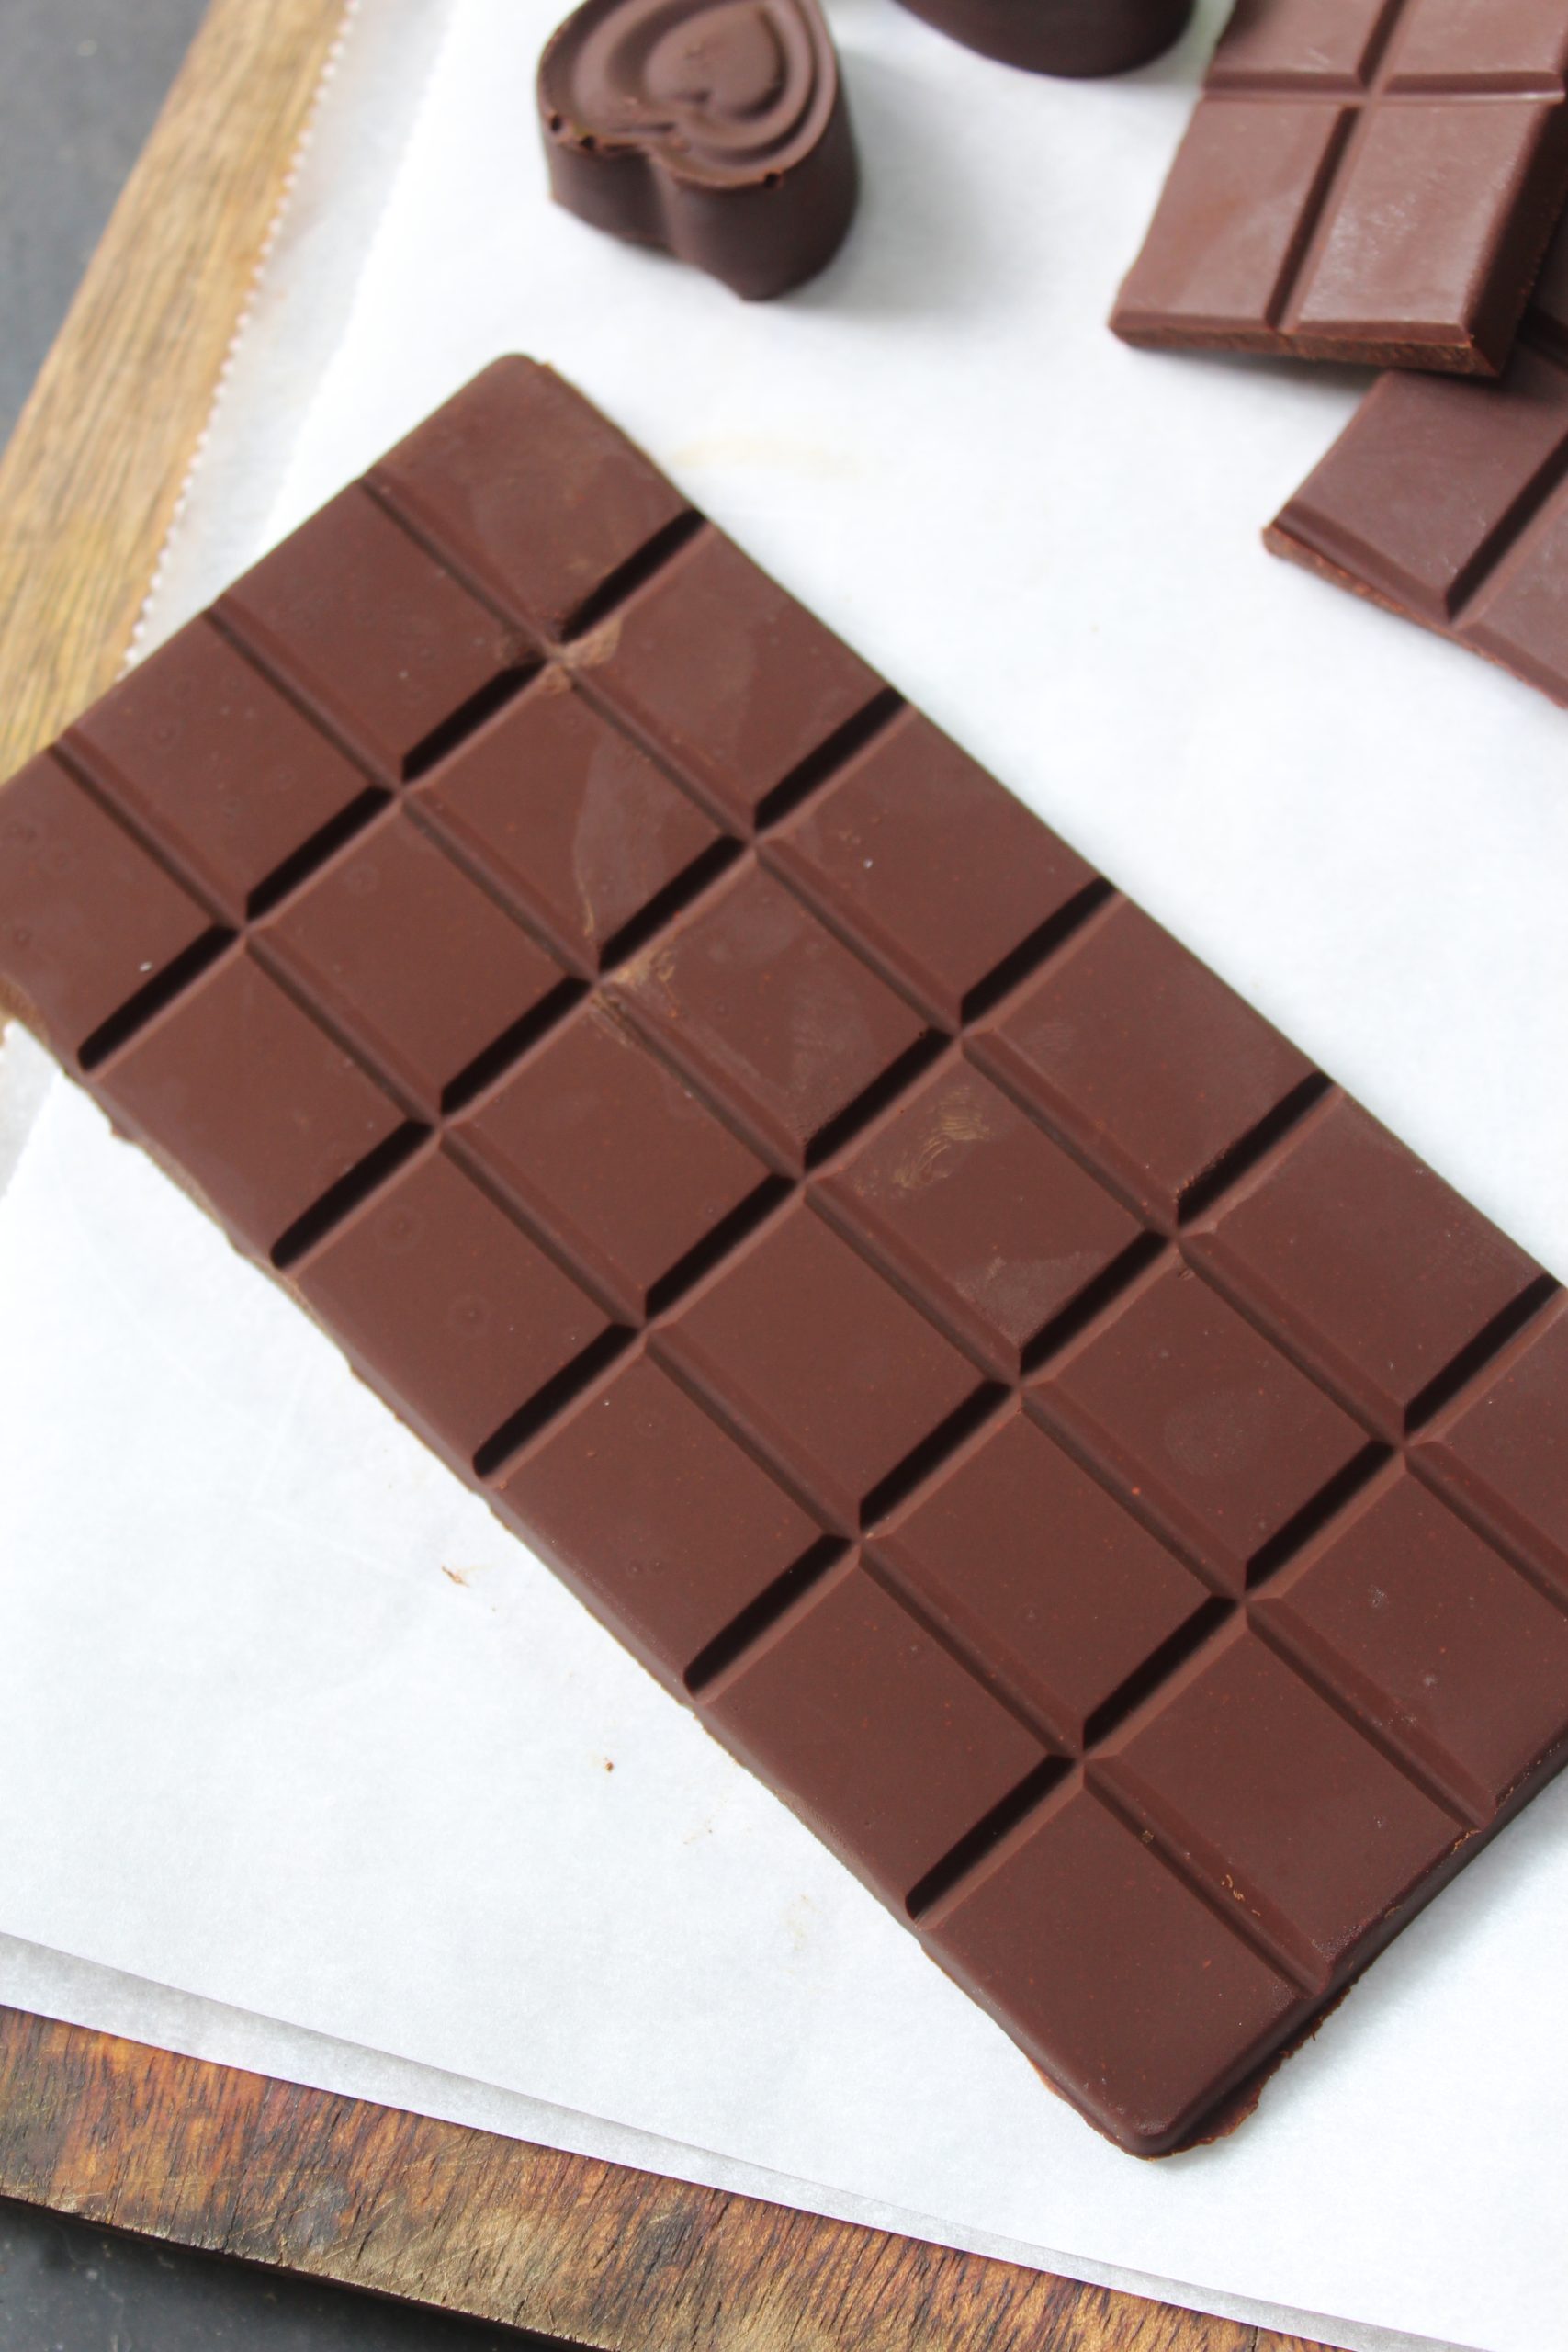
How to Temper Chocolates
- The tempering process prevents chocolate from looking dull once it is melted and solidifies. Melted chocolate is mixed with other ingredients in recipes. When chocolate is used on its own for coating and decorations tempering gives it glossy finish.
- Melt chocolate in a double boiler. Stir gently until the chocolate is melted.
- Pour ¾th of the chocolate on a cool smooth work surface, spread the chocolate evenly with a palette knife. The surface must be clean and dry.
- Work the chocolate using a pair of plastic scraper or spatula, spreading it back and forth across the board and then back over itself.
- After few minutes the chocolate will have thickened as it is cooled. The chocolate is ready when its temperature is 28°C. Using the scraper, return the chocolate to the remaining chocolate in the bowl.
- Place is the bowl over a saucepan of hot water and stir the chocolate gently.
- Stir the chocolate constantly over the hot water until its temperature has returned to 32°C. At this point the chocolate will be smooth and glossy.
- This tempered chocolate has to be used immediately. Keep it over warm water to retain the correct temperature. It can be tempered again if necessary.
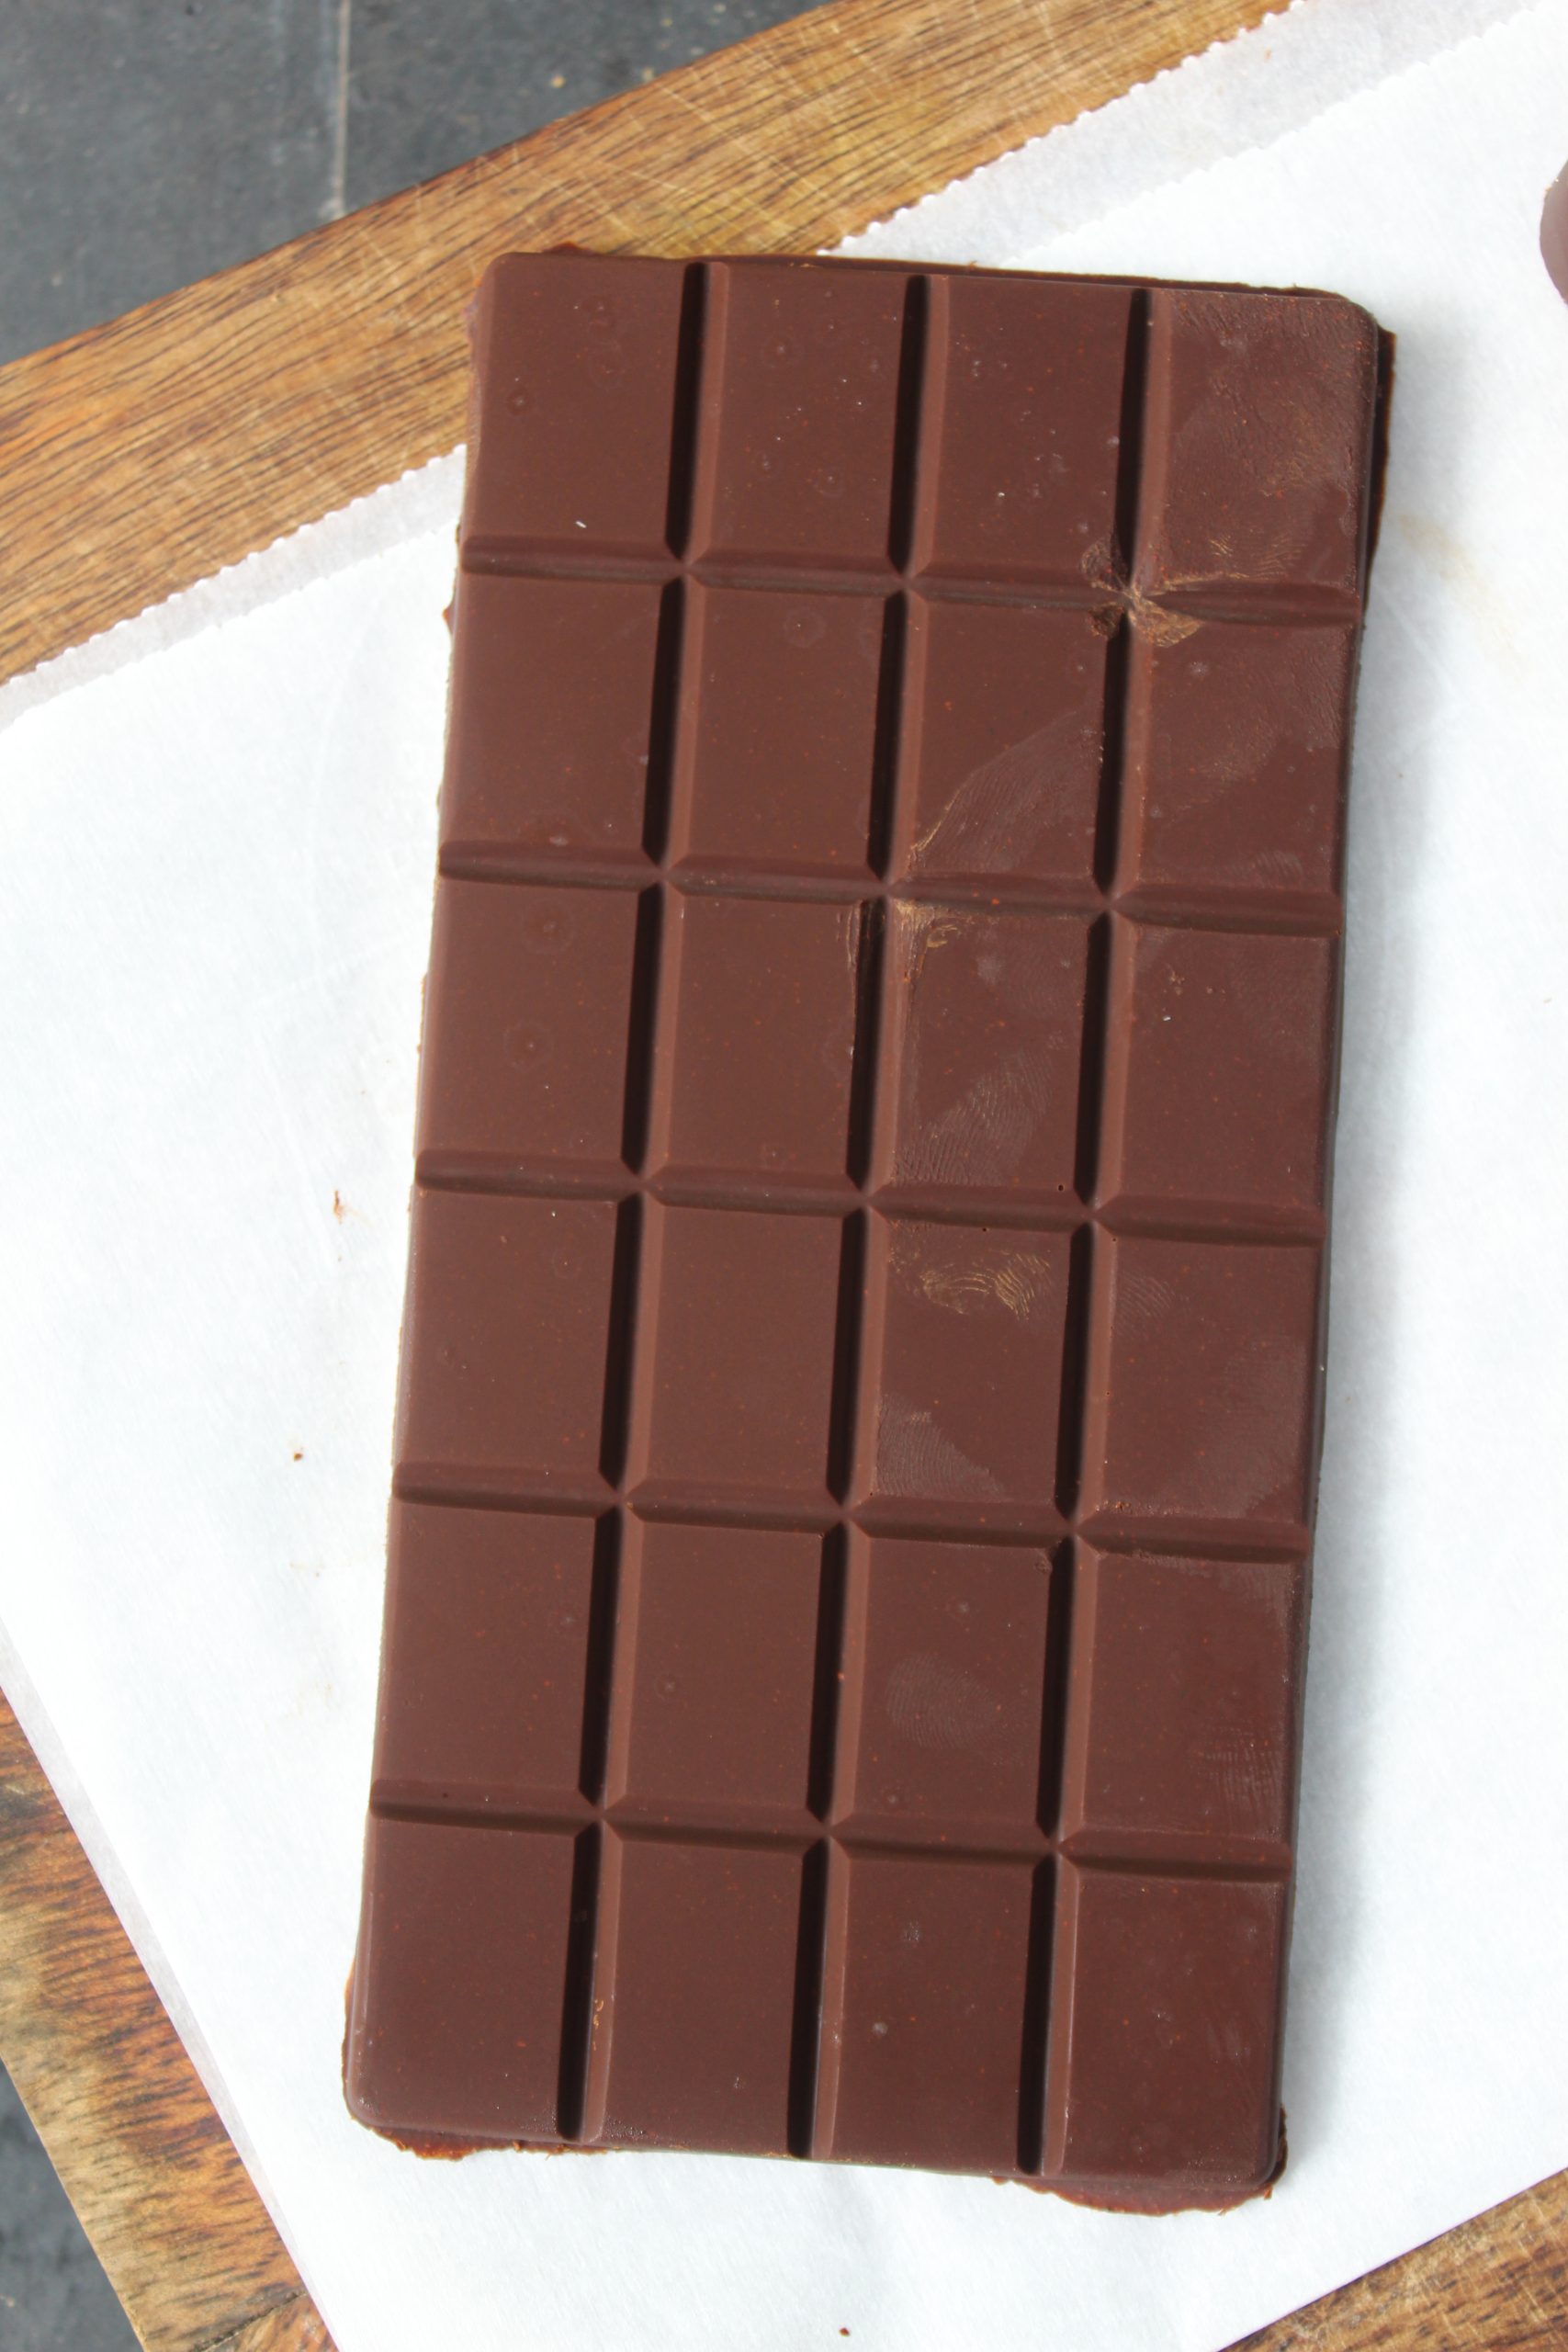
How to Make 70% Dark Chocolate
Fermenting Cocoa Fruit
Take your cocoa fruit, cut it open or break it open. Collect the seeds from the fruit and take it in a bowl. Cover with a loose fitting lid or a cloth. Leave it to ferment for a week. Once fermented you can roast the beans.
Cocoa Nibs
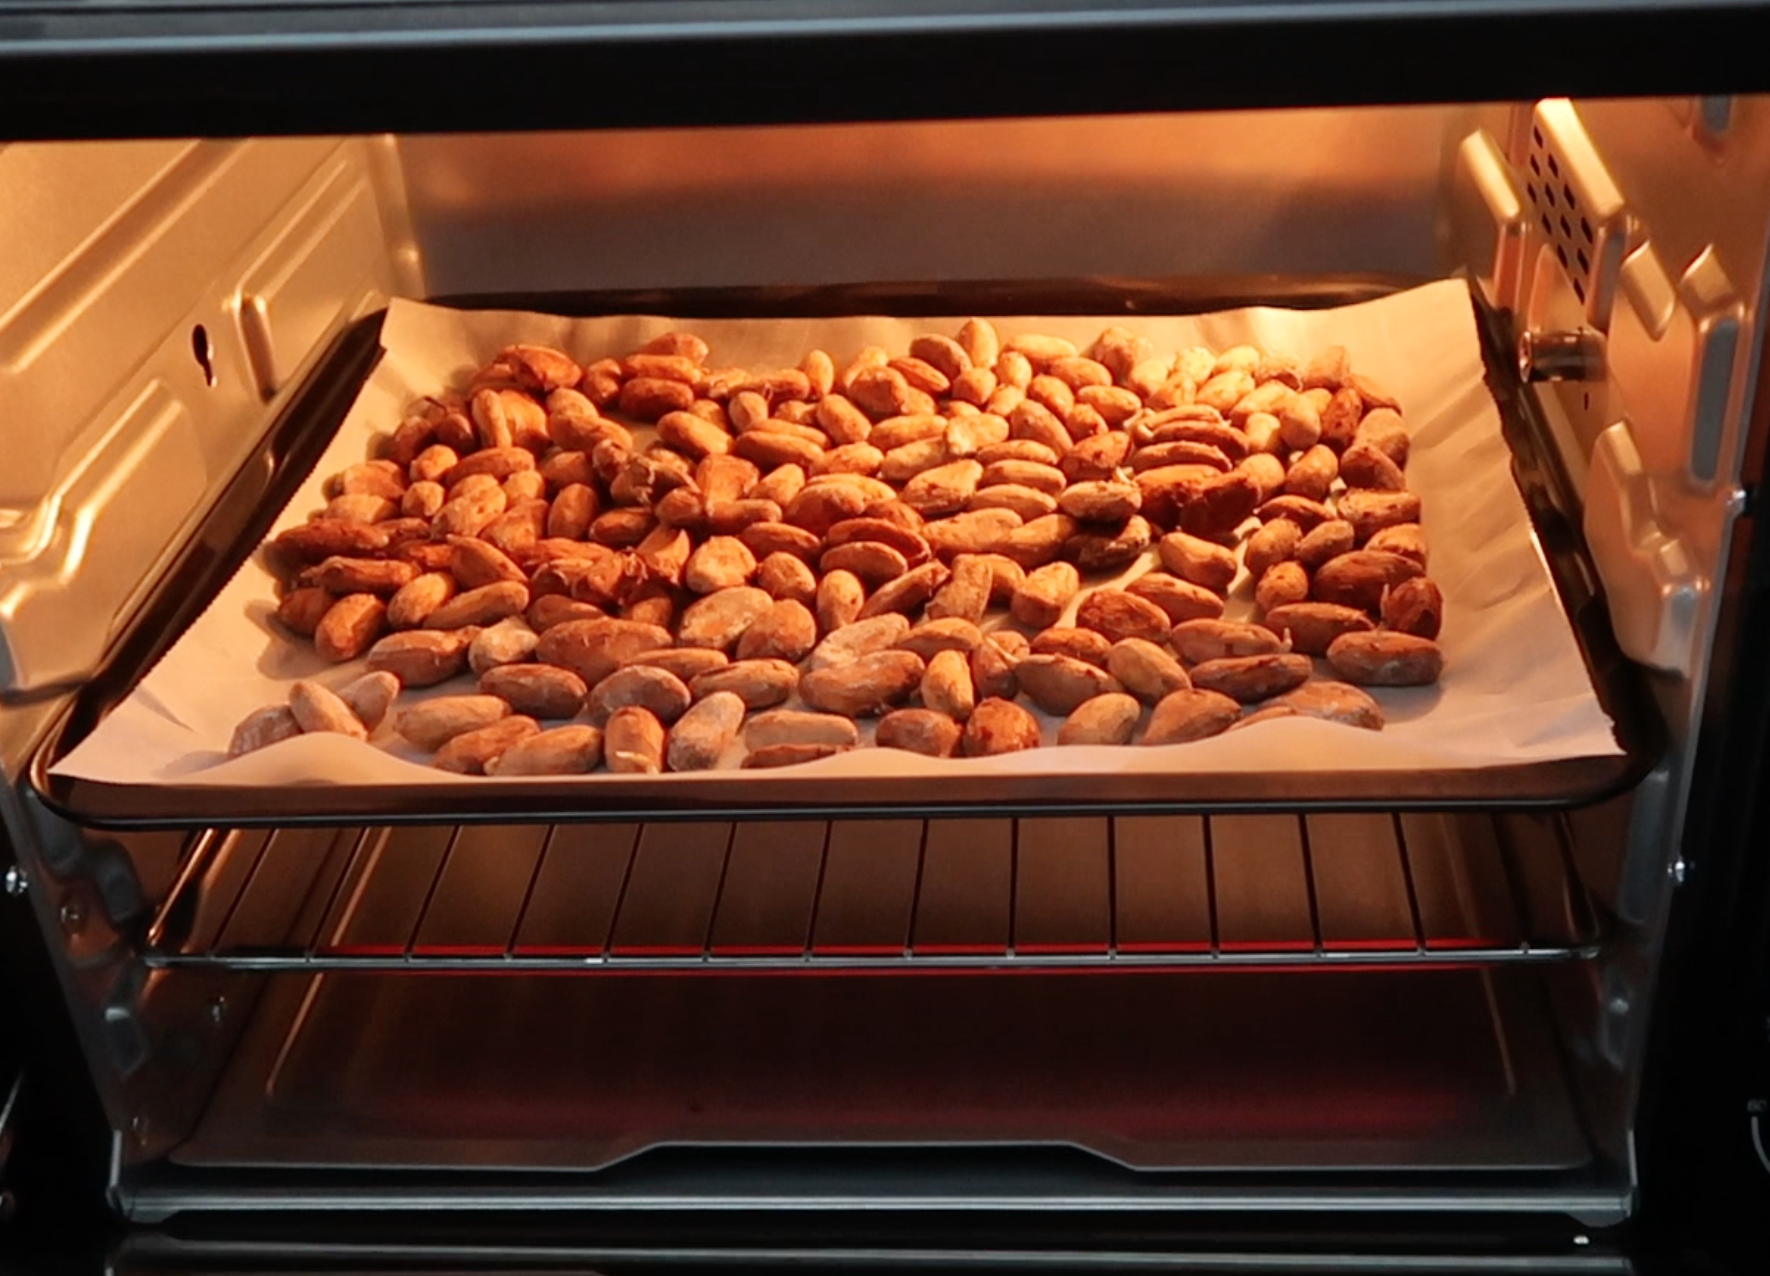
Take the beans and spread it on a baking tray. Pop it into a 180 degree C preheated oven and bake for 30 mins. Once the time is up, Remove the beans from the oven and let it cool completely. Now you can rub off the outer skin from the beans and collect the cocoa nibs.
Blending to make chocolate
Melt the cocoa butter in either microwave or double boiler till it is melted completely. Set aside.
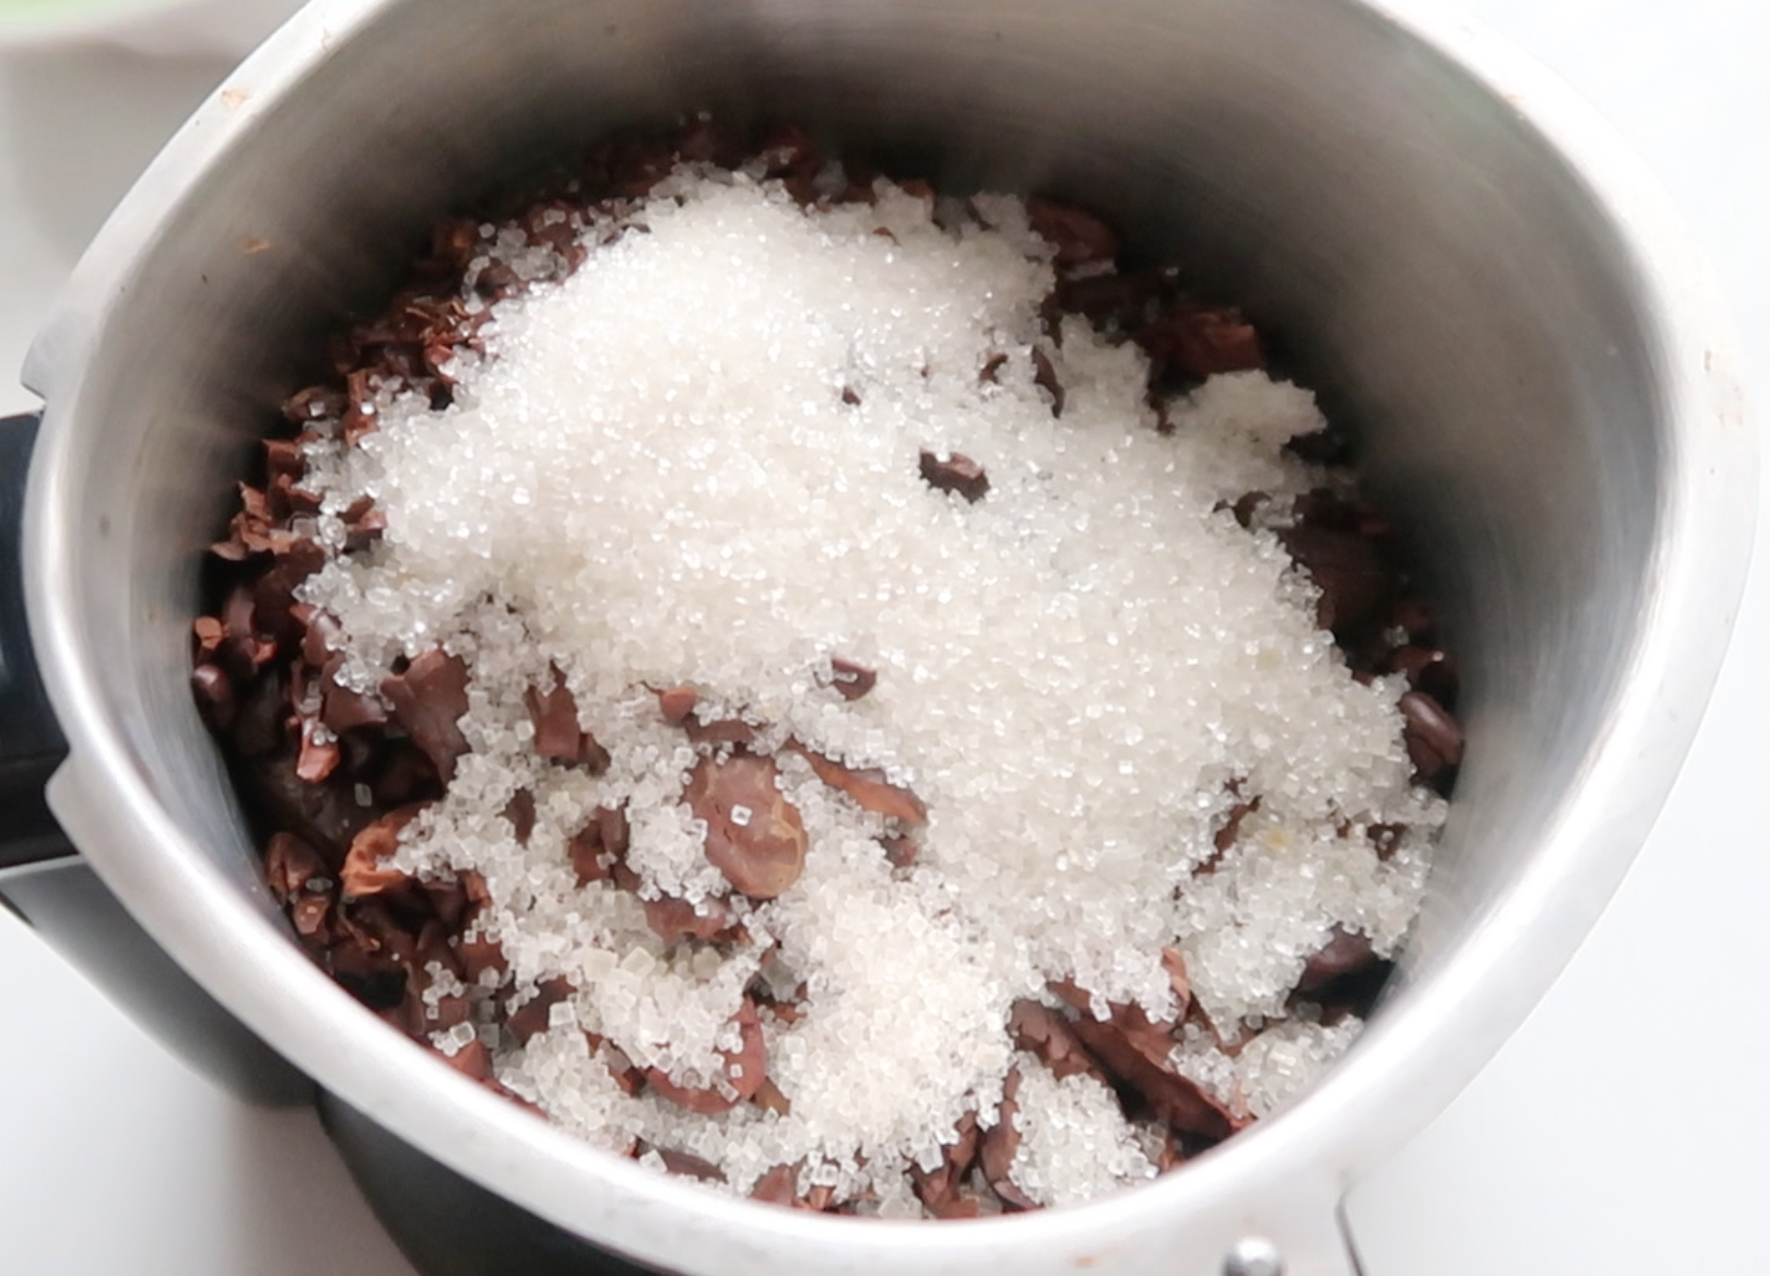
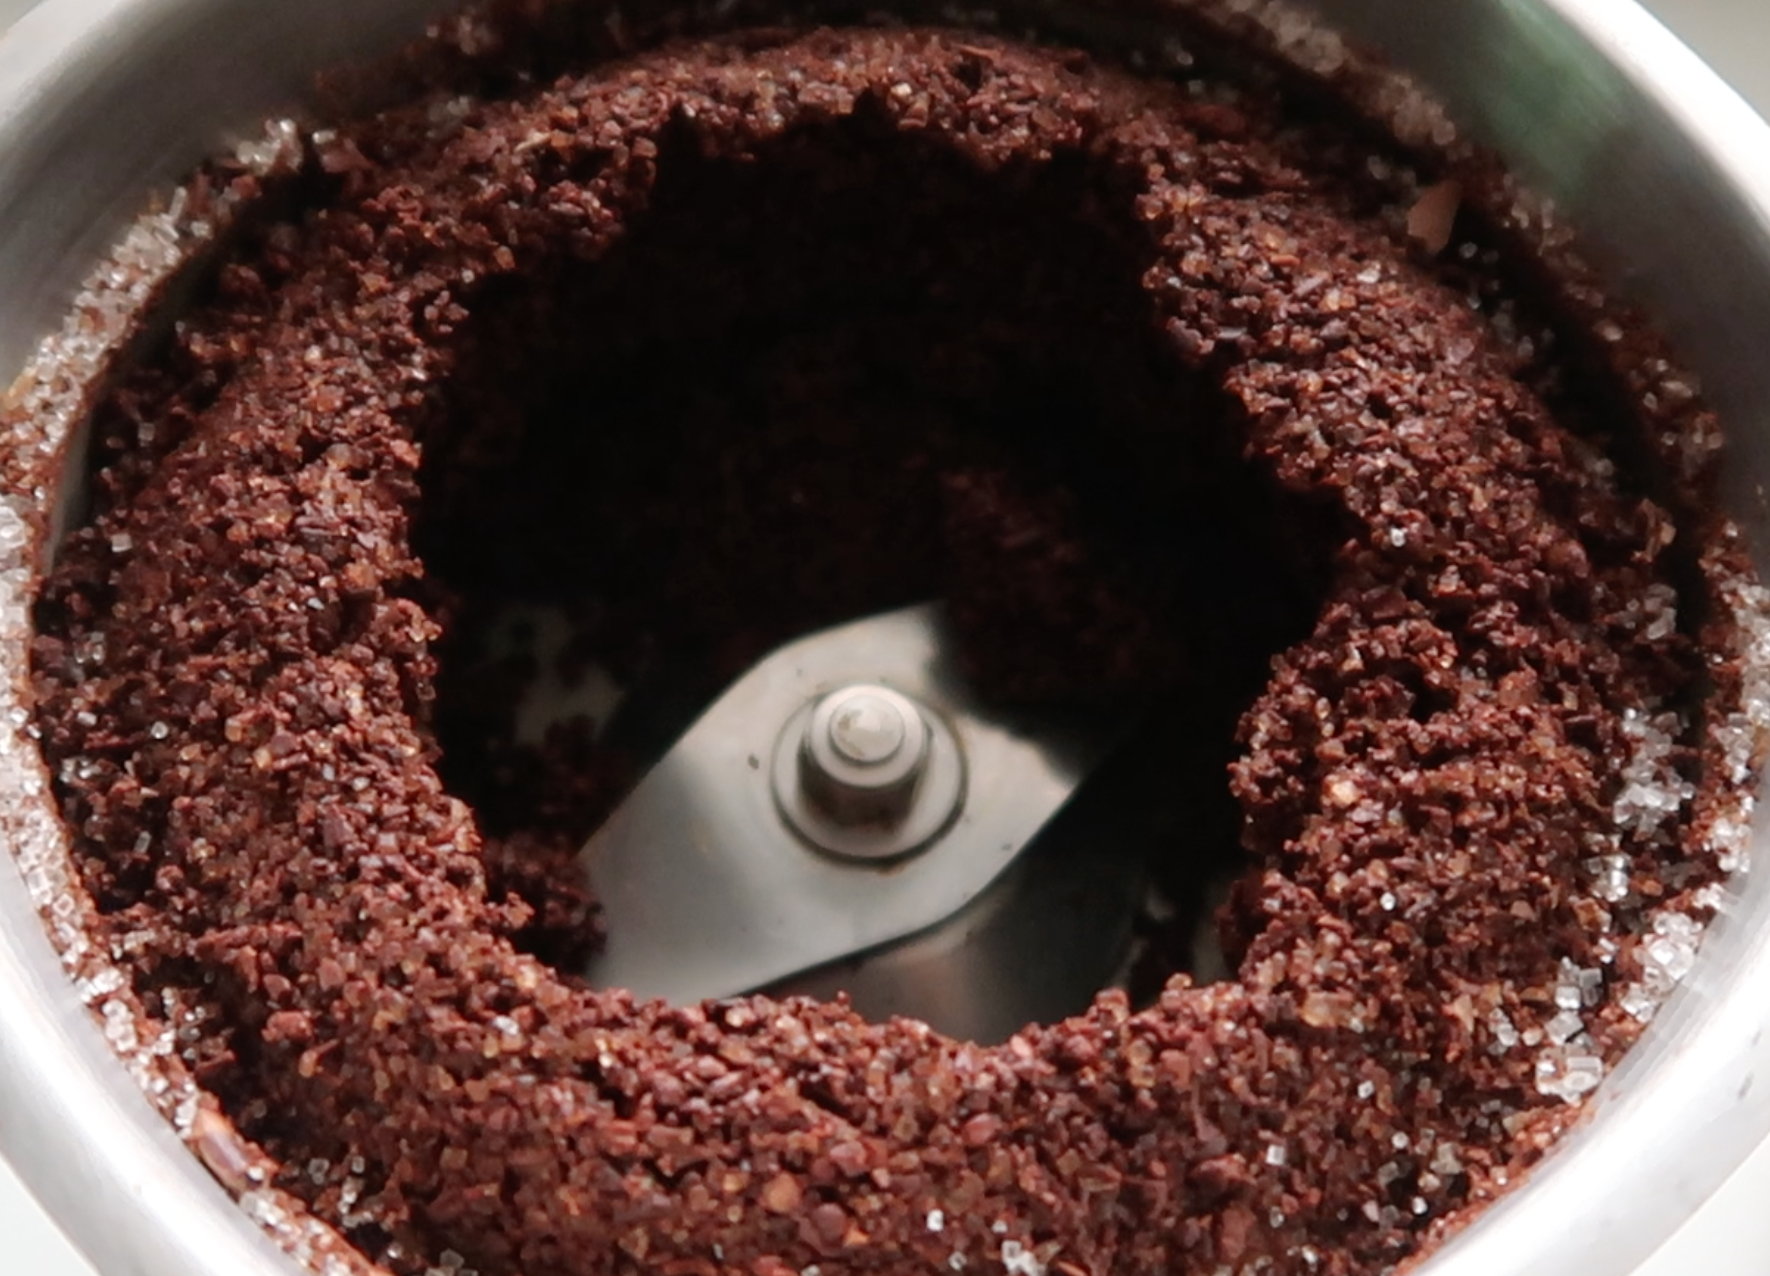
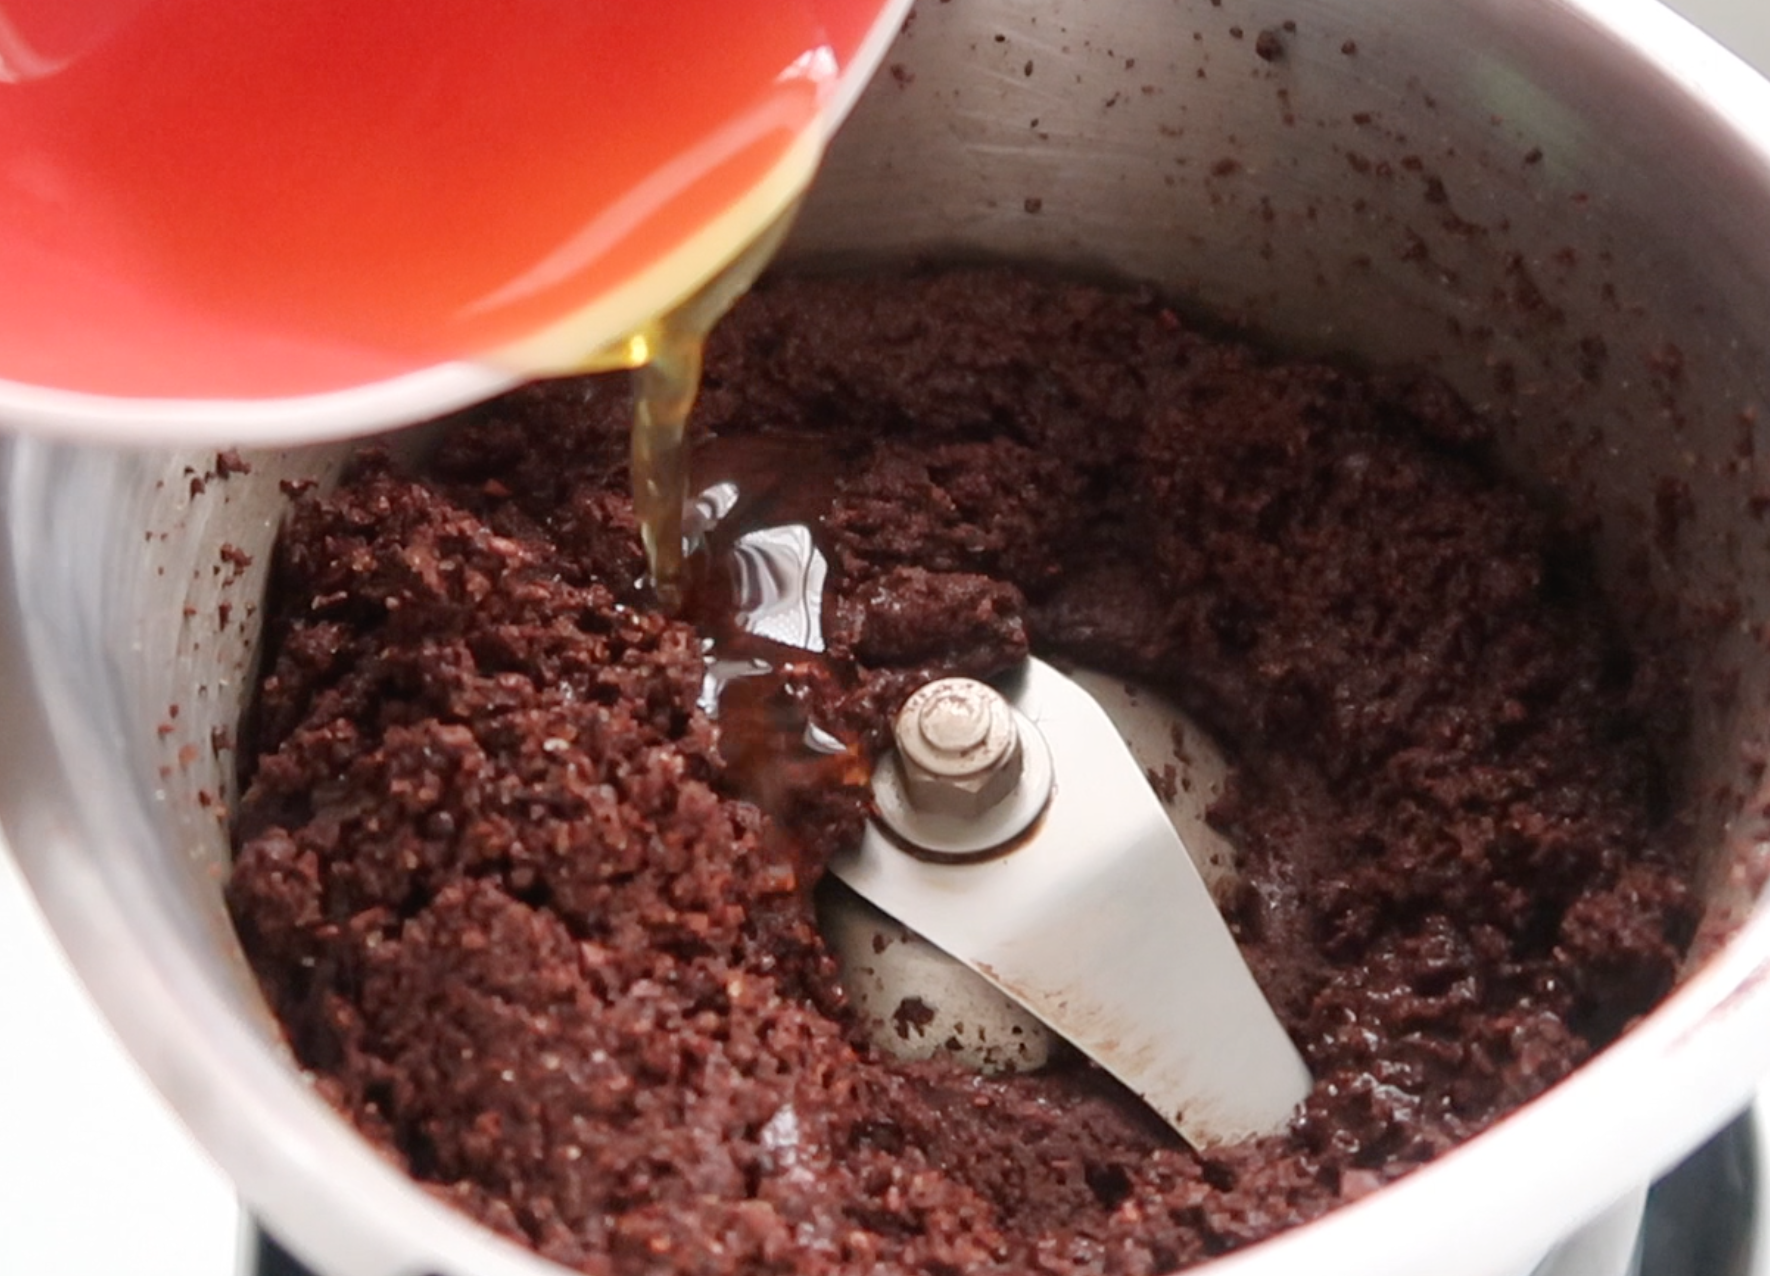
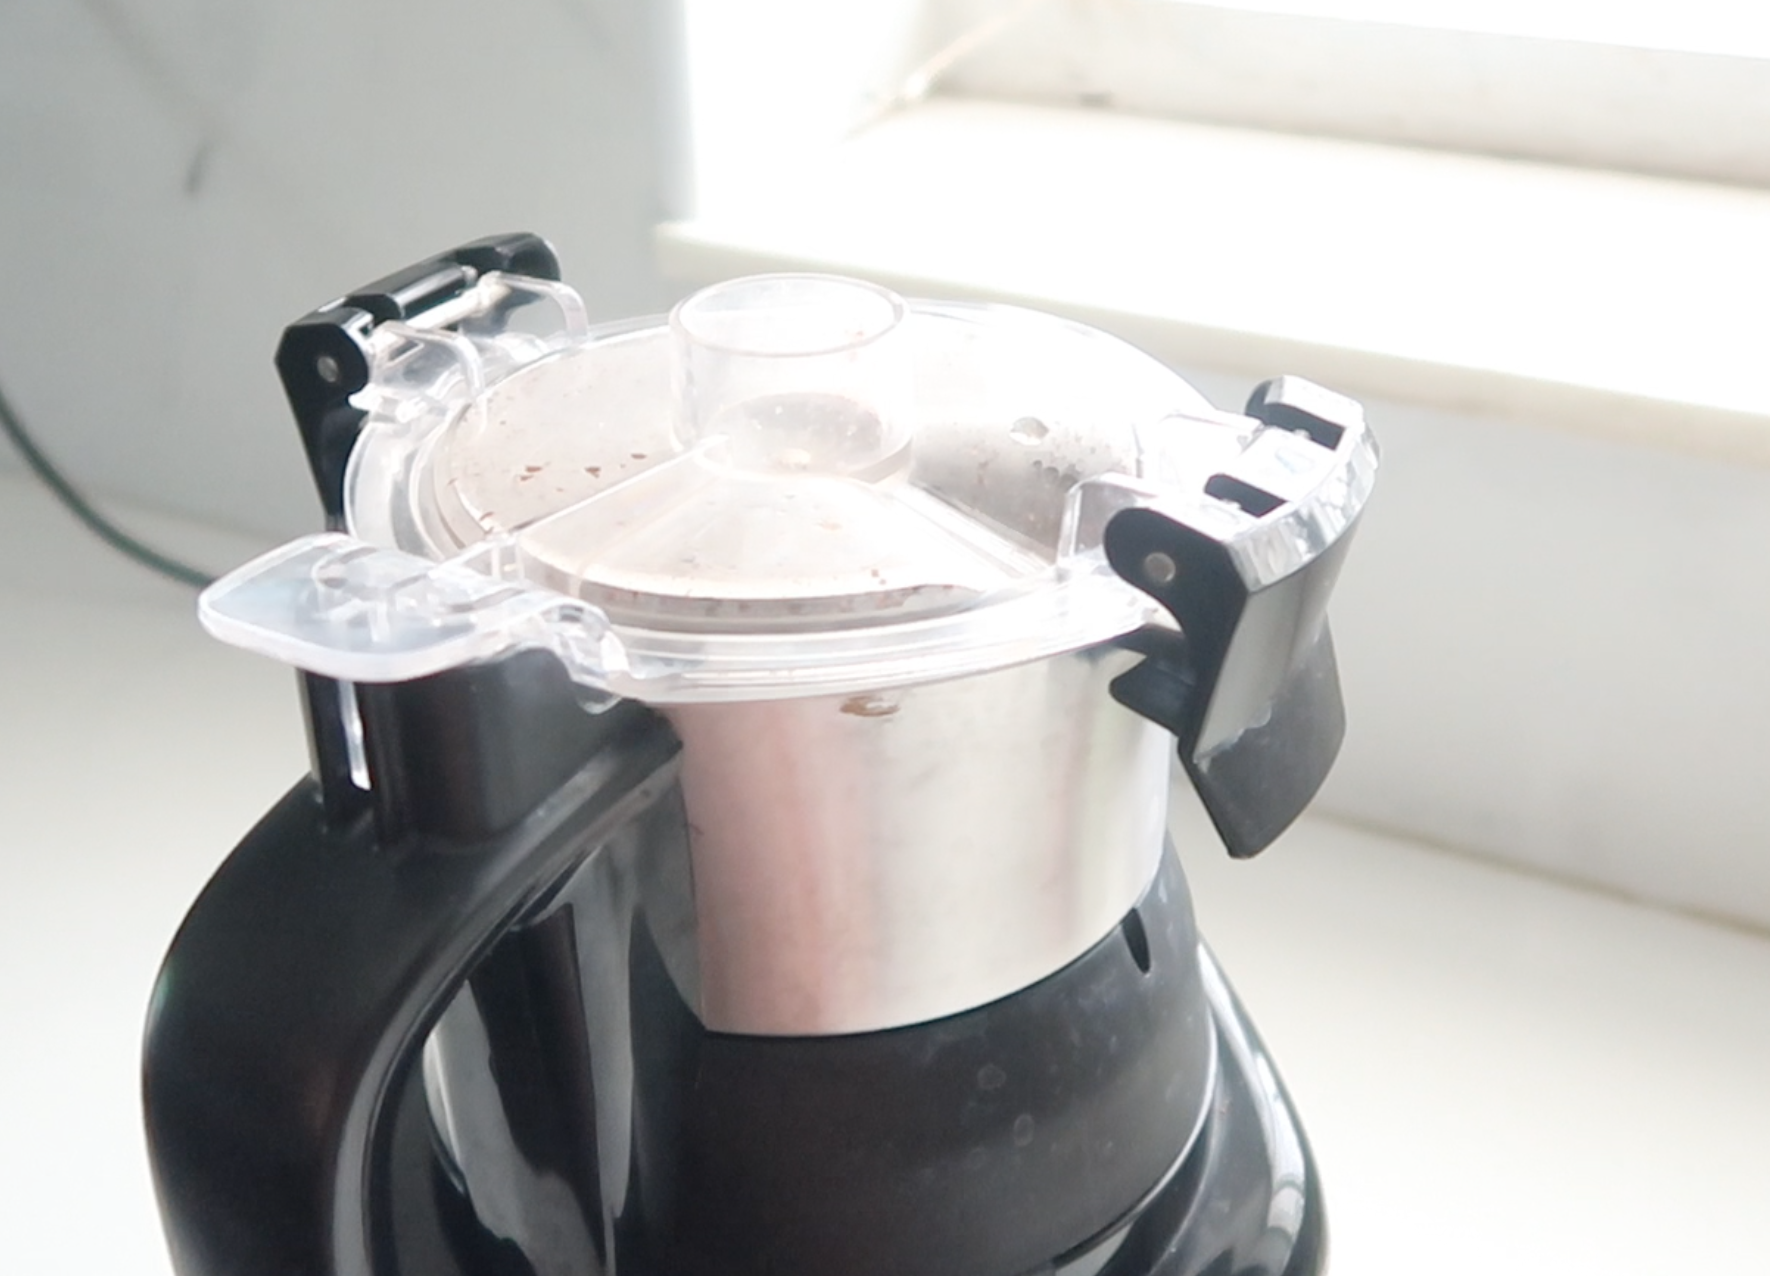
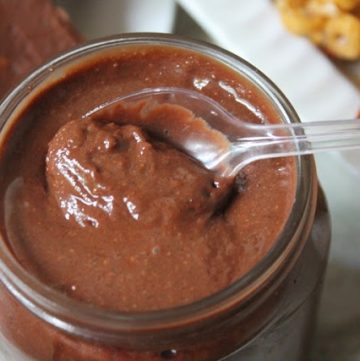
Now lets make the chocolate. Add the cocoa nibs and sugar to your blender or high powered food processor and begin to blend. At first you’ll end up with a chocolate paste. At this point add in melted cocoa butter and continue blending on very low speed for at least 25 to 30 mins in intervals. Now the chocolate will be super smooth.
Making chocolate
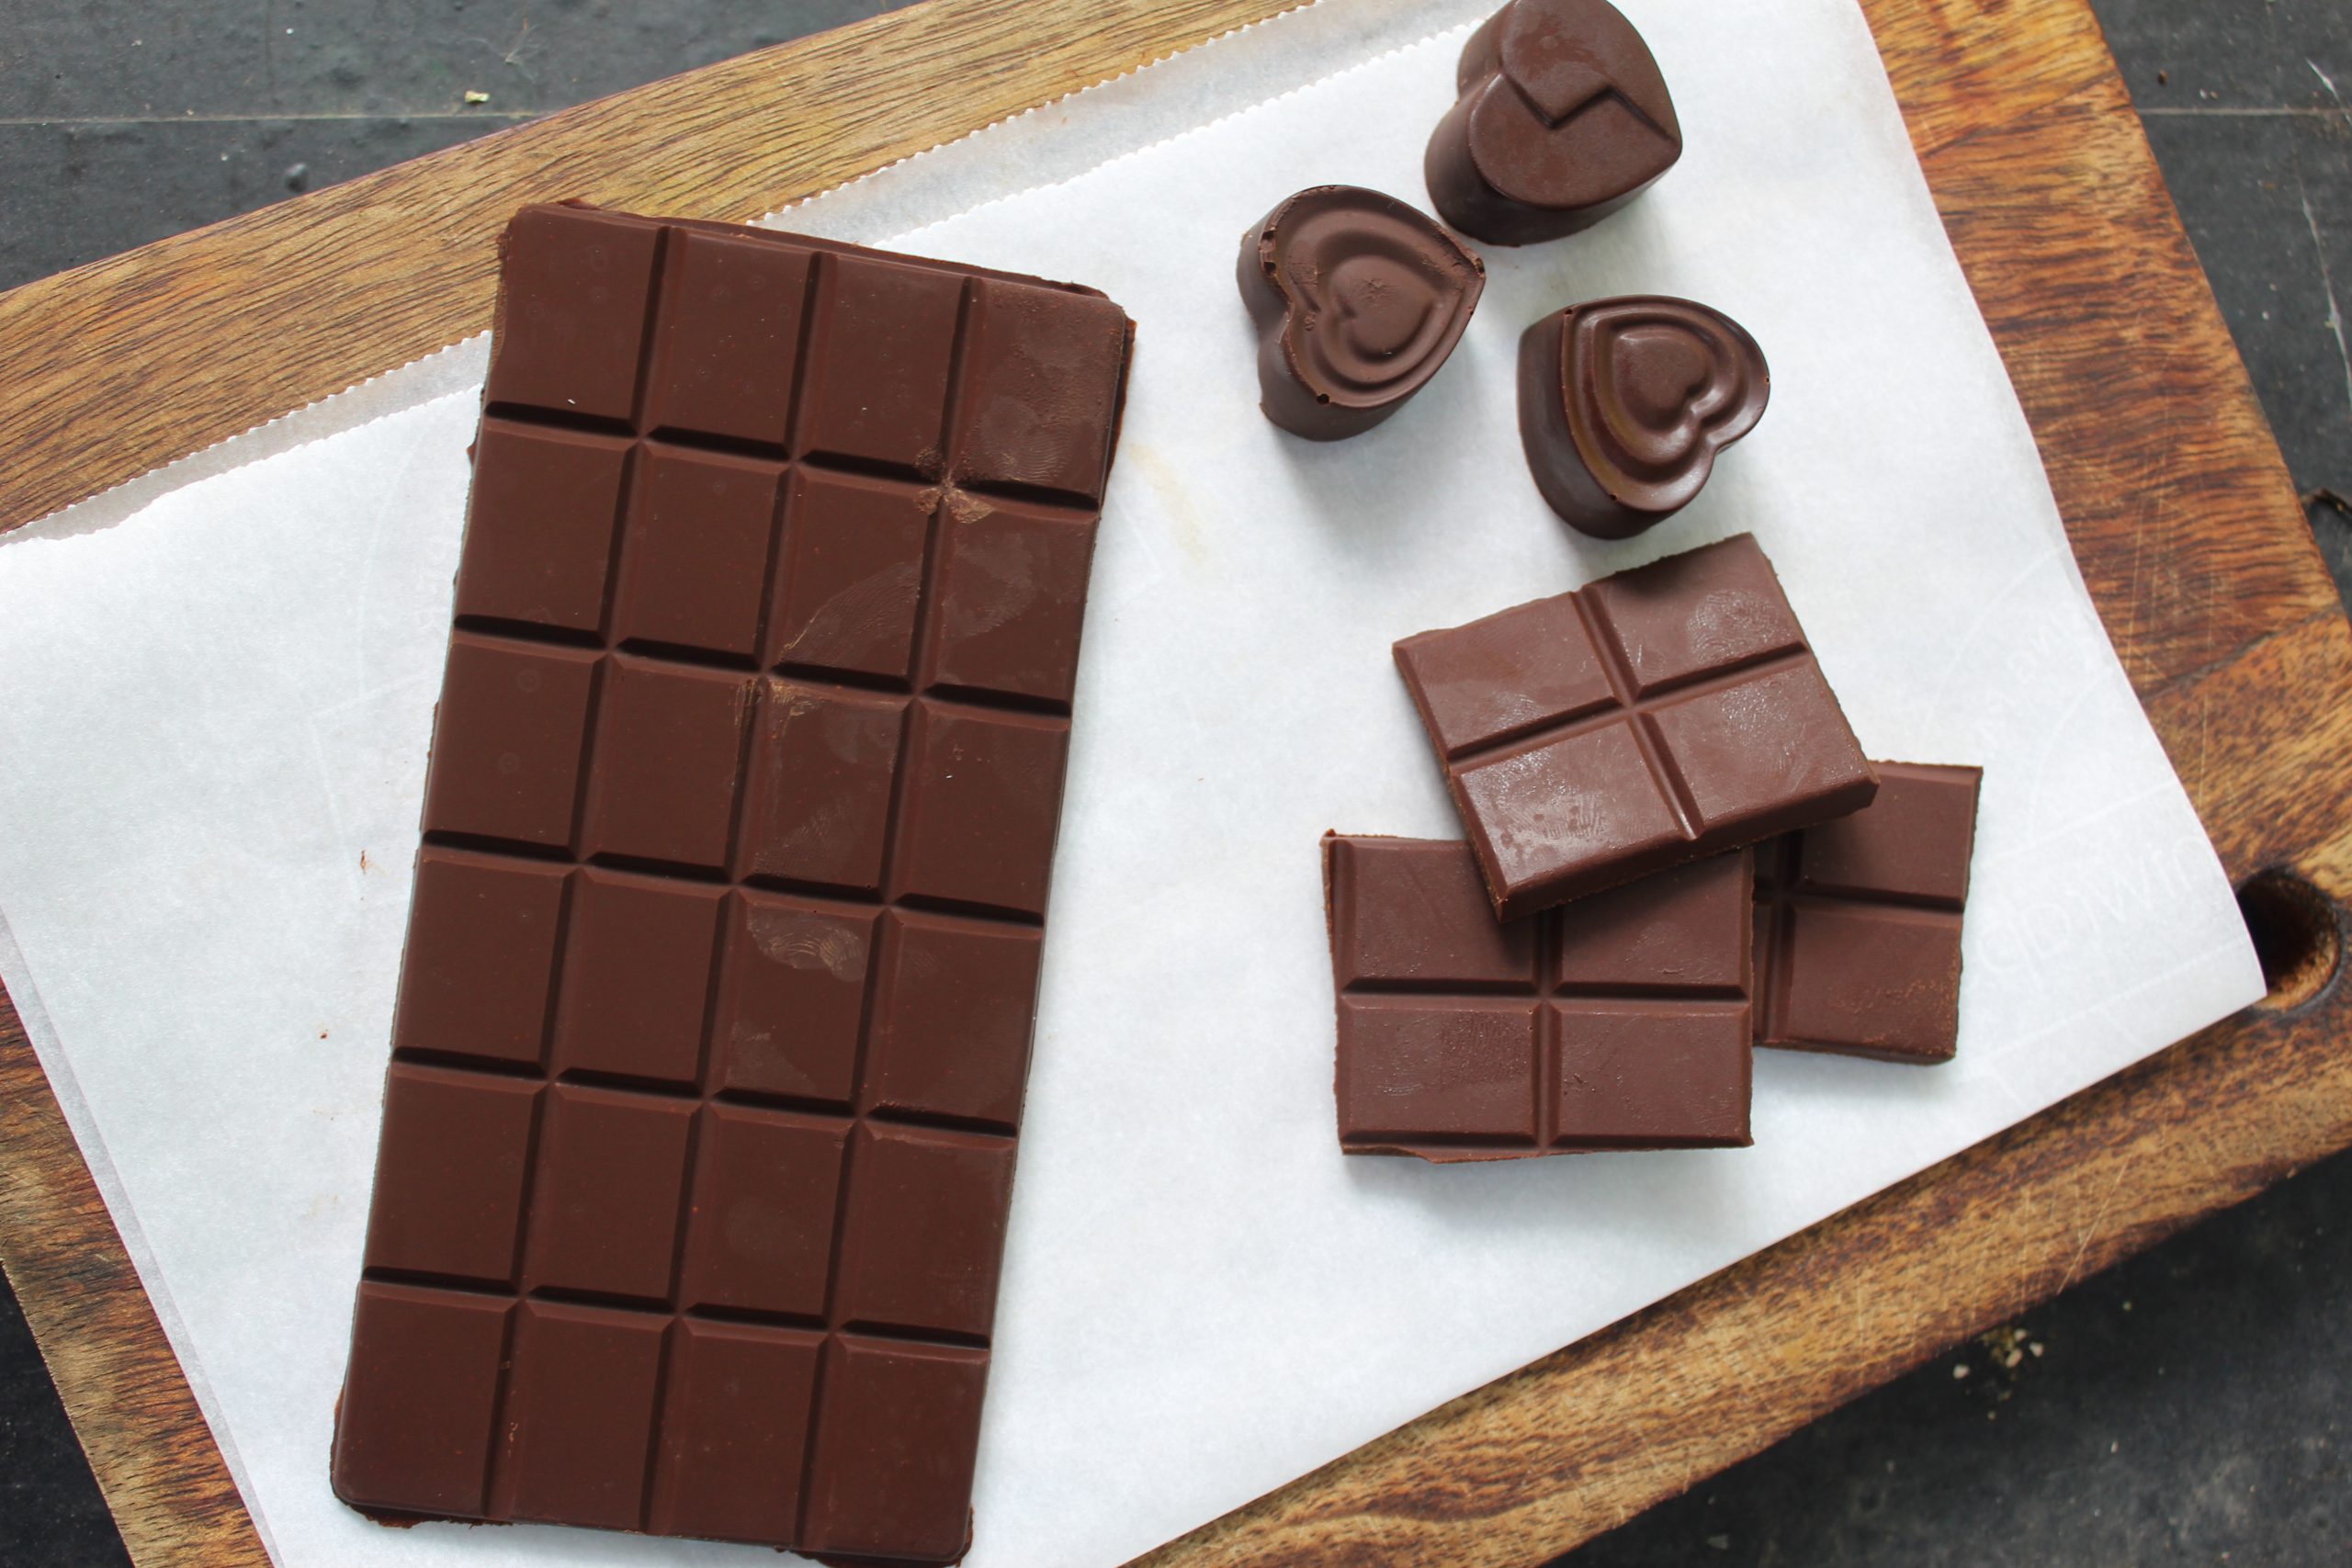
Pour the chocolate into moulds and let it set at room temp or in fridge for 1 hour. Un mould and serve.
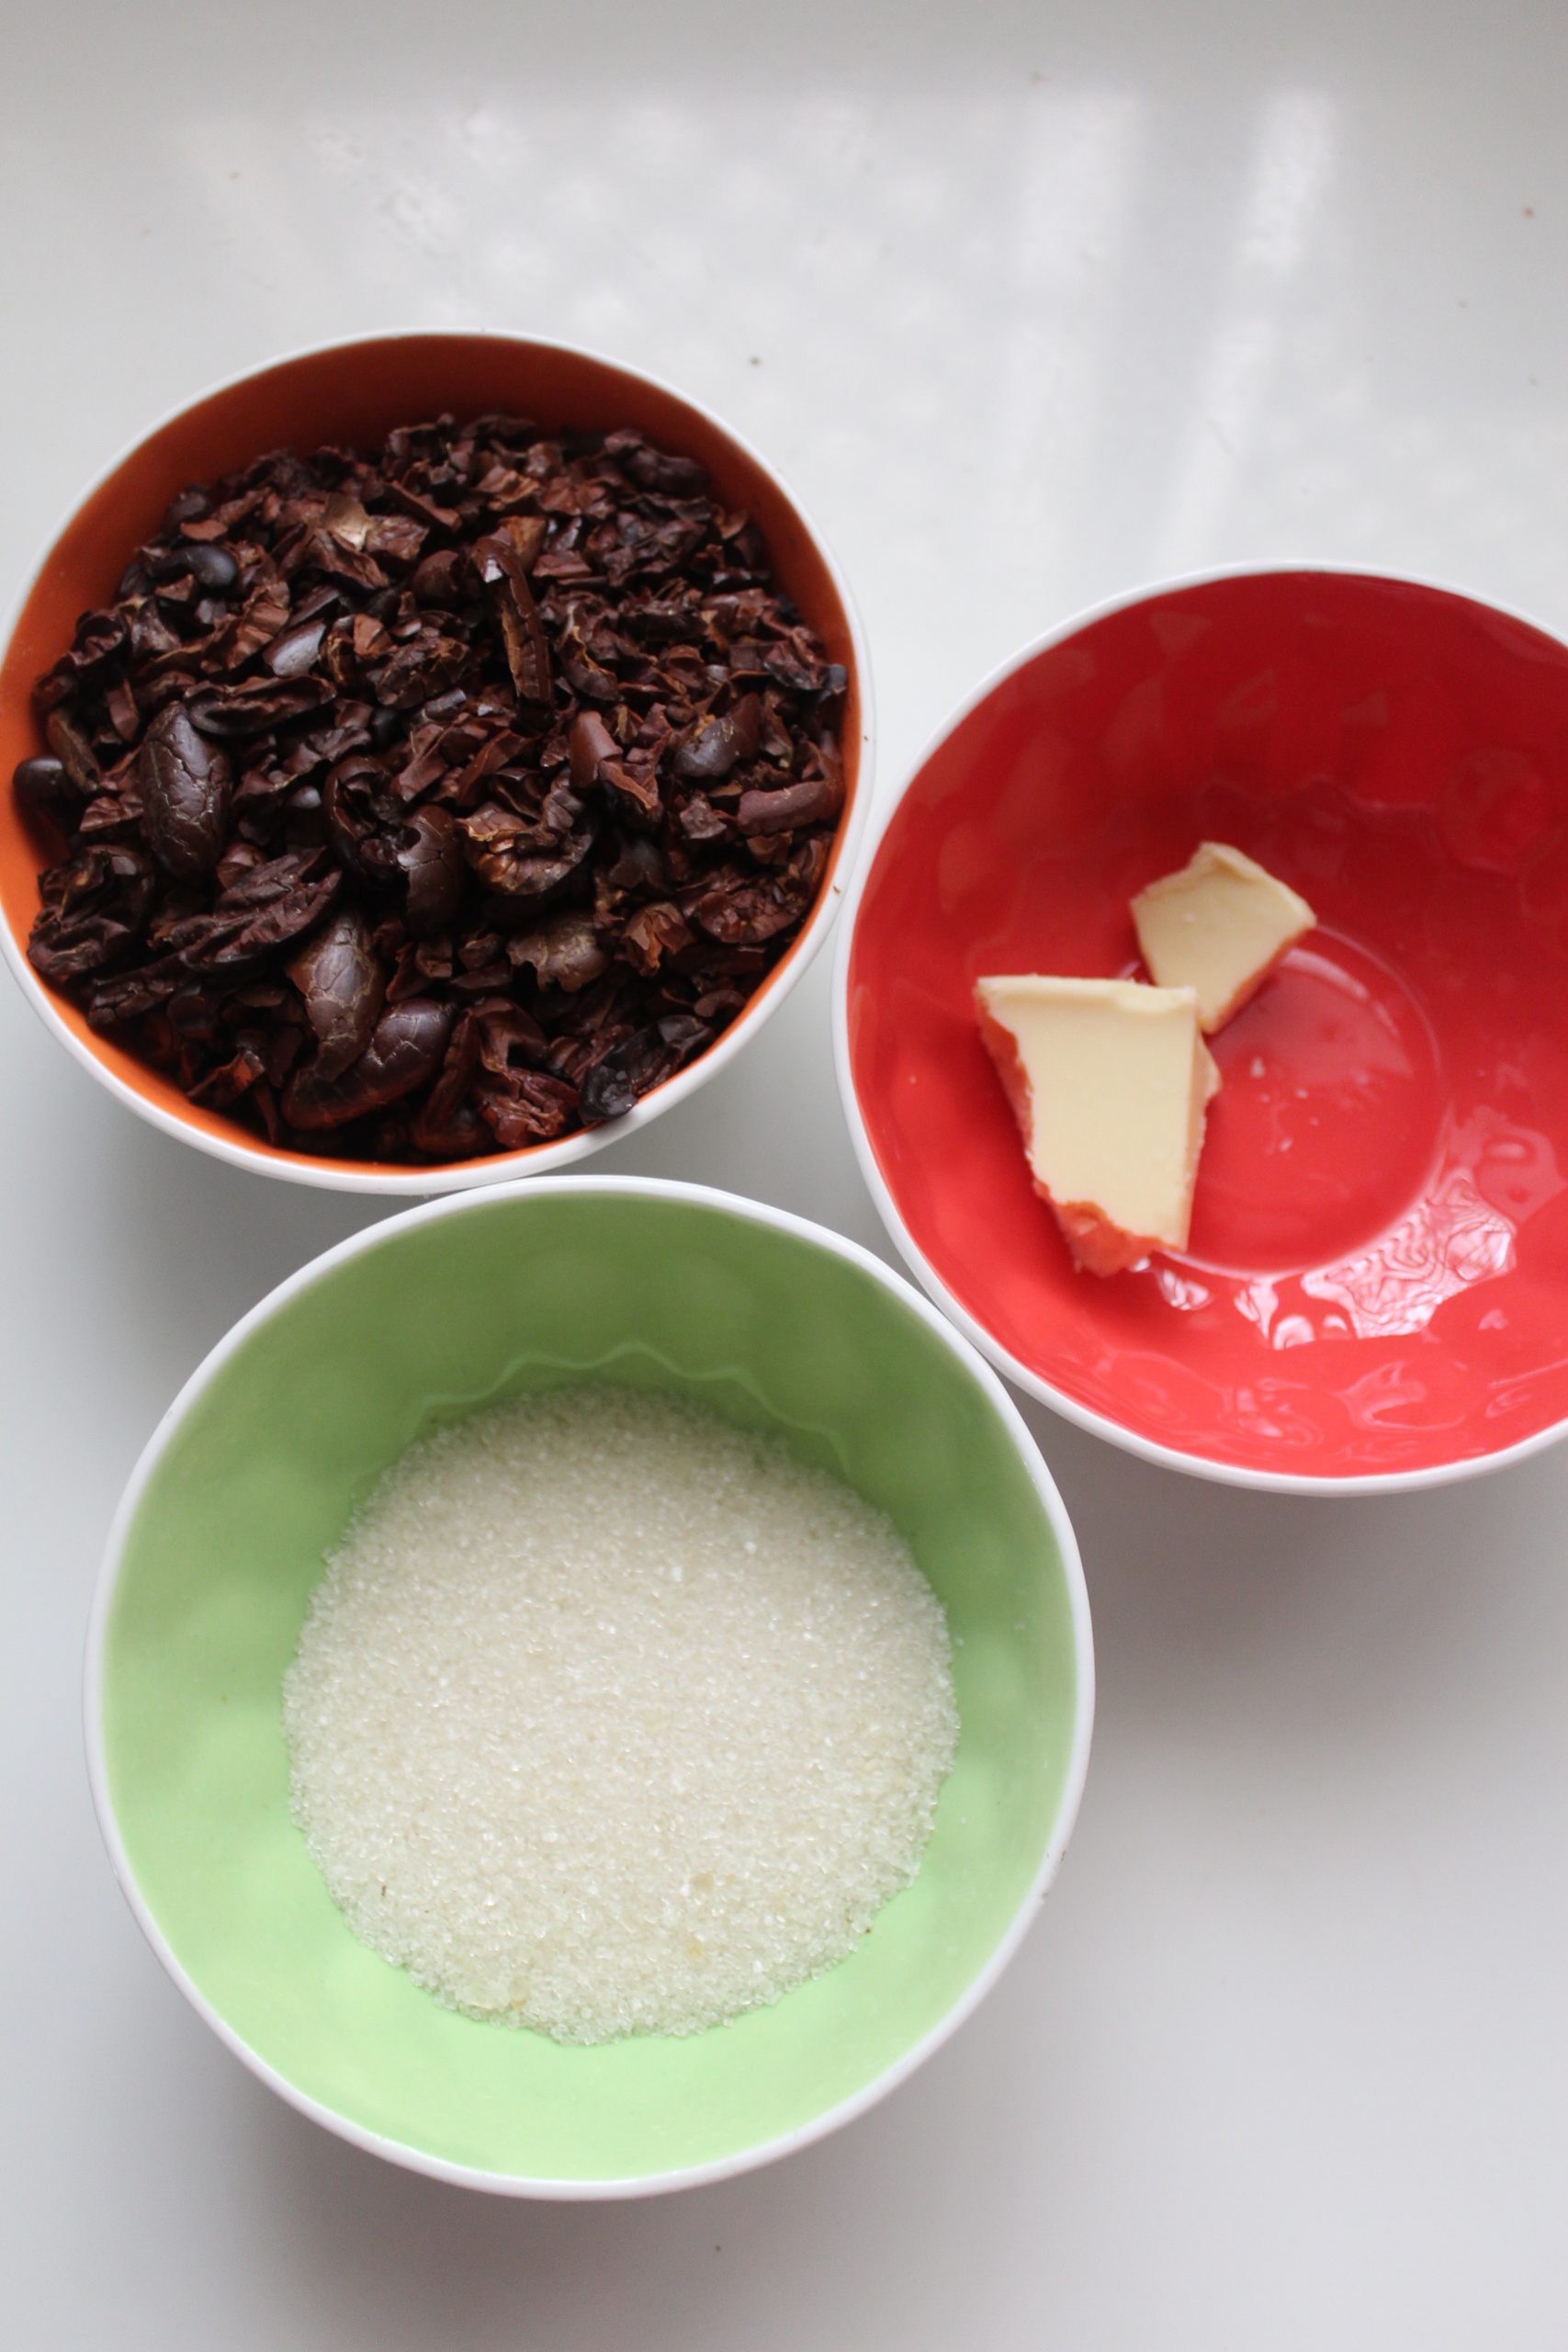
Ingredients to Make Dark Chocolate
This measurement is enough to make 2 bars of chocolate.
- 175 grams Cocoa Nibs
- 60 grams Sugar
- 15g Cocoa Butter
If you have any questions not covered in this post and if you need help, leave me a comment or mail me @[email protected] and I’ll help as soon as I can.
Follow me on Instagram, Facebook,Pinterest ,Youtube and Twitter for more Yummy Tummy inspiration.
IF YOU MAKE THIS RECIPE OR ANYTHING FROM YUMMY TUMMY, MAKE SURE TO POST IT AND TAG ME SO I CAN SEE ALL OF YOUR CREATIONS!! #YUMMYTUMMYAARTHI AND @YUMMYTUMMYAARTHI ON INSTAGRAM!
📖 Recipe Card
Homemade Dark Chocolate Recipe | How to Make Chocolate at Home
Ingredients
- 175 grams Cocoa Nibs
- 60 grams Sugar
- 15 g Cocoa Butter
Instructions
- Take your cocoa fruit, cut it open or break it open. Collect the seeds from the fruit and take it in a bowl. Cover with a loose fitting lid or a cloth. Leave it to ferment for a week. Once fermented you can roast the beans.
- Take the beans and spread it on a baking tray. Pop it into a 180 degree C preheated oven and bake for 30 mins. Once the time is up, Remove the beans from the oven and let it cool completely. Now you can rub off the outer skin from the beans and collect the cocoa nibs.
- Melt the cocoa butter in either microwave or double boiler till it is melted completely. Set aside.
- Now lets make the chocolate. Add the cocoa nibs and sugar to your blender or high powered food processor and begin to blend. At first you’ll end up with a chocolate paste. At this point add in melted cocoa butter and continue blending on very low speed for at least 25 to 30 mins in intervals. Now the chocolate will be super smooth.
- Pour the chocolate into moulds and let it set at room temp or in fridge for 1 hour. Unmould and serve.
Video

Notes
Instead of buying, fermenting and roasting the beans to get the nibs. You can buy good quality cocoa nibs from the market and use.
Don’t add too much cocoa butter which will affect the texture and make the chocolate melt faster.
Nutrition
Dark Chocolate Recipe Step by Step Pictures
1)Take your cocoa fruit.
2)cut it open or break it open. Collect the seeds from the fruit and take it in a bowl.
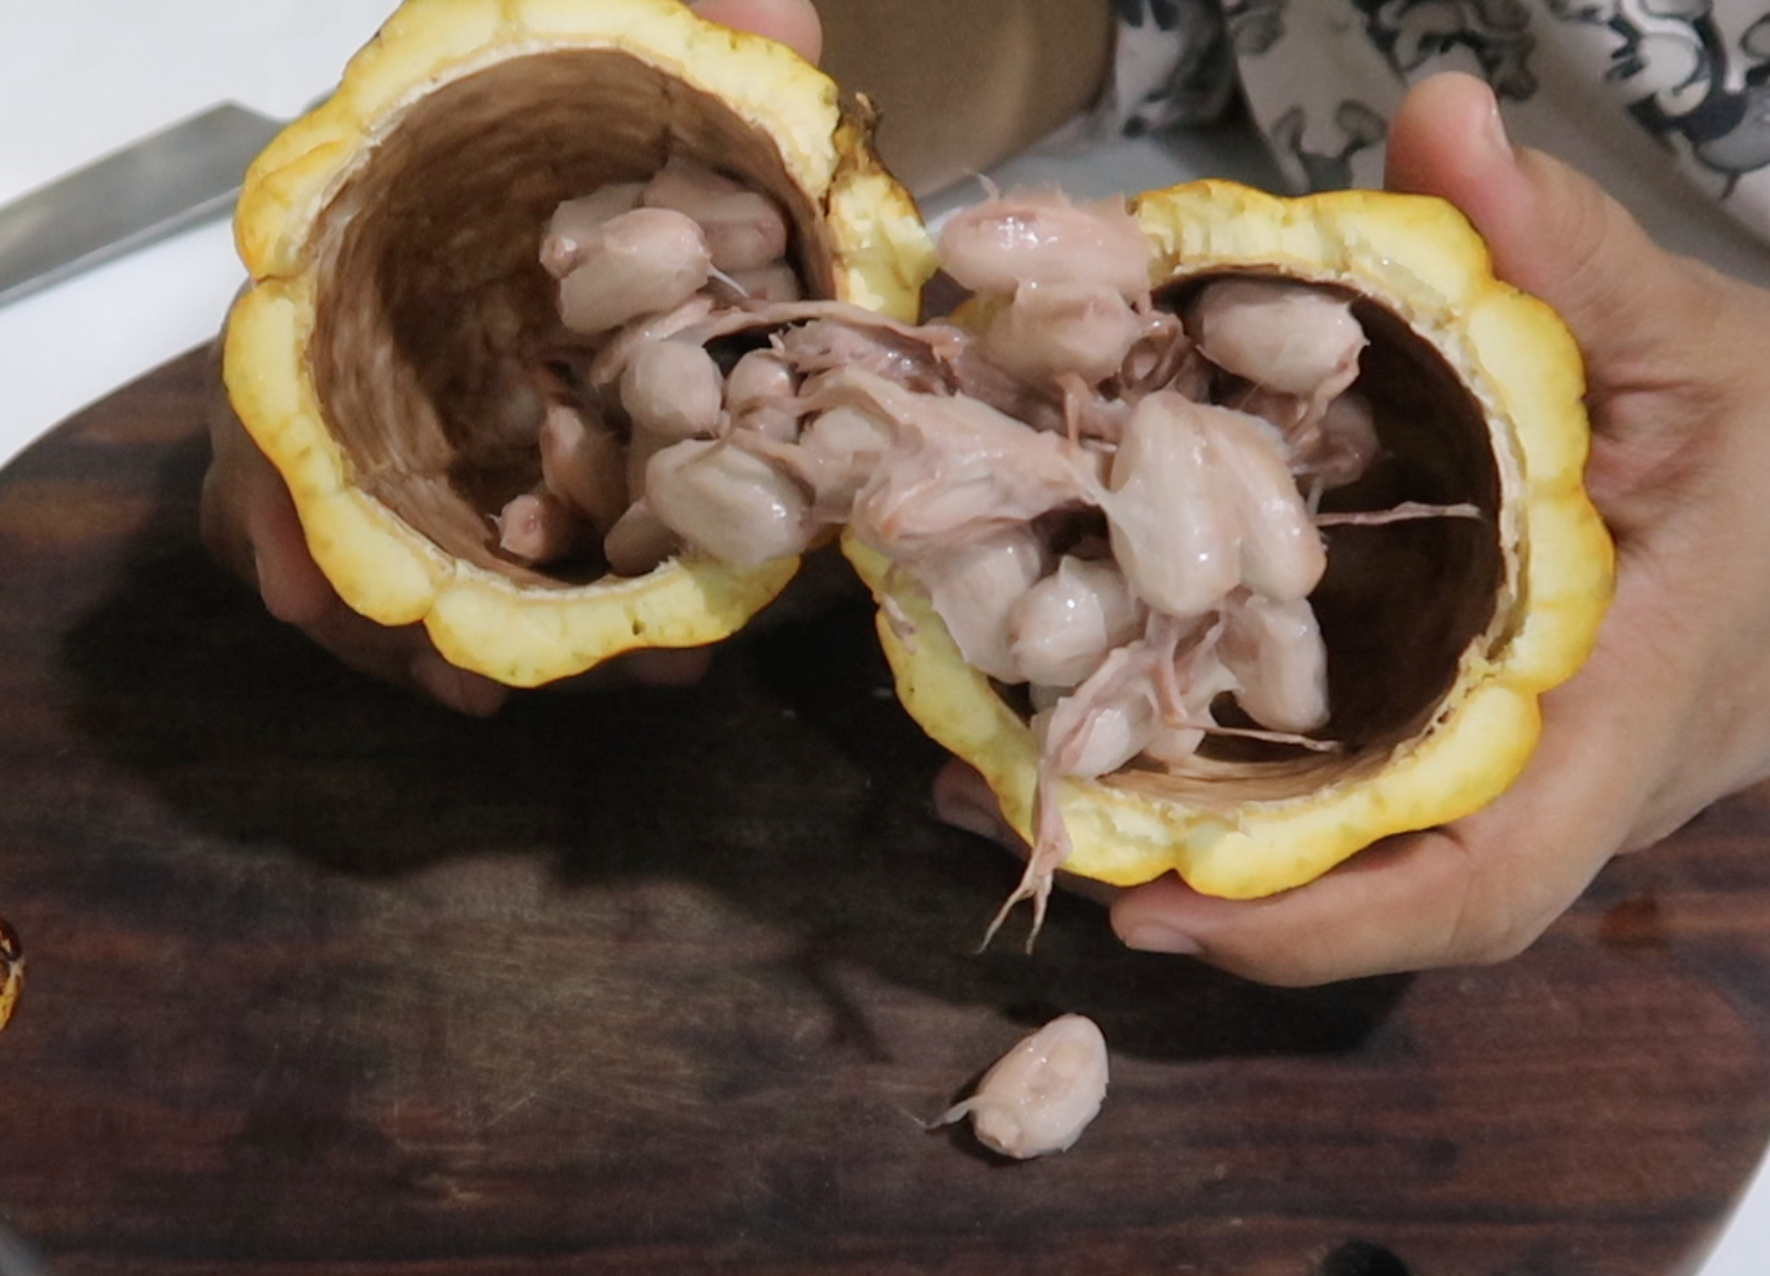
3)These are cocoa beans.
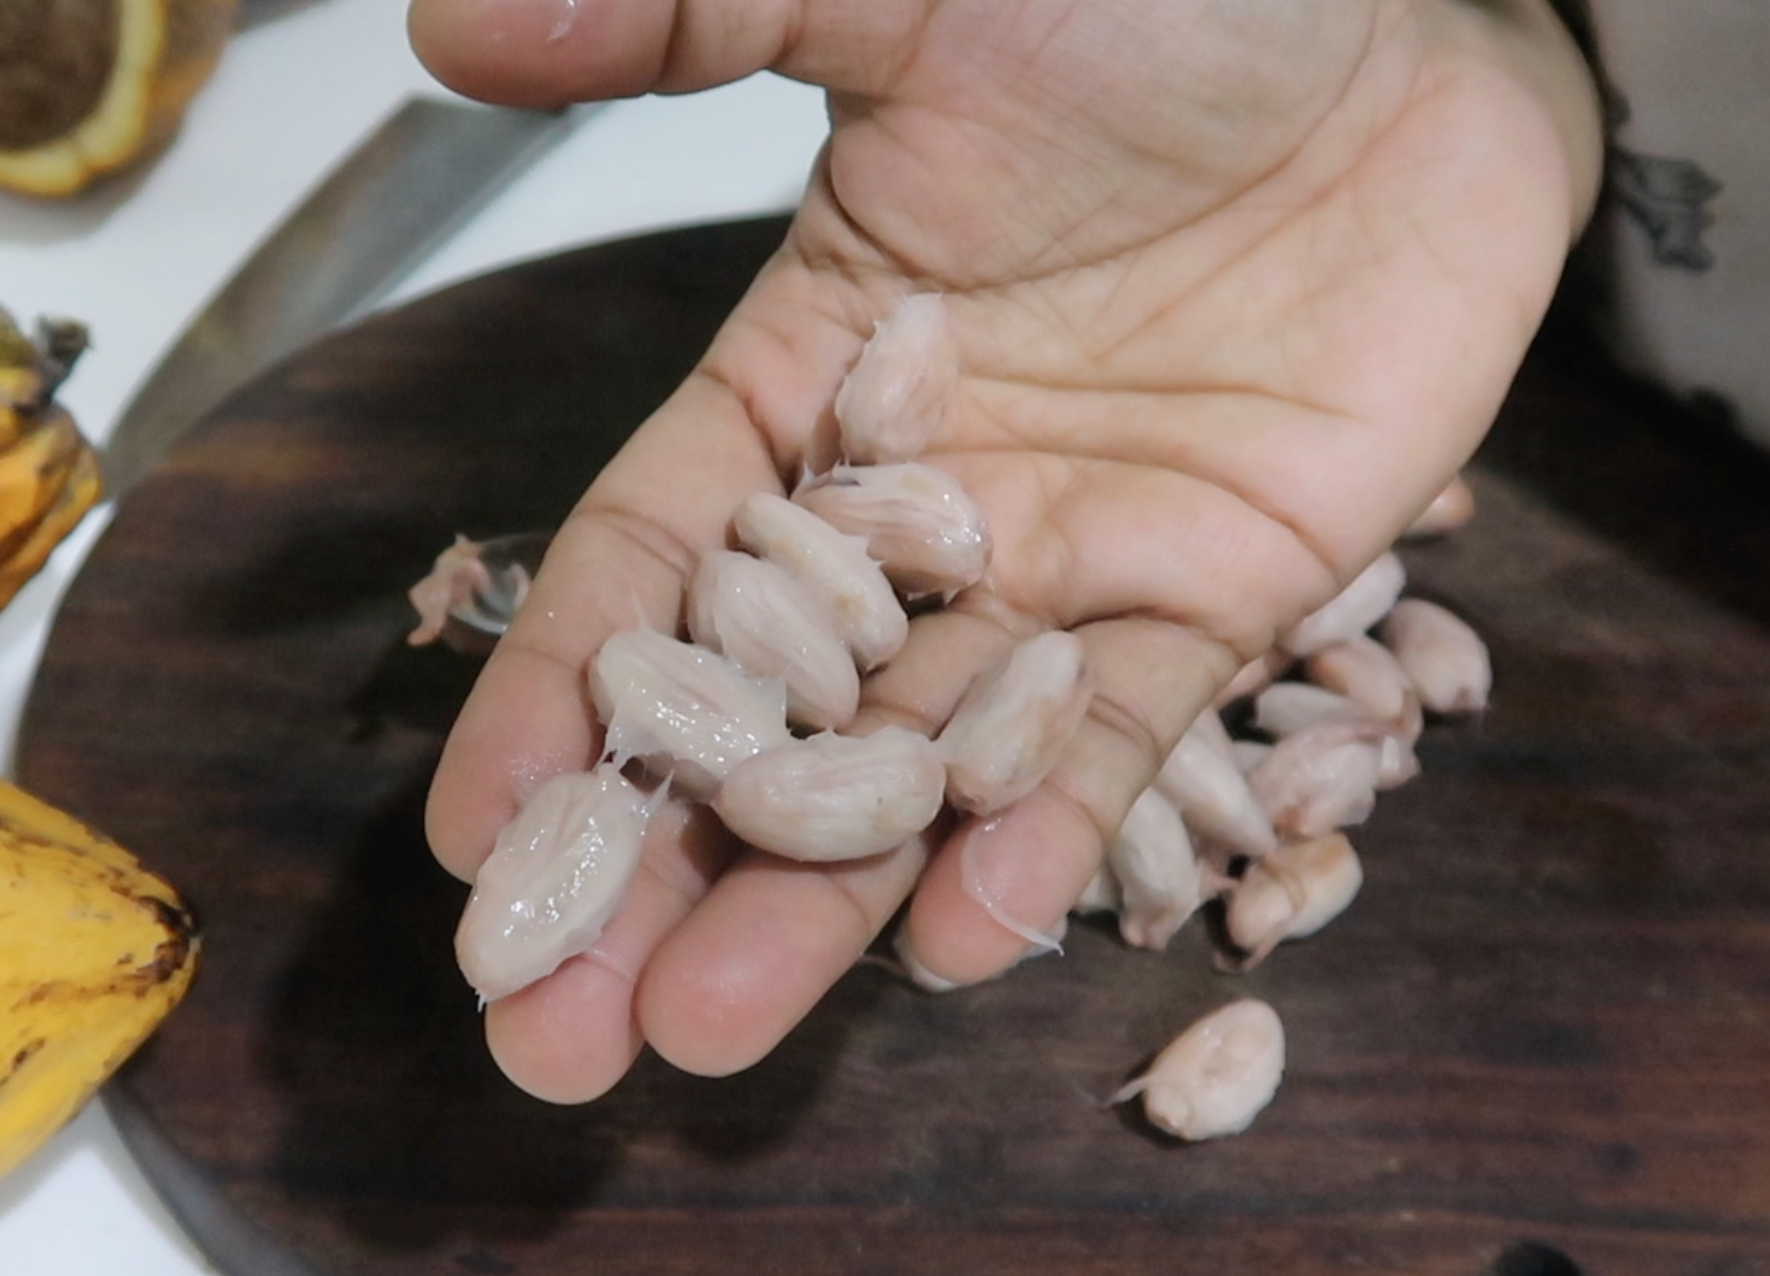
4)Cover with a loose fitting lid or a cloth.
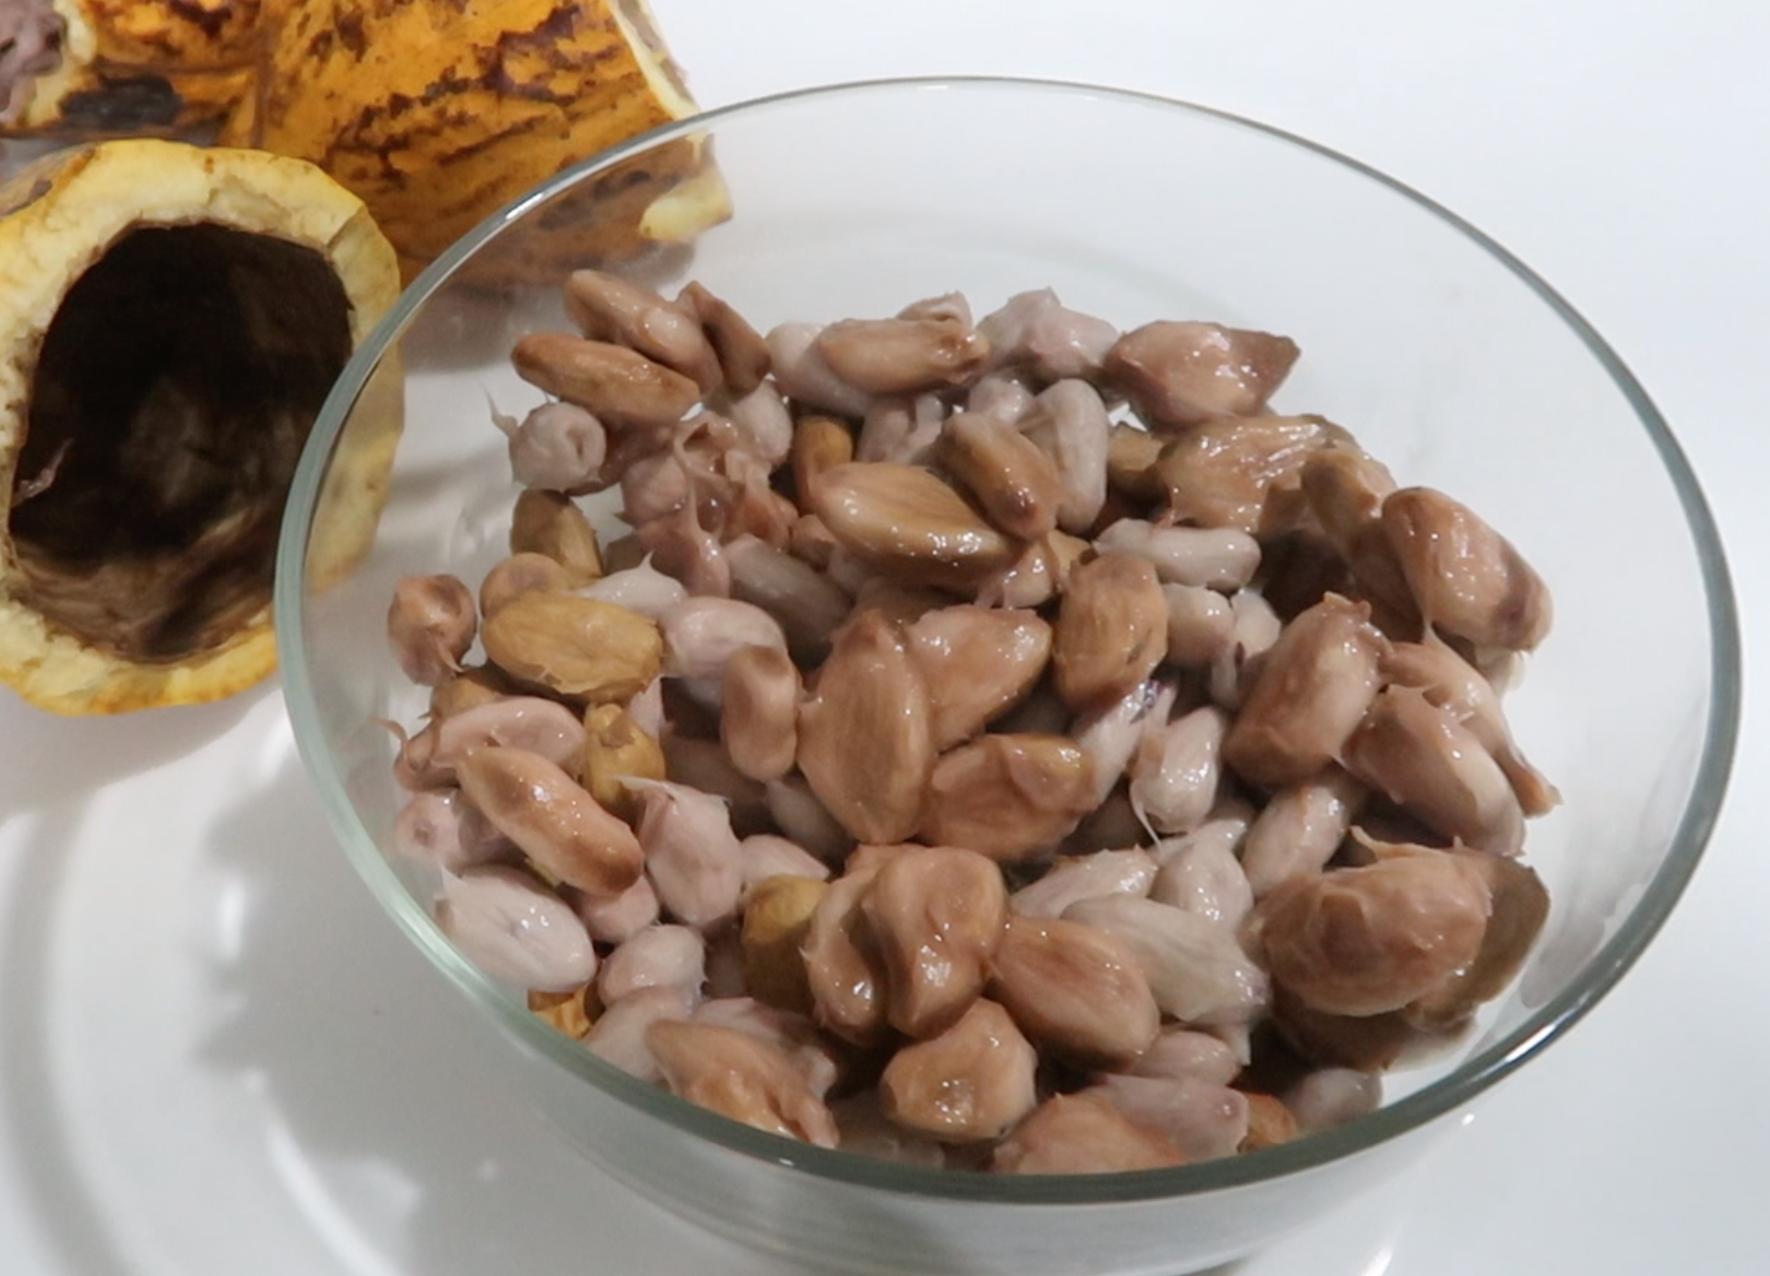
5)Leave it to ferment for a week.
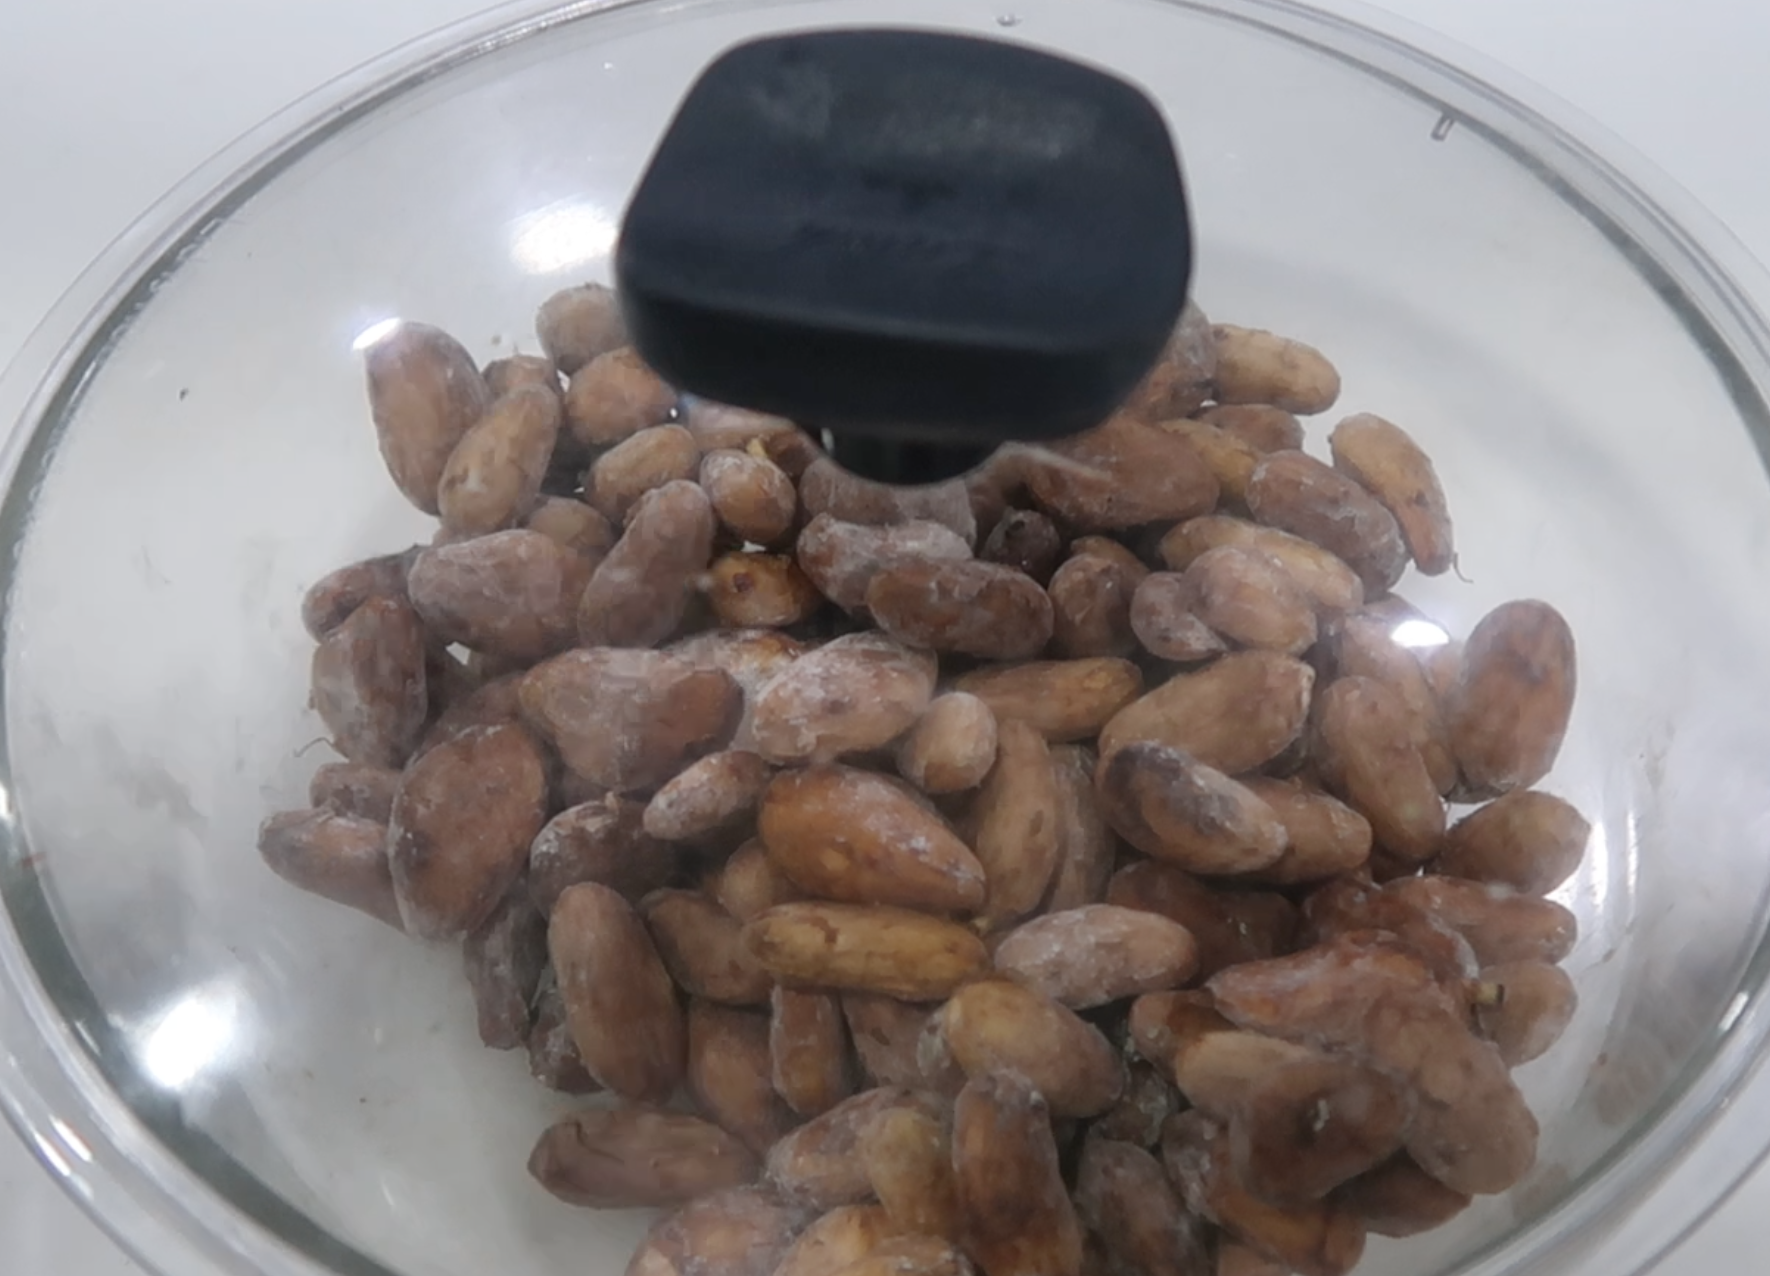
6)Once fermented you can roast the beans.
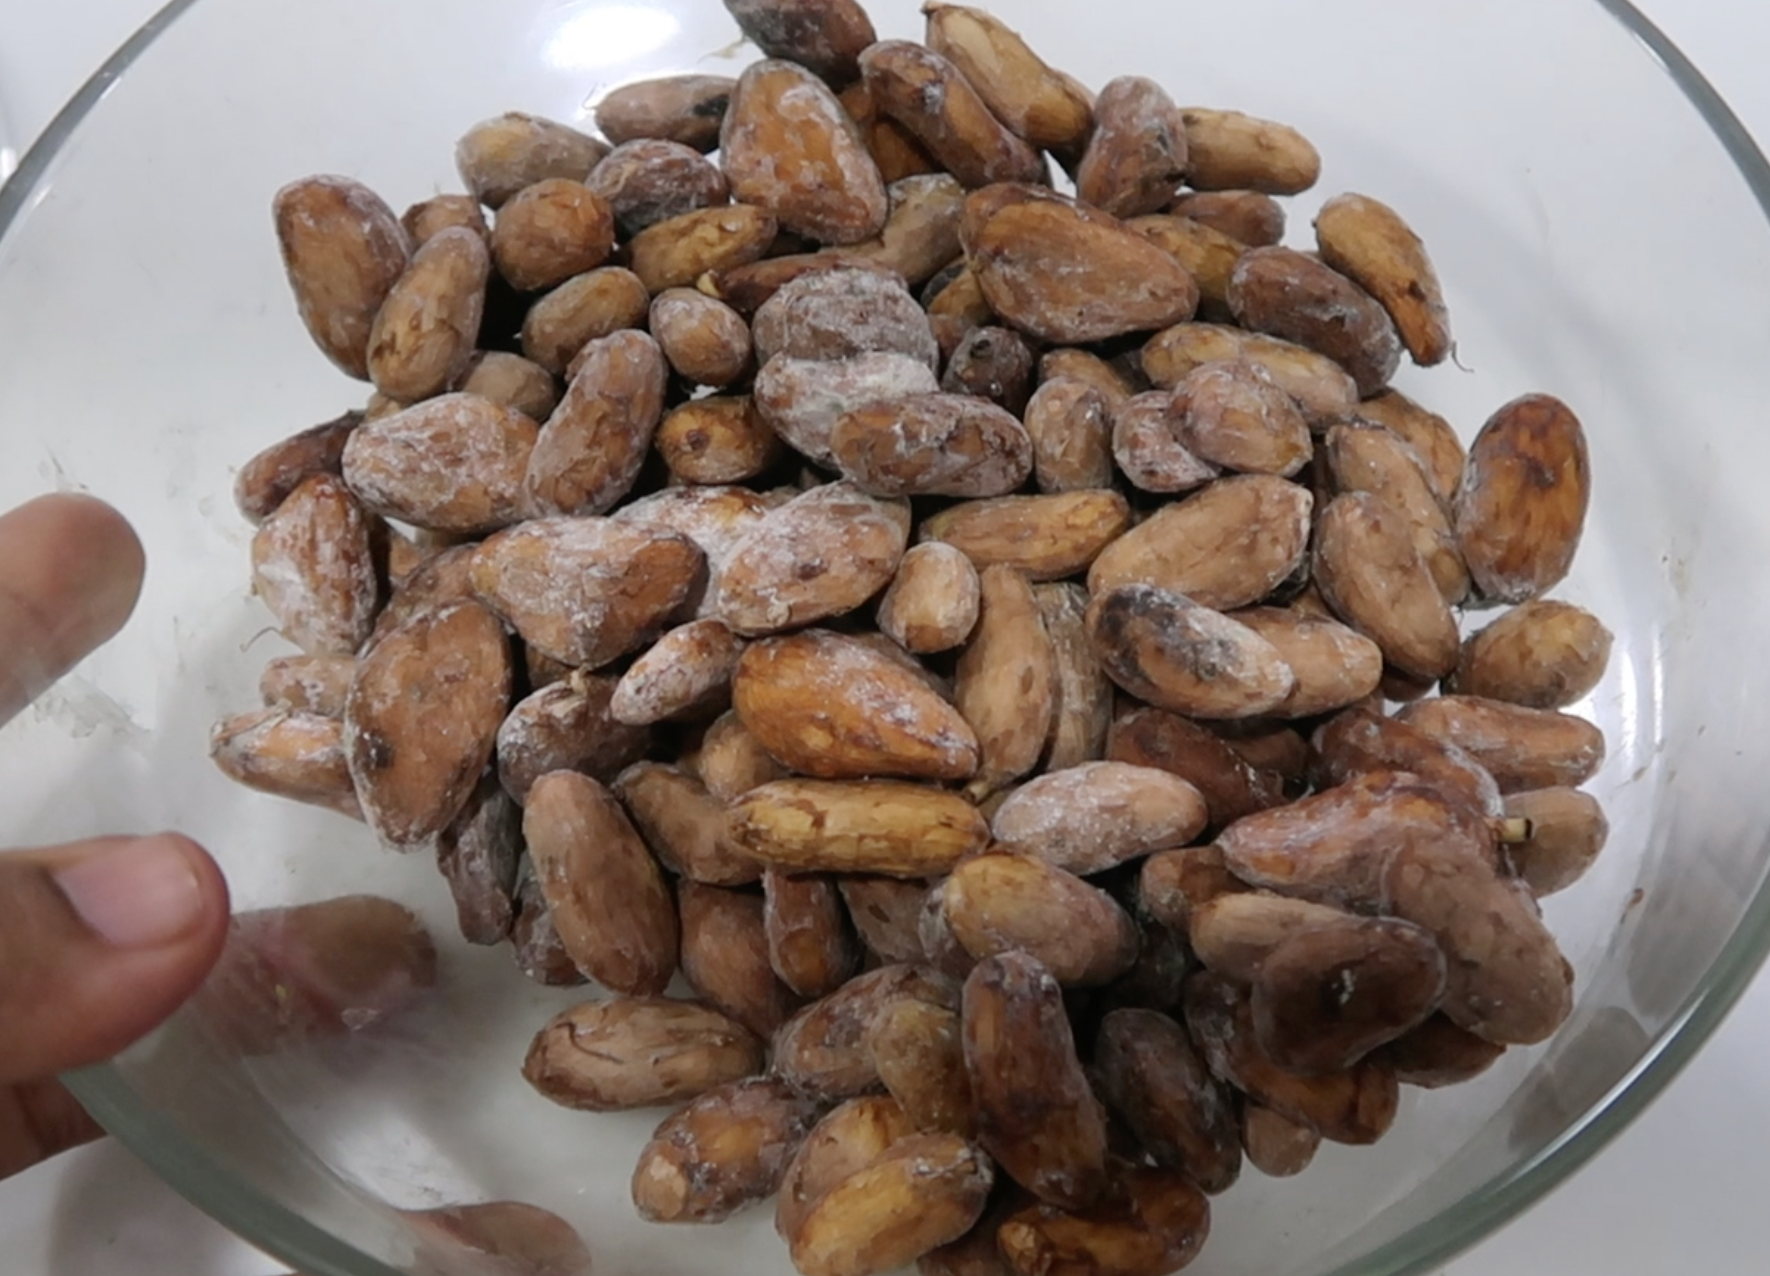
7)Take the beans and spread it on a baking tray.
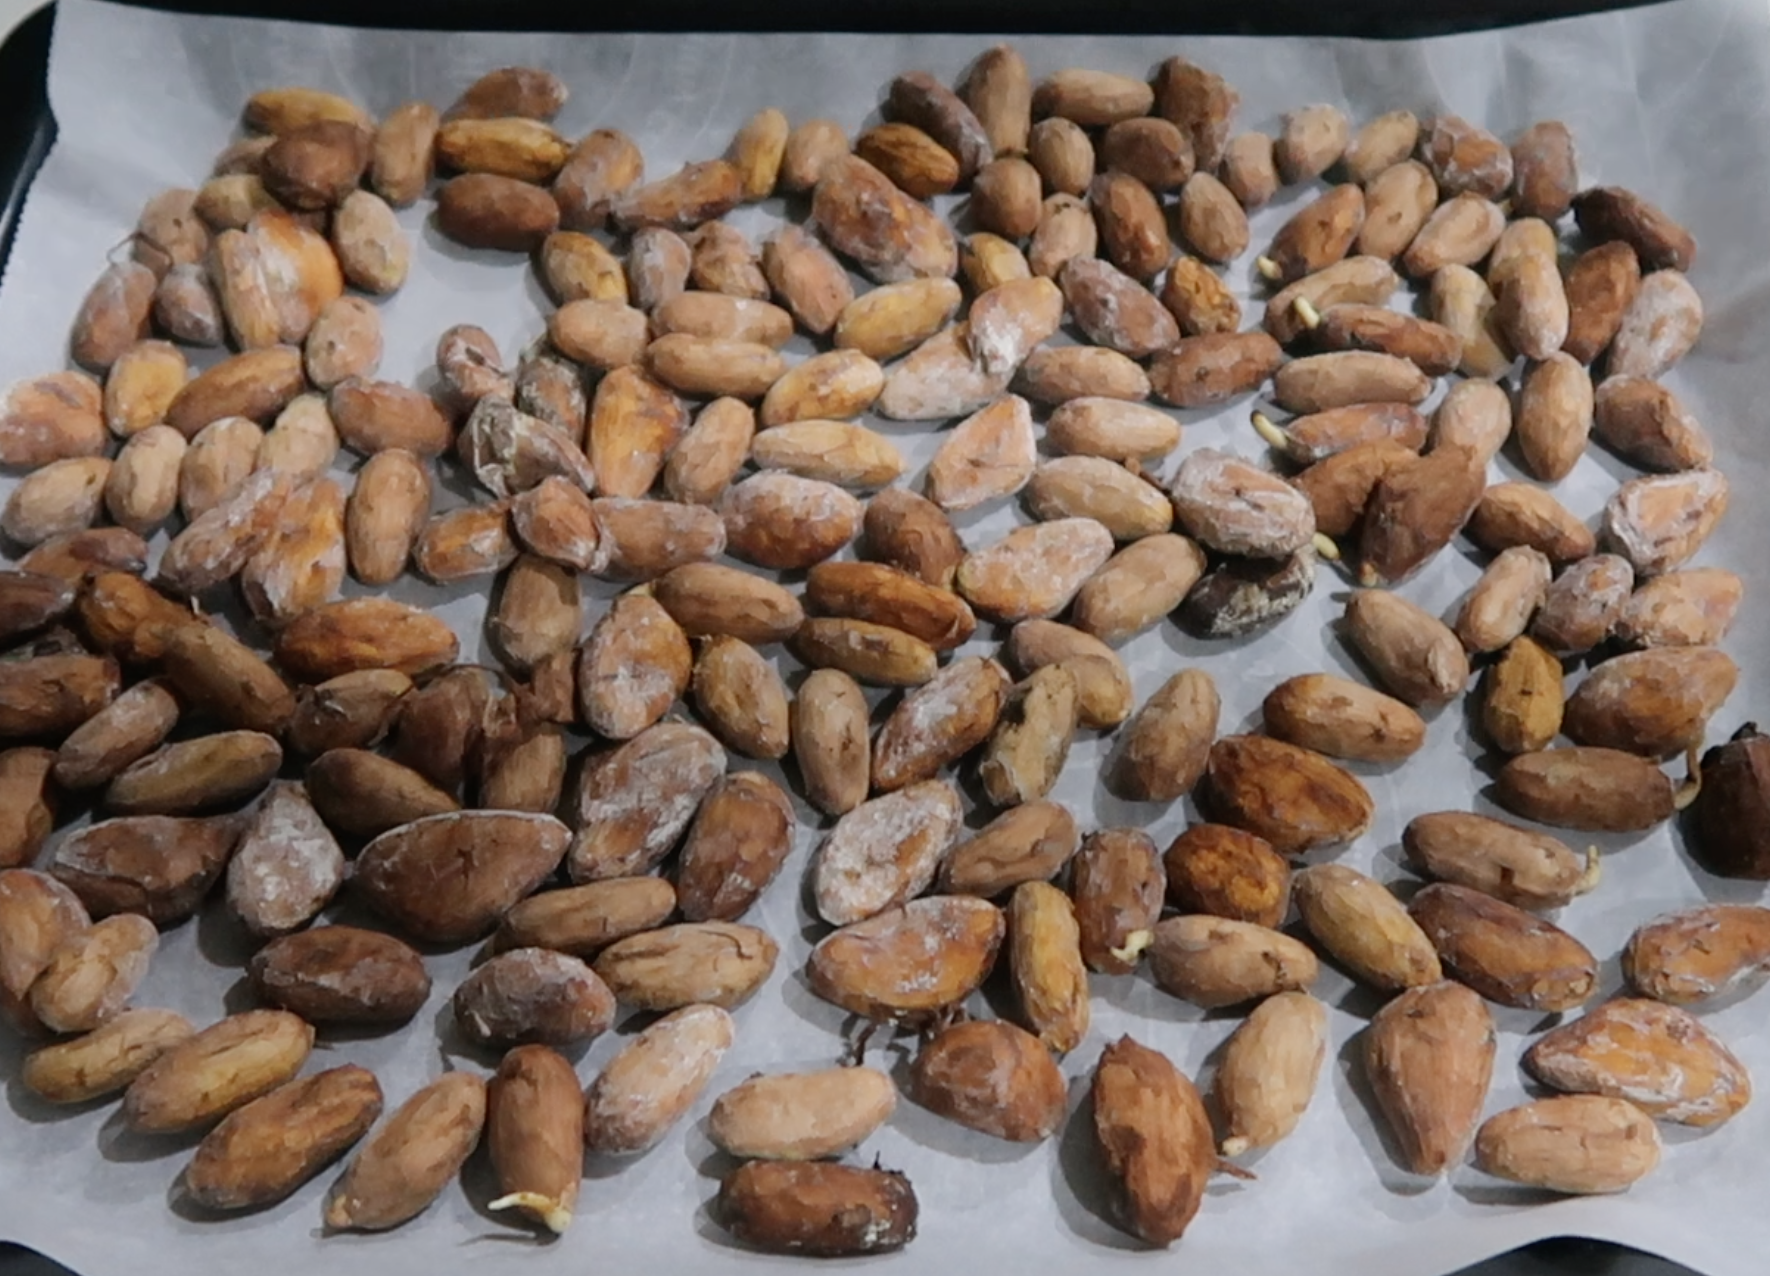
8)Pop it into a 180 degree C preheated oven and bake for 30 mins.
9)Once the time is up, Remove the beans from the oven and let it cool completely.
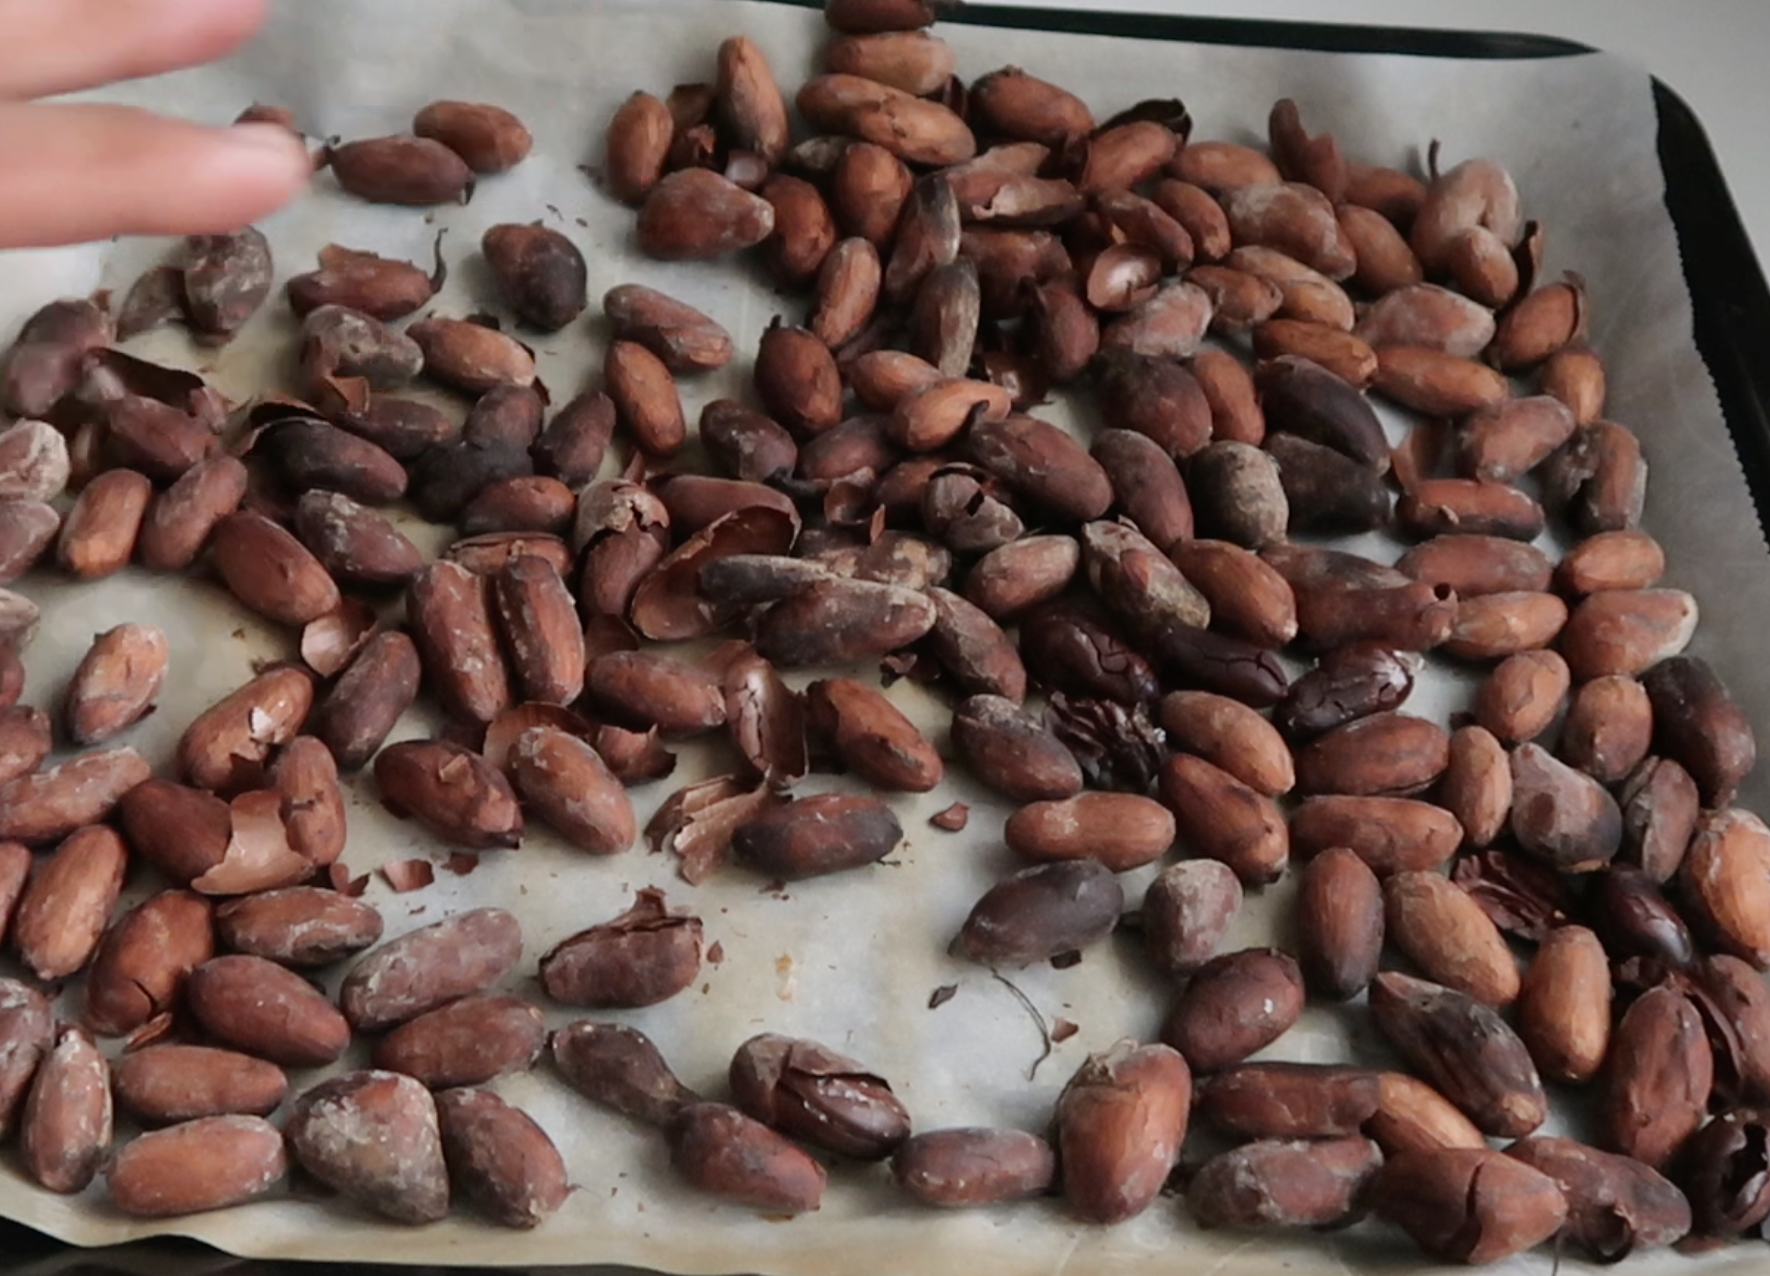
10)Now you can rub off the outer skin from the beans and collect the cocoa nibs.
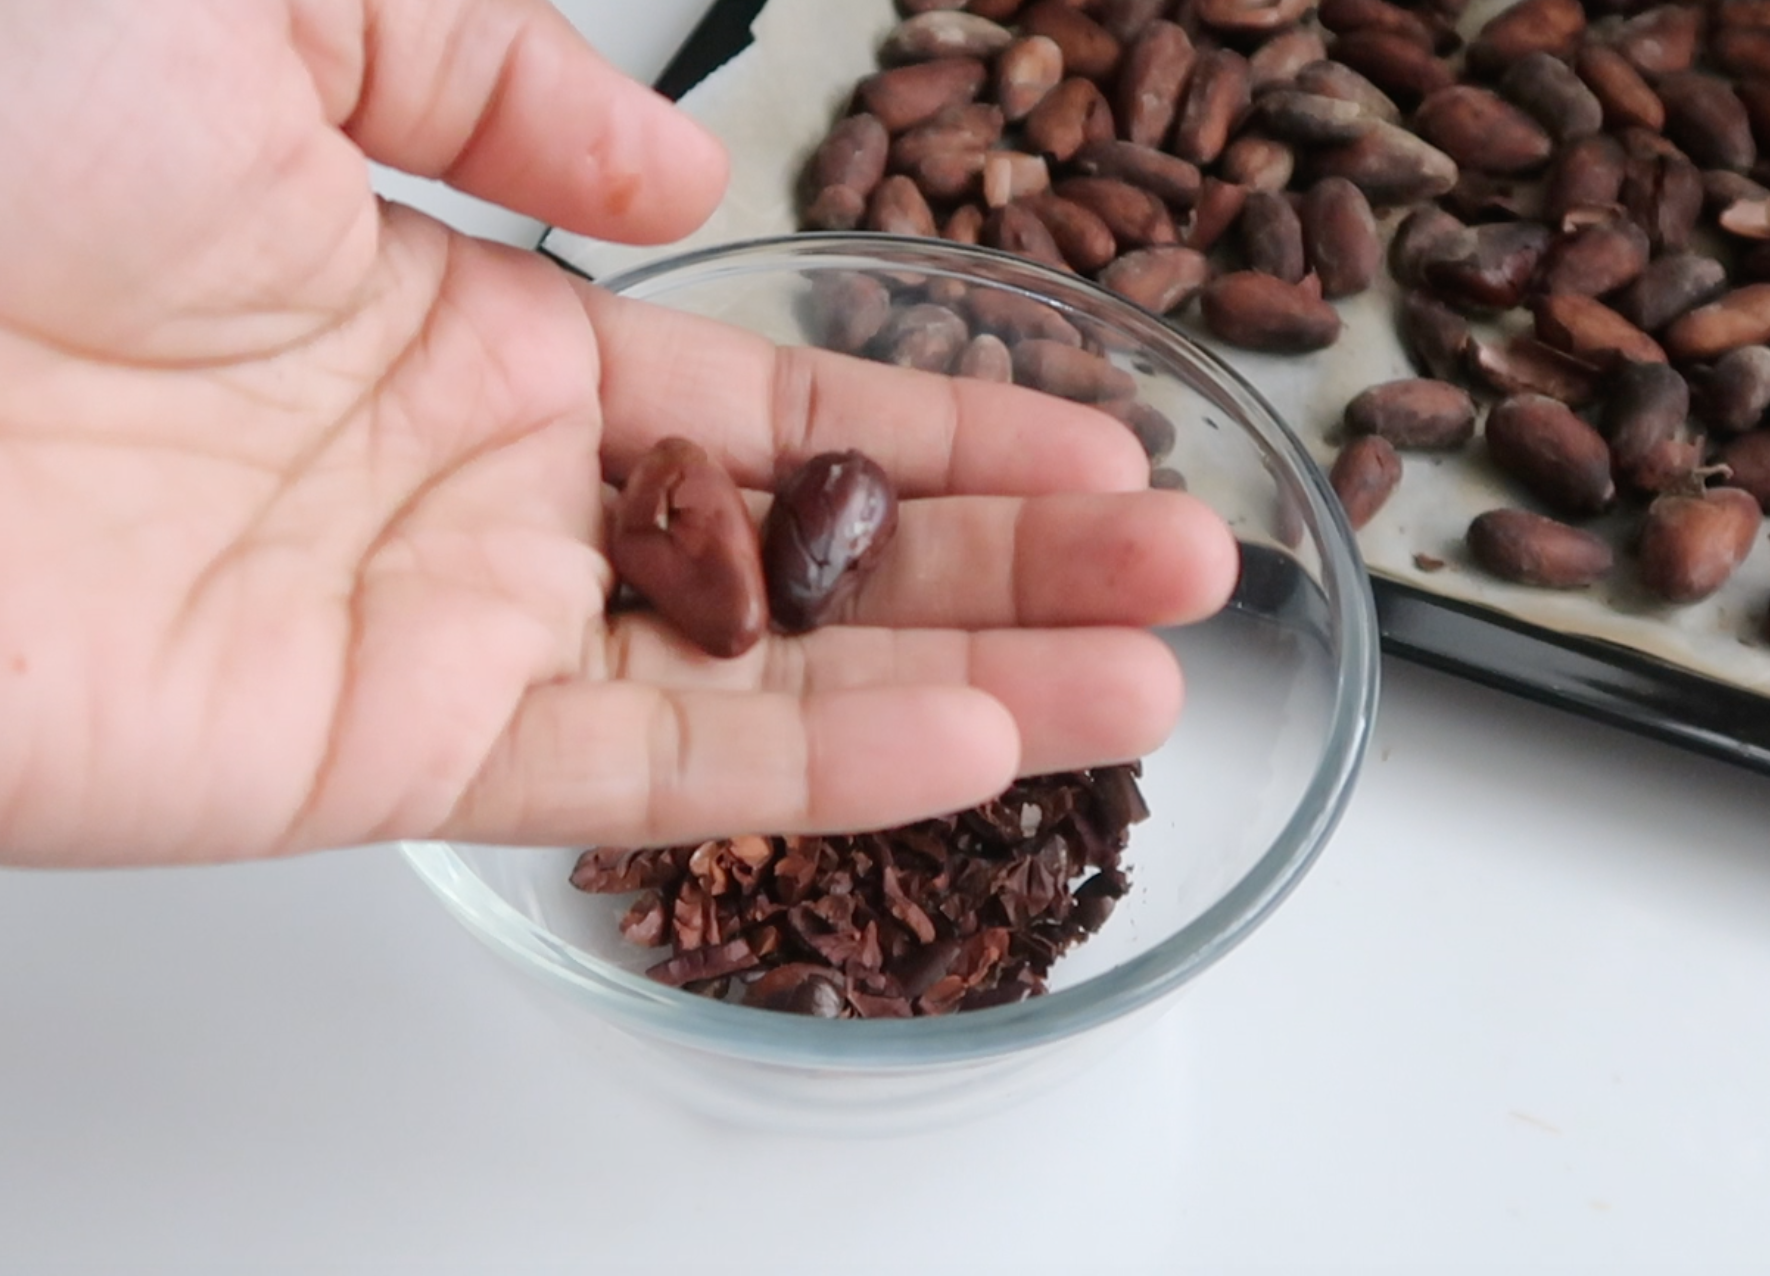
11)These are cocoa nibs.
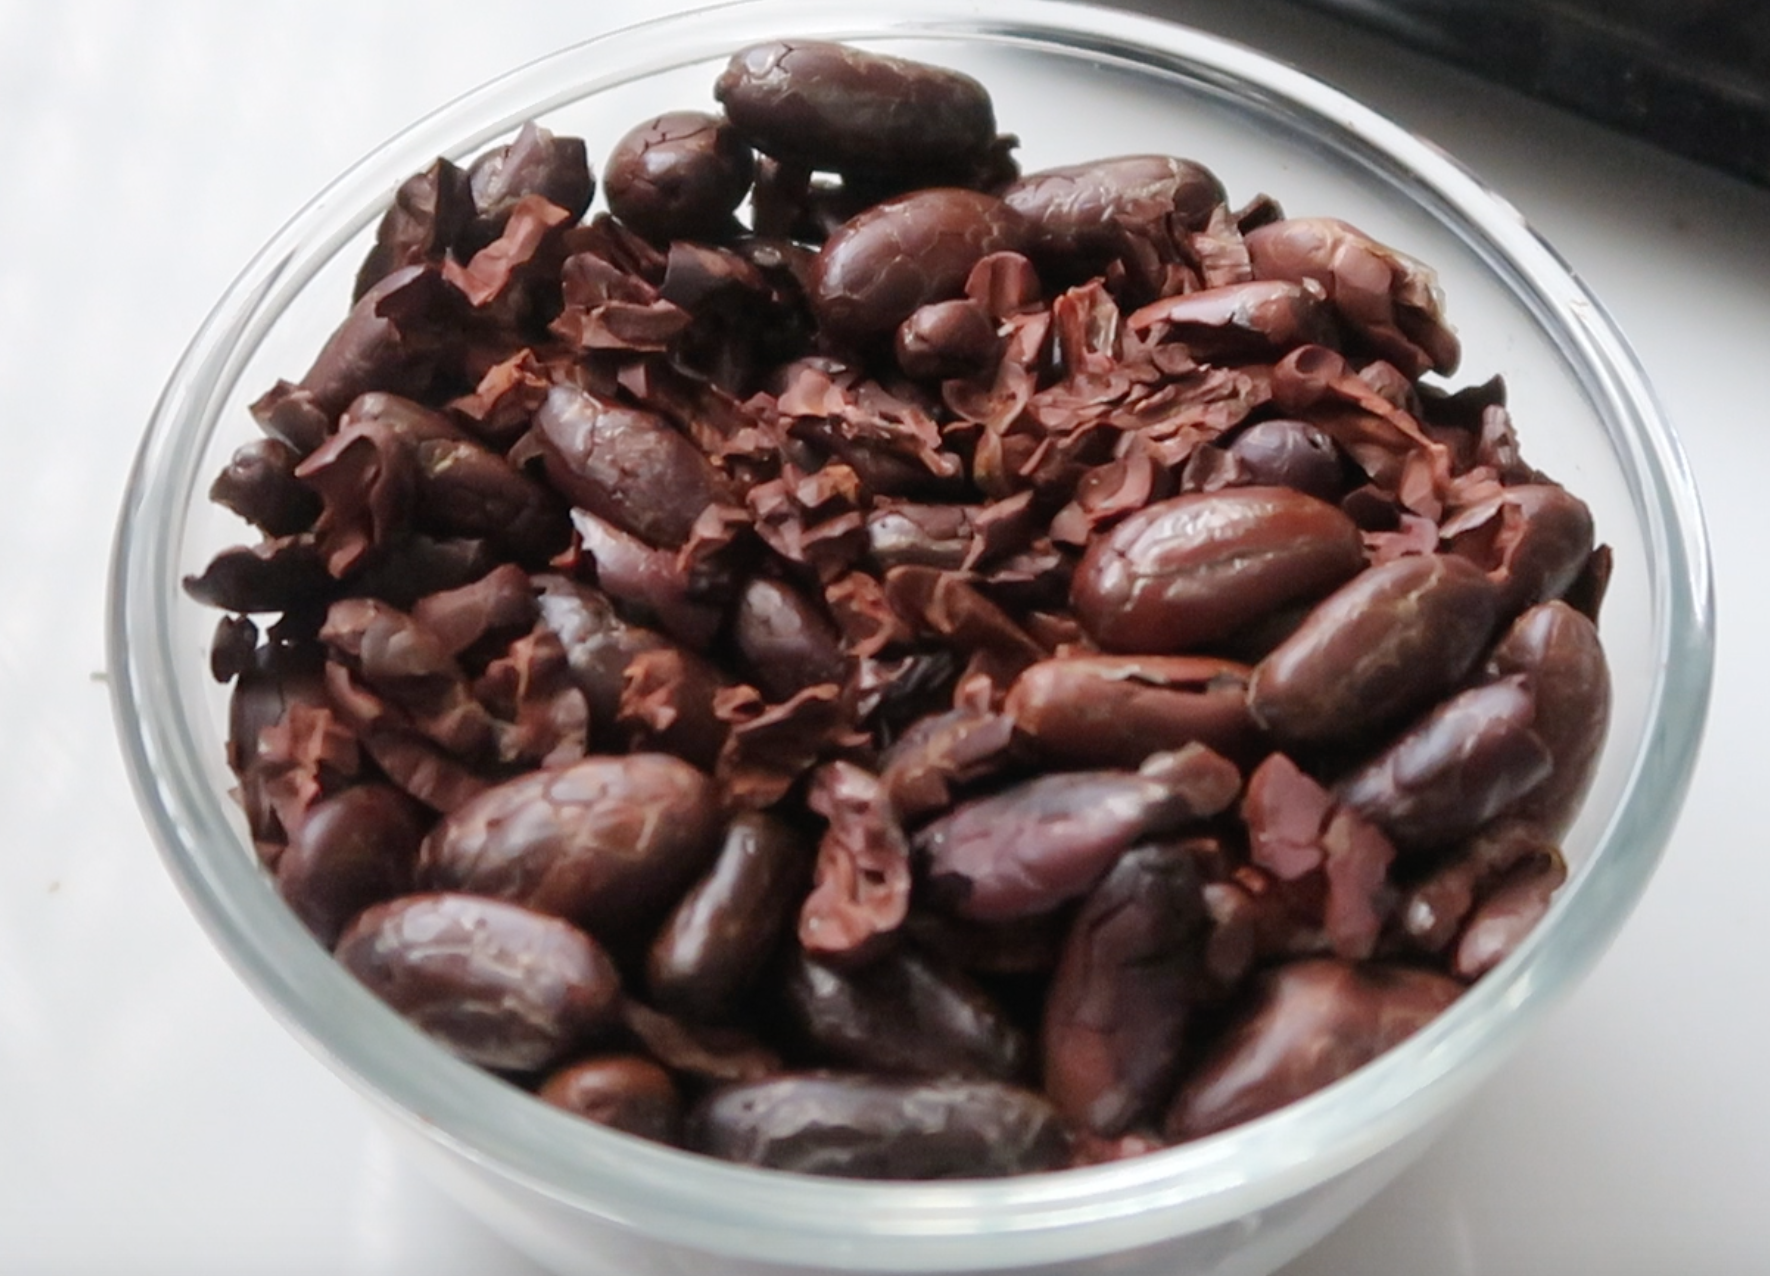
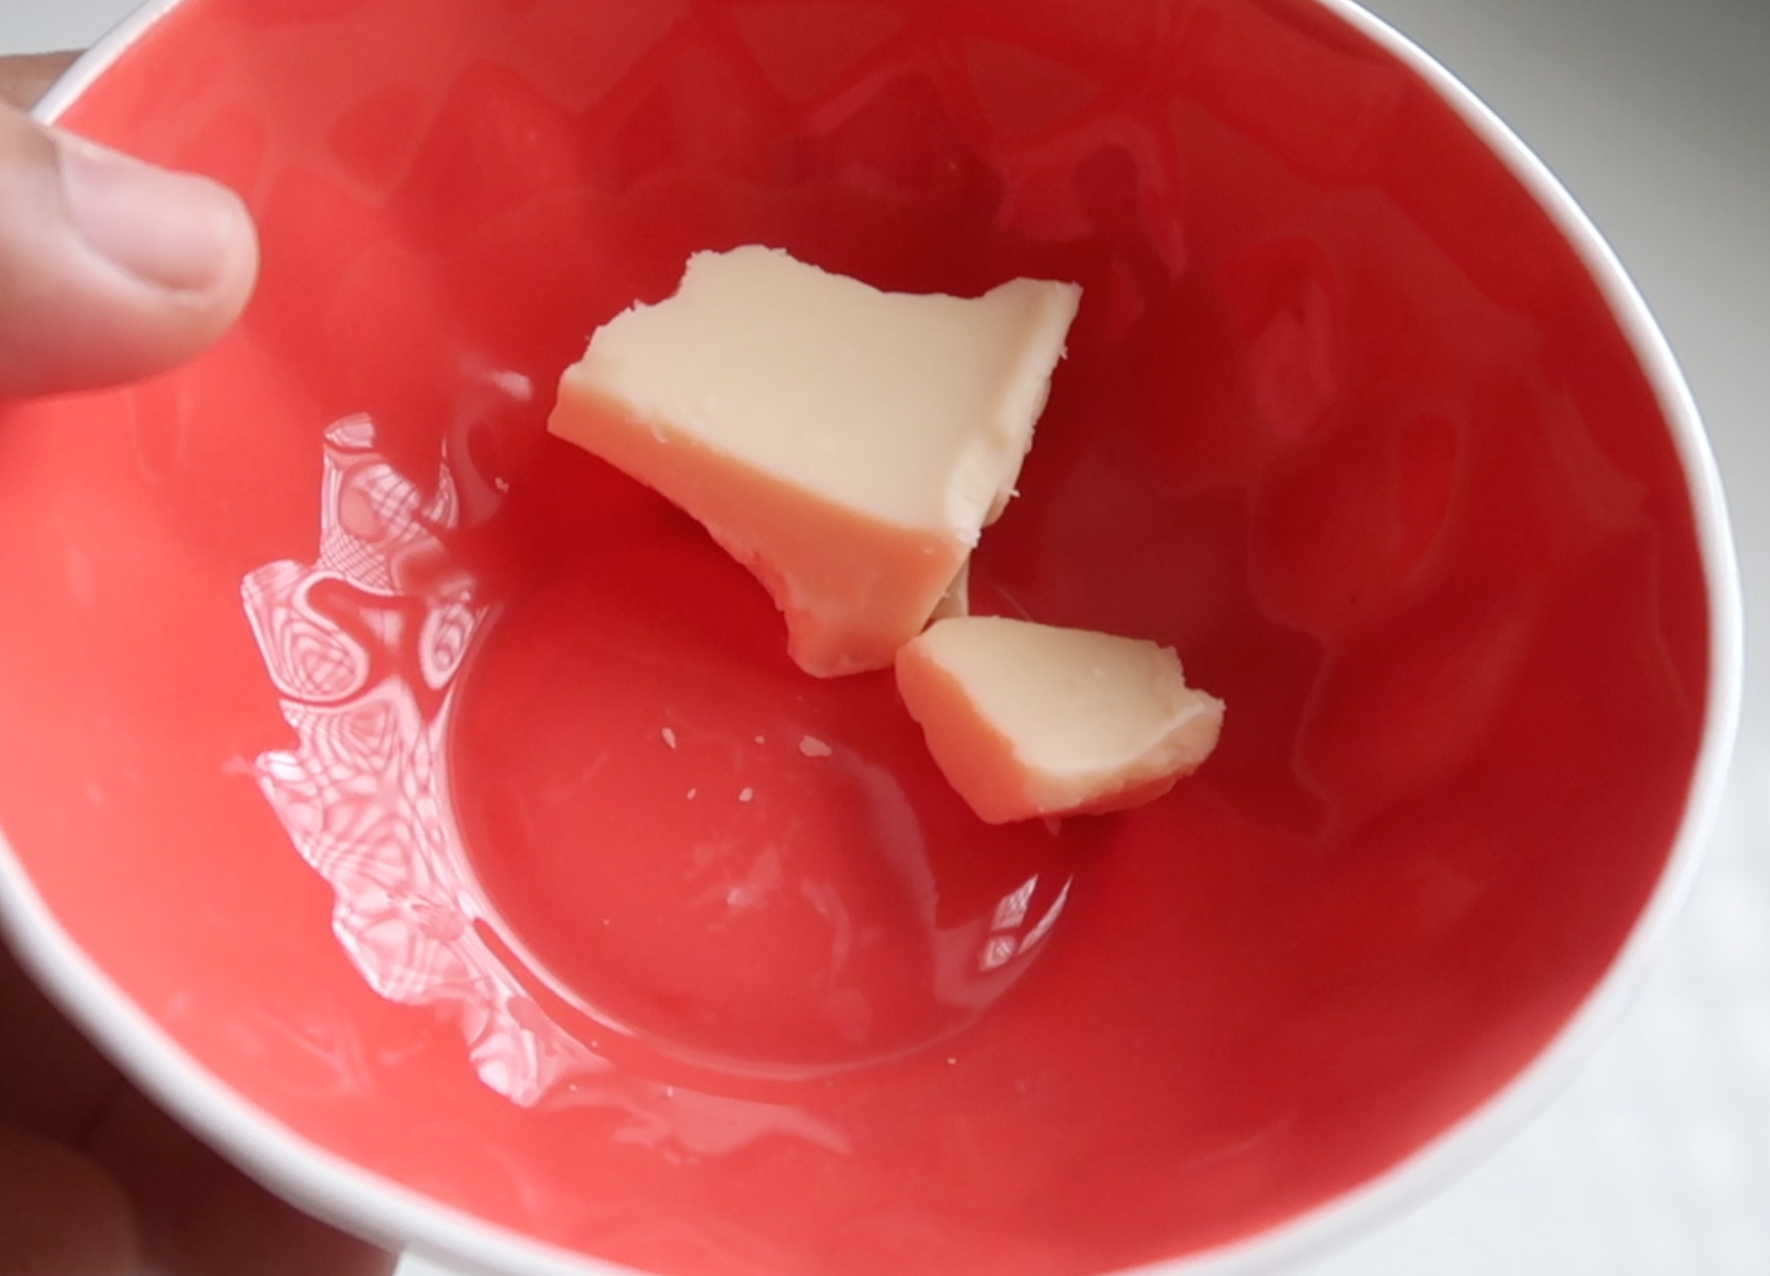
12)Melt the cocoa butter in either microwave or double boiler till it is melted completely. Set aside.
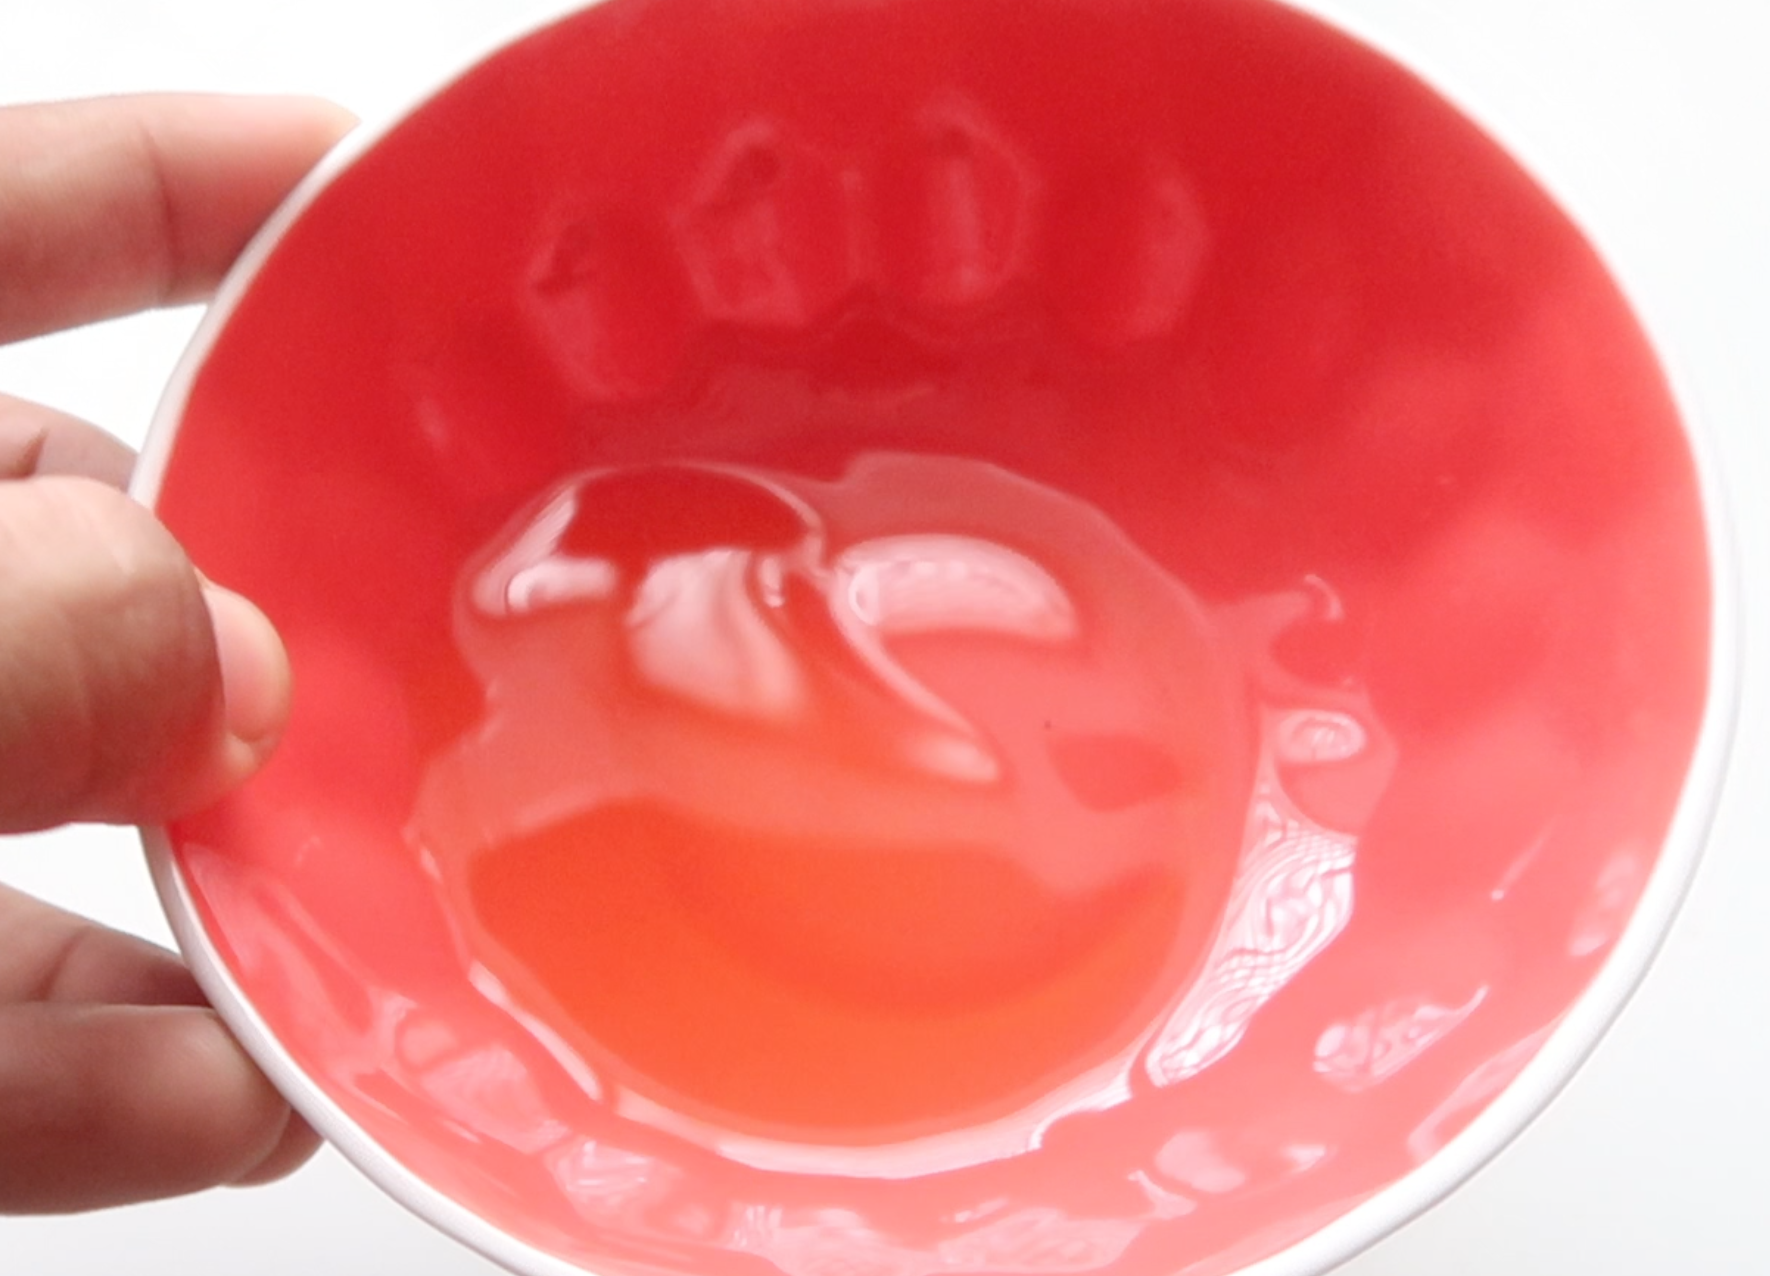
13)Now lets make the chocolate. Add the cocoa nibs in a blender.
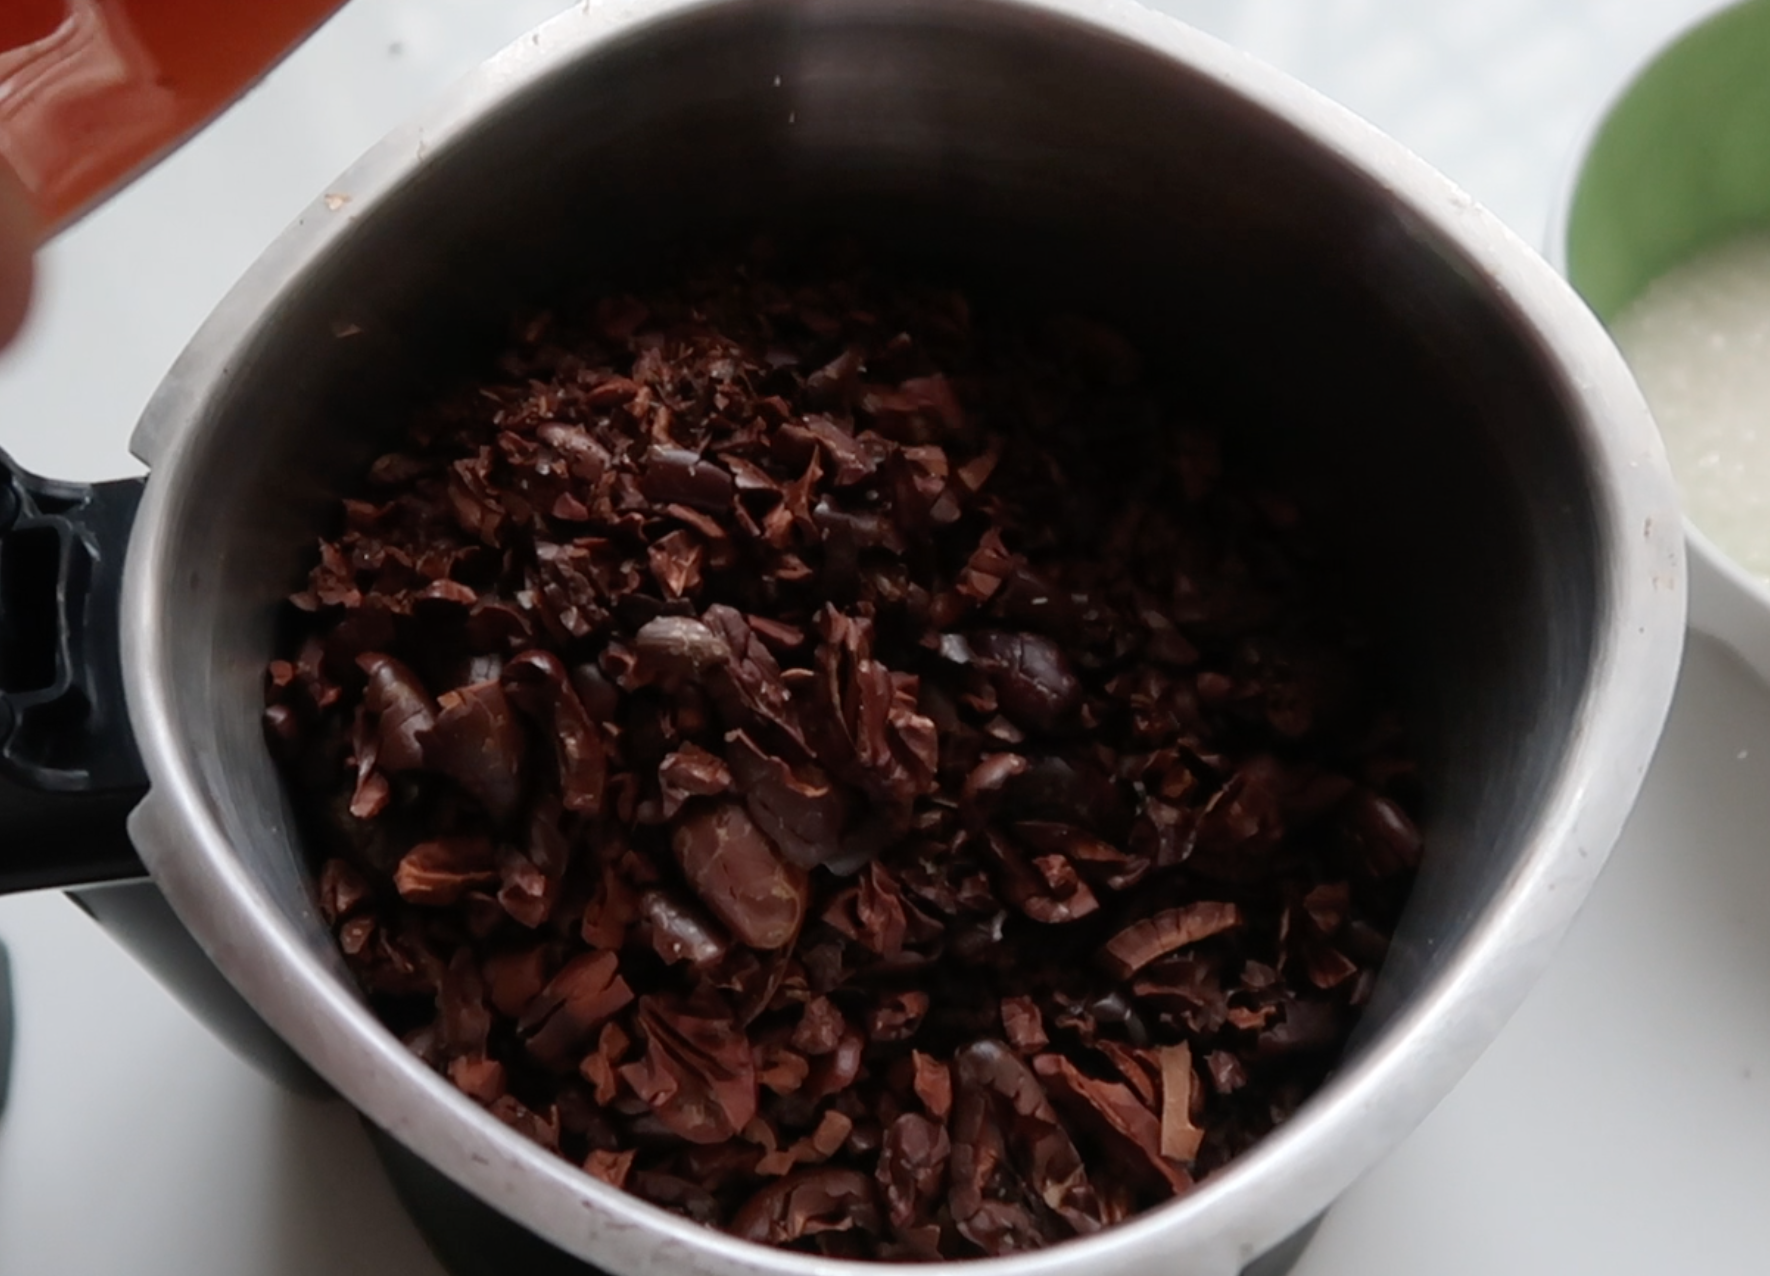
14)and sugar to your blender or high powered food processor and begin to blend.
15)At first you’ll end up with a chocolate paste.
16)At this point add in melted cocoa butter.
17)continue blending on very low speed for at least 25 to 30 mins in intervals.
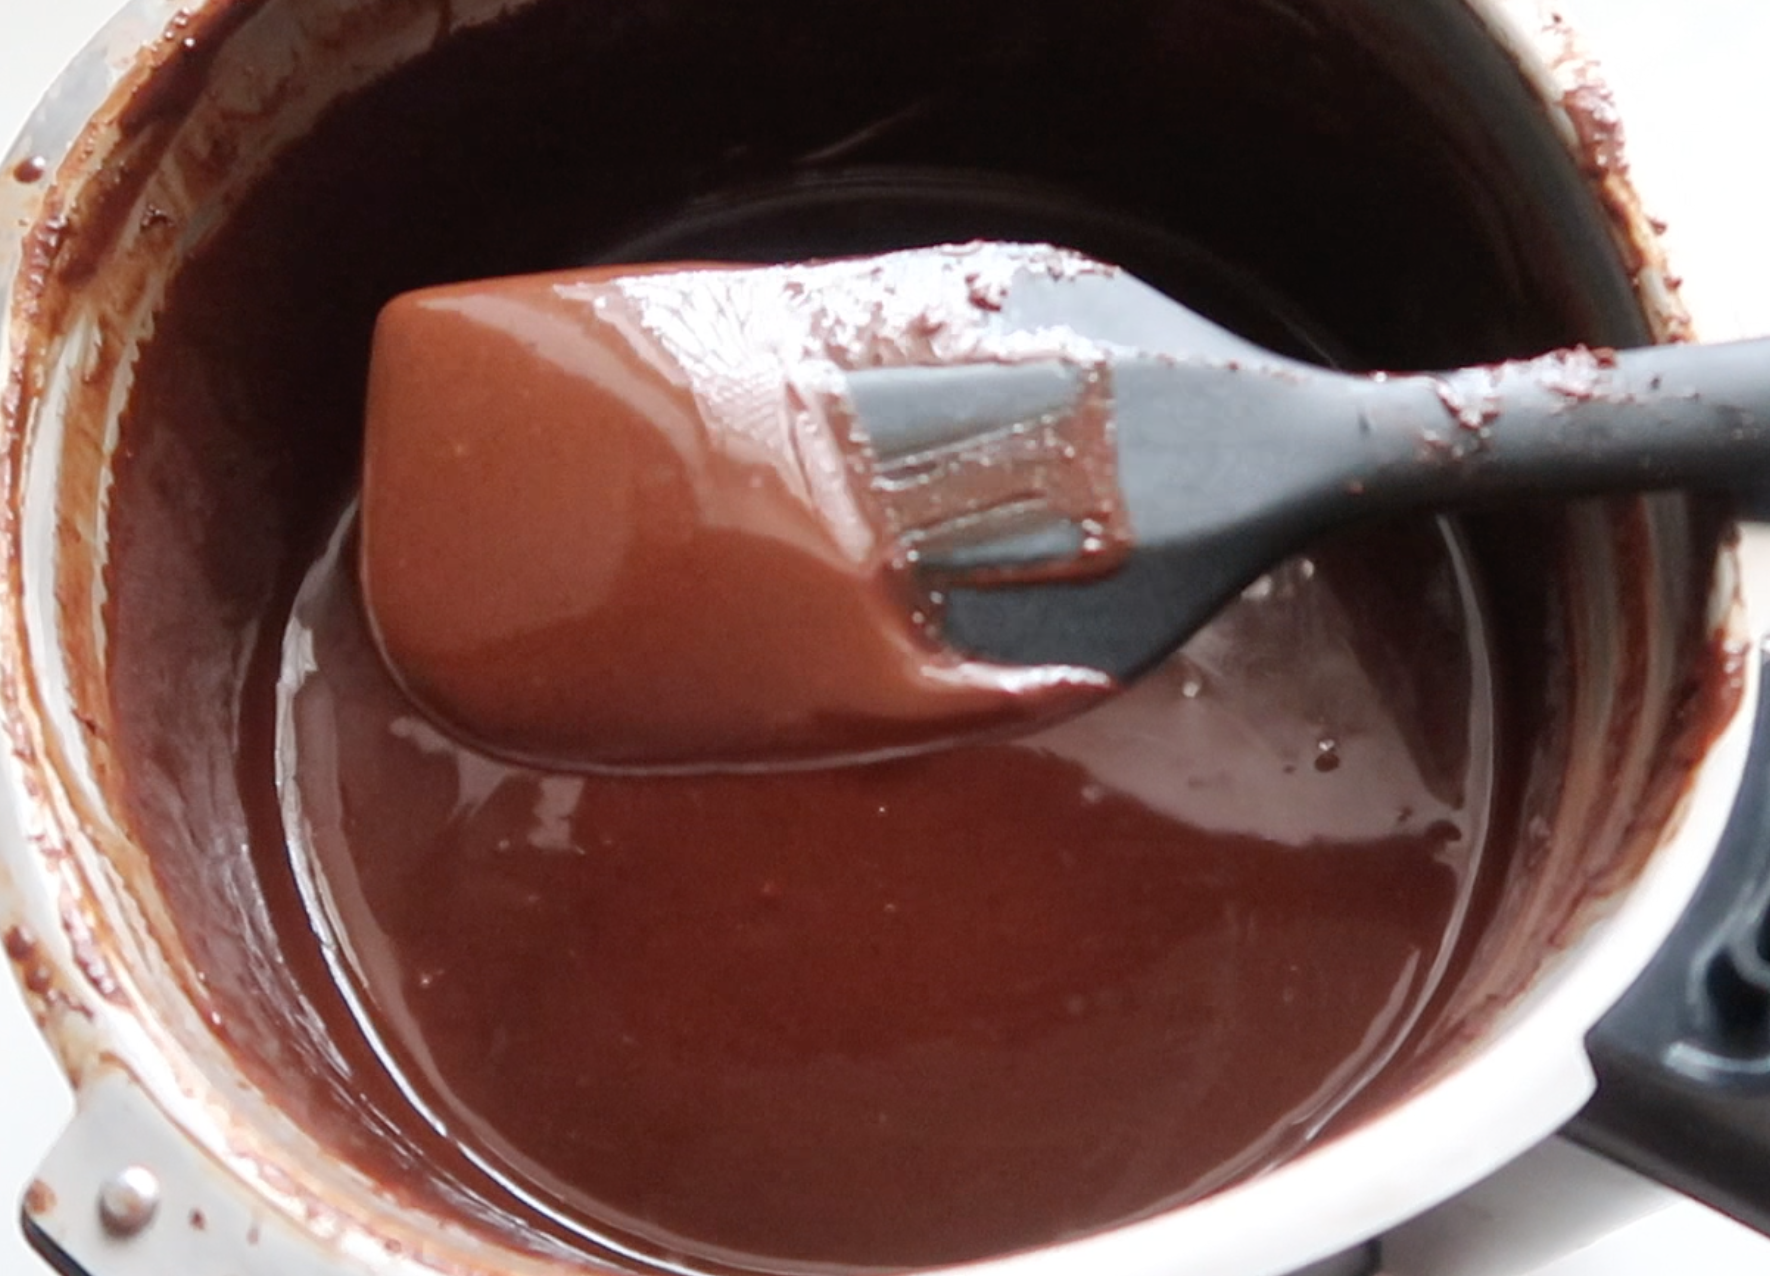
18)Now the chocolate will be super smooth.
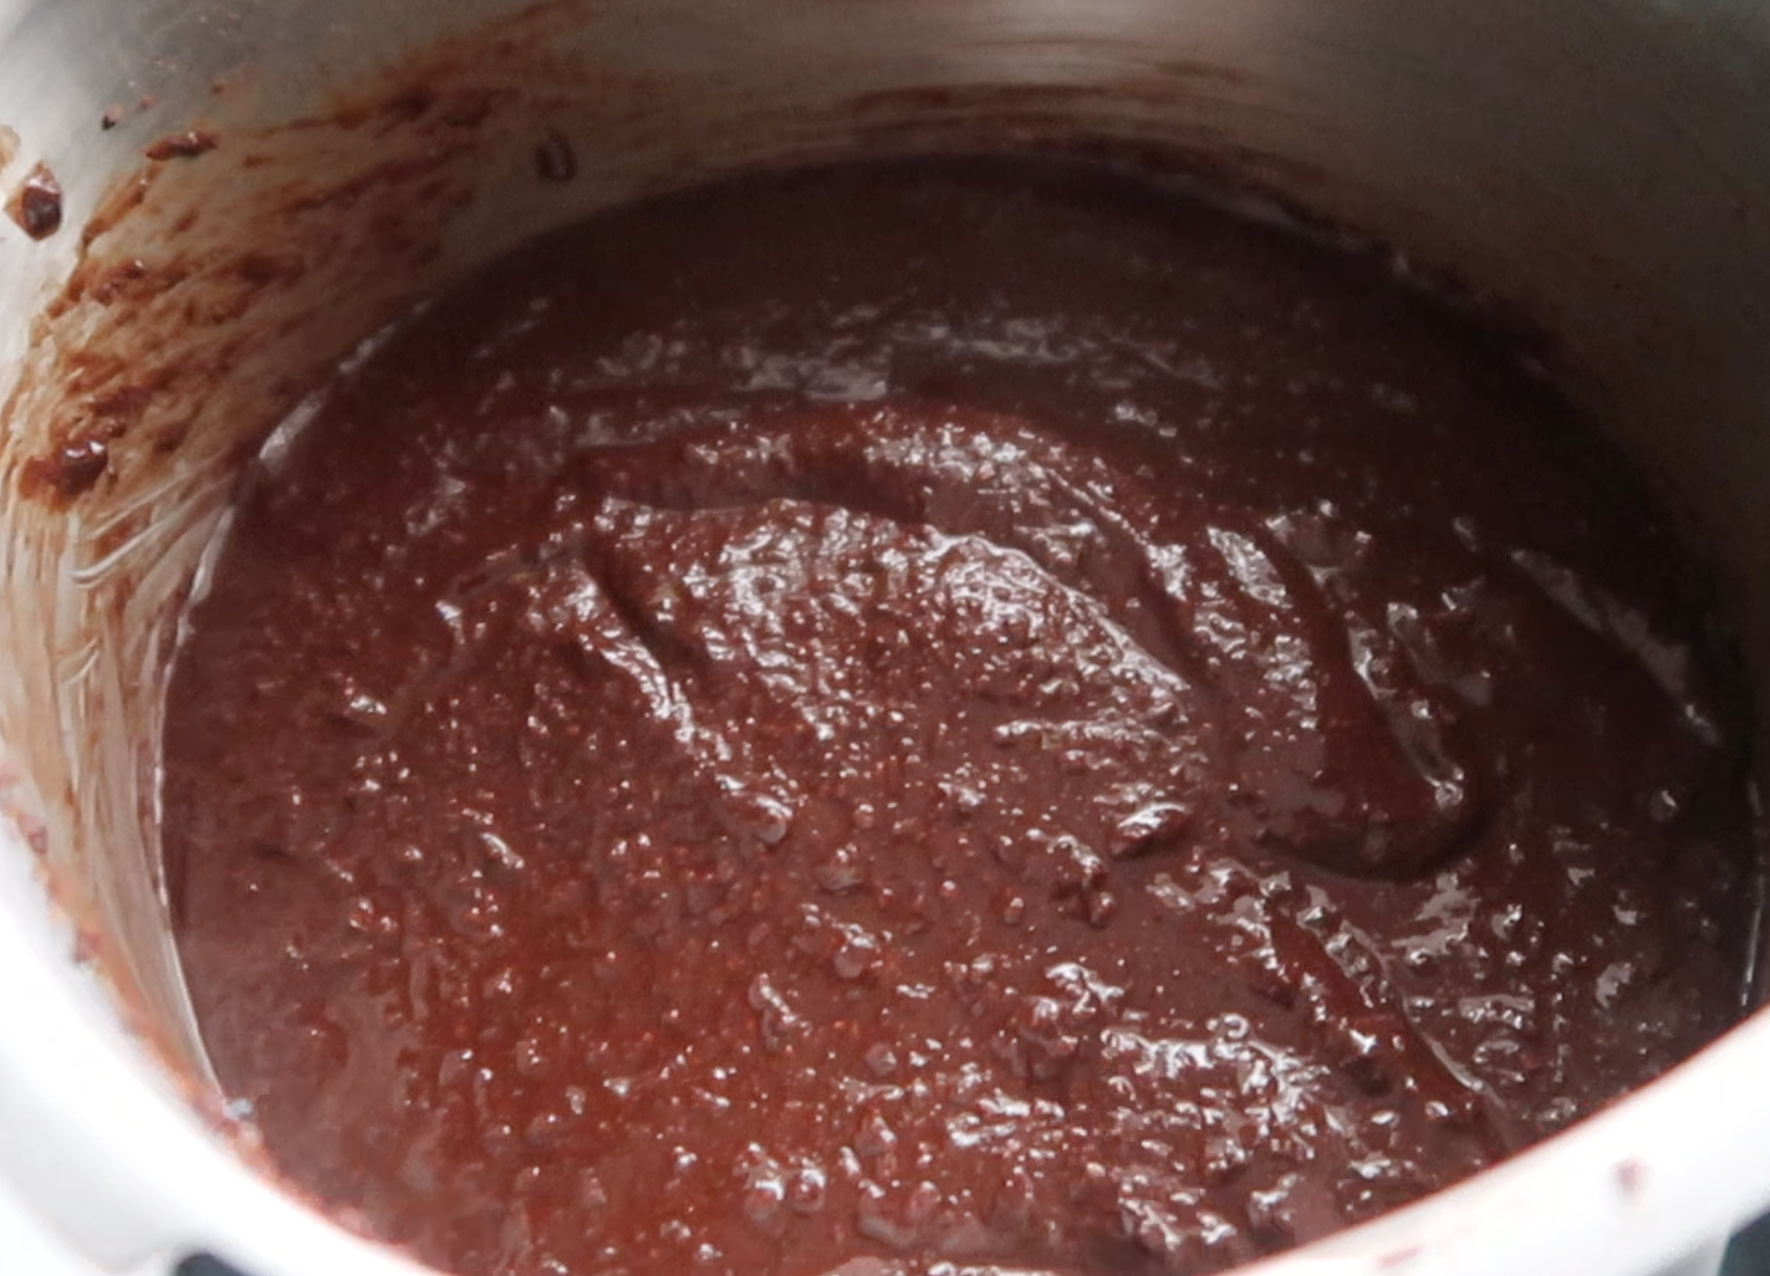
19)smooth chocolate.
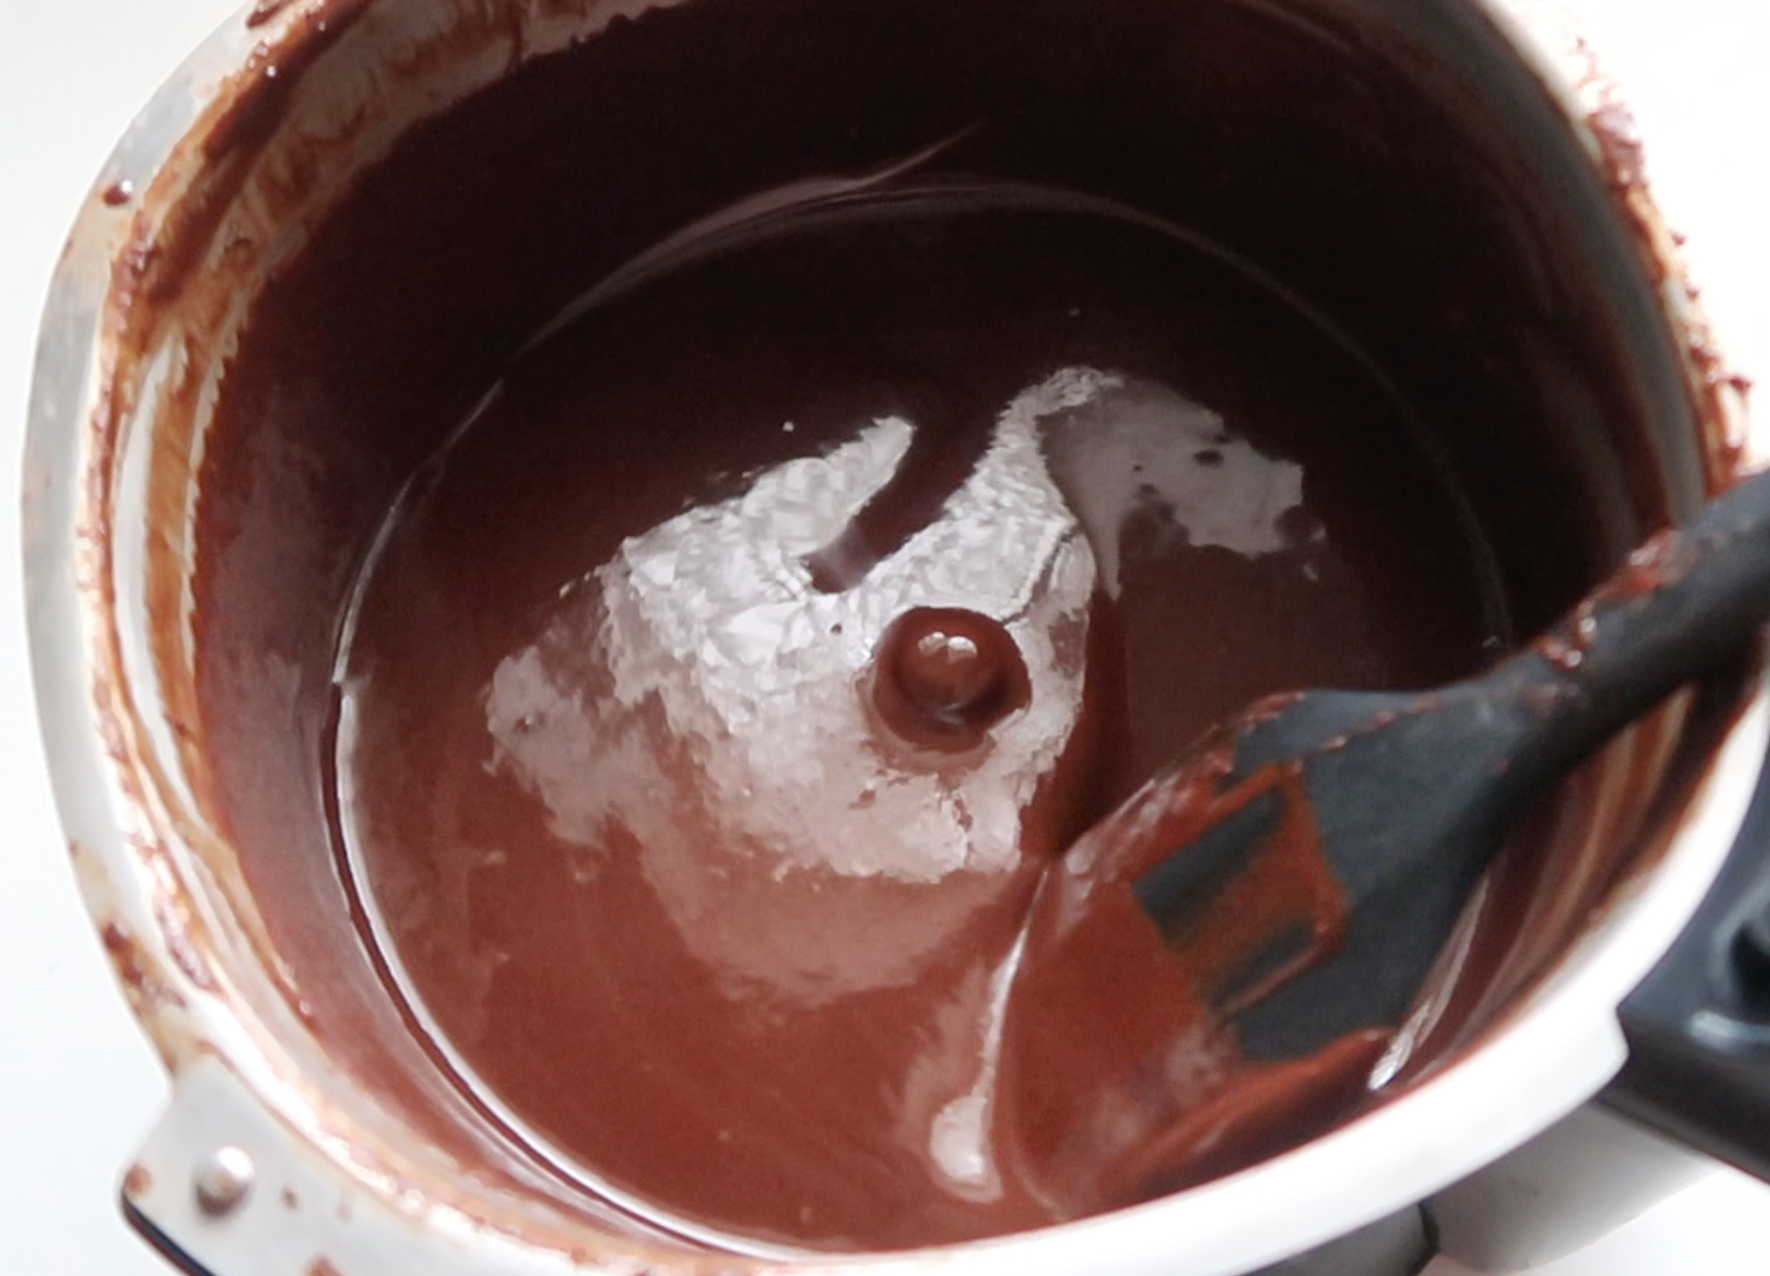
20)Pour the chocolate into moulds and let it set at room temp or in fridge for 1 hour.
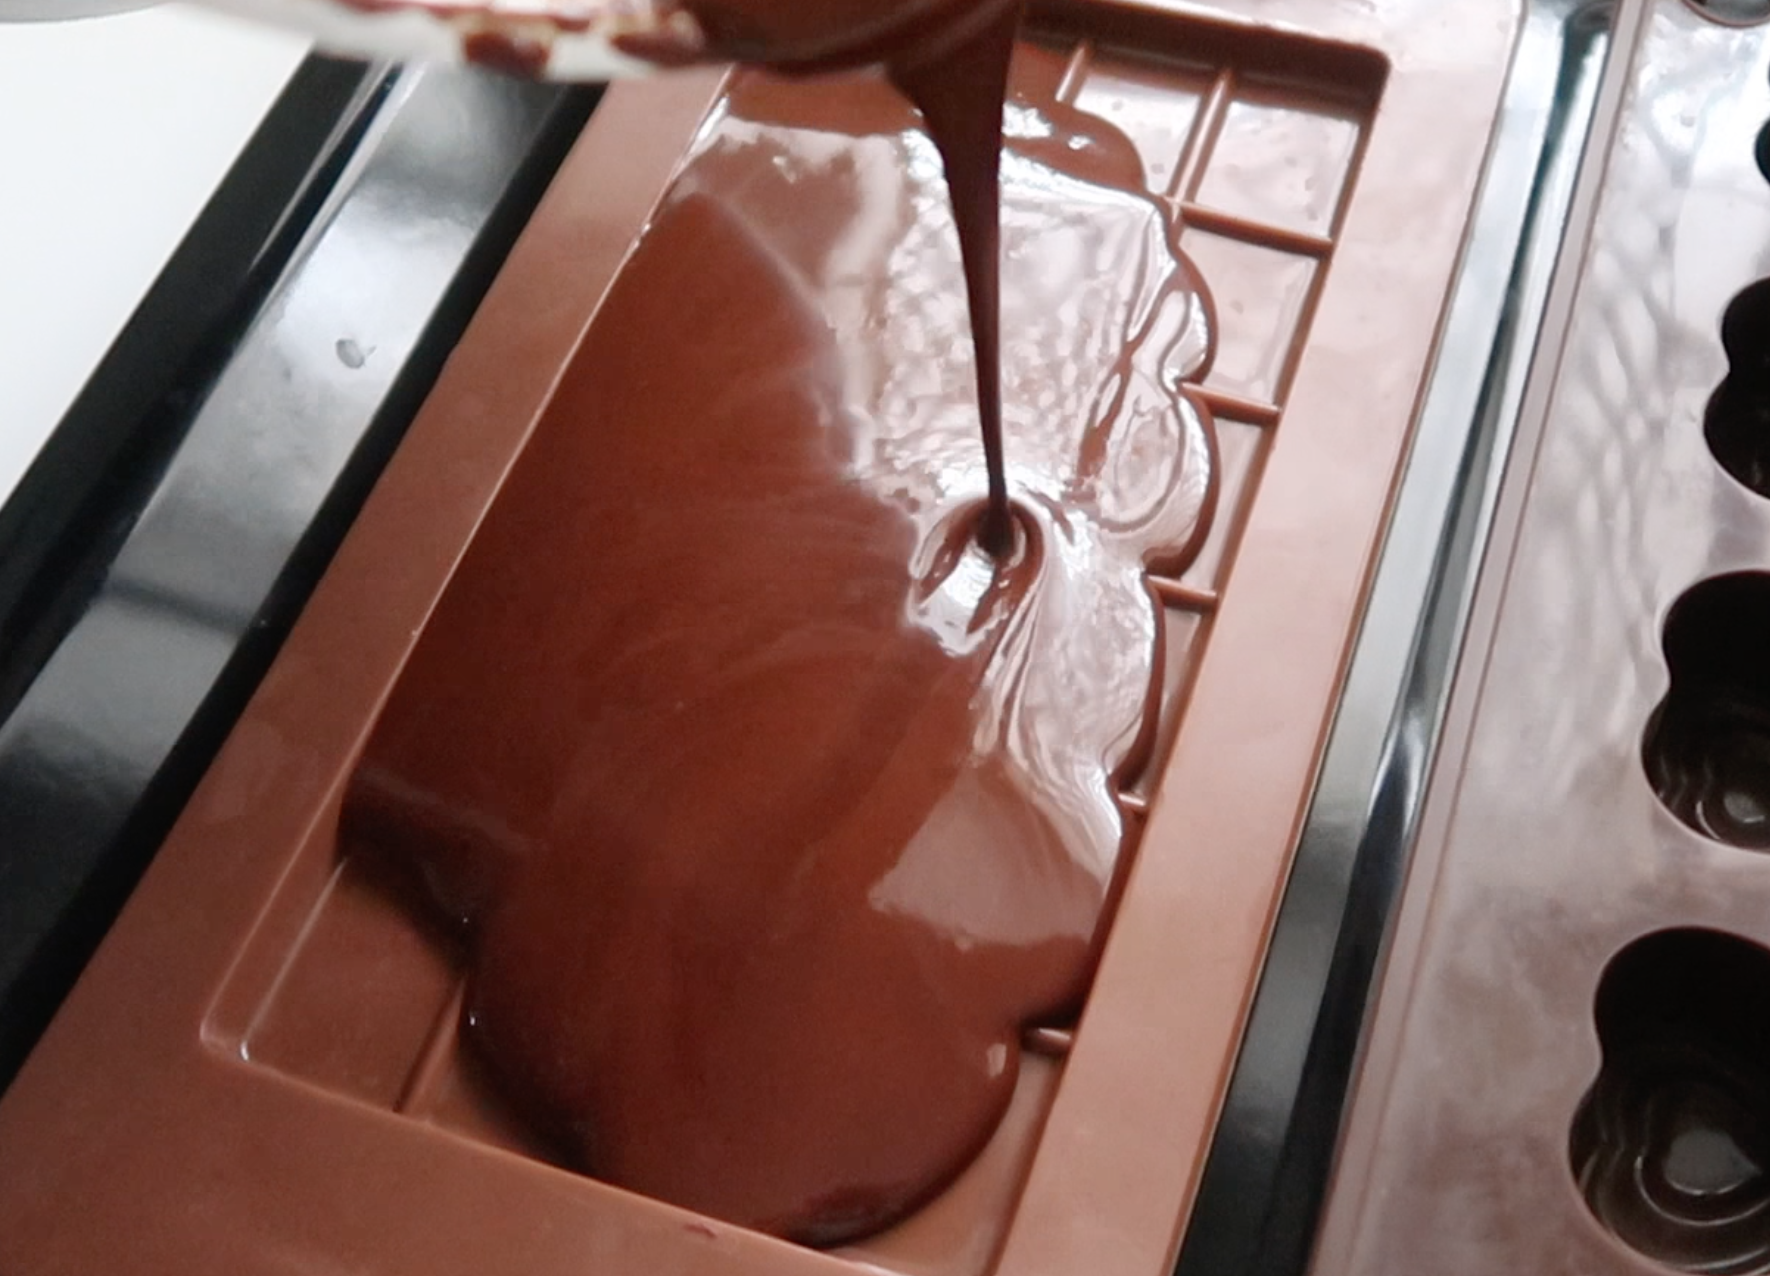
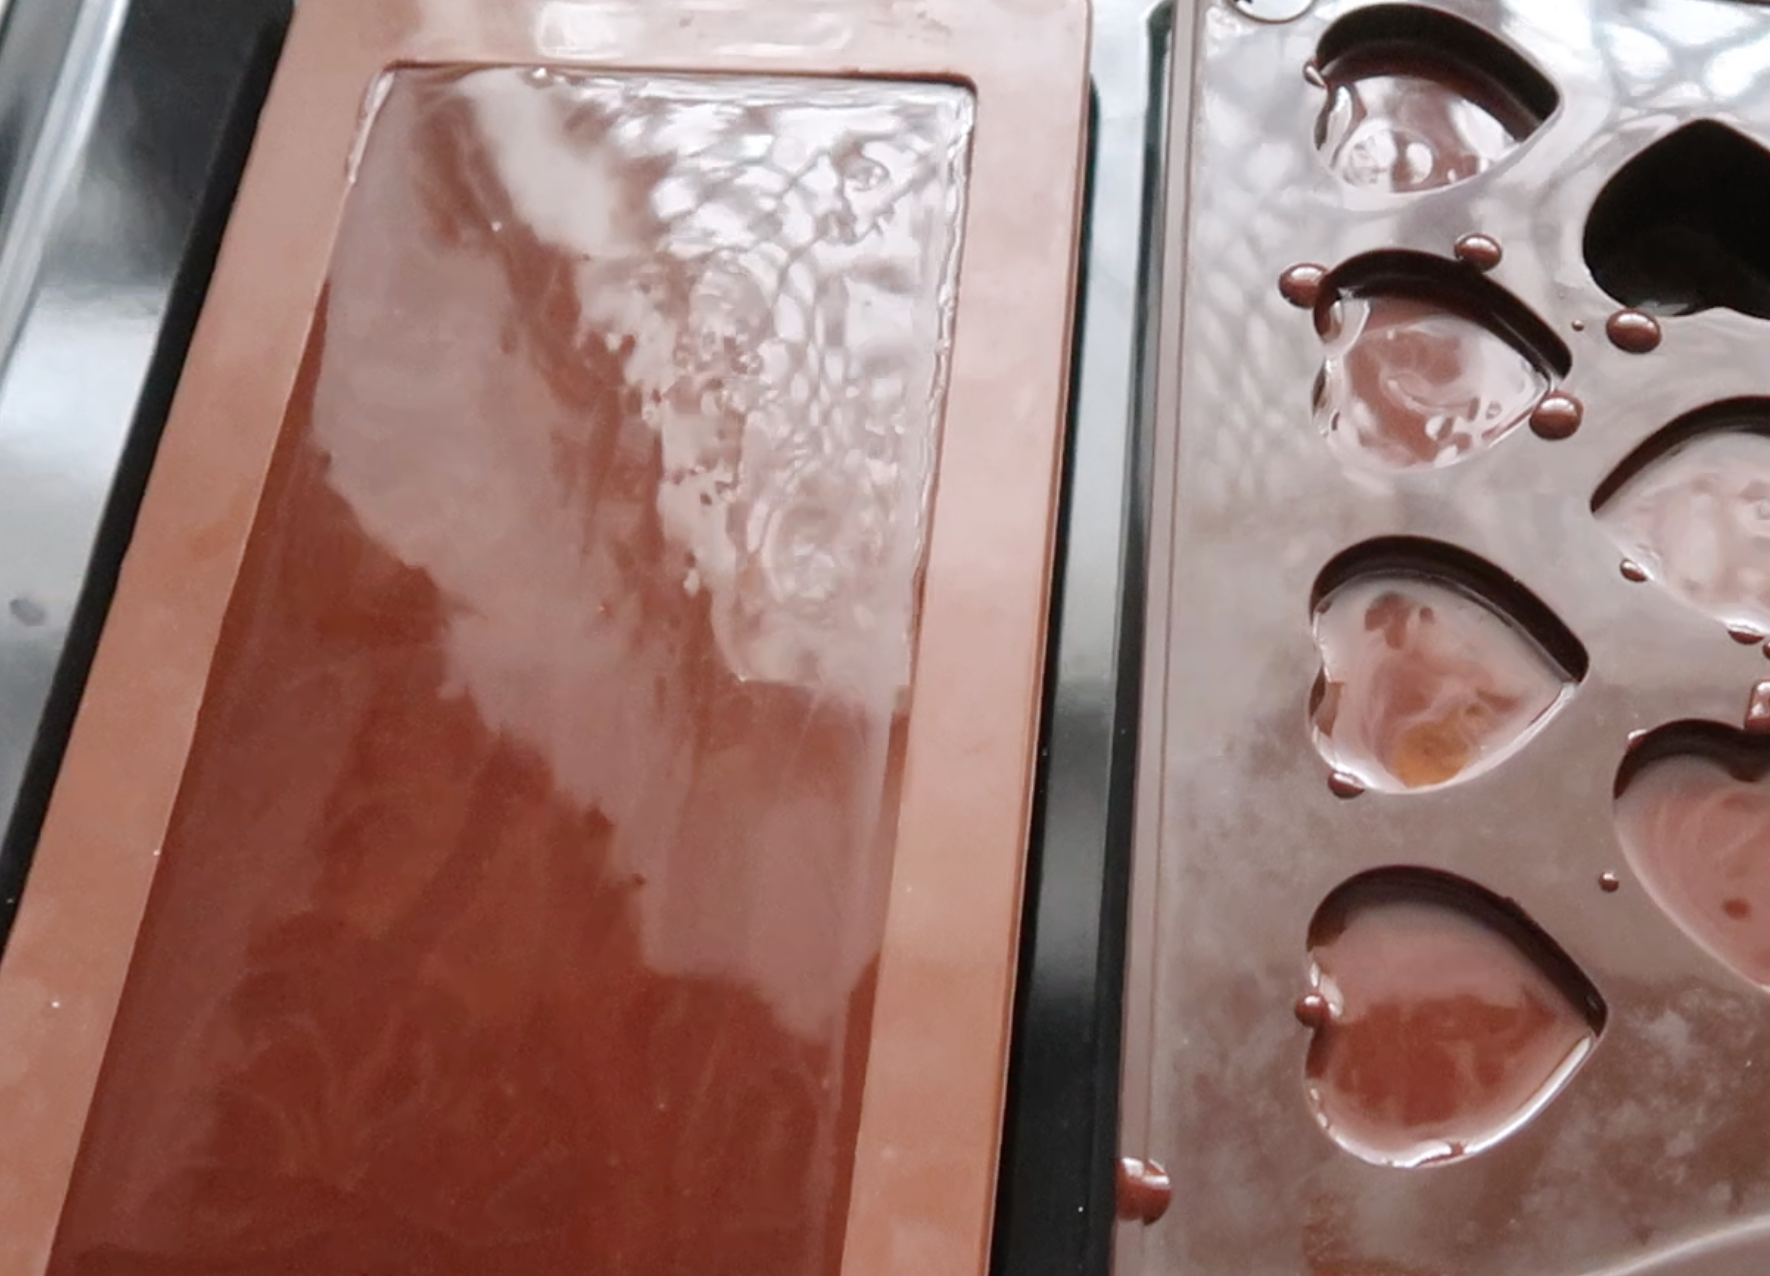
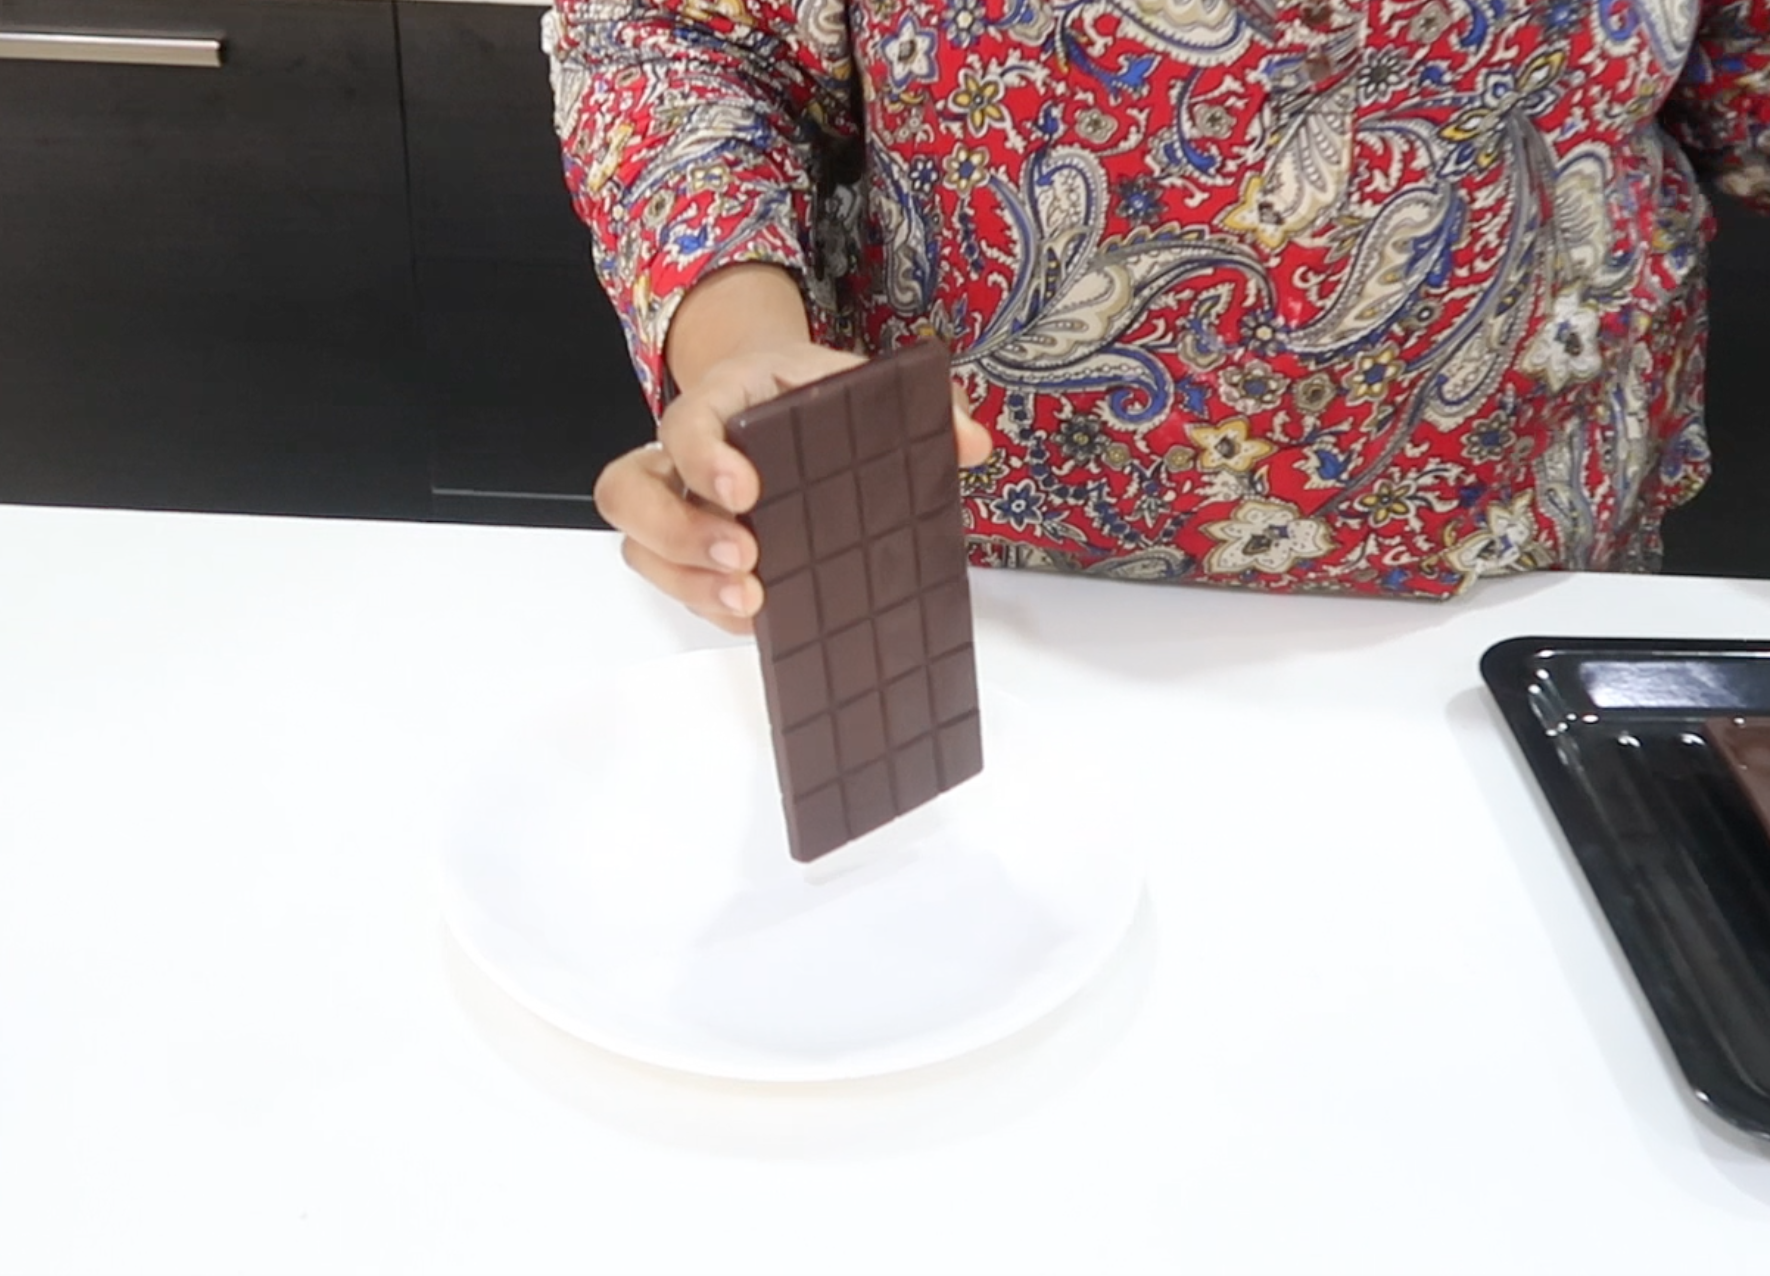
21)Un mould and serve.
Tips & Tricks
- Roasting of the beans add so much flavour. So you can roast it longer if you want more nutty flavour.
- Instead of buying, fermenting and roasting the beans to get the nibs. You can buy good quality cocoa nibs from the market and use.
- Don’t add too much cocoa butter which will affect the texture and make the chocolate melt faster.
Frequently Asked Questions
Can I use Coconut Oil instead of Cocoa Butter?
Yes u can use coconut oil instead of cocoa butter. Try to use flavourless coconut oil for making chocolates.
Can I use store bought cocoa nibs?
Yes store-bought cocoa nibs can be used. If you choose to roast your cocoa nibs, roast them in the oven at 150ºC/300ºF for 10-15 minutes.
Can I use artificial sweeteners or honey to sweeten my chocolate?
Artificial powdered sweeteners can be used but honey or maple syrup cannot be used since it will affect the texture of the chocolates.
If you have any questions not covered in this post and if you need help, leave me a comment or mail me @[email protected] and I’ll help as soon as I can.
Follow me on Instagram, Facebook,Pinterest ,Youtube and Twitter for more Yummy Tummy inspiration.



Elliot
So yum 😋
Elliot
So amazing 🤩😁😁😁😁😁😁😁😁🤩
Elliot
Love the idea of making it 👍🧇