
Garlic Soup Sticks Recipe with step by step pictures. This Breadsticks recipe is a perfect and tasty evening snack recipe made with leftover bread slices.
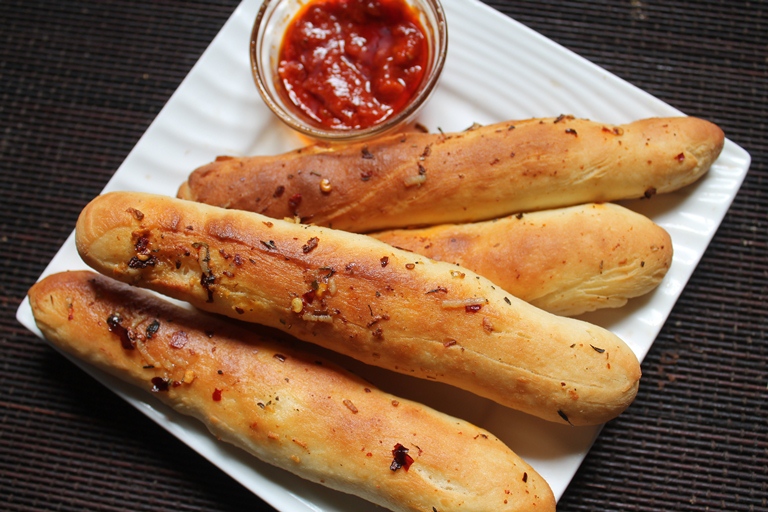
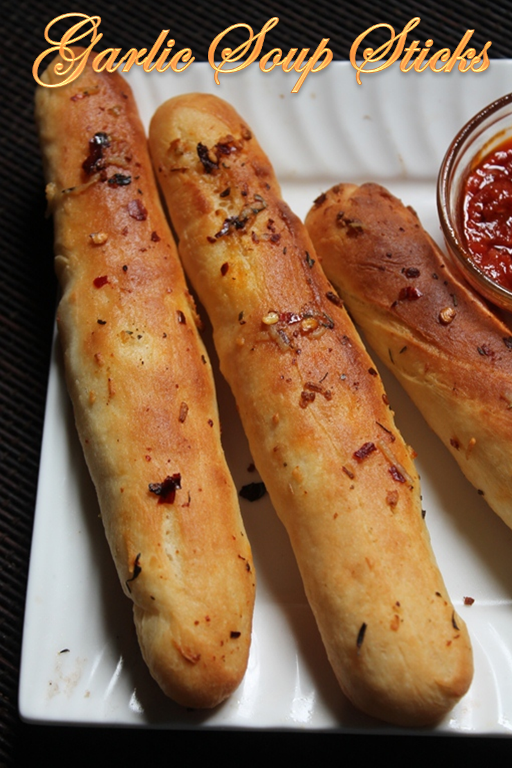
Garlic Soup Sticks
I have been in baking mood..When i succeeded in baking my dominos style garlic breadstick recipes, i wanted to bake many other soup sticks. So yesterday i decided to make some delicious bread recipes.
Similar Recipes,
Garlic Bread
Cheesy Garlic Bread
Dominos Cheese Burst Pizza
Real Dominos Cheese Burst Pizza
Oregano Seasoning Mix
Basic Cheese Sauce
Dominos Stuffed Garlic Bread
Ingredients for Garlic Soup Sticks
- All Purpose Flour / Maida - 3 cups + more as needed
- Dried Yeast - 1 tbsp
- Sugar - 1 tbsp
- Salt to taste
- Olive Oil or Cooking Oil - 2 tablespoon + 1 tbsp
- Luke Warm Milk - 1 cup + ¼ cup
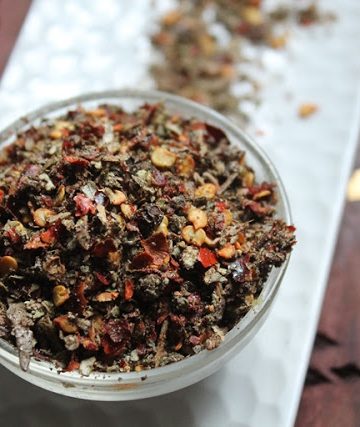
For Garlic Oil:
- Unsalted Butter - ½ cup
- Oil - ¼ cup
- Garlic - 2 tablespoon grated
- Italian Seasoning or Oregano - 1 tbsp
- Red Chilli Flakes - 2 tsp
- Salt to taste

When i was surfing pinterest, i found some many recipes for soup sticks and cheese bombs which caught my eyes and i decided to make some. I made a double batch of the dough and made garlic cheese bombs and this bread sticks using that. This stick turned out really great and my 2 year old loved it.

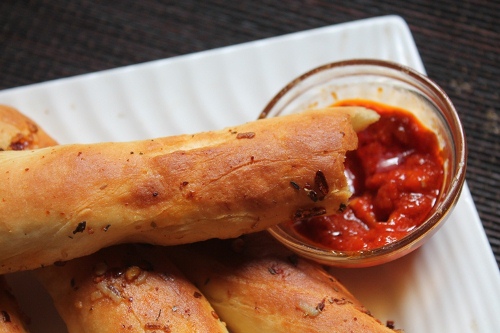
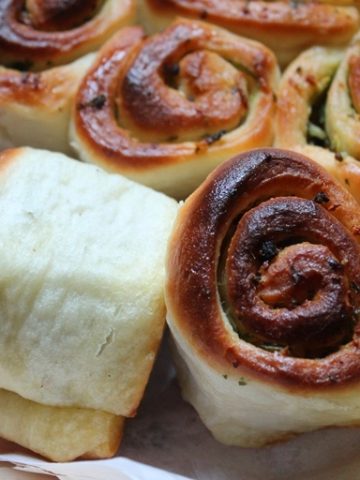
This soup stick is so easy to make and it taste great warm when served with tomato sauce or any sauces. It can be served along side with soups. This soup sticks is full of garlic and herb flavour and it turns out soft.
How to Make Breadsticks Recipe
- First lets make the dough. Take yeast and sugar in a bowl.
- Add in ¼ cup of warm milk and mix well. Let it sit for 5 mins till it is activated and foamy.
- Now take flour, salt, olive oil in a large bowl. Mix well.
- Pour the yeast mix and remaining milk and knead it to a soft dough.
- Add 1 tablespoon of oil and knead to a soft dough for 10 mins till it is soft and smooth.
- Now cover the dough with plastic wrap and let it rise in a warm place for 1 to 2 hours till it is doubled in size.
- Now lets make the garlic oil. Take all the ingredients for the oil and heat gently till the butter is melted. Remove it from heat and set aside.
- Take the dough. Punch back the air from the dough and knead one more time.
- Take a small portion from dough, roll it into a log and cut into pieces.
- Now take a ball and roll it out like a stick.
- Take a baking pan and brush it with the oil. Arrange the soup stick over it and let it rise for 10 to 15 mins.
- While the sticks is rising, preheat oven to 200 degree C.
- Now brush the top with the herb oil and bake them.
- Now bake it for 10 to 15 mins until golden. Remove it and brush with the oil if needed.
- Serve warm.

If you have any questions not covered in this post and if you need help, leave me a comment or mail me @aarthi198689@gmail.com and I'll help as soon as I can.
Follow me on Instagram, Facebook,Pinterest ,Youtube and Twitter for more Yummy Tummy inspiration.
IF YOU MAKE THIS RECIPE OR ANYTHING FROM YUMMY TUMMY, MAKE SURE TO POST IT AND TAG ME SO I CAN SEE ALL OF YOUR CREATIONS!! #YUMMYTUMMYAARTHI AND @YUMMYTUMMYAARTHI ON INSTAGRAM!
📖 Get Recipe

Garlic Soup Sticks Recipe | Breadsticks Recipe
Ingredients
- 3 cups + more as needed All Purpose Flour / Maida
- 1 tablespoon Dried Yeast
- 1 tablespoon Sugar
- Salt to taste
- 2 tablespoon + 1 tablespoon Olive Oil or Cooking Oil
- 1 cup + ¼ cup Luke Warm Milk
- For Garlic Oil:
- ½ cup Unsalted Butter
- ¼ cup Oil
- 2 tablespoon Garlic grated
- 1 tablespoon Italian Seasoning or Oregano
- 2 teaspoon Red Chilli Flakes
- Salt to taste
Instructions
- First lets make the dough. Take yeast and sugar in a bowl.
- Add in ¼ cup of warm milk and mix well. Let it sit for 5 mins till it is activated and foamy.
- Now take flour, salt, olive oil in a large bowl. Mix well.
- Pour the yeast mix and remaining milk and knead it to a soft dough.
- Add 1 tablespoon of oil and knead to a soft dough for 10 mins till it is soft and smooth.
- Now cover the dough with plastic wrap and let it rise in a warm place for 1 to 2 hours till it is doubled in size.
- Now lets make the garlic oil. Take all the ingredients for the oil and heat gently till the butter is melted. Remove it from heat and set aside.
- Take the dough. Punch back the air from the dough and knead one more time.
- Take a small portion from dough, roll it into a log and cut into pieces.
- Now take a ball and roll it out like a stick.
- Take a baking pan and brush it with the oil. Arrange the soup stick over it and let it rise for 10 to 15 mins.
- While the sticks is rising, preheat oven to 200 degree C.
- Now brush the top with the herb oil and bake them.
- Now bake it for 10 to 15 mins untill golden. Remove it and brush with the oil if needed.
- Serve warm.
Video

Nutrition
Tried this Recipe
Mention @yummytummyaarthi or tag #yummytummyaarthi!Breadsticks Recipe Step by Step
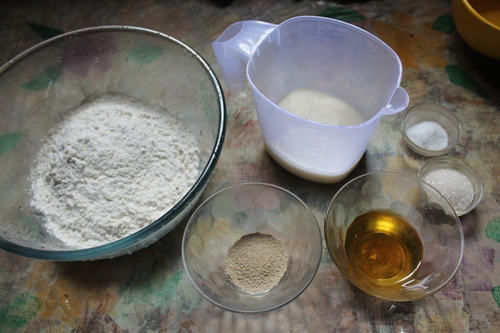 |
| Take all your ingredients |
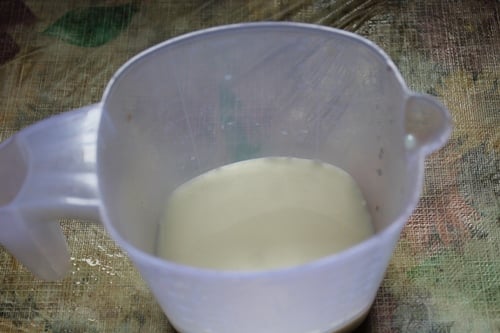 |
| You need some warm milk, make sure it is luke warm, if it is hot then the yeast wont activate |
 |
| Take yeast in a bowl |
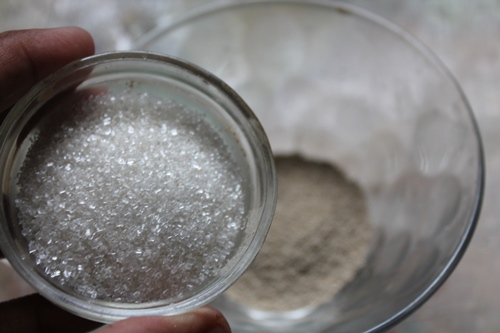 |
| add in some sugar |
 |
| pour little of the milk |
 |
| mix well |
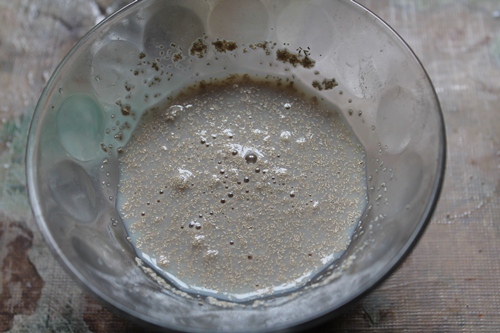 |
| set aside so it gets bubbly |
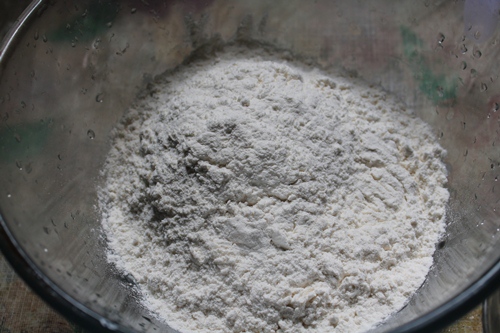 |
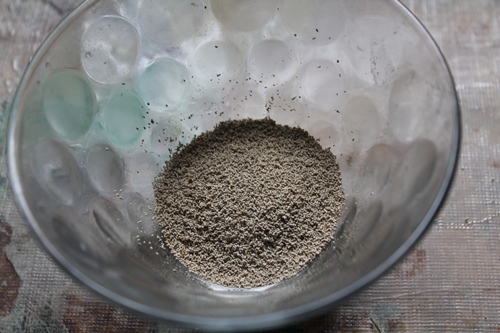
| now take flour in a large bowl |
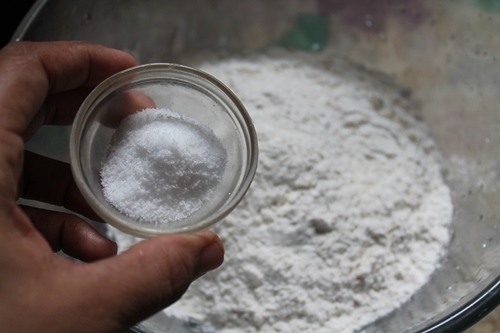 |
| add in salt |
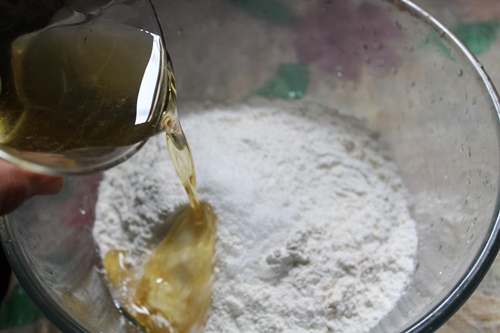 |
| add in oil |
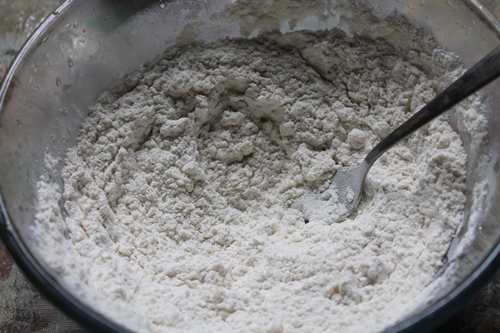 |
| mix well |
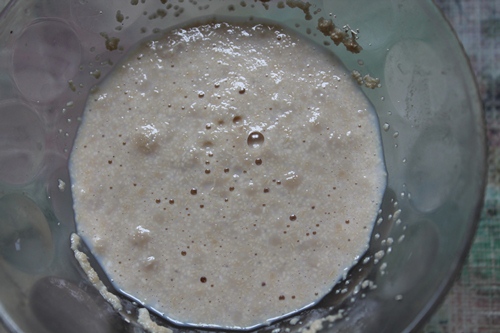 |
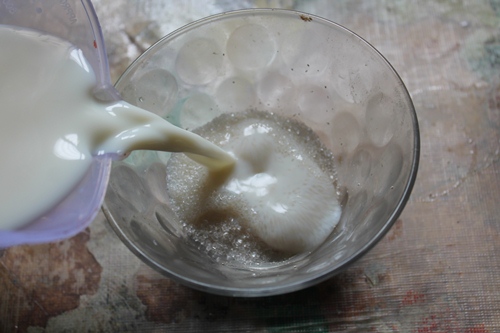
| now you can see the yeast has activated |
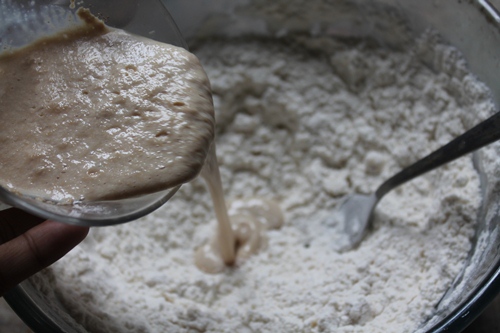 |
| pour it in |
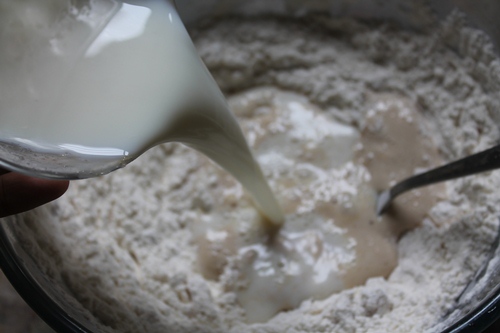 |
| pour the remaining milk |
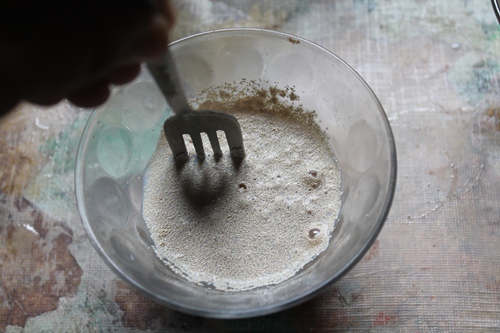
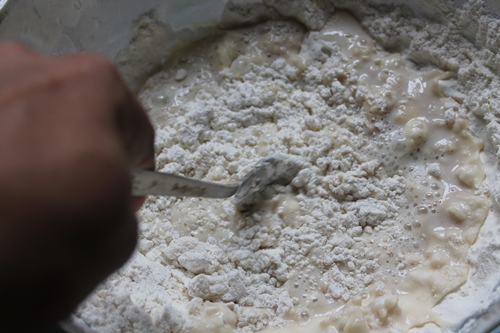 |
| use a spoon or fork to mix well |
 |
| it will start to form a dough |
 |
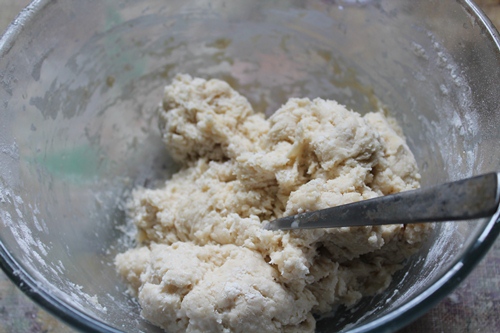
| now it has come together |
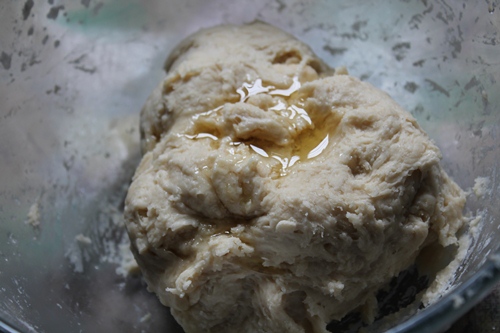 |
| drizzle some oil |
 |
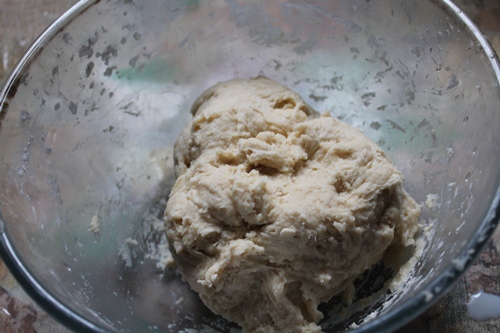
| knead well for 5 to 10 mins |
 |
| now you can see the dough has become non sticky and soft |
 |
| shape it into a ball..the dough has to be non sticky |
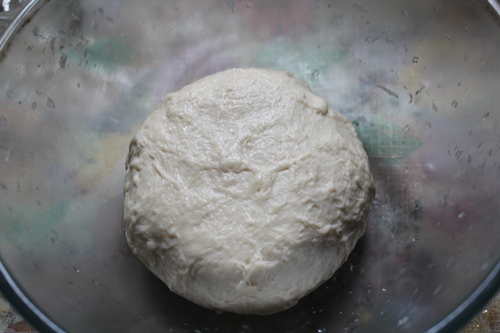 |
| place it in a bowl |
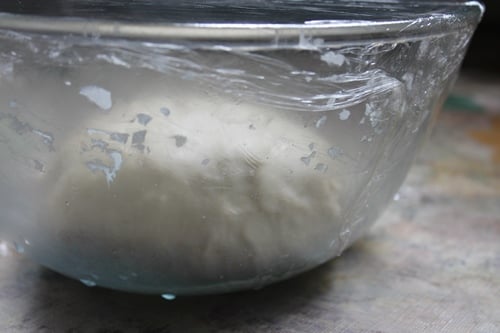 |
| cover with plastic wrap and let it rise for a hour till it is doubled in size |
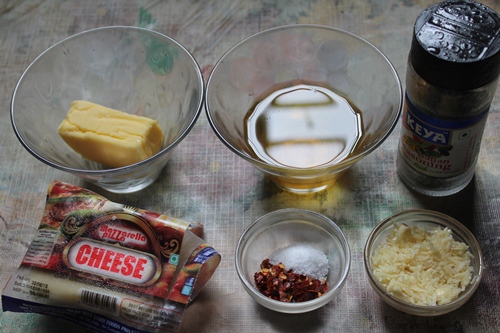 |
| Now lets make the delicious brushing oil.. You don't need cheese for this recipe..I put that because i made another recipe with that |
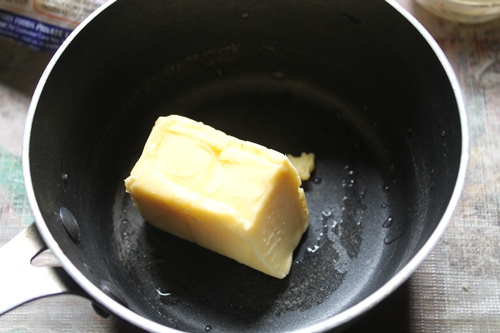 |
| take butter in a bowl |
 |
| add in some olive oil |
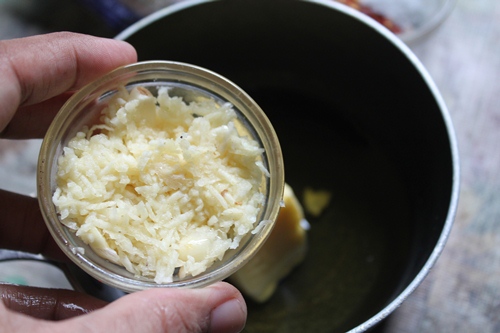 |
| add in lots of grated garlic.. |
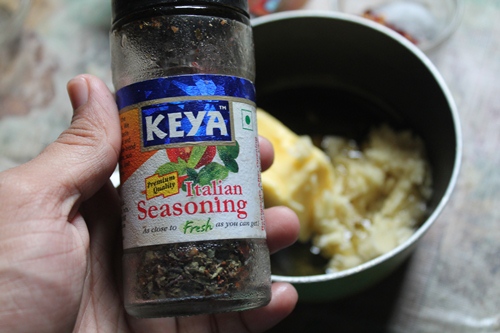 |
| some italian seasoning |
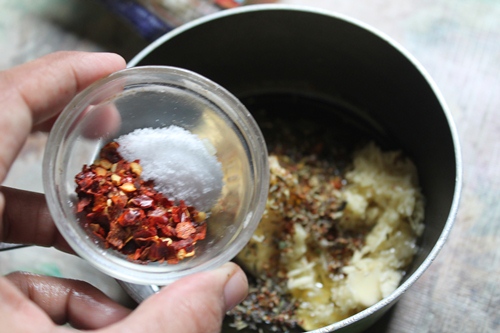 |
| add in chilli flakes and salt |
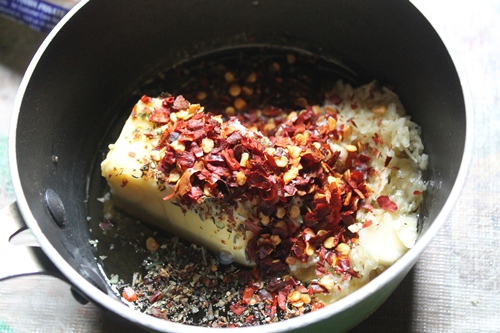 |
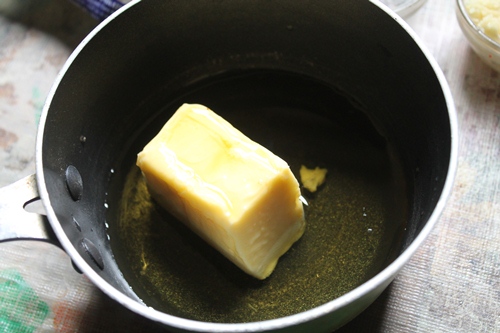
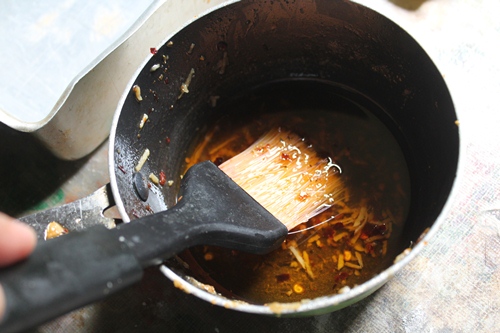
| Now lets heat this gently |
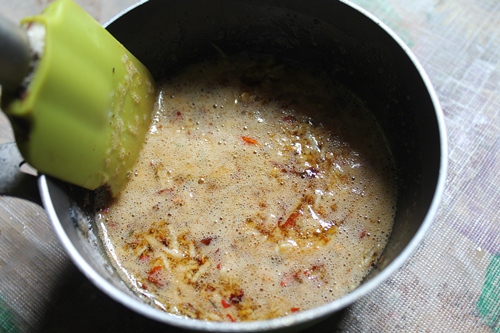 |
| i heated it till the butter is melted, then i took it off the heat and set aside |
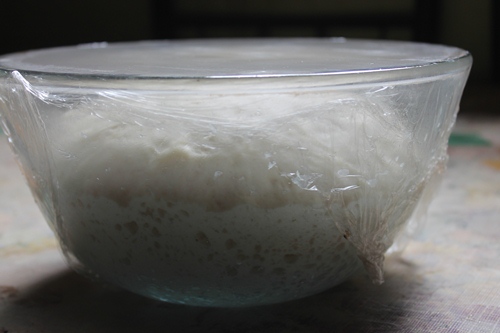 |
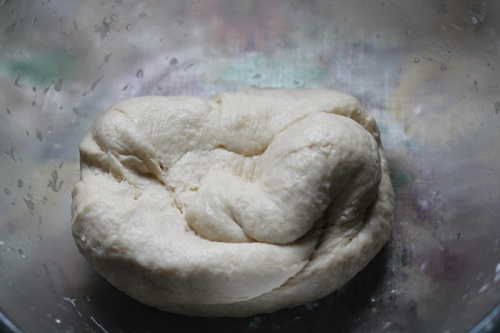
| now the dough has doubled in size |
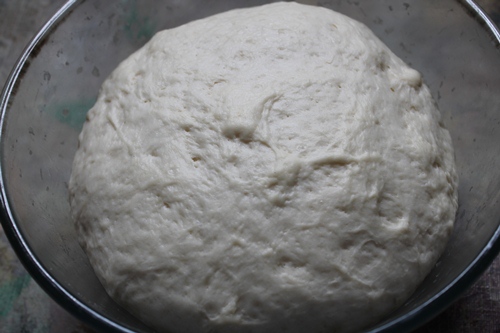 |
| look how airy it looks |
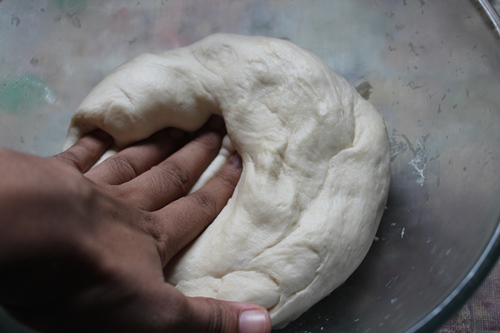 |
| punch back the air |
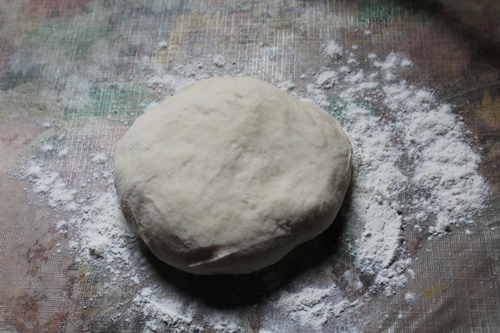 |
| take a portion of dough onto a well floured surface |
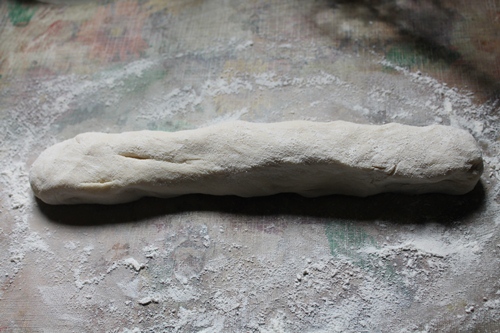 |
| roll it into a log |
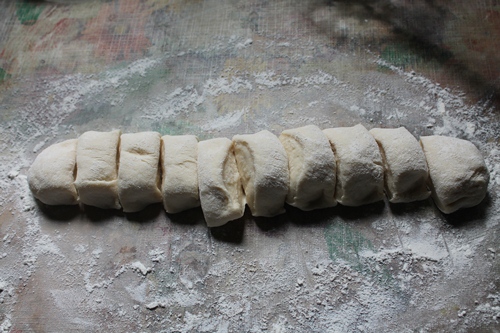 |
| cut into pieces |
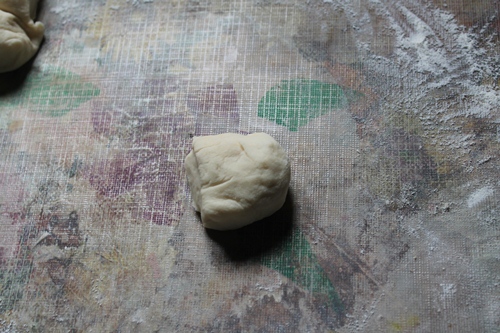 |
| take a ball |
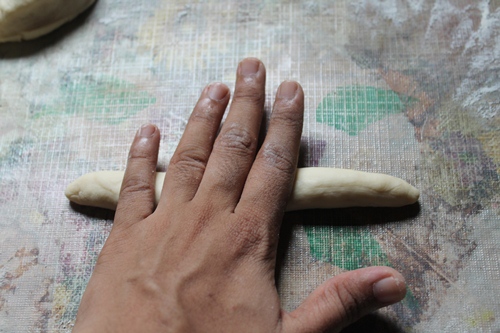 |
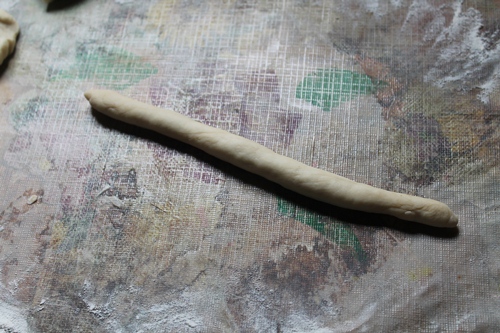
| roll it like this |
 |
 |
| now dip your brush in that oil |
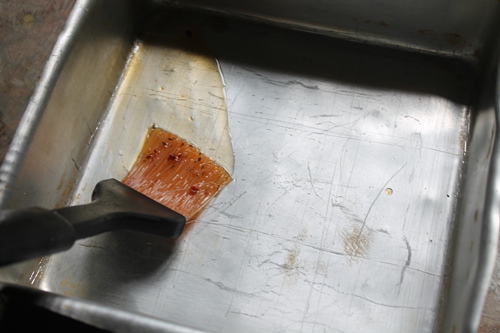 |
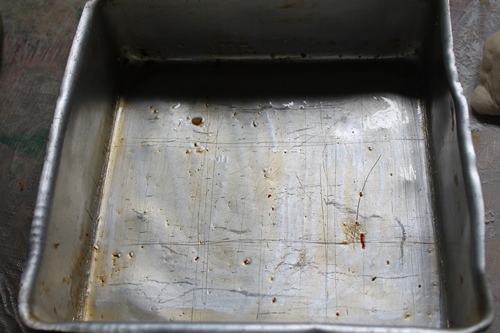
| brush generously the baking pan |
 |
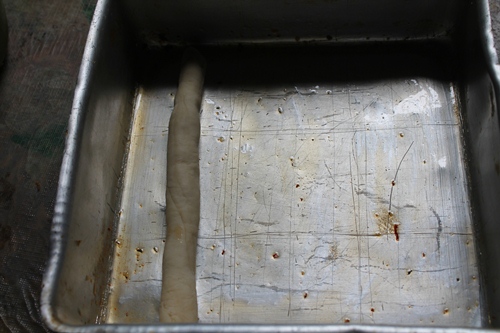 |
| place the breadstick over it |
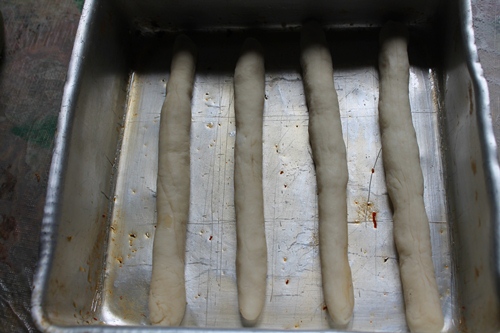 |
| i made few more |
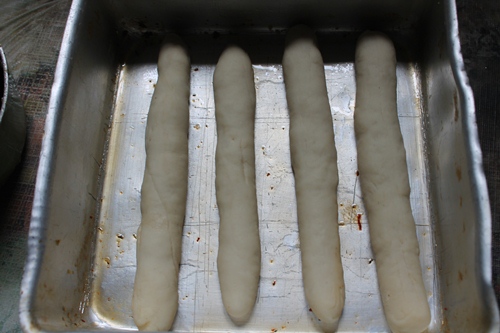 |
| now let this rise for 10 mins or so |
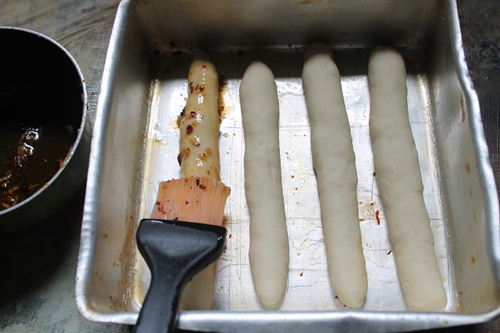 |
| now brush the top with the oil |
 |
| time to bake |
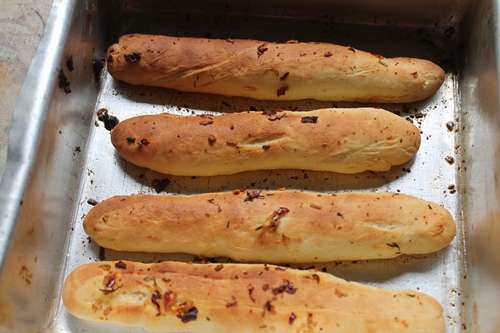 |
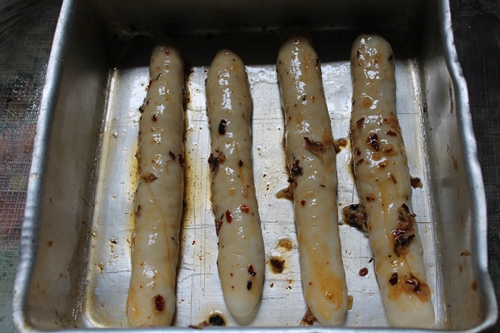
| beautifully baked |
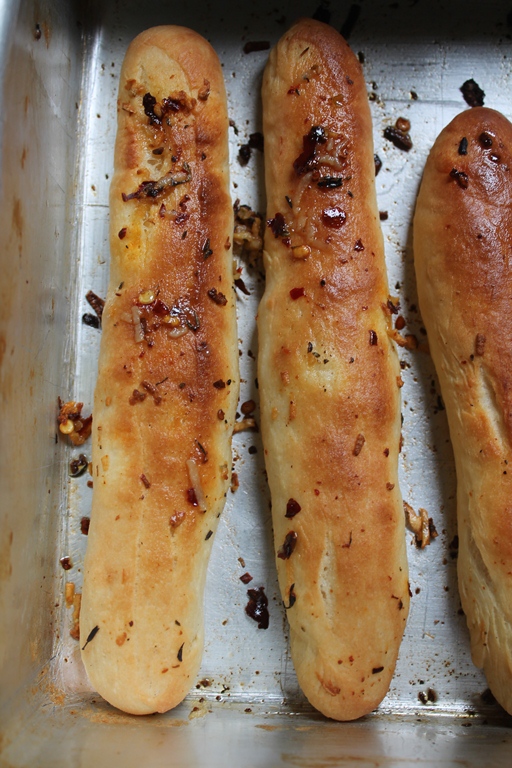 |
| You may brush some more oil on top to look glossy |
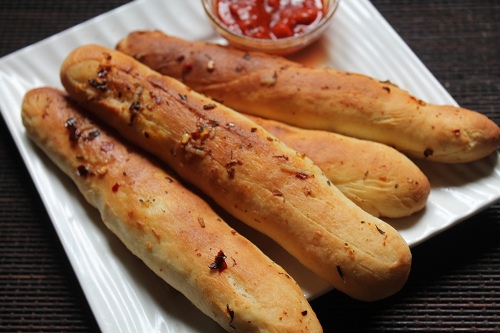 |
| Serve |
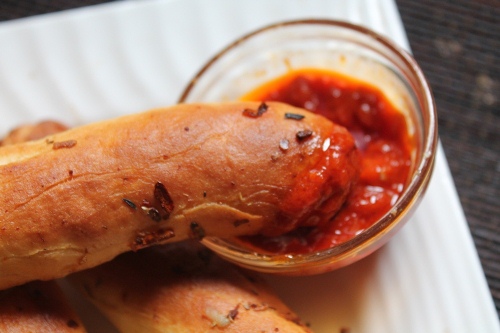 |
| I served it with some tomato sauce |


Anonymous
u recipes realy very good.Even this looks yummmmmmmy. can we prepare this in a microwave.
Aarthi
@Anonymousif you have a microwave convection mode then you can make
Anonymous
can i use milk at room temperature instead of warm milk?
Aarthi
@Anonymouswarm milk activated the yeast. so use that
Dreams
hi aarti...i tried this receipe today and i have to say that it has made me your fan from today... till now i was scared to try bread baking at home but you have ignited my inner zeal to try it more often now.. however i need your advise on one point.. unfortunately the amount of milk you had prescribed made my dough very sticky due to which i had to use wheat flour about 3/4 cup more to make it pliable into a manageable dough to knead and keep for rest. (i had fallen short of plain flour thats why wheat flour was used)... this prevented my dough to rise as was expected ... neverthless it baked but the sticks turned out nice but now as fluffy and porous as yours.. do you think i was wrong in using wheat flour.
Aarthi
@Dreamsthe dough will be sticky, you can use all purpose flour to make it work. wheat flour willmake it dense
Anonymous
Can i use selfraising flour instead of allpurpose flour
Vinny
Hai.Arathi..am one of your fan.i tried many of your receipt..all turns yummy..
Can you tell me how to make this receip in cooker.since my oven doesn't have baking facility..
Suriya
Such a nice post. Thanks for posting.