
Malabar Chicken Biryani Recipe with Step by Step Pictures.
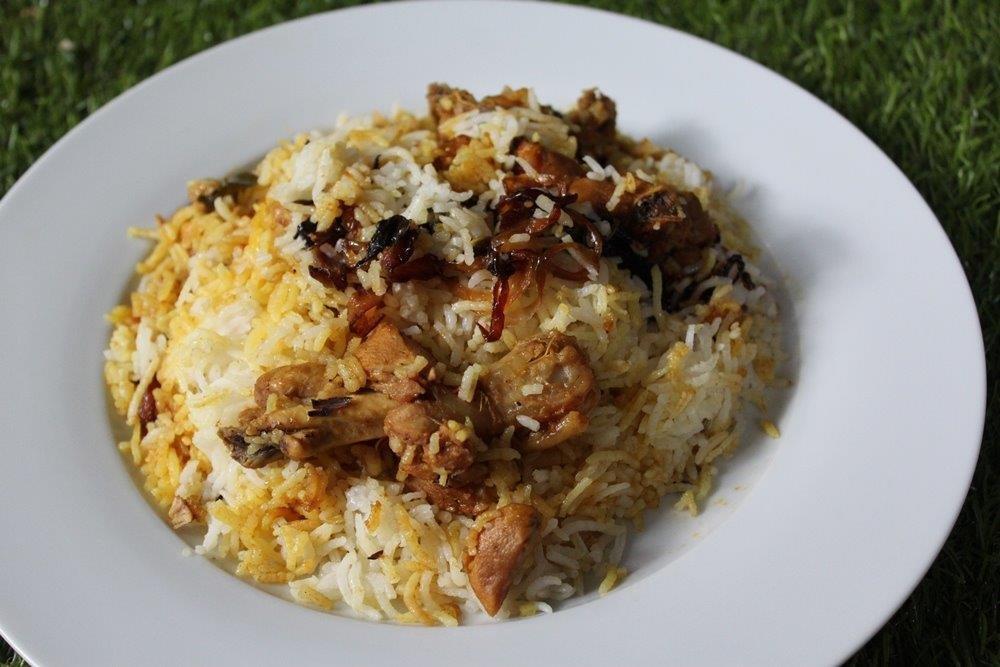
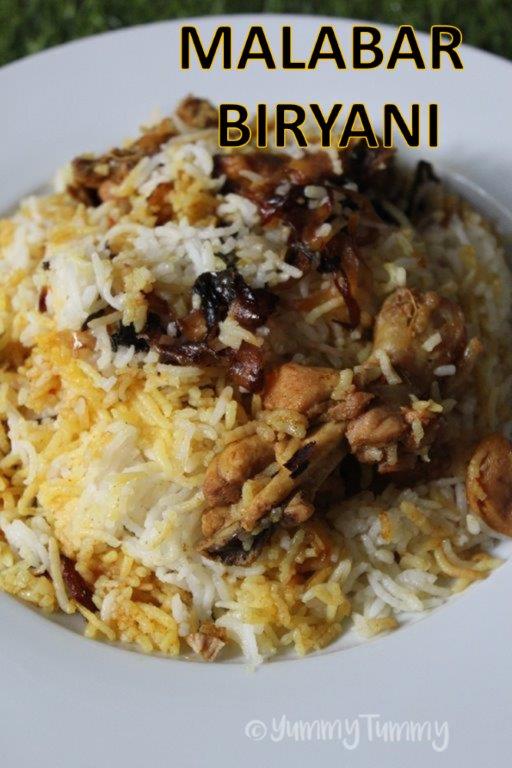
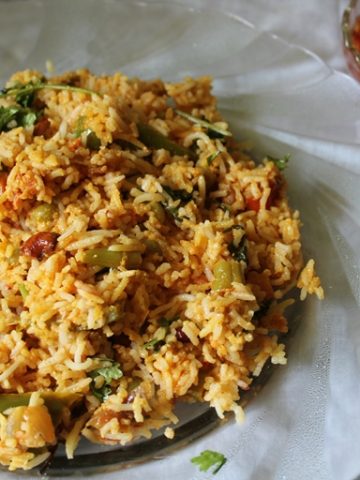
Malabar Chicken Biryani
Chicken biryani is a special and very tasty chicken biryani recipe. This biryani has cooked spicy chicken masala layered between rice with fried onions and whole pot is placed on dum.
I have made so many versions of biryani over the past years. But this one is the best. Since we are cooking chicken completely before layering there is no worries of meat getting cooked when you do dum part.
Similar Recipe,
Hyderabadi Mutton Dum Biryani
Mughlai Chicken Dum Biryani
Chicken Kofta Dum Biryani
Fish Dum Biryani
Vegetable Dum Biryani
Mughlai Vegetable Dum Biryani
Mushroom Dum Biryani
Pro Tips
Over the years I have learned how to make perfect biryani. Here are my tips and tricks.
- Use good quality basmati rice you can afford because it adds the aroma.
- Soak good quality rice for at least 30 mins to 1 hour. The longer you soak the more long your rice will get.
- Use lots of fried onions because fried onions adds nice sweetness to the biryani.
- Cook basmati rice just right. Always stay near it and cook till done. So it Remember that the rice will continue to cook as it is in DUM.
- Use good quality ghee for the aroma and add it after the biryani is cooked.
- I cook my biryani in coconut oil for best taste.
- Use large heavy bottom pot for the dum part. Place the pot on lowest heat possible. If you are too worried, you can place the pot over a tawa and cook.
How to Make Malabar Chicken Biryani
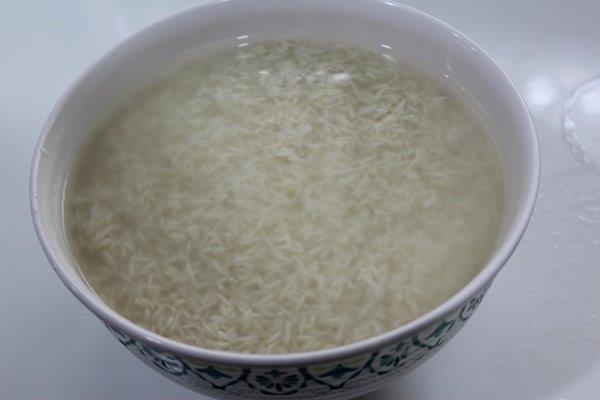
- Wash and soak rice for 30 mins.
- Now heat oil in a biryani pot. Add 3 sliced onions and cook till golden brown. Remove it to a bowl.
- In the same oil. Add whole spices and let them sizzle.
- Add in 1 sliced onion and curry leaves. Cook till golden.
- Add in ginger garlic paste and saute for a min.
- omatoes and cook till mushy.
- Add chicken, chillies and spice powders and mix well.
- Add in yogurt and salt and mix well.
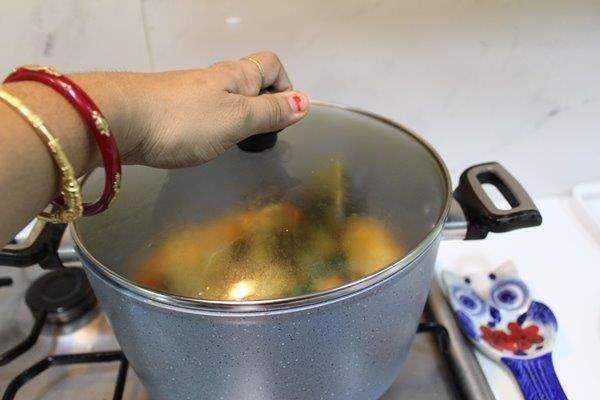
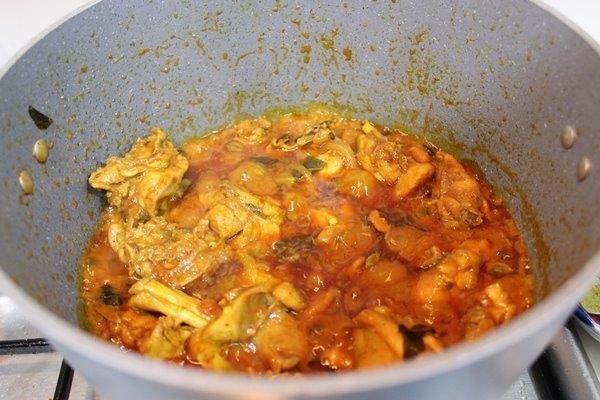
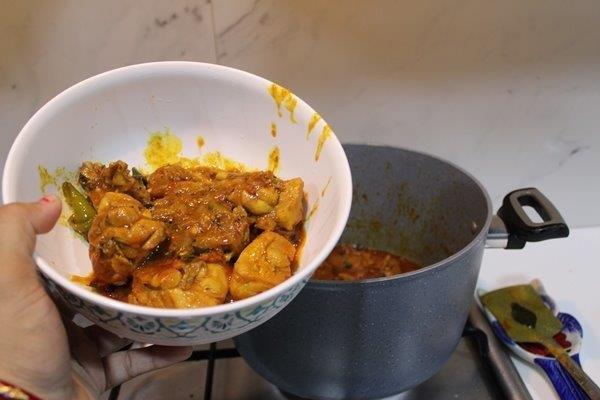
- Now Cover and cook till chicken is done. Now remove half of the masala to a bowl.
- Meanwhile when chicken is cooking, cook rice.
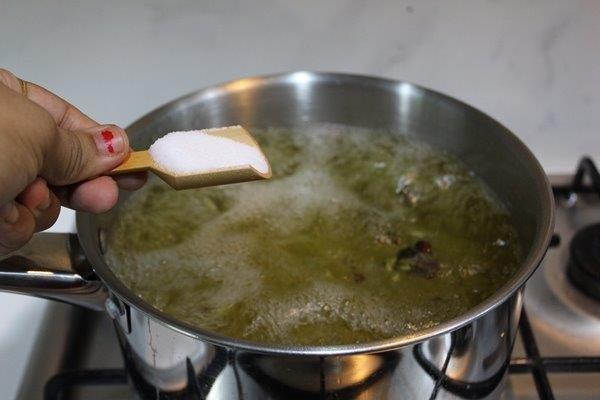
- Take water in a sauce pan, add salt, whole spices.
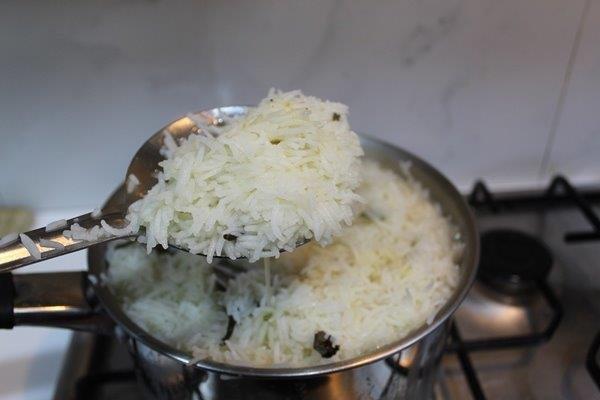
- Once water boils, add rice and cook for 8 to 10 mins till rice is done.
- Drain and set aside.
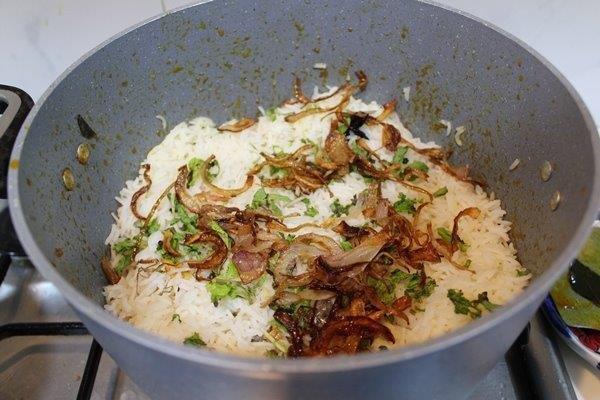
- Now in the masala. layer half of the rice, top with coriander leaves, mint leaves, fried onions.
- Layer remaining masala. Then rice, coriander leaves, mint leaves and fried onions.
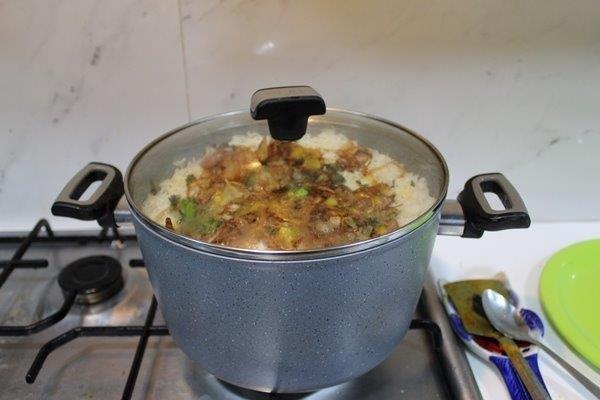
- Cover the pot and cook on very low heat for 30 mins. Now leave aside for 15 mins.
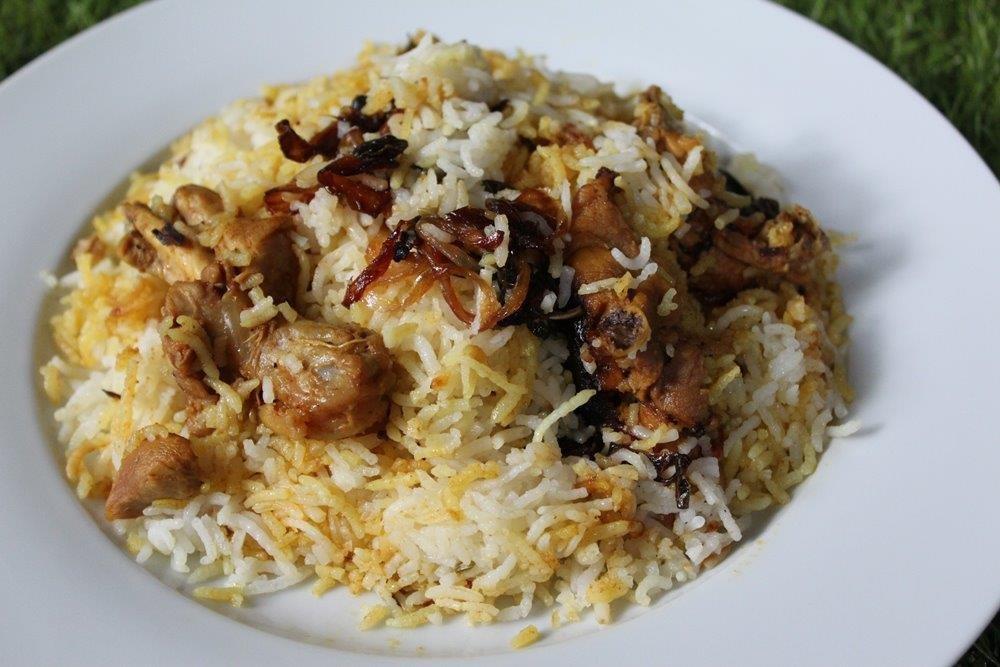
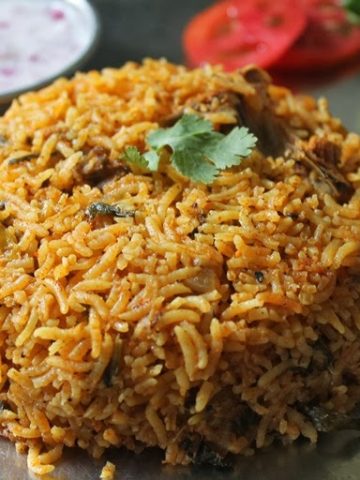
- Now fluff up the rice and serve hot.
Hope you will give this a try and let me know how it turns out for you.
If you have any questions not covered in this post and if you need help, leave me a comment or mail me @aarthi198689@gmail.com and I'll help as soon as I can.
Follow me on Instagram, Facebook, Pinterest ,Youtube and Twitter for more Yummy Tummy inspiration.
IF YOU MAKE THIS RECIPE OR ANYTHING FROM YUMMY TUMMY, MAKE SURE TO POST IT AND TAG ME SO I CAN SEE ALL OF YOUR CREATIONS!! #YUMMYTUMMYAARTHI AND @YUMMYTUMMYAARTHI ON INSTAGRAM!
📖 Get Recipe

Malabar Chicken Biryani
Ingredients
- Chicken - 1 kg
- Onion - 4 large sliced
- Green Chillies - 6
- Coconut Oil - 1 cup
- Bay Leaf - 1
- Cinnamon / Pattai - 1 stick
- Cardamom / Yelakai - 5
- Cloves / Krambu - 4
- Star Anise - 1
- Fennel Seeds / Sombu / Saunf - 1 tsp
- Tomato - 2 chopped finely
- Ginger Garlic Paste - 3 tblsp
- Yogurt / Curd - 1 cup
- Salt to taste
- Turmeric Powder - 1 tsp
- Chilli Powder - 2 tblsp
- Coriander Powder - 2 tblsp
- Garam Masala Powder - 1 tblsp
- Cumin Powder - 2 tsp
- Curry Leaves a small handful
- Coriander Leaves - ½ cup
- Mint Leaves - ½ cup
FOR COOKING RICE:
- Basmati Rice - 500 grams
- Water lot of it
- Bay Leaf - 1
- Cinnamon / Pattai - 1 stick
- Cardamom / Yelakai - 5
- Cloves / Krambu - 4
- Star Anise - 1
- Fennel Seeds / Sombu / Saunf - 1 tsp
Instructions
- Wash and soak rice for 30 mins.
- Now heat oil in a biryani pot. Add 3 sliced onions and cook till golden brown. Remove it to a bowl.
- In the same oil. Add whole spices and let them sizzle.
- Add in 1 sliced onion and curry leaves. Cook till golden.
- Add in ginger garlic paste and saute for a min.
- Add in tomatoes and cook till mushy.
- Add chicken, chillies and spice powders and mix well.
- Add in yogurt and salt and mix well.
- Now Cover and cook till chicken is done. Now remove half of the masala to a bowl.
- Meanwhile when chicken is cooking, cook rice.
- Take water in a sauce pan, add salt, whole spices.
- Once water boils, add rice and cook for 8 to 10 mins till rice is done.
- Drain and set aside.
- Now in the masala. layer half of the rice, top with coriander leaves, mint leaves, fried onions.
- Layer remaining masala. Then rice, coriander leaves, mint leaves and fried onions.
- Cover the pot and cook on very low heat for 30 mins. Now leave aside for 15 mins.
- Now fluff up the rice and serve hot.
Video

Notes
2)Soak good quality rice for atleast 30 mins to 1 hour. The longer you soak the more long your rice will get.
3)Use lots of fried onions. Fried onions adds nice sweetness to the biryani.
4)Cook basmati rice just right. Always stay near it and cook till done. Remember that the rice will continue to cook as it is in DUM.
5)Use good quality ghee for the aroma and add it after the biryani is cooked.
6)I cook my biryani in coconut oil for best taste.
7)Use large heavy bottom pot for the dum part. Place the pot on lowest heat possible. If you are too worried, you can place the pot over a tawa and cook.
Tried this Recipe
Mention @yummytummyaarthi or tag #yummytummyaarthi!Malabar Chicken Biryani With Step by Step Pictures
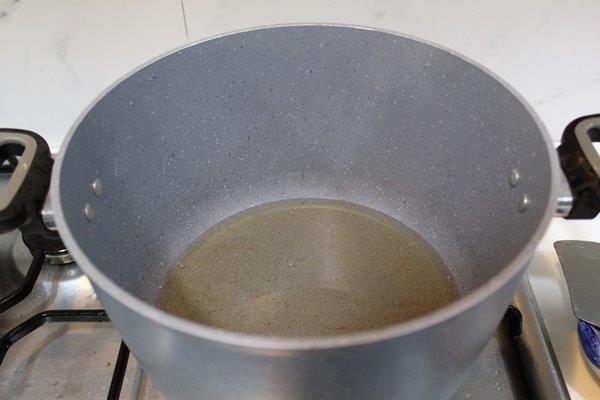
1)Heat Coconut Oil in a biryani pot
2)Add in sliced onions
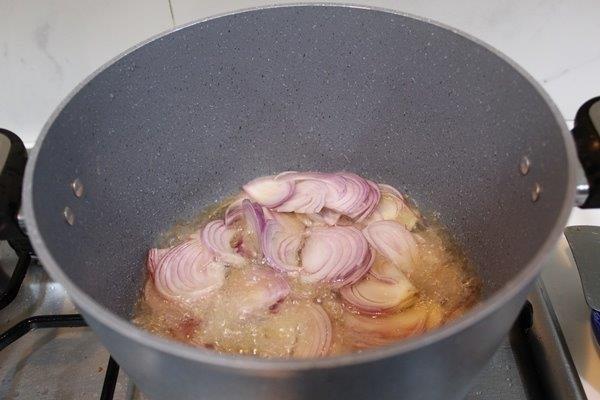
3)Saute till onions gets golden
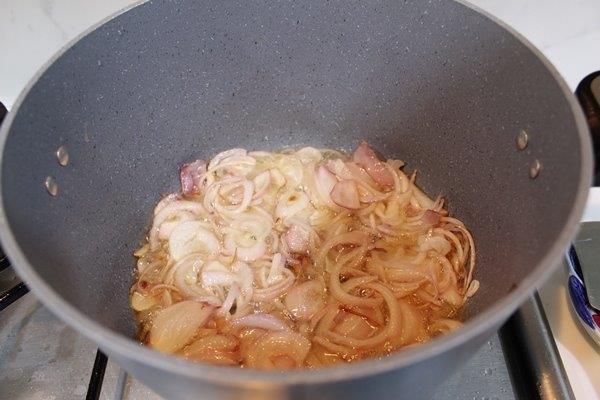
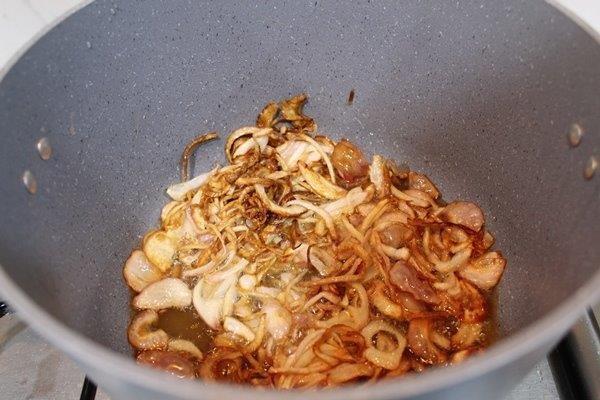
4)It has to get nice and brown.
5)Remove all the onions into a plate
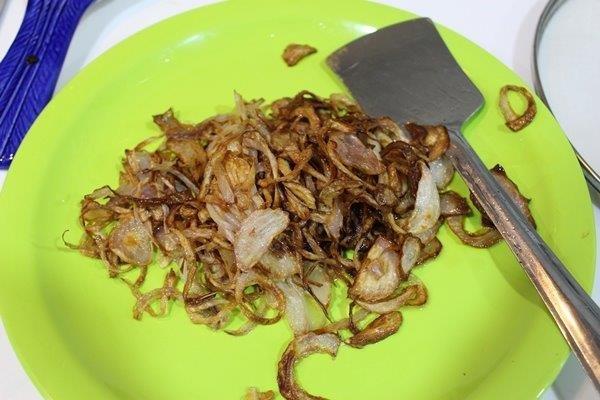
6)Now this is onions infused oil
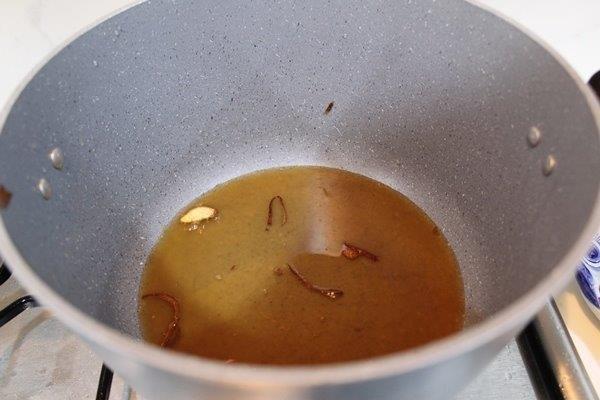
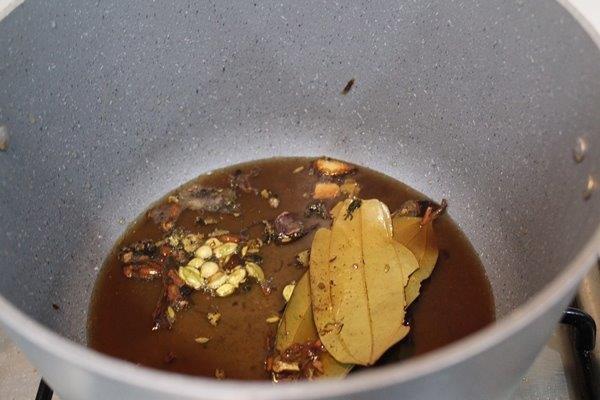
7)Add in whole spices
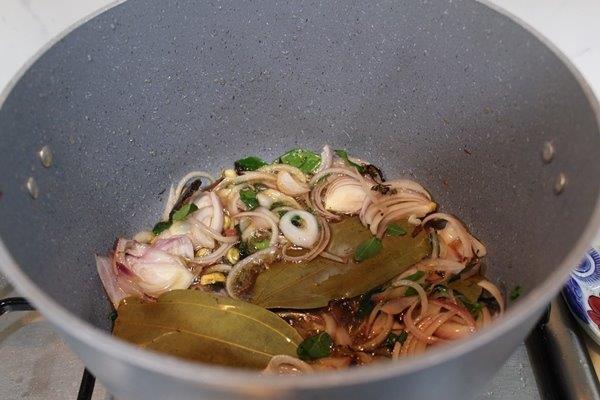
8)Add in onions and curry leaves
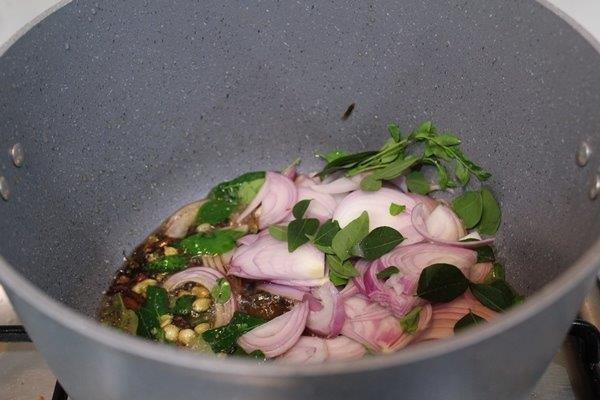
9)Cook till onions gets golden
10)Add in ginger garlic paste
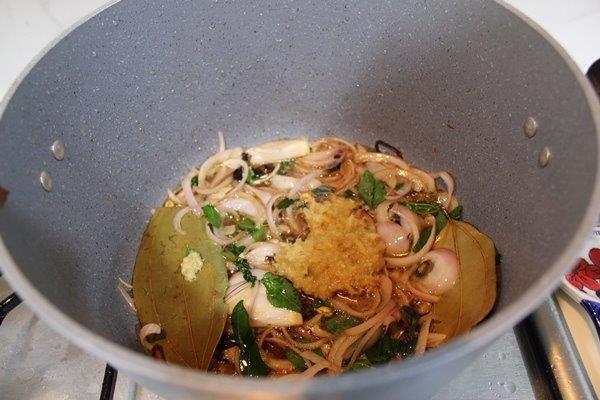
11)Mix well
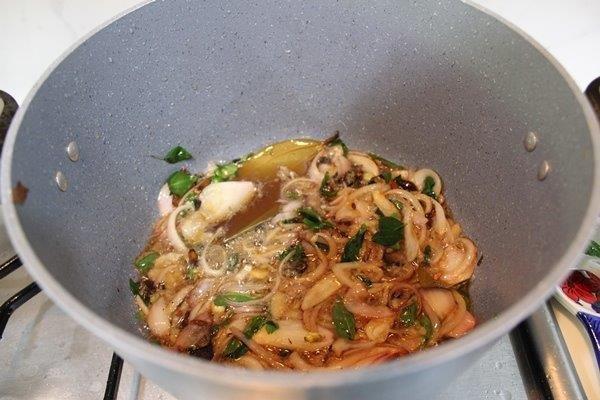
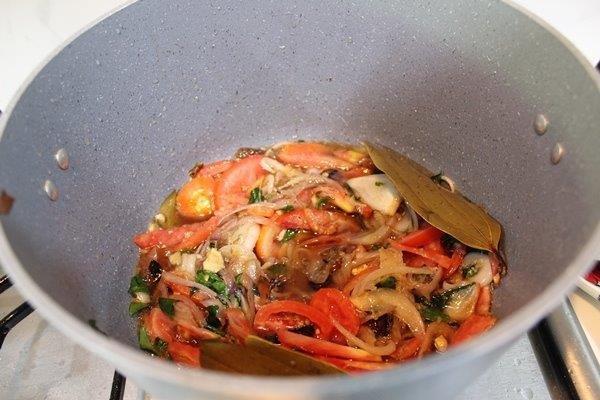
12)Add in tomatoes
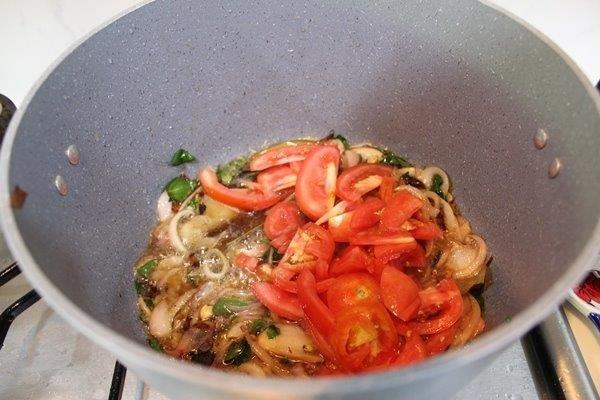
13)Mix well
14)Add in chicken
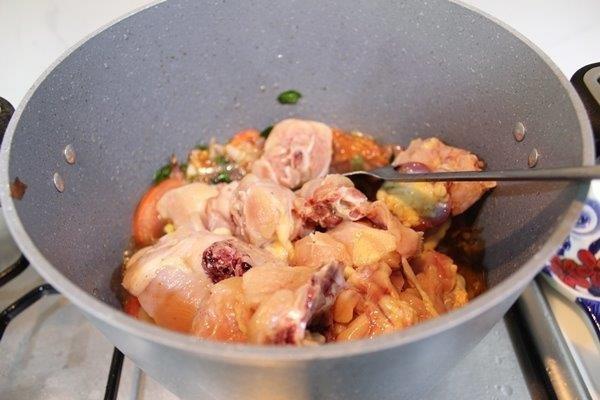
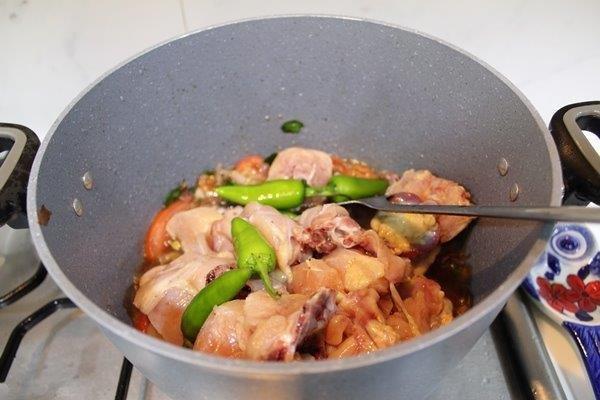
15)Add in green chillies
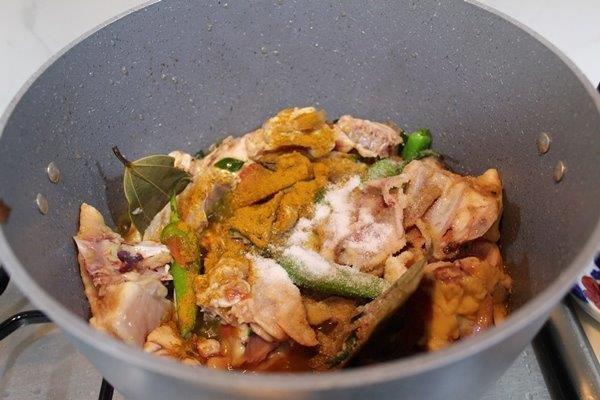
16Salt and turmeric powder
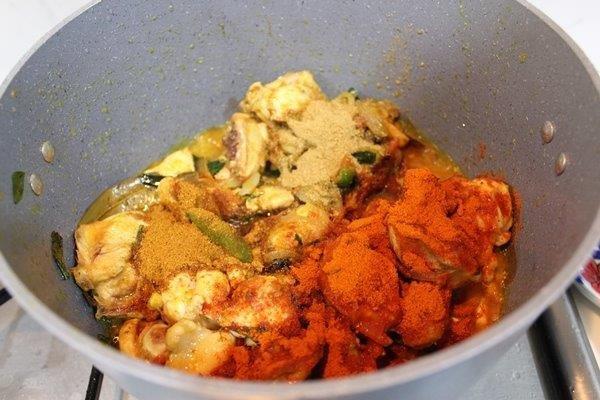
17)Add in chilli powder, cumin powder, coriander powder and garam masala powder
18)Add in yogurt
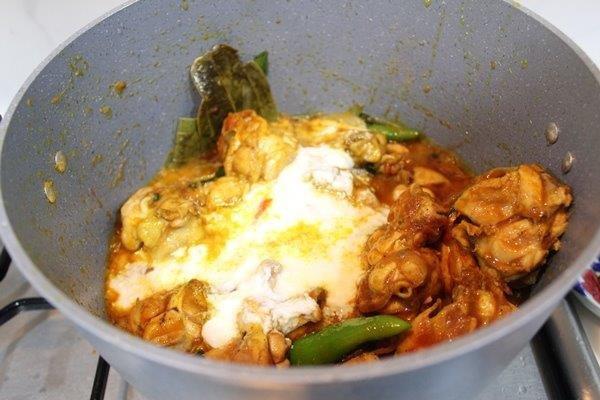
19)Mix well.
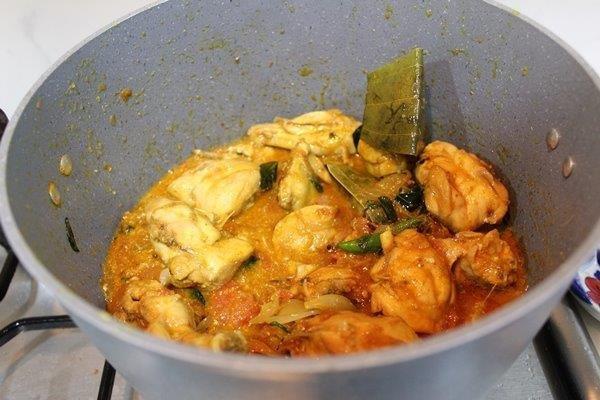
20)Cover and cook till chicken is done
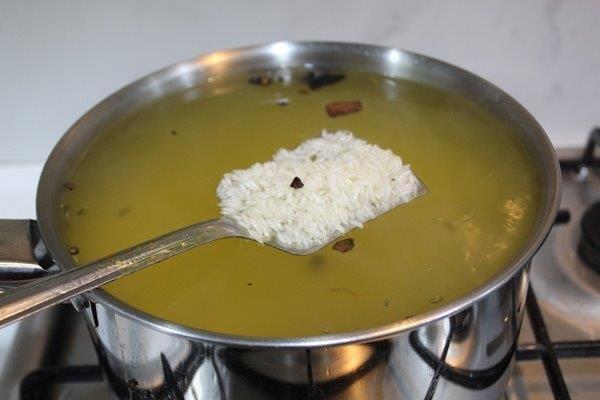
21)I have soaked this basmati rice for 30 mins
22)Bring water to a boil, add whole spices
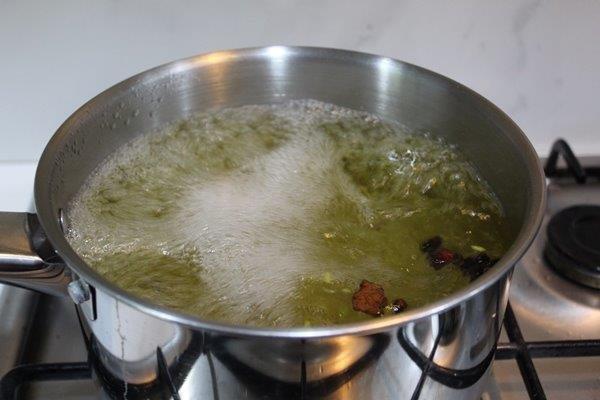
23)Salt.
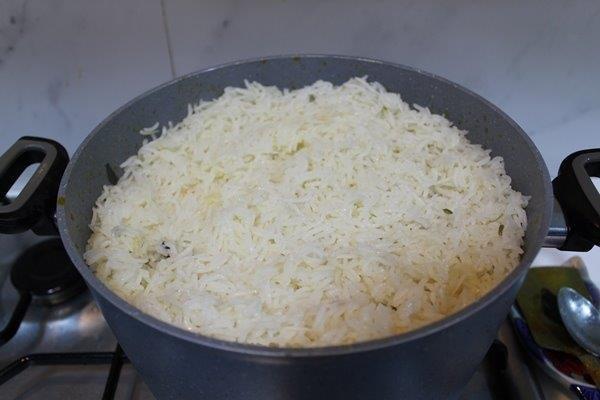
24)Add in soaked rice
25)Cook till rice is done
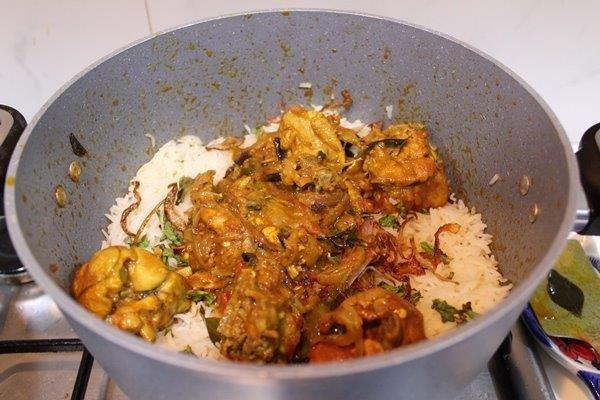
26)Now chicken is done.
27)Remove half of the chicken
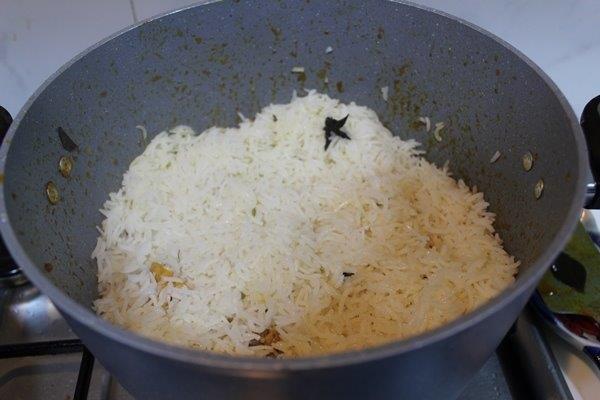
28)Add half of the rice
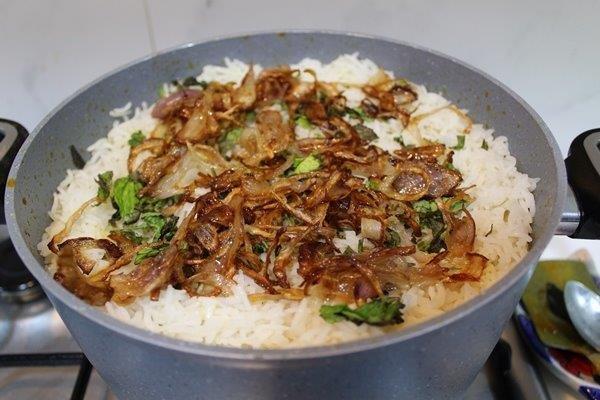
29)Top with fried onions, mint leaves and coriander leaves
30)Chicken masala
31)Top with cooked rice.
32)Coriander and mint leaves

33)Top with fried onions
34)Add in ghee
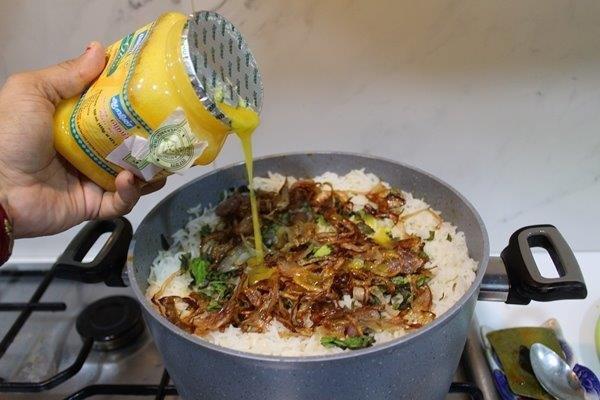
35)Cover and cook on very low heat for 30 mins
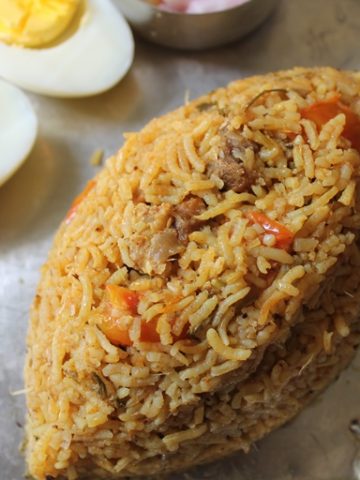
36)Fluff up the rice
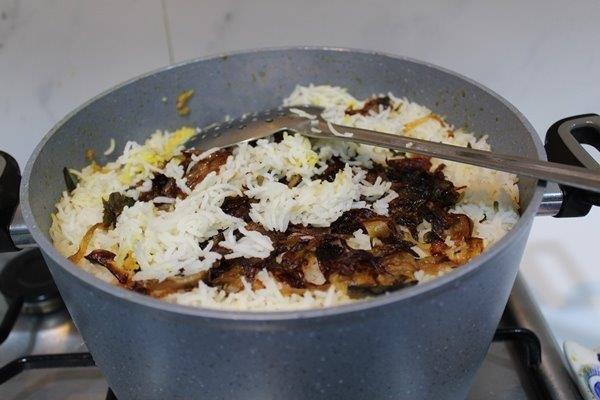
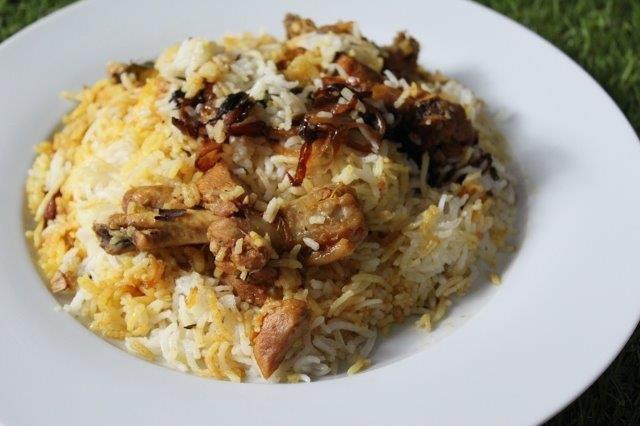
37)Serve


Regina
I made this tonight for dinner and it was absolutely perfect and divine! Thank you so much for all that you do 💜🙏
Mohan
The recipe look very good. Just wanted to know how the taste will be if i add Saffron, warm milk, cashews, sultanas, kewa essence and rose essence, just like you in previous recipe of chicken dum biryani.
Please let me know.
Thanks
Tim
I've made this twice and it's positively delicious. Cashews are a nice addition.
shankar das
I made this tonight for dinner and it was absolutely perfect and divine! Thank you so much for all that you do 💜🙏
REPLY
Aarthi
Glad you tried and liked it.
Kirtika saha
Such a Wonderful blog post! Seems very delicious and tasty…..Thanks for sharing helpful and informative article for new recipes fans. Keep update with more useful recipe.
Malesh Madgaoncar
Great & delicious... hope will be always same as I made it today
Juleena
It when made with jeerakasamba rice tastes amazing . Traditionally we make it with jeerakasamba rice and we never use coconut oil , instead we add veg fat/ ghee..
Maya
As someone who is not Indian but LOVES Indian cuisine and will take every opportunity to try out local restaurants to find the best dishes, I really wanted to try my hand at making Biriyani because I love this dish so much. Every restaurant makes it differently and I have rarely been disappointed. Thank you for the very simple to follow DELICIOUS recipe. It was so good. I have printed this recipe to save.