
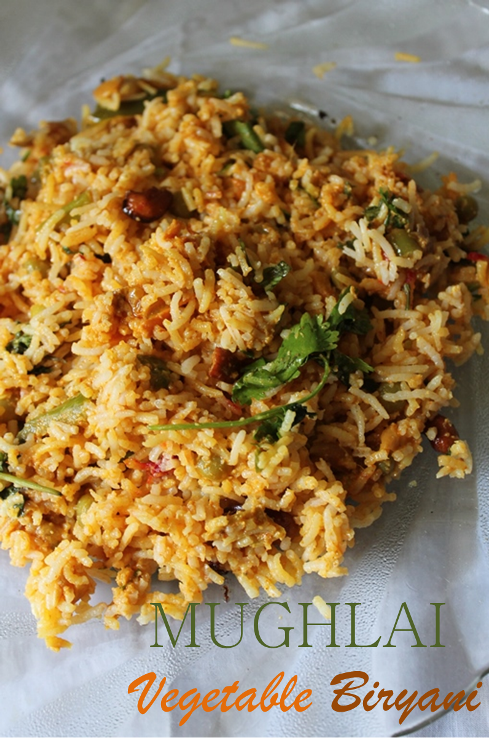
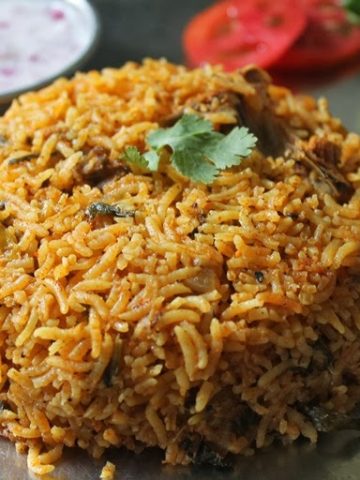
Mughlai Vegetable Biryani is a rich, layered rice recipe with spicy veggies, aromatic rice, ghee-roasted almonds, and saffron milk. It is inspired by royal Mughlai cuisine and prepared in the dum style. Although it takes some time, the end result is absolutely worth it. Every stage, from layering to finishing , feels like you're making something special. The combination of soft vegetables, spicy masala, and aromatic rice creates a treat with each bite. The roasted cashews and raisins on top offer the perfect balance of crunch and sweetness.

Mughlai Vegetable Biryani
Another addition to my biryani array. I love making biryani, it is so easy on a busy day, because your dont have to worry about making curries, kulambu separately. So i love making it a lot. Not overy biryani is quick to make, This Biryani is kind of different, It is called as Dum Biryani. I make this occasionally because it involves lot of steps.
Jump to:
About Mughlai Veg Biryani
This is not a normal quick-cooking biryani. This multi-layered, flavorful biryani includes basmati rice, a variety of vegetables, spices, ground coconut-cashew masala, and fragrant herbs. It stands out because of the way the rice and masala are layered and finished with fried almonds and saffron milk.
I love the balance of the coconut's richness, the spice from the masalas, the chewy texture of the vegetables, and the aroma of the mint, coriander, and saffron. During the dum process, everything blends seamlessly. It can be prepared on the stovetop using a tawa or in the oven.
The process consists of many steps, however when broken down, it is simple: Prepare the rice, simmer the masala, layer everything, and then patiently cook till it comes together. This is the kind of food that fills your home with a pleasant flavor, drawing everyone in. Each taste gives the warmth, texture, and comfort of a homemade food.
Similar Recipes
Pressure Cooker Mutton Biryani
Why This Recipe Works
The method of layering rice and masala separately gives biryani a wonderful texture and flavor. It ensures that each bite is full of taste while keeping the rice grains light and non-sticky. The coconut-cashew paste acts as a natural thickener for the masala, providing a moderate sweetness and creamy texture. It gives the biryani a rich texture without needing milk or butter.
Why I Like This Recipe - This is the type of recipe I make when I want a nice one-pot meal without any extra curries or sides. Even on a normal day, the flavor of ghee, mint, and saffron makes me feel happy. It brings back memories of Sunday lunch where this biryani was the main course. I like how it feels rich but still light because there is no heavy cream or deep frying. Every time I make this, my family asks for a second round, which is the greatest compliment. I love to make this when I have guests over since it looks so good when served.
The recipe is also adjustable; the vegetables can be easily changed depending on what is available in your kitchen. It works best with simple ingredients like carrots and peas, but you can even add paneer or baby corn if you want.
Ingredients
2 cups basmati rice: Just rinse and soak it for around 30 minutes before cooking to ensure good results.
1 large onion, thinly sliced: This is sautéed till golden brown and slightly caramelized, adding a touch of sweetness and a strong base flavor to the biryani masala.
2 green chillies, slit: These give a mild flavor that enhances the mix of spices without making the dish too spicy.
2 tablespoon ginger-garlic paste: This combination gives both a rich, warm flavor and the characteristic of Indian cuisine. It adds to the first layer of flavor when sautéed with onions. Homemade or store-bought works well here..
2 large tomatoes, finely chopped: When tomatoes are cooked, they give tang and moisture to the masala, balancing the richness of the spices and curd.
1 large carrot, 10 beans, 1 capsicum, 1 cup peas: This colorful variety of vegetables enhances the biryani and adds a good texture with each bite. Carrots and beans create a soft bite, while capsicum adds crisp and peas add sweetness. Feel free to add any vegetables you have on hand, including potatoes or baby corn.
1 teaspoon turmeric, 1 tablespoon red chilli powder, 2 tablespoon coriander powder, 1 tablespoon garam masala: This spice blend is what gives the masala its unique flavor. Turmeric provides warmth and color, chili powder gives spice, coriander adds texture, and garam masala adds fragrance. Adjust the spice to your liking..
½ cup curd:Curd adds smoothness and some acidity while also helping to bind all of the spices and vegetables together. It also helps to tenderise the vegetables during cooking. For best results, use thick curd. Don't skip it!.
1 cup grated coconut + 15 cashews: This mixture is made into a smooth, creamy paste, which gives the masala its unique texture. The coconut adds richness and body, while the cashews provide a subtle sweetness and creaminess that compliments the spices well.
Hacks
Short on time?If you're short on time, store-bought fried onions are an excellent choice because they save time while giving the desired sweetness and crispness. Pressure cooking the vegetables for a couple of whistles is another excellent shortcut. It rapidly softens them while retaining their flavor.
Want a spicier version? If you like a little more spice, include some green chilli paste with the ginger and garlic. Add a teaspoon of biryani masala powder to boost the flavor and aroma. It gives the biryani a strong, restaurant-style flavor..
Skip the oven? Do not worry if you don't have an oven! Simply arrange everything in a heavy-bottomed pot or kadai, cover with a tight-fitting lid, and place on a tawa over low heat. This homemade dum method is equally as effective for bringing things together.
No saffron? If saffron is not available, heat some milk with a pinch of turmeric. It will keep the light golden color on top, and the flavor will be subtle and good. When you run out of saffron, this simple substitution will serve.
Mughlai Vegetable Biryani Recipe (Step by Step Pictures)
|
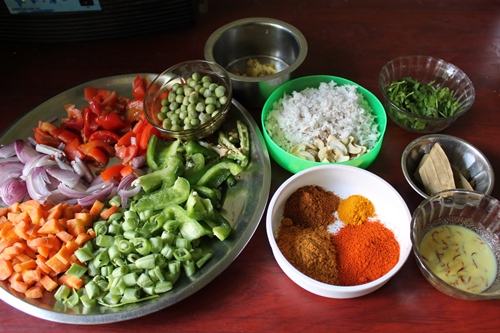
| Take all your stuffs |
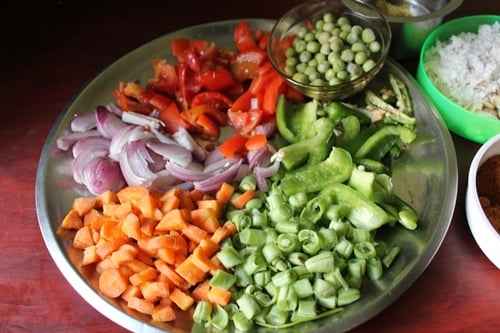 |
| Veggies you need |
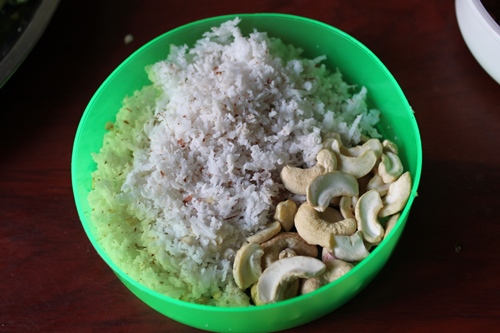 |
| For grinding you need coconut and cashews |
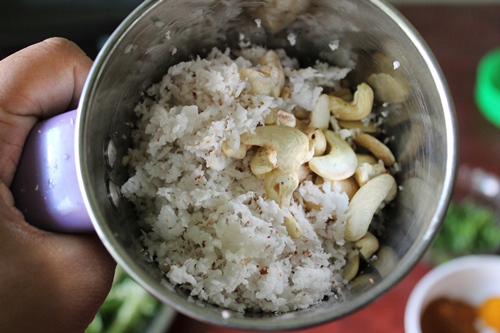 |
| take them in a blender |
 |
| make into a smooth puree |
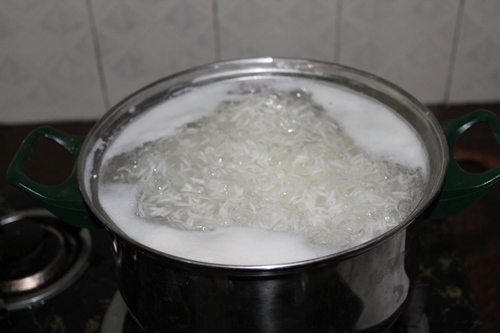 |
| Now cook rice in lots of boiling water..Check this post |
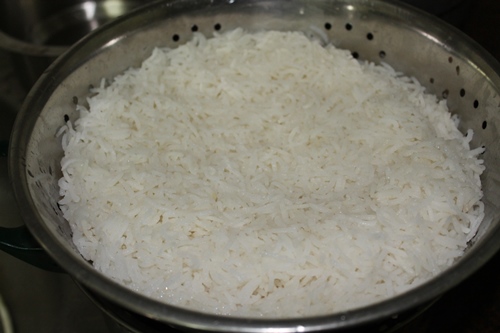 |
| drain and set aside |
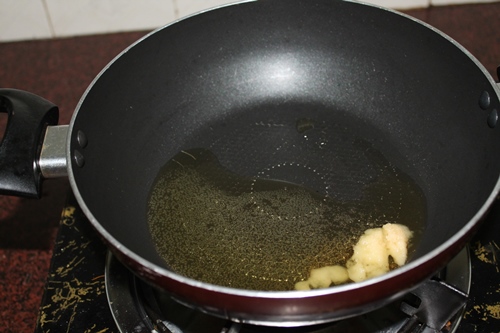 |
| Heat some ghee and oil |
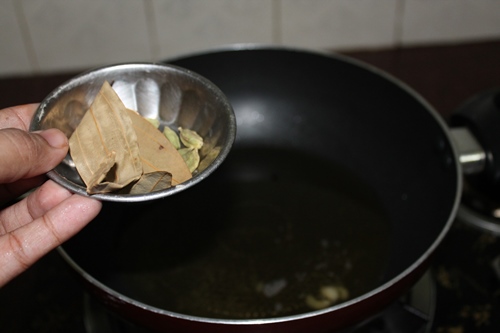 |
| Add all seasoning ingredients |
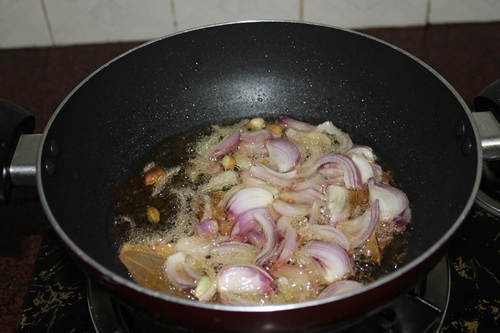 |
| Add in thinly cut onions |
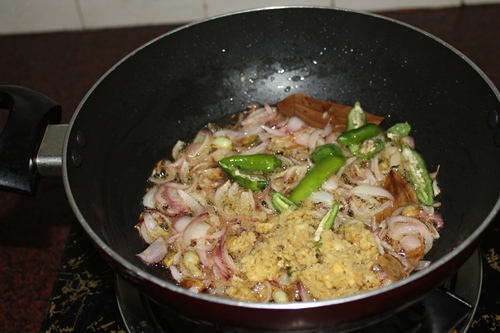 |
| Add in chillies and ginger garlic paste |
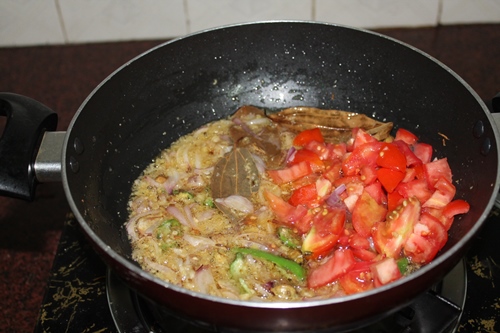 |
| Add in tomatoes |
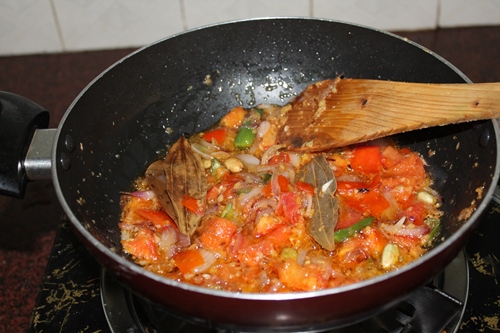 |
| cook till oil separates |
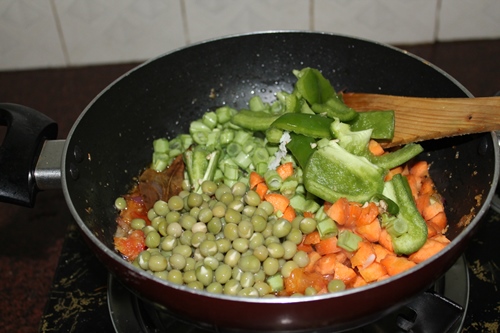 |
| Add in all veggies |
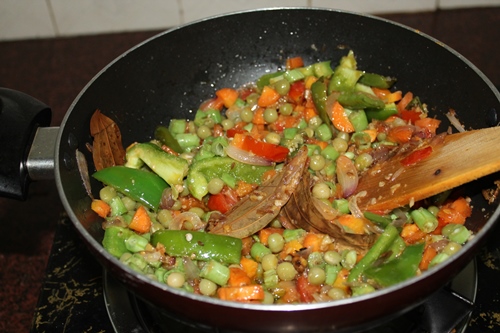 |
| Saute them |
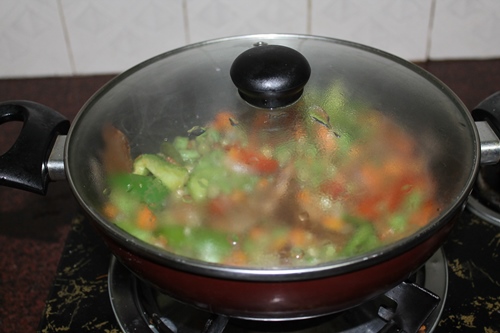 |
| cover and cook |
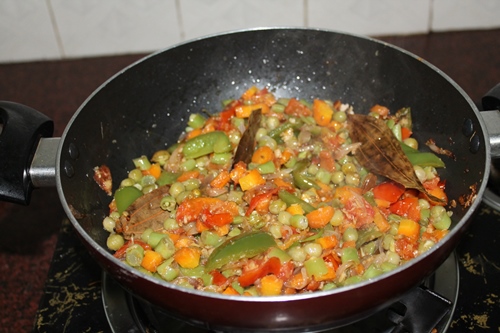 |
| now the veggies are done |
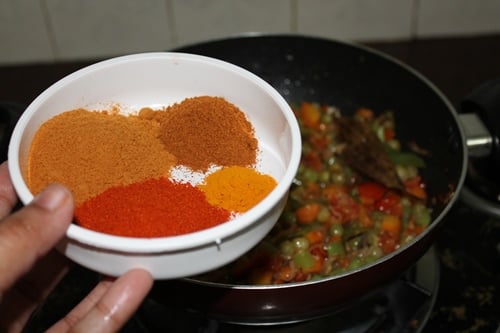 |
| Add in spice powders |
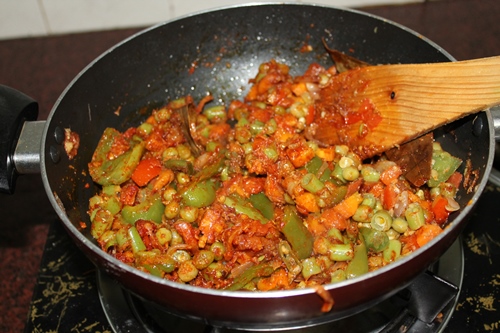 |
| give them a toss in oil |
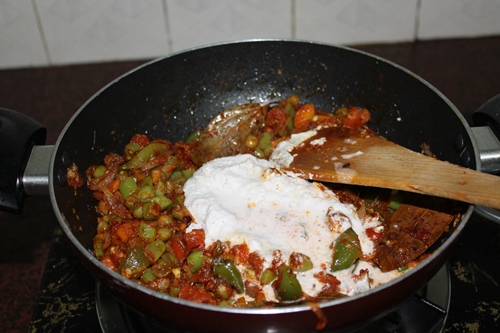 |
| Add in the pureed masala |
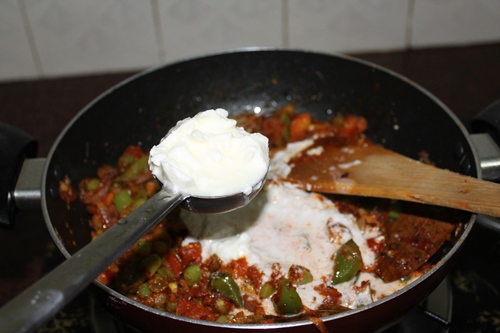 |
| curd |
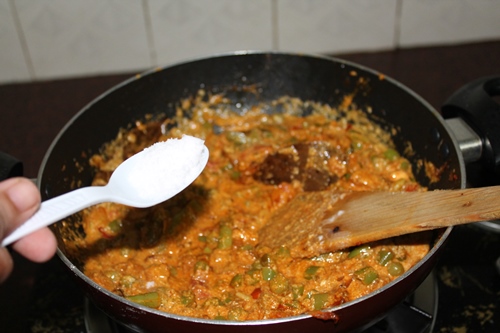 |
| salt |
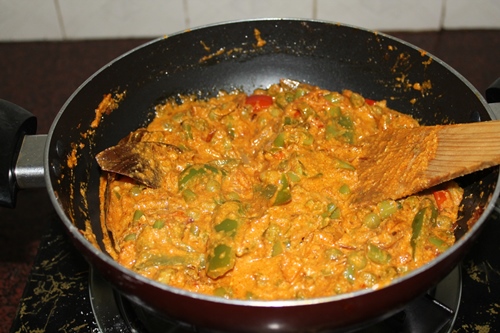 |
| Masala done |
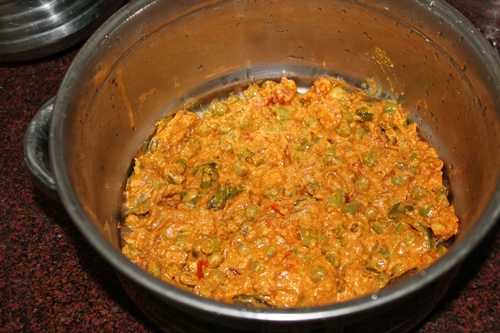 |
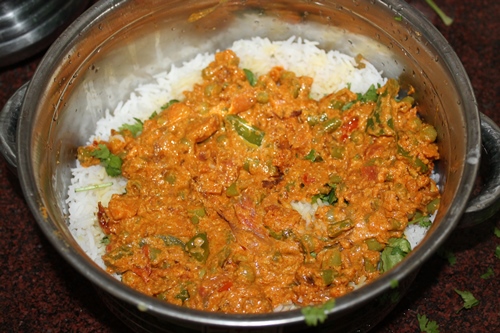
| Now put half of the masala in the base of a large oven safe dish |
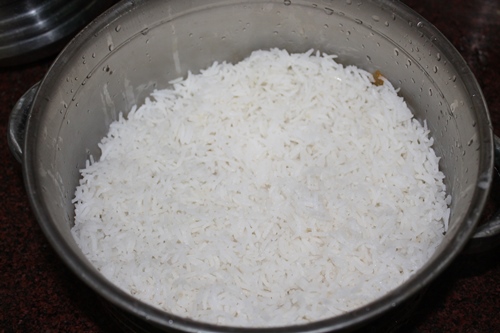 |
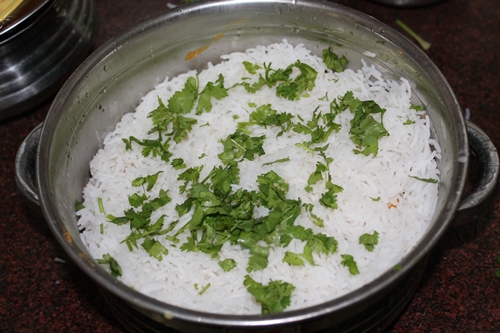
| Lay half of the rice over the masala |
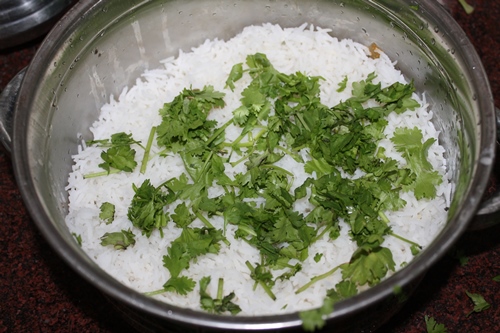 |
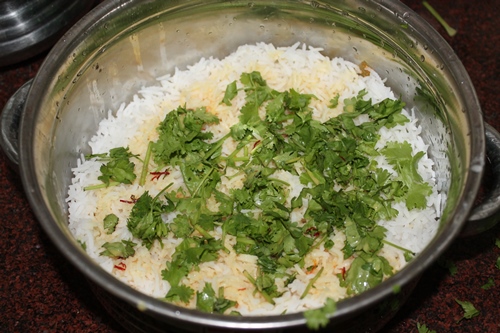
| Sprinkle chopped coriander and mint leaves |
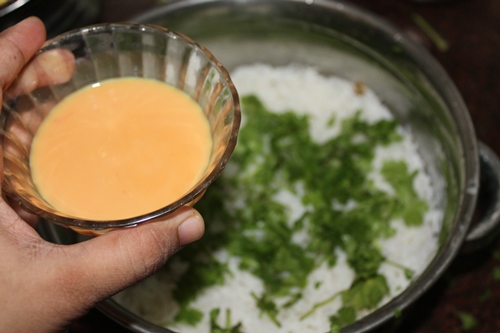 |
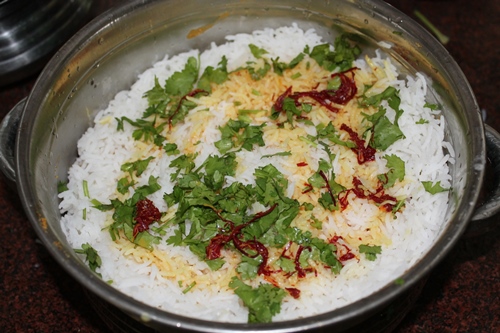
| Sprinkle in some saffron milk |
 |
| It gives nice colour |
 |
| Now spread the other half masalas |
 |
| lay other half of the rice |
 |
| sprinkle some more herbs |
 |
| and saffron milk |
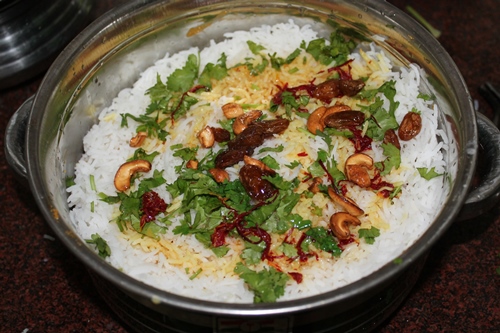 |
| sprinkle some fried nuts and raisans |
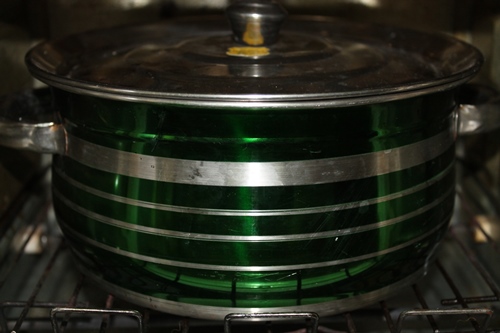 |
| cover and cook in oven |
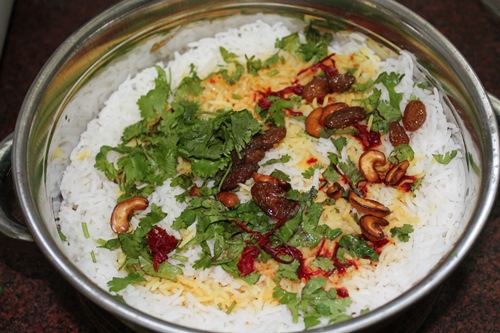 |
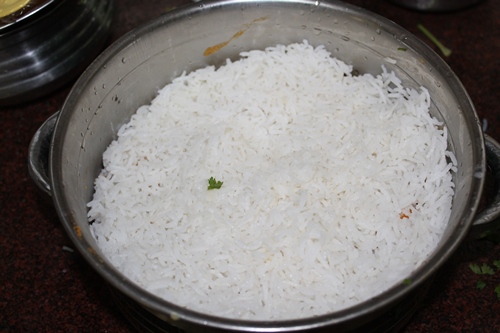
| rice done |
|
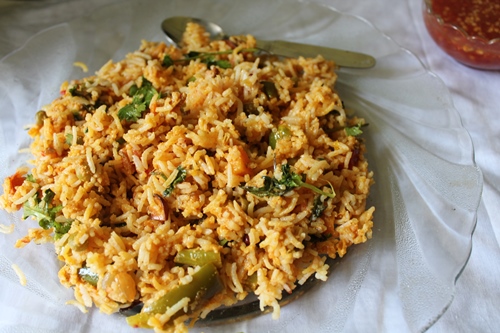
| mix it up and serve |
Expert Tips
Rice Texture Tip: Do not overcook dum rice to avoid it becoming mushy. Keep it around 90% completed. After cooking, gently fluff the rice to keep the grains from breaking.
Layering Tip: Don't press the rice down. Allow it to remain light and fluffy so that the steam may circulate evenly throughout dum cooking. Also, try to evenly apply the masala across each layer to ensure a balanced flavor in every bite.
Storage: Refrigerate leftovers in a tightly closed container for up to two days. Before microwaving, add a few drops of water to the biryani and cover with a lid or plate. This keeps the rice moist and prevents it from drying.
Serving: Mughlai Vegetable Biryani is a filling meal on its own, but it pairs beautifully with a fresh side dish. Serve hot with boondi raita, cucumber-onion curd salad, tomato raita or just plain curd. A serving of crispy papad or a spoonful of mango pickle also serves well.
FAQ
Can I skip coconut and cashew paste? Yes, you can skip it if you're in a hurry or don't have the needed ingredients. Just know that this paste adds a lovely richness and body to the masala. If you skip it, you can balance the texture and richness of the curd with a little bit of milk or cream.
Can I make it in one pot without layering? You can, and it will still taste wonderful, but the texture will be closer to a masala veg pulav than an authentic biryani. The layers and dum process are what give biryani its charm, allowing the rice and masala to be unique while perfectly mixing when served.
Can I use frozen veggies? Definitely yes! Frozen vegetables are both convenient and efficient. Simply rinse them under running water and place them in the masala; they will cook throughout the sealed cooking time.
What if I don't have saffron? Saffron provides a lovely aroma and a little royal touch, but it's fine if you don't have any. A pinch of turmeric in warm milk can provide a similar yellow color. The flavor and aroma will change little, but the biryani will still be delicious.
Variations
Paneer Biryani: If you like paneer or want to add some protein, sauté the cubes in ghee or oil until brown before adding them into the biryani. They absorb the masala taste excellently, adding to the dish's unique and satisfying flavor. It's perfect for vegans seeking something more nutritious.
Tofu or Soya Chunks: Tofu or soya chunks are good dairy-free alternatives. Soak the soya chunks in hot water, then squeeze them out and add them to the masala. To keep tofu firm, pan fry it briefly. These ingredients provide protein and give the biryani a nice chewy texture.
Tawa Dum Biryani: Don't have an oven? No worries at all. Once everything is in a thick-bottomed pan, lay it over a heated tawa or grill, cover, and cook for 15-20 minutes on low heat. It does the same dum process, infusing your kitchen with an amazing biryani aroma!
More Biryani Recipes

📖 Get Recipe

Mughlai Vegetable Biryani Recipe (Dum Biryani)
Equipment
Ingredients
- 2 cups Basmati Rice
- 1 large Onions sliced thinly
- 2 slit Green Chilli
- 2 tablespoon Ginger Garlic Paste
- 2 large Tomatoes chopped finely
- 1 teaspoon Turmeric Powder
- 1 tablespoon Red Chilli Powder
- 2 tablespoon Coriander Powder
- 1 tablespoon Garam Masala powder
- ½ cup Plain Yogurt (Curd)
- Salt to taste
Vegetables to Use
- 1 large Carrots chopped
- 10 no Green Beans chopped
- 1 no Capsicum chopped
- 1 cup Green Peas
For Tempering
- 3 tablespoon Oil
- 3 tablespoon Ghee
- 1 teaspoon Cumin Seeds
- 1 piece Cinnamon
- 1 no Bay Leaf
- 5 no Cardamom
- 5 no Cloves
For Grinding
- 1 cup Coconut grated
- 15 no Cashews
For Layering Rice
- ½ cup Coriander leaves chopped finely
- ½ cup Mint Leaves chopped finely
For Frying Nuts
- 2 tablespoon Ghee
- 3 tablespoon Cashews
- 3 tablespoon Golden Raisins (Kishmish)
For Soaking Saffron
- ⅛ teaspoon Saffron
- ¼ cup Warm Milk
Instructions
Preparing the Ingredients and Cooking the Rice
- To begin, thoroughly wash your basmati rice and soak it for around 30 minutes to ensure that it cooks evenly and remains long and fluffy. While the rice soaks, make a smooth paste of grated coconut and cashews with a little water. Meanwhile, chop all the veggies, slice the onions and tomatoes, and prepare your seasonings. Once the preparation is finished, bring a large pot of water to a boil, season as you wish, and cook the soaked rice until approximately 90% done. It should be soft,but not mushy. Drain the rice gently and set it aside.
Making the Vegetable Masala
- It is now time to prepare the vegetable masala, which will serve as the dish's centerpiece. Heat the oil-ghee mix in a deep kadai or heavy pan. Sauté the cumin, cinnamon, cardamom, cloves, and bay leaf until aromatic. Sauté the chopped onions until golden brown. Cook the green chilies and ginger-garlic paste until the raw smell disappears. Then, add the tomatoes and cook until they soften and the oil separates. Add all of the chopped vegetables and cook for 7-8 minutes on low heat, until almost tender. Combine the spice powders, coconut and cashew paste, curd, and salt. Allow to cook until you have a rich, thick masala base.
Layering the Biryani
- Then comes the best part: stacking! Preheat your oven to 150°C or prepare a thick-bottomed pot on the stove. In an oven-safe dish or biryani pot, place the cooked vegetable masala first, followed by the rice. Garnish with fresh mint and coriander leaves, then drizzle with saffron milk. Repeat layering with the remaining masala and rice. Finish with extra herbs, the remaining saffron milk, and a generous serving of ghee-fried cashews and raisins. At this point, it looks and smells festive and delicious.
Final Dum Cooking and Serving
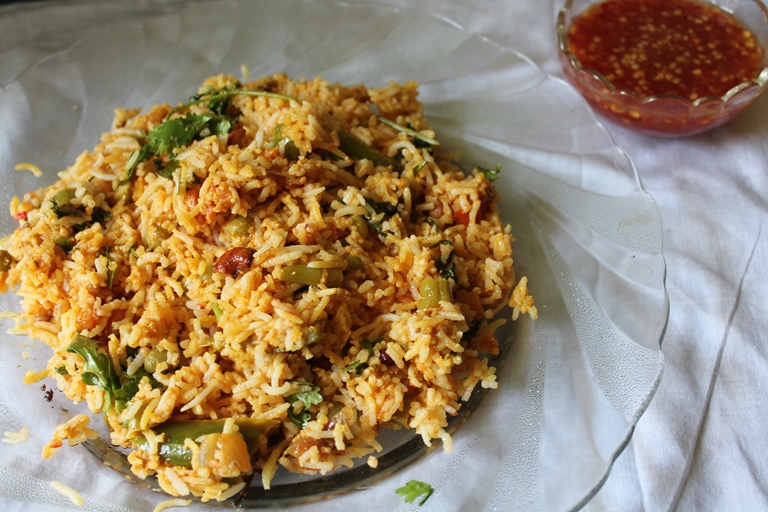
- Cover the vessel tightly with a lid or foil. Put it in the oven for 20-25 minutes or on a hot tawa over low heat for 10-15 minutes. The gradual dum cooking method allows the tastes to get into the rice and absorb all of the richness. Allow the biryani to rest for 5 minutes after it is finished cooking. Then, using a fork or flat spoon, gently fluff it up to keep the grains from breaking down. Serve hot with raita or plain curd, or eat it on its own; each bite contains a combination of tender vegetables, creamy masala, and fluffy rice.
Nutrition
Tried this Recipe
Mention @yummytummyaarthi or tag #yummytummyaarthi!If you have any questions not covered in this post and if you need help, leave me a comment or mail me @aarthi198689@gmail.com and I'll help as soon as I can.
Follow me on Instagram, Facebook,Pinterest ,Youtube and Twitter for more Yummy Tummy inspiration.


dailymuffings
Hi aarthi thanks for sharing....can we use steel vessels in oven
Aarthi
@dailymuffingsyes u can use steel in OTG
Jaswinder Kaur
thank u for sharing. I tried it was beautiful..
Anonymous
For how long in the oven?
Aarthi
@Anonymous20 to 25 mins, it is mentioned in the written part of recipe
Anonymous
Any substitute for oven cooking?
Aarthi
@Anonymousu can put the whole pot on a low heat over a tawa instead of putting it in oven
Nilosa
Hi,
This buriyani looks so good and I intend to make this tomorrow for my friends.
Can you please tell me how much a cup of rice is in grams?
Thanks a lot for the yummi recipe! 🙂
Aarthi
@Nilosait is around 220 grams
Anonymous
At wat temperature should the oven b pre heated
Anonymous
At wat temperature shed the oven b preheated
Aarthi
just 150 degree C
jia
Hi Aarthi,
Tried this dish today and it tastes amazingly fantastic...:D
I am so glad I stumbled upon your blog.
Thank you so much for such lovely recipes
Jeeva