
Sweet Milk Bun is a popular Asian bread that is known for its soft, fluffy texture and mild sweet taste. This delicious bun is famous especially in Japan, where it is known as "Hokkaido Milk bread". These buns are so light and soft like a pillow that tastes so delicious, which makes it ideal for breakfast, snacks, or sandwiches.
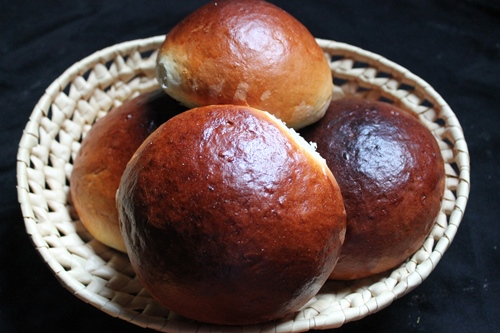
Sweet Milk Buns
You know I have an addiction to all things buns, i make them often. I love the smell and taste of freshly made homemade buns, there is something in them which makes it so tasty.
After my attempt of making homemade brioche, i thought they are the best buns and i am gonna keep that recipe in my repitore. But yesterday I made this buns and now i am thinking these are the best.
About Sweet Milk Buns
I decided to bake these Japanese milk buns because they remind me of my long travel days in Japan last year.
The soft, sweet and delicious bun brings back many wonderful memories of our trip like walking through airports, exploring the streets and spending quality time with my husband and kids.
Every bite of this bun feels nostalgic and takes me back to the beautiful Japan days.
This milk bun is made using a special technique called Tangzhong method. Tangzhong originated in Asia and is commonly used for making soft bread, loaves and buns.
In this method, a small amount of flour and milk is cooked together till it forms a thick, smooth paste. Once cooled, this paste is mixed with the rest of the ingredients to form a soft and smooth dough.
Similar Recipes
The tangzhong method helps the dough to hold more moisture and result in a soft and fluffy buns. It also keeps the bun fresh for several days without any added preservatives.
This technique is perfect for home bakers because it is easy to follow and helps to achieve a bakery style finish and texture. Plus, it is versatile that you can use tangzhong to make other milk bread, sandwich loaves or dinner rolls.
By following the steps like kneading the dough, allowing proper double proofing and using the correct ingredients, you can achieve this soft and fluffy texture bakery style buns easily at home.
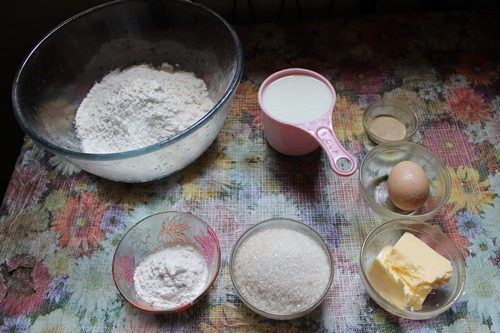
Ingredients
- All purpose flour / Maida : This is the main ingredient that provides structure to the bun. Use good quality all purpose flour to ensure a soft and fine textured buns.
- Dry yeast : Yeast helps the dough to rise properly and gives a light, airy buns.
- Egg : Egg helps to bind the ingredients together and make a soft, rich bun.
- Milk : Milk adds the signature moisture and creamy flavour to the buns. It makes them extra soft, rich and sweet.
- Butter : Use unsalted butter to provide the buns a rich and buttery flavour. It keeps them soft and moist.
- Sugar : Sugar adds a mild sweetness to the bun and also helps in activating the yeast.
- Warm water : Water helps to activate the yeast and ensures the dough rises properly.
- Tangzhong Paste : This is the key ingredient for making the hokkaido buns. The tangzhong paste is made by mixing all purpose flour and milk into a smooth, thick paste. It allows the dough to hold more moisture and make them extra soft and fluffy.
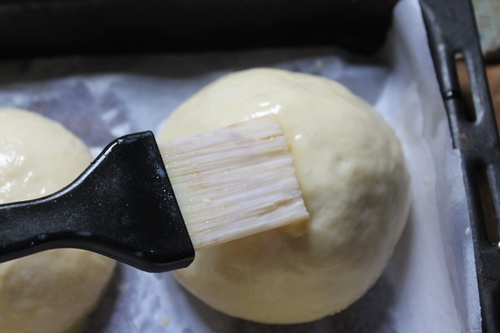
- Egg Wash : Egg and milk are mixed together in a bowl and brushed on top of the buns before baking. This gives the classic, shiny golden brown crust look bun.
Step by Step Pictures
make tangzhong
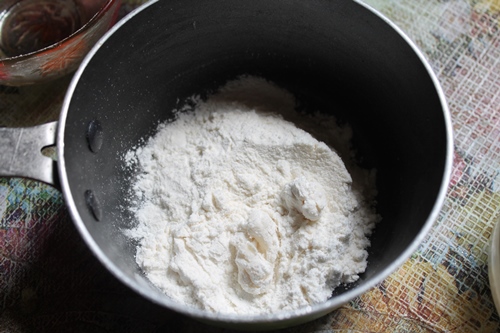
1)We are going to make tanzhong paste. Take plain flour in a sauce pan.
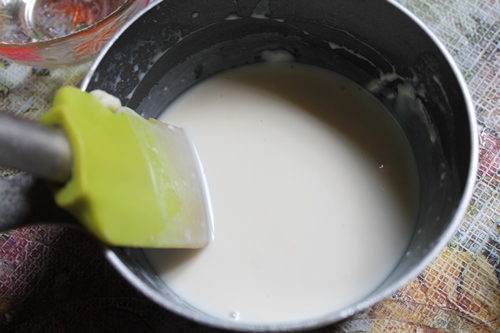
2)Add in some milk over the plain flour. Mix well till it is lump free.
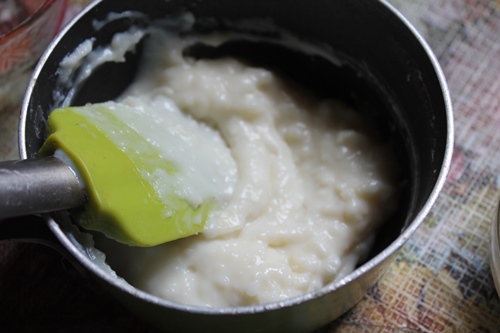
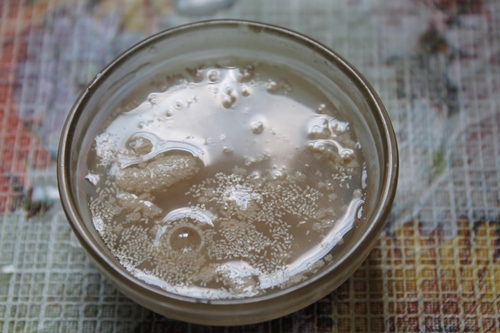
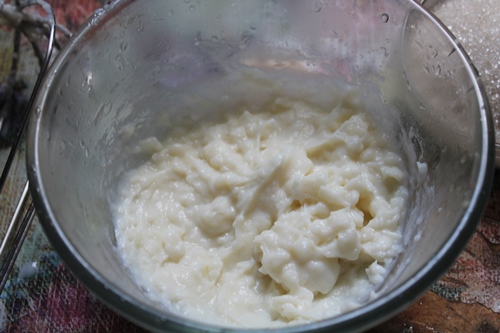
3)Place this on heat and cook on medium low heat till it is thick and gets paste like. Set aside to cool completely.
Activating Yeast
4)Take yeast in a bowl. Add a teaspoon of sugar to the yeast.
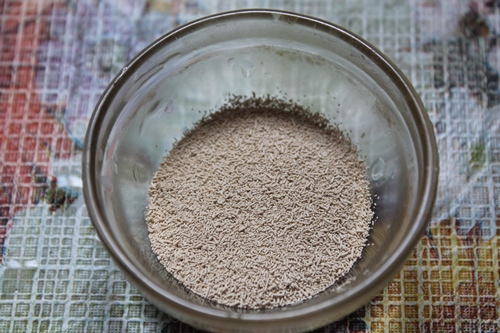
5)Pour some luke warm water and set aside for 5 minutes till the yeast gets foamy and activated.
Make Wet Mixture
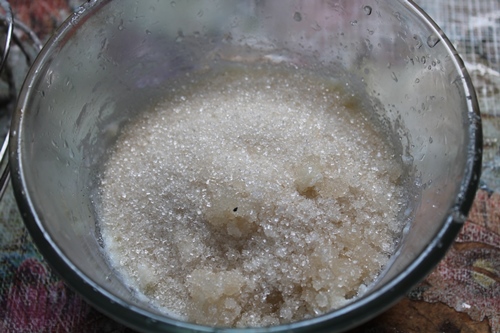
6)Now in a mixing bowl. take the cooled tangzhong.
7)Add in sugar.
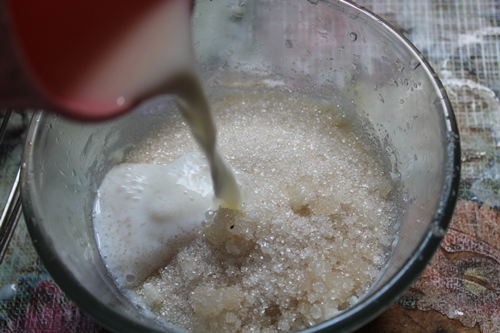
8)Pour in milk. Make sure the milk is luke warm and not fridge cold.
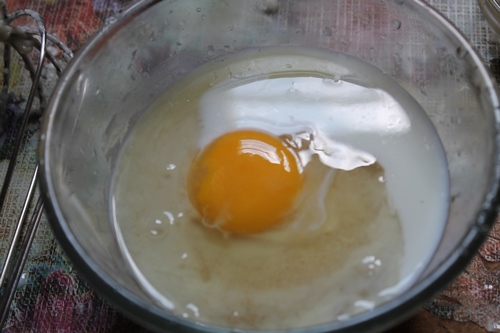
9)Add in one egg.
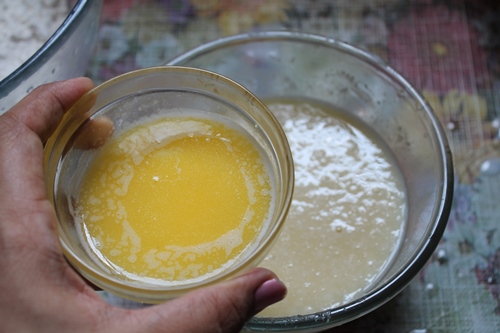
10)Pour in the melted butter over the egg.
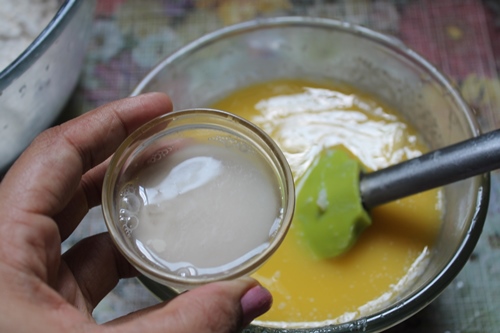
11)Add in the activated yeast mixture.
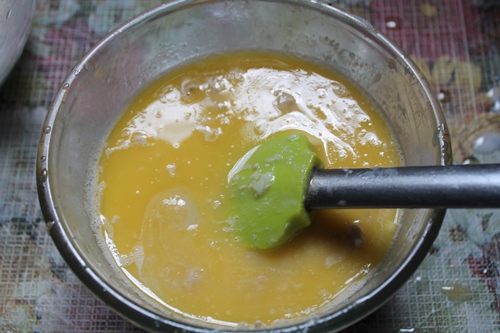
12)Mix this well. This is your wet ingredients. The sugar should be melted completely.
Make Sweet Bun Dough
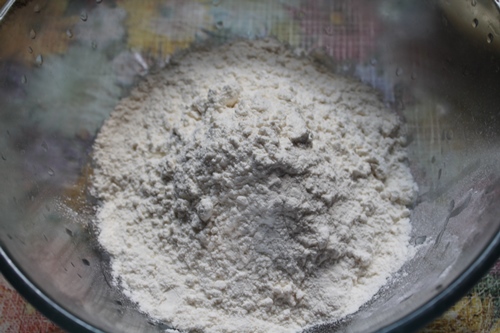
13)Take 2 cups of plain flour in a bowl.
14)Pour the wet ingredient over the plain flour.
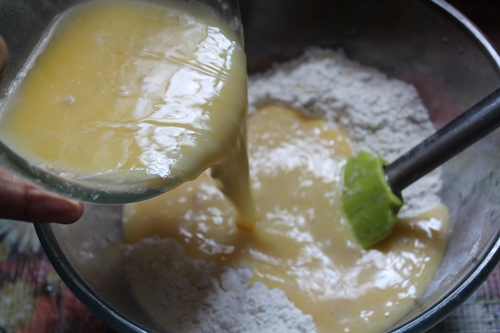
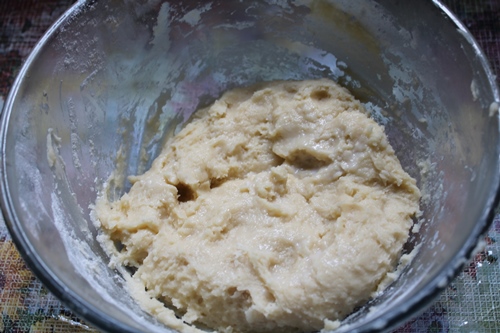
15)Mix well so the flour is completely hydrated. It will form into a sticky dough.
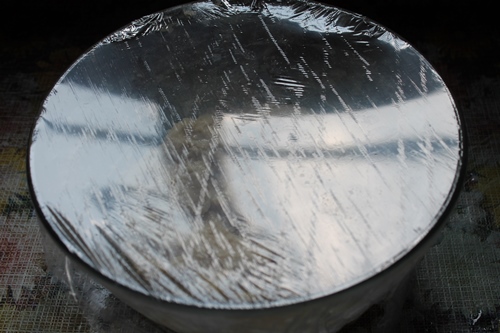
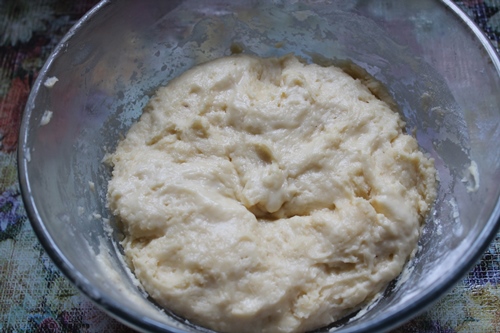
16)Cover the dough with a plastic wrap. Allow it to rest for 1 to 2 hours till the dough doubles in volume.
17)This is how it looks risen. It has risen almost doubled in volume.
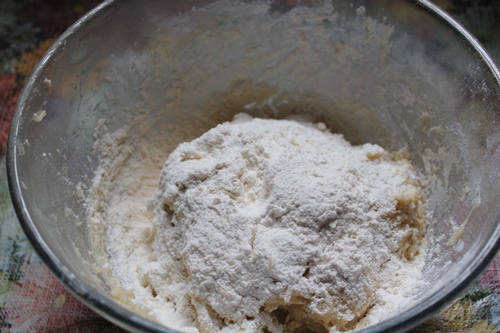
18)Now add in ½ cup of flour and knead for 8 to 10 minutes. If your mixture is too sticky, add more flour as required.
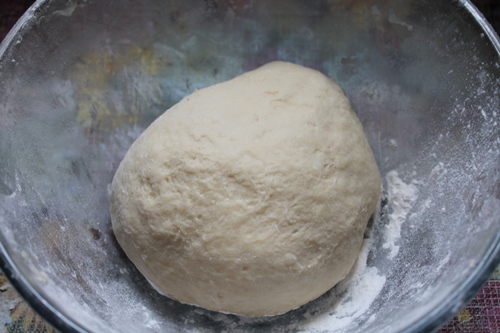
19)Now the dough is well mixed till soft and supple.
Shaping Buns
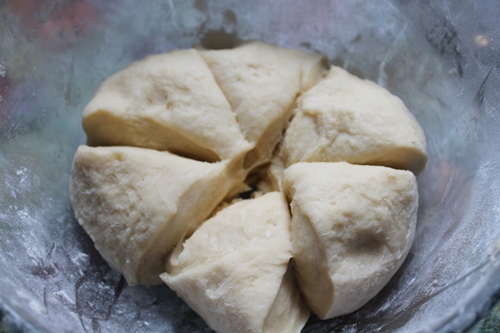
20)Divide the dough into equal portions.
21)take a portion of dough.
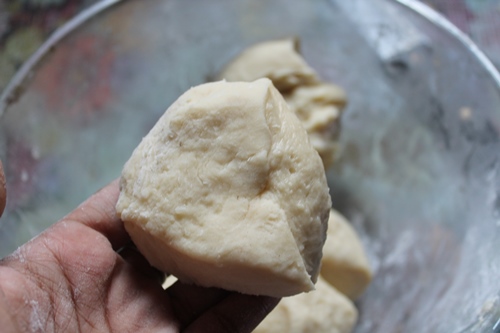
22)Roll it into a smooth and soft round ball.
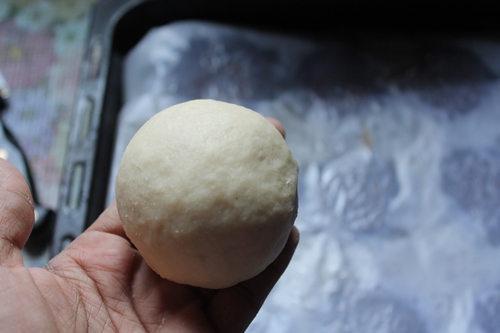
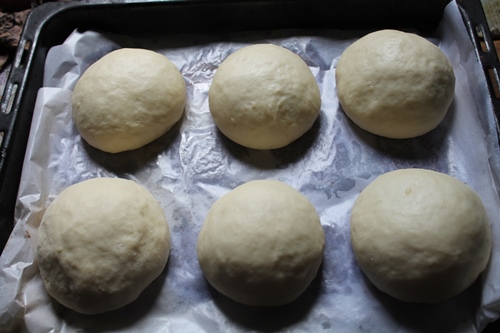
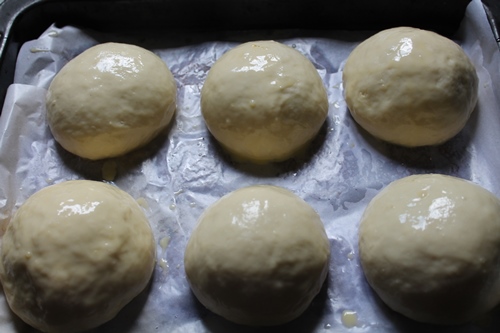
23)Place the buns on a parchment lined baking tray.
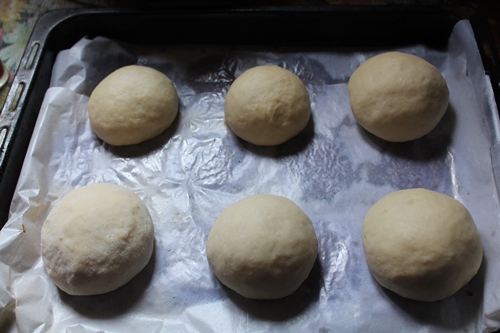
24)Cover the tray with plastic wrap and allow it to rise for 1 hour till the bun is doubled in size.
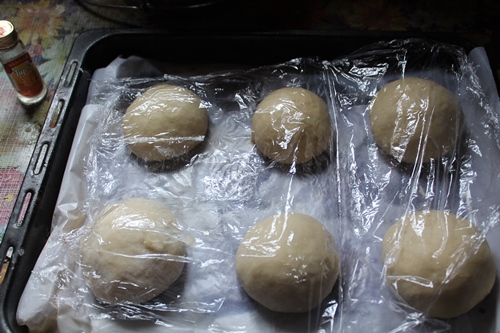
25)Look how puffy the buns look. During the last 10 to 15 minutes of the buns proofing, preheat oven to 180 degree C.
Egg Wash
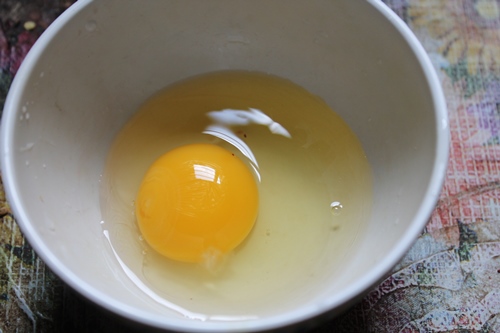
26)Lets make egg wash. Take one egg in a bowl.
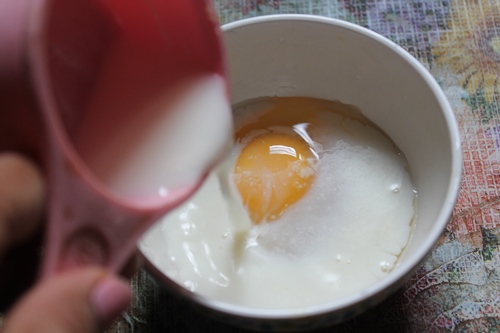
27)Add in a splash of cream or milk over the egg.
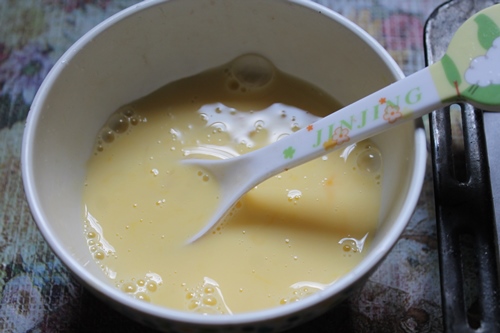
28)Mix it well, this is your egg wash.
Baking Milk Buns
29)Brush the beaten egg mixture over the bun generously.
30)Now place this into a preheated oven and bake for 25 to 30 minutes.
31)Now the buns are baked till golden brown and shiny. Let the buns cool completely before serving.
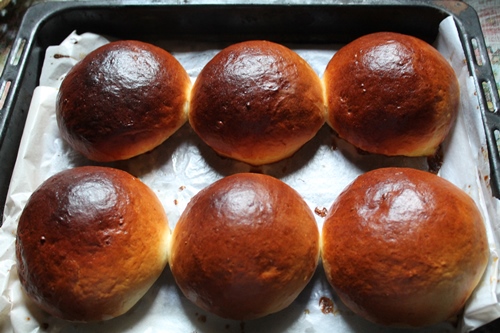
32)Serve buns warm.
Expert Tips
Use room temperature : The ingredients like milk, egg and butter should be at room temperature before mixing. This helps to make an even smooth dough.
Tangzhong paste : After cooking flour and milk into a thick, smooth paste, allow it to cool completely before mixing with other ingredients. If it's too hot, it can affect the yeast and the dough may not rise properly.
Double rise : After shaping the buns, allow them time for a second rise. Skipping this step can make the buns dense instead of soft and fluffy.
Brushing : Brush the shaped bun with an egg wash before baking. This gives them a beautiful golden shiny top.
Storage : Store the leftover milk bun in an airtight container. They stay fresh at room temperature for about 2 to 3 days. If stored in the refrigerator, microwave the buns for 10 seconds to make them soft again.
Serving: Serve these delicious milk buns warm with butter or spread with nutella, peanut butter or jam. These buns are also perfect for breakfast toast or serve as a snack along with coffee or tea.
FAQ
The soft texture comes from using the tangzhong roux starter paste. This method helps the dough to retain more moisture and make them extra soft and fluffy.
Yes, you can replace milk with soy milk, almond milk or oat milk if needed. But the taste and texture may slightly vary.
There could be a few reasons like the yeast wasn't activated properly or the dough didn't rest long enough for rising. Make sure to activate the yeast in warm water and give the dough enough time to rise before baking.
Yes, you can prepare the tangzhong paste in advance and store it in the fridge for 2 to 3 days. Always check that it smells good before using.
📖 Get Recipe
Sweet Milk Buns Recipe (Soft Milk Buns)
Equipment
Ingredients
- 2½ cup All Purpose Flour (Plain Flour) 300 grams
- 1 medium Egg
- ½ cup Milk 120 ml
- 40 grams Butter melted
- ⅓ cup Granulated Sugar 60 grams
For Activating Yeast
- 2 teaspoon Dry Yeast
- ½ teaspoon Sugar
- 2 tablespoon Luke Warm Water
For Tangzhong Paste
- 2 tablespoon All Purpose Flour (Plain Flour)
- ¼ cup Milk
For Egg Wash
- 1 medium Egg
- 3 tablespoon Milk
Instructions
- Tangzhong paste - First make the tanzhong, take flour and milk in a sauce pan, heat it on low heat till it gets pasty like. Remove and set aside to cool.
- Activating Yeast - Take yeast in a bowl, add in sugar and pour in warm water and let it sit for 5 mins or so till it gets foamy.
- Mix wet Ingredients - Now take the tangzhong paste in a bowl, add in sugar, ½ cup of milk, egg, melted butter, yeast liquid and mix really well.
- Make dough - Take 2 cups flour in a large bowl, add this sugary liquid into the flour and knead to a sticky dough. Cover and set aside for 1.30 hours to 2 hours till the dough is doubled in size. Once risen, add more ½ cup flour and knead it for 10 mins or so till it is soft, smooth.
- Shaping Buns - Divide it into equal portions. Take one portion and roll it into a smooth ball. Arrange it in a parchment lined baking tray and cover with plastic wrap. Set aside for 1 hour or so till it is doubled in size.
- Preheating Oven - In the last 10 mins of the proofing stage, preheat oven to 180 degree C (360 degree f)
- Egg wash - Now mix egg and milk for egg wash and use a brush to paint this all over the buns.
- Baking buns - Now bake this in the oven for 25 to 30 mins till the top is golden. Remove it and let it cool for 5 mins. Remove it serve warm with a cup of milk.


srianth
How can we make bun without using egg
Anonymous
Dear aarthi pl give me suggestion can we use active dry yeast. if we use is that also need to be activated with luke warm water. then can I do this recipe in convection mode of microwave oven
sindhuja
Nice one..sure will try..
Aarthi
@srianthjust skip eggs and add more milk
Aarthi
@AnonymousIf u use active dry yeast, no need to activate it
neha saxena
Hi how can i make them in convection microwave? Which mode should i use? Grill, micro, convection? Coz if i use convection things gets too hard!! I am so upset coz of that! Pls help! Thanks
Anonymous
thank u aarthi I am looking your recipes only before few days I am very much impressed with ur recipes and tried ur thalapakatti biryani it turns very yummy and ur presentation is very detail thank u
Aarthi
@neha saxenaConvection should be used. DOnt over bake. if u do then it will get hard
Anonymous
Luv ur recipes. ..hatsoff to u...pictorial makes recipe easier
Rekha
Please tell how much milk to add to replace egg??
Aarthi
@Rekhaadd around 1/4 cup
Anonymous
Can we do it in microwave?? if yes how long baking? ??
ilavarasi ilu
Plz suggest some healthy foods for my 10 months
ilavarasi ilu
Suggest some healthy foods for my 10 months old angel
Aarthi
@AnonymousIf you have convection mode, you can bake, else you cannot.
Deeksha Pathak
Hi aarti..so shiney buns...I didn't understand that why do we have to make the paste....can't we just prepare dough like we do for bread
kalpana
Hi thank you for sharing. Can I use whole wheat powder instead of maida. ?
Aarthi
@kalpanayou could use whole wheat flour, but it will be a little dense...You can use half maida and half wheat flour.
Aarthi
@Deeksha Pathakadding the sticky paste into the dough will result in a really fluffy textured buns
Avni
Hiii Aarthi in pics u hv added tutti fruitty in buns plz mention when to add tutti fruiy ......n ......can v add nuts on top of d bun before baking
Thanks & regards
Avni
Avni
Hiii Aarthi in pics u hv added tutti fruitty in buns plz mention when to add tutti fruiy ......n ......can v add nuts on top of d bun before baking
Thanks & regards
Avni
Aarthi
@Avnicheck this link for the tutti fruity buns
https://www.yummytummyaarthi.com/2015/05/coconut-tutti-frutti-buns-recipe.html
Eshwari
Hi Aarthi.. I have been trying quite few recipes from your blog recently.. They all turned quite good, thanks to your perfect recipes 🙂
I faced few problems while making the sweet buns..
1> I had to add more than 1 cup extra flour to knead the dough after raising it for 2 hours. The dough was too sticky.. Can you help me out if I am wrong somewhere
2> The inside of the buns were fluffy and soft, but the outer layer turned hard.. Any tips here ??
Thank you again for your Yummy recipes, they are a life saver many a times 😉 🙂
Aarthi
@Eshwariits not a issue, you can add as much flour as it needs to make the dough soft.
Brush the top generously with milk or egg, this makes them soft. And never over bake.
Classmates
Hi,
I am new to baking and I tried making bread without loaf pan yesterday (recipe not yours). Even after the prescribed time, 20 minutes, the bread's top portion was still while, so I decided to bake it further 10 minutes, but no good. Finally I changed the oven setting to grill mode with only top element. That made the bread brown on top. But unfortunately, the bread was so hard on the outer part (top and bottom) but it was good inside. I understood that this was because of over baking.
So I approached this recipe with utmost care. I baked on the middle position with Convection mode on (only bottom heating element active). But same result this time also. My bun's top was white, so after 25 minutes, I changed oven setting to convection with top & bottom element active. That brought little bit brown color. Then I moved the rack position one step higher and turned oven knob to grill mode with only top element. Within 1 minute, it got brown.
So total time 31+ minutes. But the bun's bottom was too hard and looked like over baked. But top and center parts were very good.
What could have gone wrong?
I am using Morphy Richard 36L Convection OTG.
Aarthi
@Classmatesit depends for each oven, what you can do it bake till the bread is done, then brush some milk or butter on top and grill for a min for that colour
Anonymous
shall I do this in pressure cooker
Unknown
thanx, it came out nicely, perfect recipe
Dark fury
Hey.. great recepie.. but my buns cracked.. how can I avoid that?
Aarthi
when shaping the buns make sure it is smooth
PriyaKumar
I prepared the buns but I am getting the smell of yeast in a strong flavor..... What shall I do sissy??? Can we add any essence for flavor.
PIyali Chatterjee
Hi Aarathi,
Thank you for taking a lot of trouble sharing this recipe. It’s awesome. I was little frightened while kneading the dough, it was consuming a lot of Flour, but the end result is so good.
Aarthi
Glad you tried and liked it.