
Garlic oil is a simple yet flavourful condiment made by infusing oil with the garlic. It is typically prepared by frying the chopped garlic in oil for about 20 minutes, which results in beautifully fragrant oil. The garlic oil is used for sauteing, marinating, salad dressing or drizzling over food for a burst of garlic savoury depth.
Homemade Garlic Oil
Burnt Garlic or Fried Garlic is new to me. I came across a recipe for noodles which uses this as the main ingredient. I loved it so much, that I want to try it asap. And i finally made it too. As a first step for that noodles recipe, I made this amazing fried garlic. It is so simple to make frankly, it needs only garlic and oil.
Jump to:
About Garlic Oil
Infused oils act as a flavouring agent used to enhance cooking without any spices or herbs. Garlic oil is made by gently frying chopped garlic in oil over low heat, helping you to achieve golden, crispy garlic bits and a flavourful infused oil. Once prepared, both the fried garlic and the oil can be stored in the refrigerator for up to a few months. This garlic oil is used to enhance the flavour in many varieties of recipes such as stir-fries, soups, salads, breads, and noodles.
Garlic oil is so versatile and staple in many Asian cuisines, where it used to add aroma and elevate the dish with its deep, garlicky essence. This homemade garlic oil is natural, preservative free and versatile. Infused garlic oil helps to elevate the simple recipes like pasta, rice, noodles, soups or roasted veggies.
WHY THIS RECIPE WORKS
Quick and healthy : Garlic oil is so easy to make with the staple ingredients at home. It doesn't require any fancy items and has no added preservative. With just two ingredients, you can make a restaurant worth infused oil to elevate your dishes to the next level.
WHY I LOVE THIS RECIPE - I love using as much garlic in my everyday cooking. So when I came across this recipe, I just thought of making my own garlic oil. It is a wonderful culinary experience that offers an aromatic flavour and I had control over the ingredients. Whereas the store bought ones are super expensive and contain added preservatives. Using homemade garlic oil is an excellent way to elevate your everyday meals like pasta, rice, bread, roasted vegetables or even maggi to restaurant level taste.
Versatile : This recipe is so versatile and adaptable. You can try various cuisines like Asian to Italian by using different oils for infusion like sesame oil, olive oil. The base can be easily customized with herbs like thyme, rosemary, oregano and chilli flakes.
Ingredients
OIL : Oil is used for frying and also for infusing. So use any neutral oil like canola oil, vegetable or light olive oil for frying the garlic. For Asian based infusion, some may use sesame oil also for frying.
GARLIC : Garlic is the heart of the infusion, which provides the aroma and depth to the oil. Use fresh, firm and good quality garlic cloves.
Hacks
Peeling garlic : Peel the skin of the garlic. Wash and dry clean it before using. Then chop them into small pieces.
Stove top cooking : In a sauce pan, add oil. Once the oil is warm, add the chopped garlic. Fry them in low flame until it turns golden brown color. Patience is the key. Don't burn the garlic. Remove from heat and let it cool down completely.
Oven method : Preheat the oven to 180 degree celsius. In a baking tray, spread the garlic and pour the oil on top until the garlic submerged. Cook in an interval of 5 to 10 minutes. Keep an eye on the oven to ensure it is not burnt.
Sterilizing the jars : In a wide bottomed pan, bring water to boil. Once it has started boiling, immerse the container that you are going to store the oil in. Place it in the water for 10 minutes. Then take it out using a tong or a cloth. Completely clean and dry it before storing the oil.
Straining : Allow the fried garlic and oil to come to room temperature before storing. Strain them using a mesh sieve or a cheese cloth.
Garlic Oil (Step by Step Pictures)
|
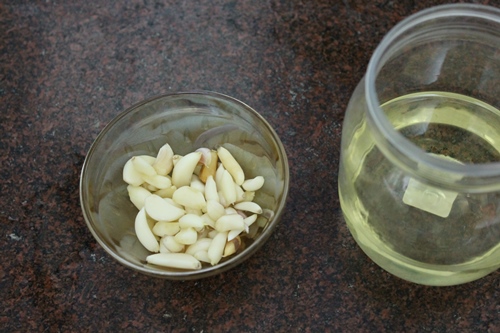
| You will need oil and garlic |
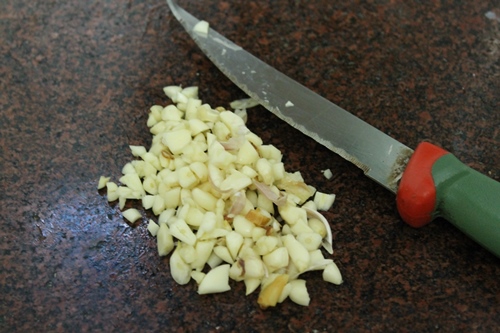 |
| Chop the garlic |
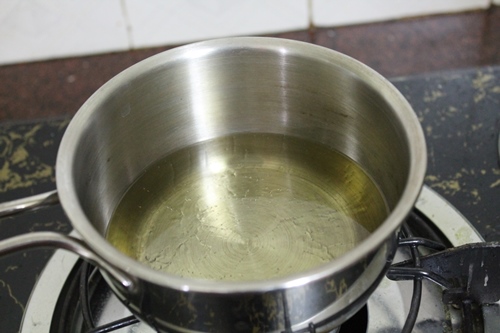 |
| Heat oil |
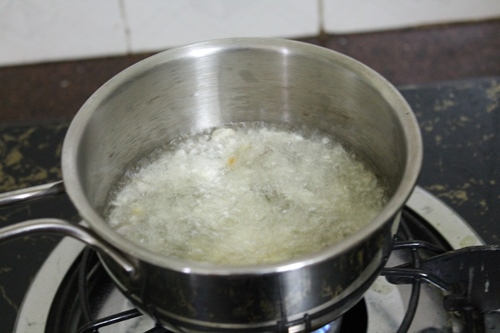 |
| Add the garlic |
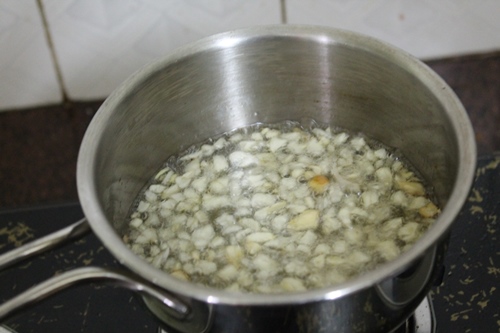 |
| Keep frying |
 |
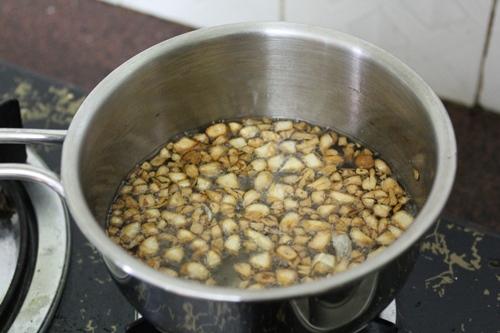
| Cook them |
 |
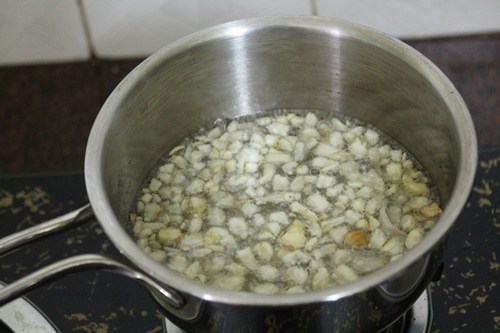
| They will turn light golden first |
 |
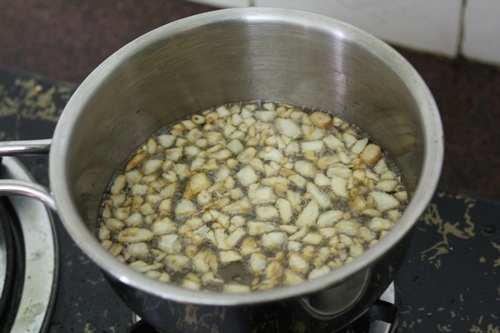
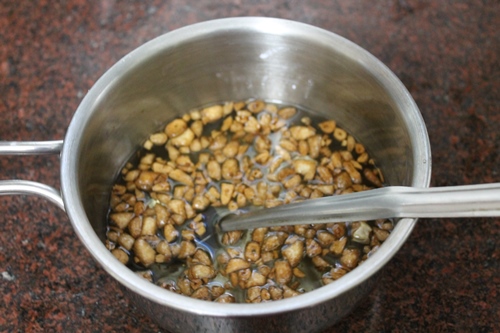
| Now they are little dark |
 |
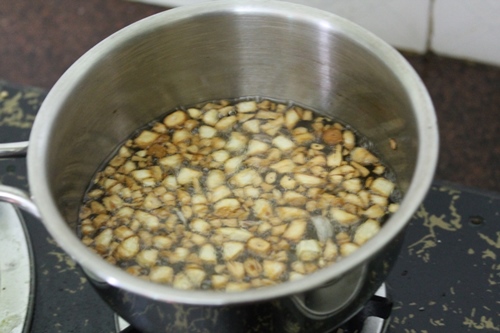
| Now they are crispy and golden |
 |
| They will keep on cooking as it cools |
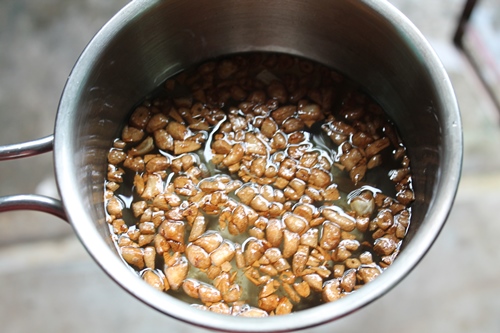 |
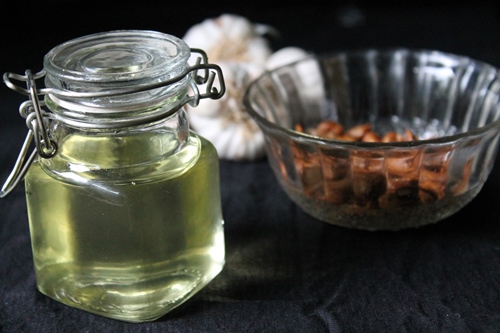
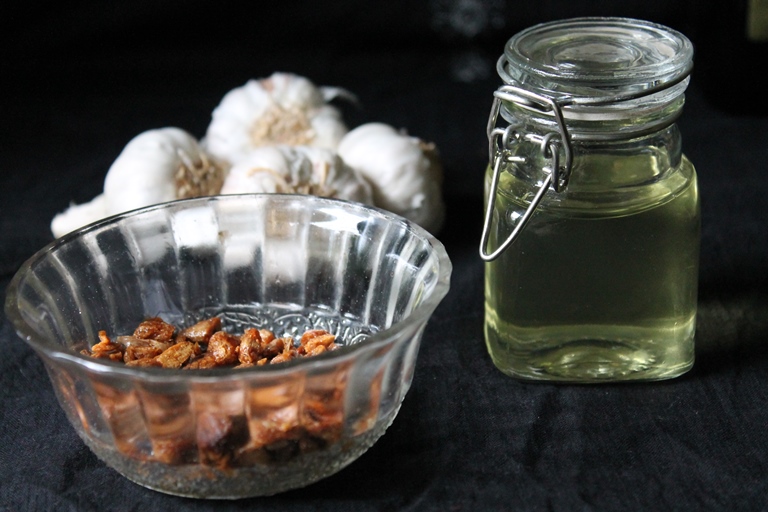
| This is how it looks once it is cold |
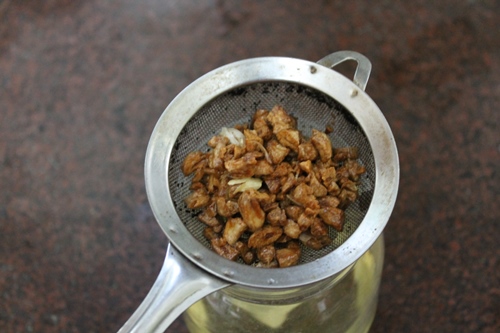 |
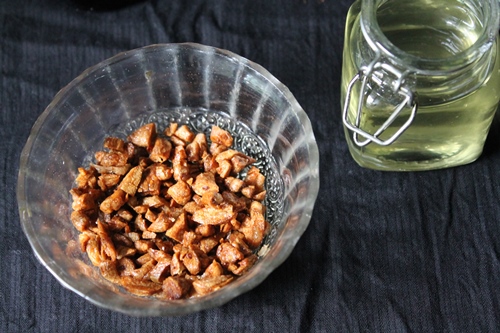
| Strain it |
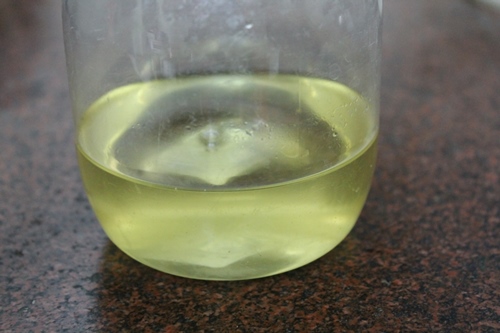 |
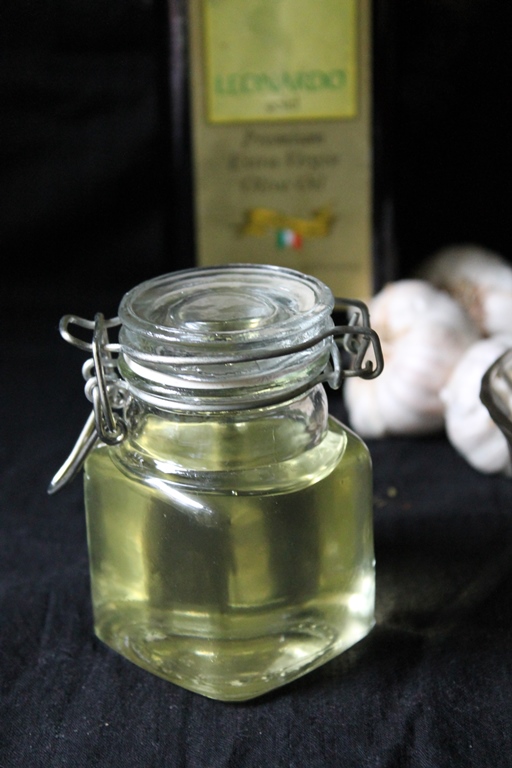
| Lucius garlic oil |
 |
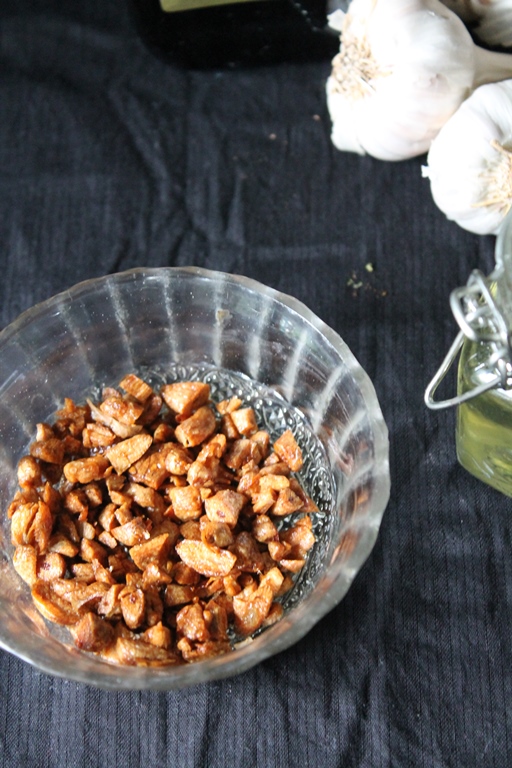
| Beautiful golden fried garlic |
 |
| You can use this in stir fries, fried rice or even noodles |
|
| Store this oil in fridge and use it in your dishes.. |
Expert Tips
- You can use a thermometer to check the oil temperature which helps to prevent burning.
- For salad dressings, you can mix the garlic oil with balsamic vinegar for added flavour.
- Don't cook in high heat and fast which may lead to garlic bitterness. Slow cooking is the key.
- Infuse the oil with other aromatic herbs like thyme, rosemary, chilli, lemon, parsley for added flavour.
- Don't use any plastic containers for storage.
- You can use the oil to crease the tray while baking savoury bread.
Storage
Fried garlic can be stored separately in an airtight container at room temperature for 2 to 4 weeks. Whereas the infused oil should be stored in the refrigerator. It stays good for up to a month. You can freeze the garlic oil in an ice cube tray. It comes in handy for single serve purposes.
Serving : The infused garlic oil can be used to spread them on garlic bread, naan, pizza, roti. It can be served by mixing along with hummus, mashed potatoes, roasted vegetables or for any marination. It can also be used for tossing the noodles, rice, and pasta.
FAQ
1.Can I use olive oil?
Yes ! You can use olive oil. But make sure to use light or refined olive oil to prevent overpowering the garlic flavour.
2.Can I add herbs?
Absolutely. You can add any herbs of your choice like rosemary, thyme, parsley or red chilli to create different infused flavours.
3.What is the difference between garlic confit and garlic oil?
Garlic confit is mainly prepared by slow cooking the whole garlic cloves in oil with some added herbs. Garlic confit will be soft and buttery which is used in bread or mixed into salad. Whereas garlic oil is prepared by frying the finely chopped garlic in oil. At the end, the oil is strained after frying. The infused garlic oil is used in many dressing, drizzling or cooking.
4. Can I use dried garlic for making oil?
For fresh, vibrant and pungent flavour use fresh garlic. Dried garlic may be used when you don't have time to peel or access to fresh ones. But it may yield different flavors and have less shelf life.
Variations
Chilli oil : Try to infuse the oil with other spices like red chilli, coriander or cumin. My most favourite is chilli infused oil. I used the chilli oil to make Singapore fried rice, dumplings and noodles. It is our family favourite recipe.
Garlic herb oil : Add fresh thyme, rosemary, basil or oregano while infusion. It is generally used for making pasta and bread.
Lemon garlic oil : Add a lemon zest or lemon juice to the infused oil. It tastes so fresh and citrusy. It is generally used for baked salmon or roasted vegetables.
Garlic mayonnaise : While preparing the mayonnaise in a blender, use this infused garlic oil instead of regular oil to make your own garlic mayonnaise at home.
More Homemade Stuffs
📖 Get Recipe
Homemade Garlic Oil Recipe
Equipment
Ingredients
- 1 cup Oil Vegetable Oil or Light Olive Oil
- 20 cloves Garlic peeled and chopped finely
Instructions
- Peel Garlic and chop them very finely.
- Take a clean sauce pan and heat oil in it. Once the oil in warm, add the chopped garlic in it and keep cooking in a very low flame. It will take around 8 to 10 mins for the garlic to turn into golden.
- Don't over fry the garlic, because the garlic keep on frying in hot oil as it cools. Turn of the stove when the garlic turns a couple shades darker.
- Let it cool completely. Now the garlic must be golden and crispier.
- Drain the oil using a sieve. Place the drained fried garlic in a paper towel and remove the excess oil.
- Store the fried garlic and garlic oil in a sir tight container in fridge and use accordingly.
Notes
- You can use a thermometer to check the oil temperature which helps to prevent burning.
- For salad dressings, you can mix the garlic oil with balsamic vinegar for added flavour.
- Don't cook in high heat and fast which may lead to garlic bitterness. Slow cooking is the key.
- Infuse the oil with other aromatic herbs like thyme, rosemary, chilli, lemon, parsley for added flavour.
- Don't use any plastic containers for storage.
- You can use the oil to crease the tray while baking savoury bread.
Storage
Fried garlic can be stored separately in an airtight container at room temperature for 2 to 4 weeks. Whereas the infused oil should be stored in the refrigerator. It stays good for up to a month. You can freeze the garlic oil in an ice cube tray. It comes in handy for single serve purposes. Serving : The infused garlic oil can be used to spread them on garlic bread, naan, pizza, roti. It can be served by mixing along with hummus, mashed potatoes, roasted vegetables or for any marination. It can also be used for tossing the noodles, rice, and pasta.Nutrition
Tried this Recipe
Mention @yummytummyaarthi or tag #yummytummyaarthi!If you have any questions not covered in this post and if you need help, leave me a comment or mail me @aarthi198689@gmail.com and I'll help as soon as I can.
Follow me on Instagram, Facebook,Pinterest ,Youtube and Twitter for more Yummy Tummy inspiration.


Pretend Chef
Fantastic!
Unknown
Too good Aarthi! Have been a regular at your site. Its a huge storehouse of recipes! Wanted the hummus recipe and now I have the pesto, the tahini and what not! God bless u!