
Addictive Chilli Crisp Recipe with Step by Step Pictures. Flavourful, Perfect, Umami chilli oil made asian style at the comfort of your home. Make Restaurant style dishes using this aroma packed chilli oil which adds a kick to your Noodles, Soups, Eggs, Ramen & the Options are Endless!
Chilli Crisp Recipe
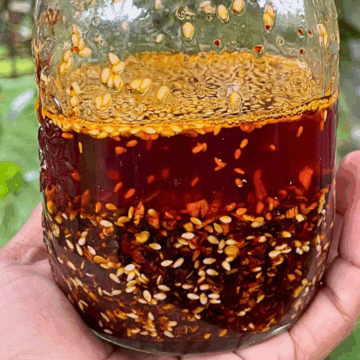
Chilli Oil is a very popular condiment all over Asia. This addictive condiments adds an instant kick to your dishes and it amp up the flavour in a spoonful. It is a very new condiment in my life and I discovered it very recently and I am hooked to it.
Momoya chilli oil is the first ever bottle of chilli oil which I bought. And I think it is one of the best. I am take the bottle in less than a week. It is so addictive that you want to put it on every dish. I bought my chilli oil during our trip to Malaysia. When I looked to buy it online I couldn't find the same brand anywhere that's when I decided to make my oh chilli oil.
I browsed all over the Internet for the for the best chilli oil recipe. I came across tons and tons of recipes with different variations. Finally I decided to stick to the ingredients which is mentioned in the chilli oil bottle and I gave my own little spin to it.
About Chilli Crisp (Chilli Oil)
Chilli Crisp is a very popular continent all over Asia. It is usually served as a topping for noodles, Ramen soup, Fried eggs. This basic condiment is made using garlic, onion, ginger, chilli flakes, sugar, soy sauce.
It is very easy to make at home. All you need is a very basic simple ingredients which you already have at hand and a little extra ingredients which is exclusive for this recipe. I will try to link all the ingredients which I used here.
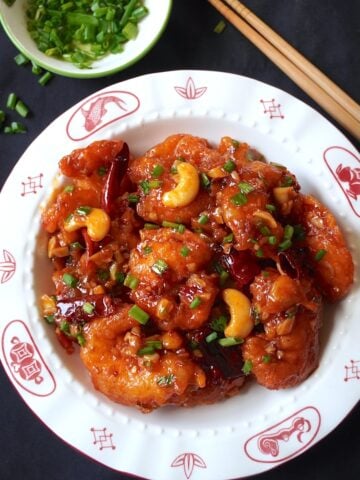
Chilli oil most amazing condiment in the whole world. You can add it to anything you want starting from your breakfast eggs, rice, fried rice and even soups. It can be mixed with fried rice, noodles to amp up the flavours.
Here are some ideas to use chilli oil.
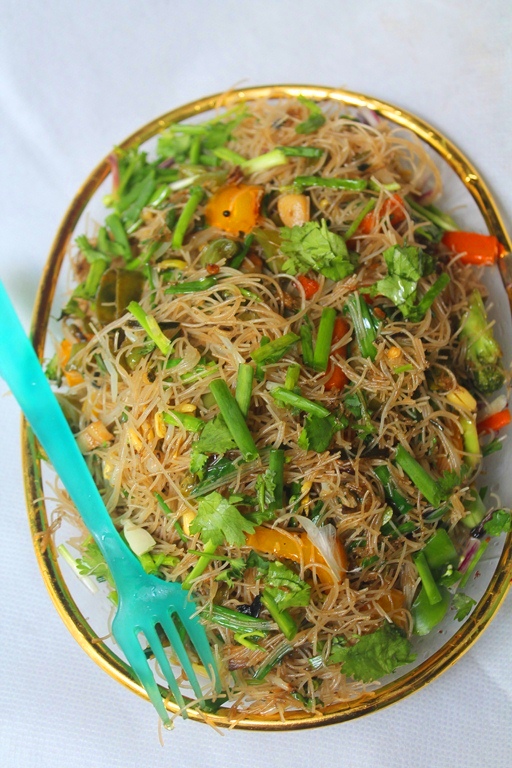
- Drizzle over cooked noodles and top it with fried eggs, chopped scallions to make an instant chilli oil noodles.
- Drizzle over boring soups to add an instant kick.
- Serve it with cooked rice, fried eggs which makes a late night meal.
- Breakfast fried eggs, poached eggs, boiled eggs gets an umami touch with this chilli oil.
- Drizzle some chilli oil over dumplings, momos, wontons.
- Take your avocado toast the next level with a drizzle of this magic chilli oil.
Similar Recipes,
FAQ
What is Chinese chilli oil made of?
Chinese chilli oil has an addition of whole spices like cinnamon, cloves, cardamom, star anise.
How long does chilli oil last homemade?
Homemade Chilli oil can be preserved more than a month in fridge.
Expert Tips
- Spices like cinnamon, cloves, star anise, bayleaf can be added in your oil along with garlic and ginger.
- Sliced garlic and onion can be used in the chilli oil if you want your oil to have crispy garlic chips.
- Fennel seeds can be used in the oil to give a nice refreshing aniseed aroma.
- To get the smokiness, you could use Schezwan peppercorns.
- Finely chopped peanuts can be used in the oil to add a crunchy texture.
- Some people like to add dried garlic and onion instead of fresh ones, but I prefer using fresh ingredients.
Ingredients
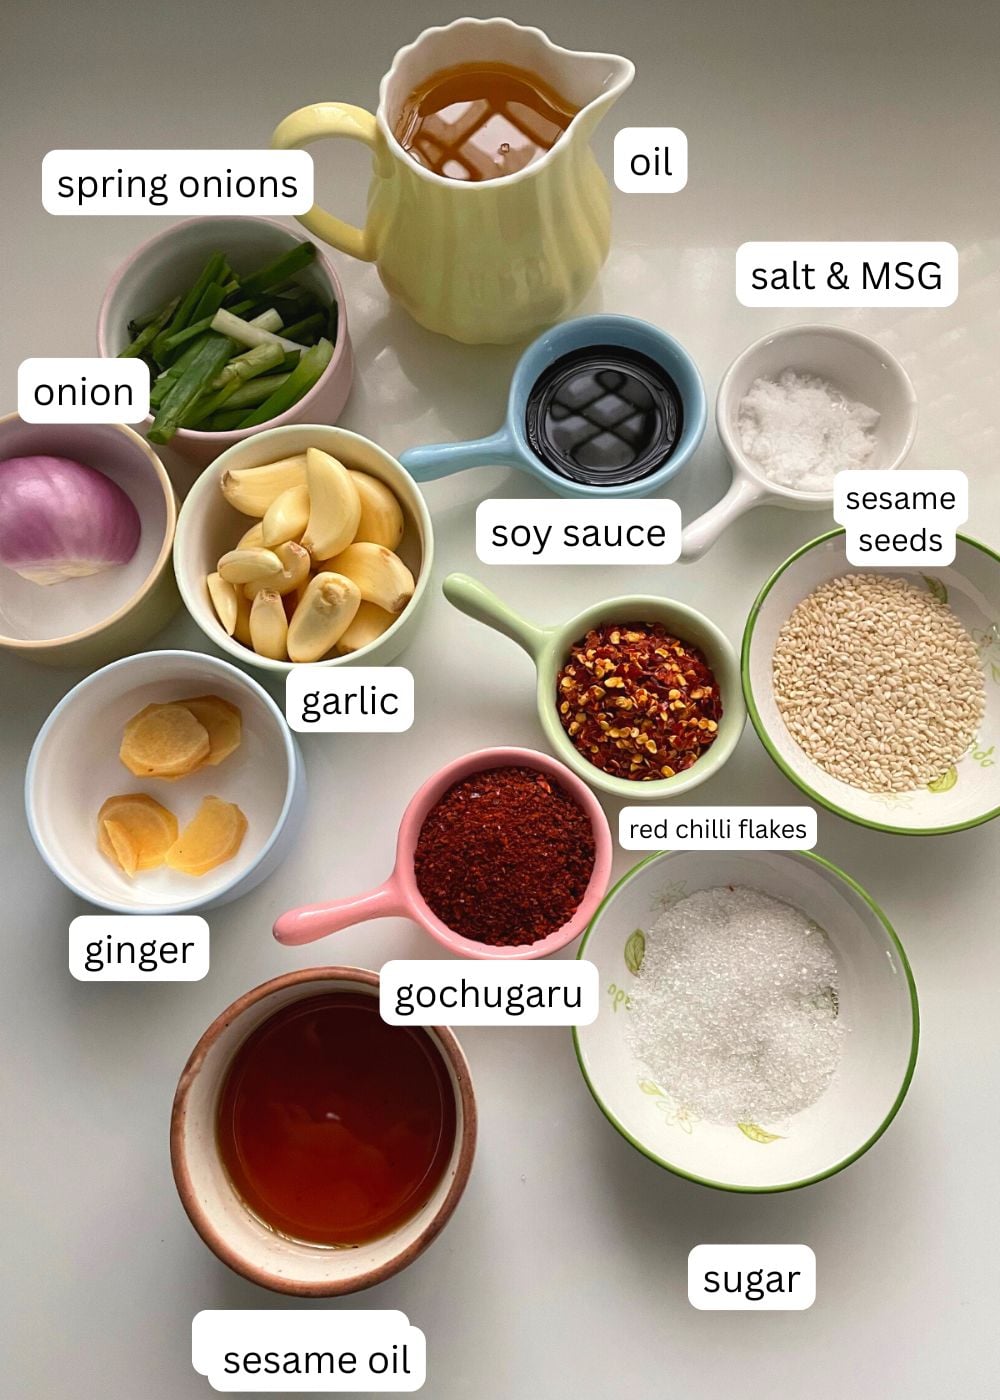
Fresh Ingredients- I like to use basic fresh ingredients like onions, ginger, scallions and lots and lots of garlic. Since I want my chilli oil to have dominant garlic flavour. You can increase the amount of onion which you add in the chilli oil if you want that flavour to shine.
Oil - I like to use a combination of refined oil and toasted sesame oil to get the perfect balance of taste and texture. Refined oil have high smoking point so I can get my garlic crispy to my liking without getting the house all smoky. You can use canola oil, vegetable oil, soybean oil, grape seed oil. Toasted sesame oil is added at the end to preserve its flavour without heating it too much.
Chilli Flavourings- a combination of hot red pepper flakes and gochugaru my chilli oil. The red pepper flakes add is the spice and gochugaru add the colour. You can skip gochugaru and use paprika or chilli powder instead.
Umami Ingredients - Chilli oil gets it taste through the special ingredients which you add it to it which gives the Umami flavour. I like to use mushroom powder or miso powder. But the best tasting chilli oil is achieved by using the good'ol MSG.
Seasonings - Make sure you balance the taste by adding salt, sugar, soya sauce as per your taste buds.
Step by Step Pictures
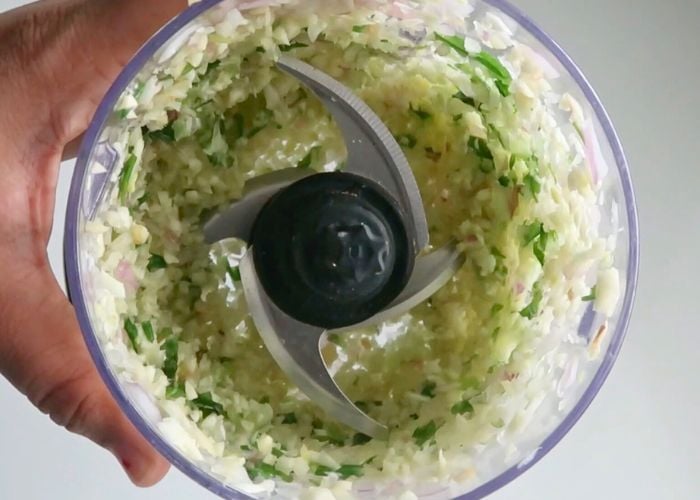
1) Take garlic, onion, spring onions, ginger in a food processor and chop it finely. If you don't have a food processor, use your knife to chop it pretty finely. Set aside in a bowl.
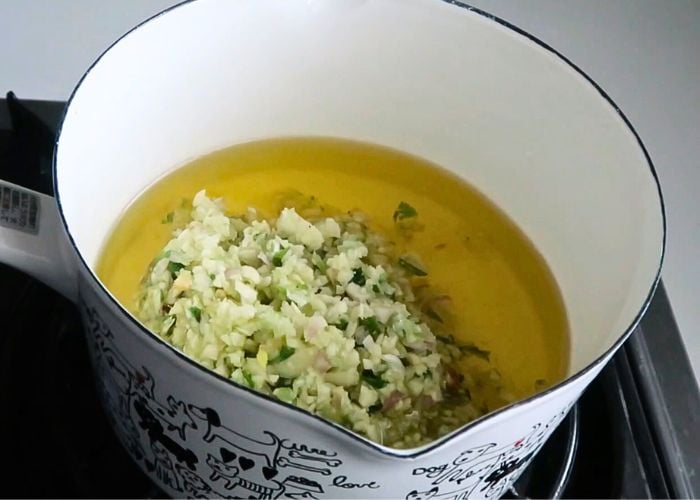
2)Take a sauce pan. Add in oil, I used refined oil in this recipe. Add the chopped ingredients in cold oil. Now heat the sauce pan and cook this on very low heat for 10 to 15 mins stirring constantly.
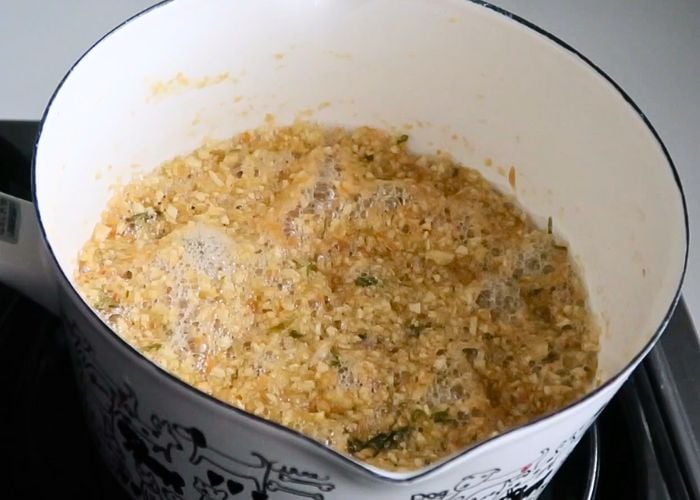
3)First the mixture will start to foam up because of the water content in onion and garlic, later the ingredients start to get crisp. After 10 mins or so you can see the garlic get crispy.
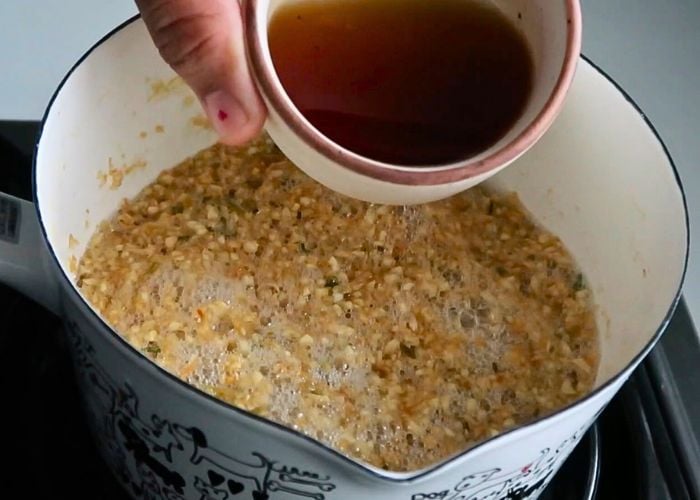
4)Now add in the sesame oil which will bring the heat down and will stop the garlic getting burnt.
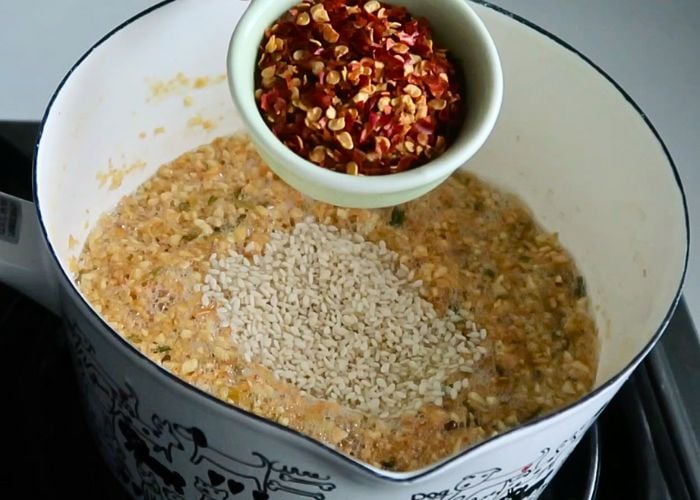
5)Add in chilli flakes, sesame seeds.
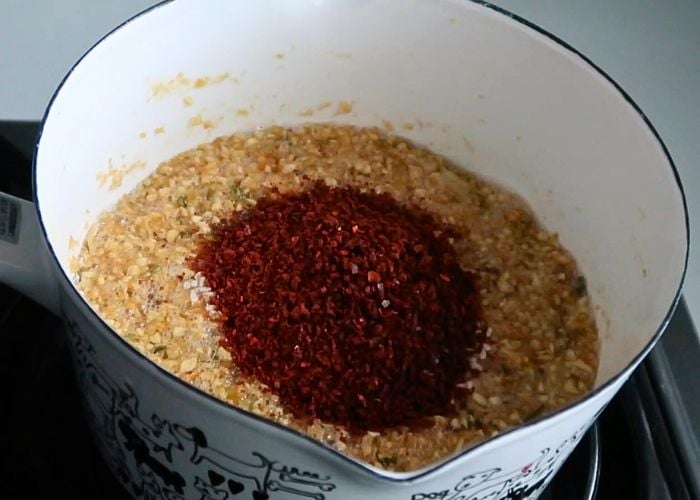
6)Add in gochugaru.
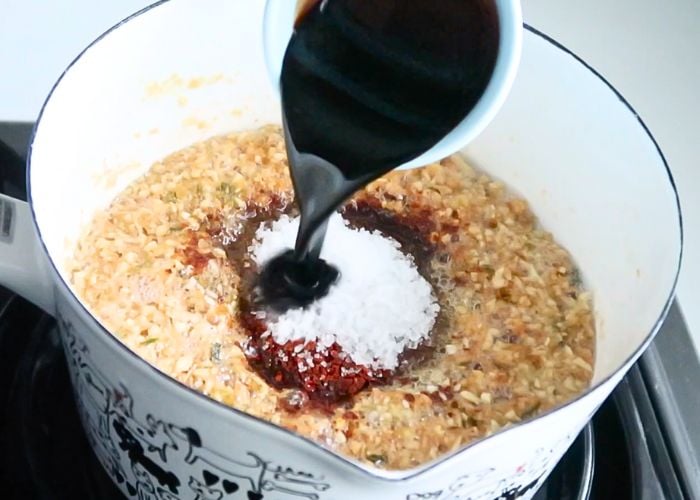
7)Add in salt, sugar, soy sauce and mix well. Let this cook on low heat for 2 more minutes.
8)Take it off the heat and let it cool down completely.
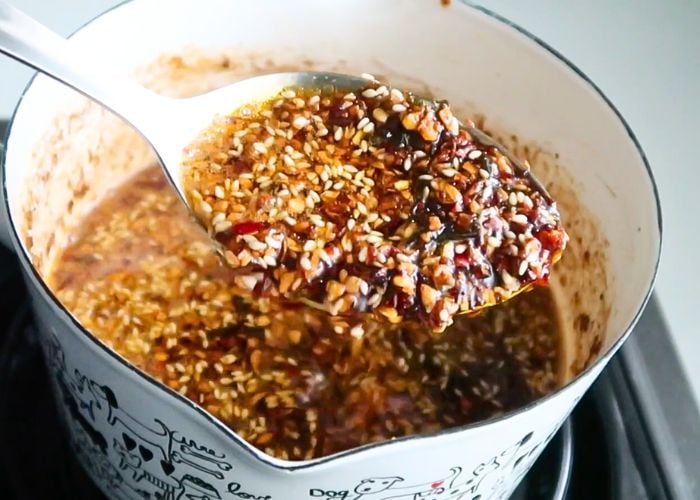
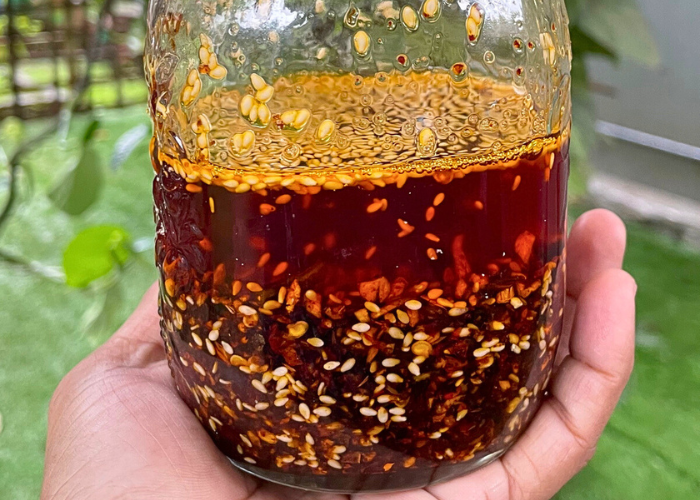
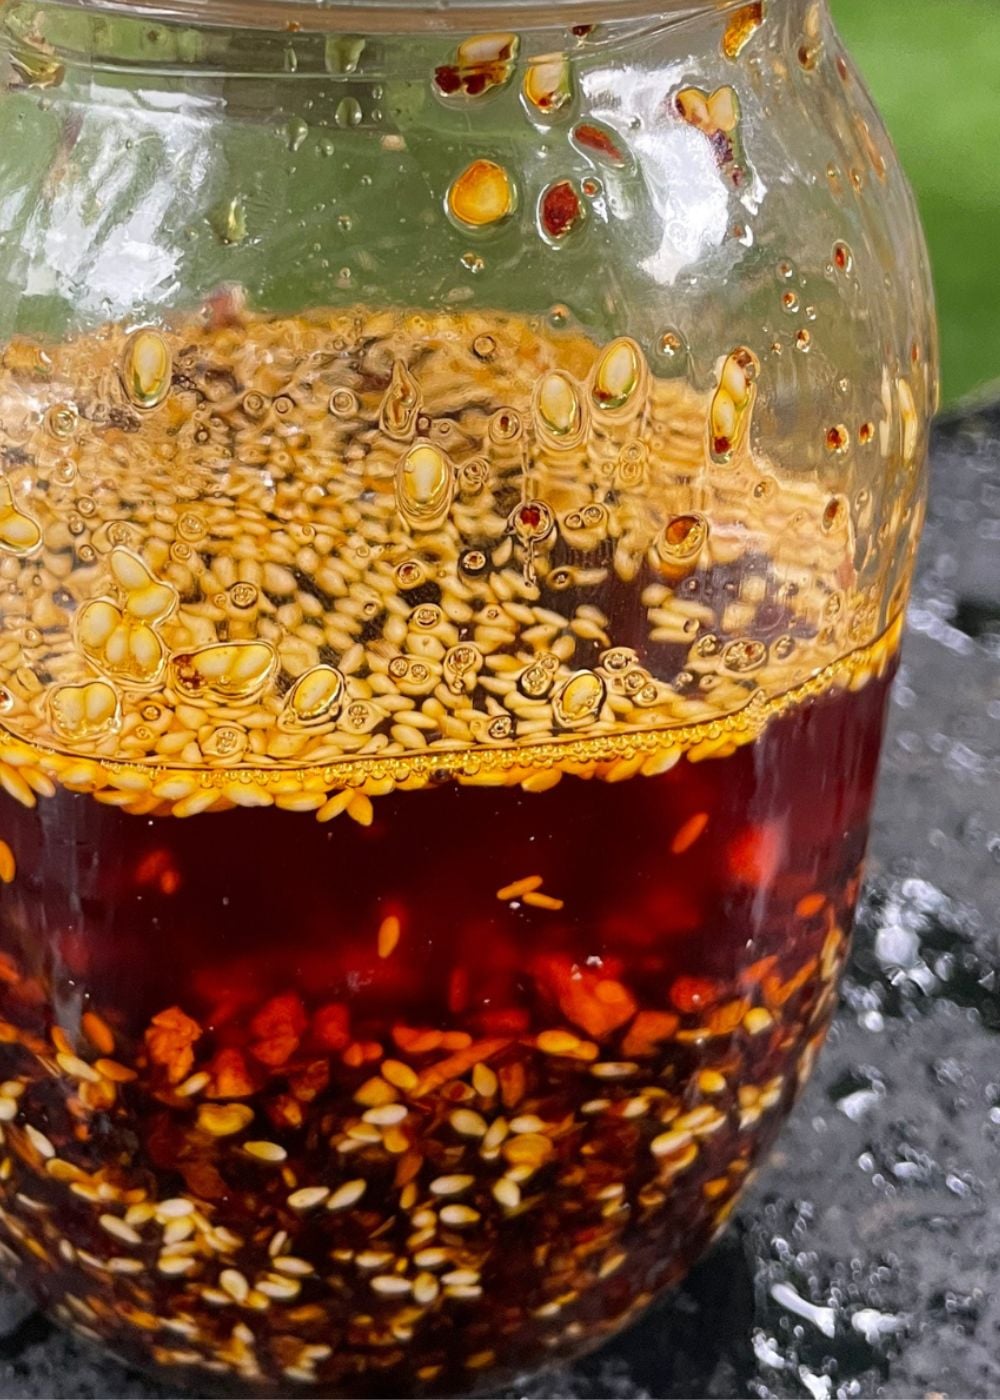
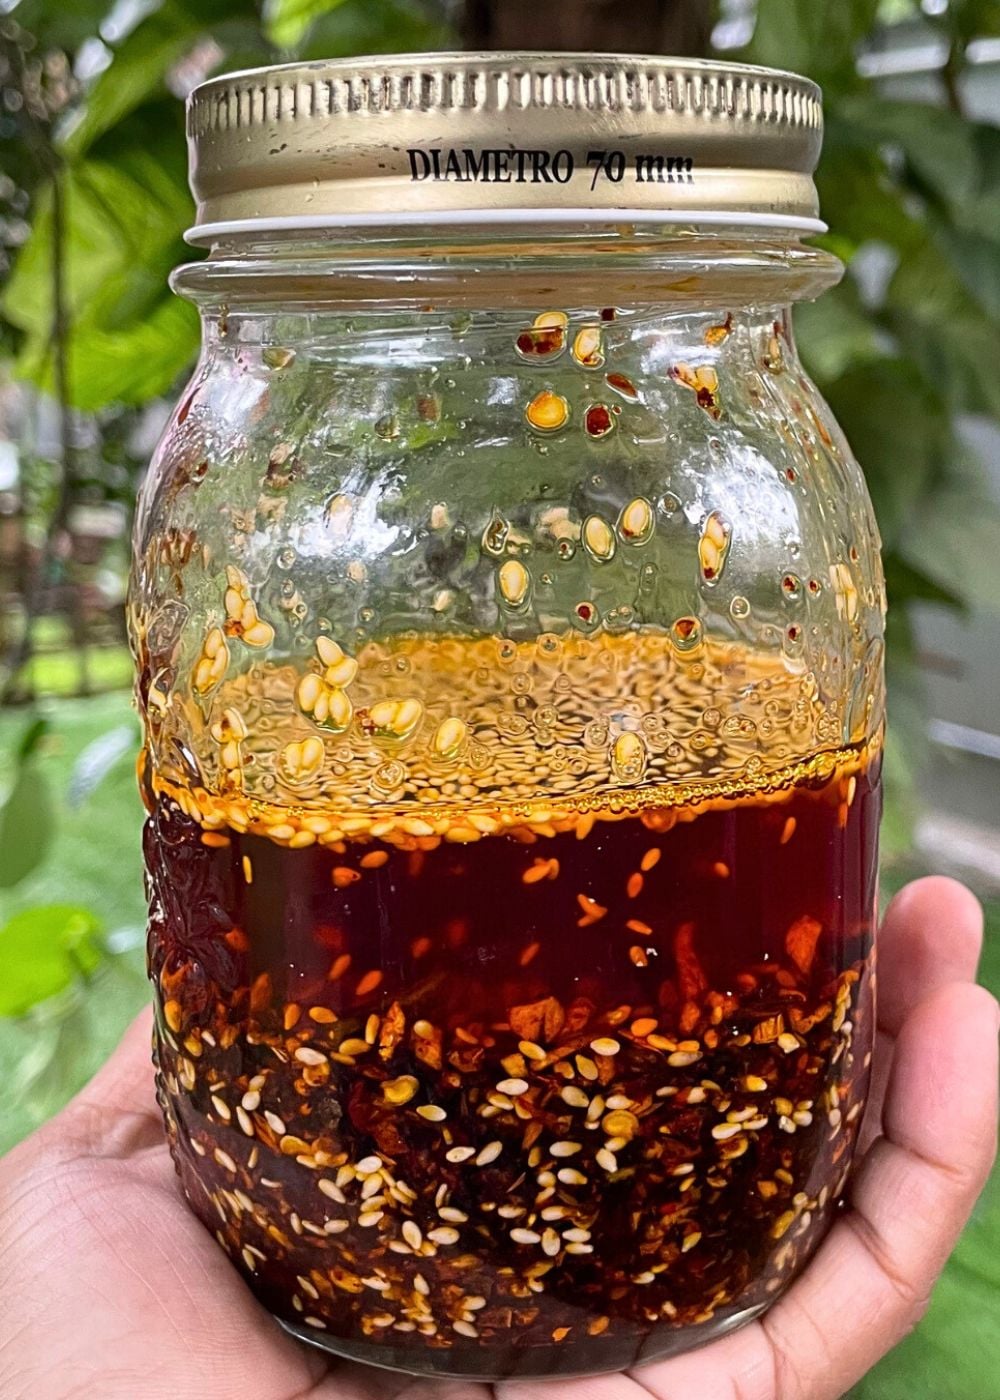
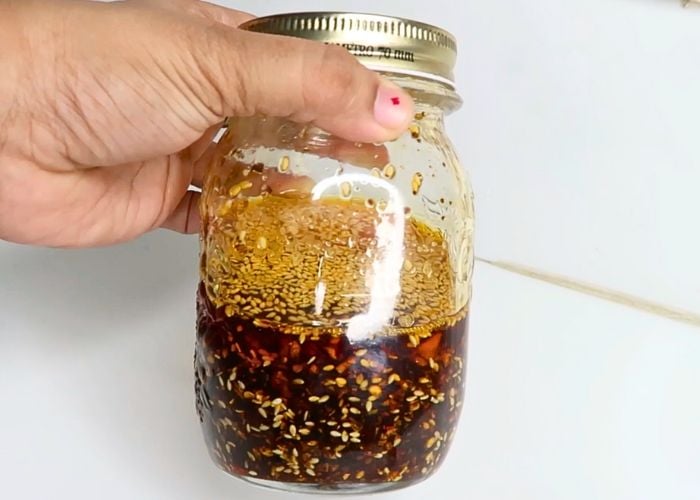
9)Store it in a clean dry bottle. You can keep the bottle at room temperature for a week. If you want to store longer, keep refrigerated.
📖 Get Recipe
Chilli Crisp Recipe | How to Make Chilli Oil at Home
Equipment
Ingredients
- ¾ cup Oil
- ¼ cup Toasted Sesame Oil
- ½ large Onion peeled and roughly chopped
- 3 no Spring Onion roughly chopped
- 2 inch Ginger peeled and roughly chopped
- 20 cloves Garlic peeled
- 4 tablespoon Red Chilli Flakes
- 3 tablespoon Gochugaru Korean Red Pepper Powder
- 3 tablespoon Sesame seeds
- 1 tablespoon Sugar
- 1 teaspoon Salt
- 1 tablespoon Soy Sauce
- ½ teaspoon MSG optional but recommended
Instructions
- Take garlic, onion, spring onions, ginger in a food processor and chop it finely. If you don't have a food processor, use your knife to chop it pretty finely. Set aside in a bowl.
- Take a sauce pan. Add in oil, I used refined oil in this recipe. Add the chopped ingredients in cold oil. Now heat the sauce pan and cook this on very low heat for 10 to 15 mins stirring constantly. You have to cook this mixture on very low heat so the garlic, onion crisp up beautifully without getting burnt. First the mixture will start to foam up because of the water content in onion and garlic, later the ingredients start to get crisp.
- After 10 mins or so you can see the garlic get crispy. Now add in the sesame oil which will bring the heat down and will stop the garlic getting burnt.
- After adding the oil. Add in chilli flakes, gochugaru, sesame seeds, salt, sugar, soy sauce and mix well. Let this cook on low heat for 2 more minutes.
- Take it off the heat and let it cool down completely.
- Store it in a clean dry bottle. You can keep the bottle at room temperature for a week. If you want to store longer, keep refrigerated.
Video

Notes
- The amount of garlic, onion can be adjusted as per your needs and your likings.
- Make sure you cook it on a very low heat to avoid burnt taste.
- Once you add the red chilli flakes don't overcook it else it may get burnt.
- Sesame seeds can be substituted with peanuts.
- MSG can be substituted with mushroom powder or Miso powder.
Nutrition
Tried this Recipe
Mention @yummytummyaarthi or tag #yummytummyaarthi!If you have any questions not covered in this post and if you need help, leave me a comment or mail me @aarthi198689@gmail.com and I'll help as soon as I can.
Follow me on Instagram, Facebook, Pinterest ,Youtube and Twitter for more Yummy Tummy inspiration.


Leave a Reply