
Italian Garlic Knots Recipe with step by step pictures. This recipe is a quick, easy and a fun way to dress up traditional side bread.

Italian Garlic Knots
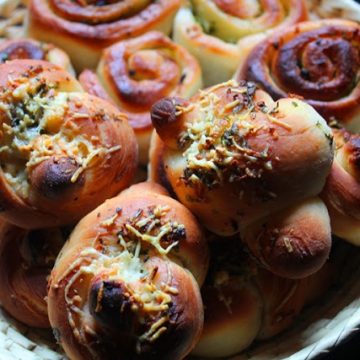
This is my latest favourite, i love homemade buns specially when it has garlic in them it is mine..This stuff has garlic, butter, herb and cheese in them which is my ultimate favourite buns..These makes great for parties along side with some pasta or pizza or some soups..Hope you will give this a try and let me know how it turns out for you..
Similar Recipes,
Garlic Bread
Easy Garlic Bread
Garlic Cheese bread
Easy Garlic Noodles
Garlic Pull Apart Rolls
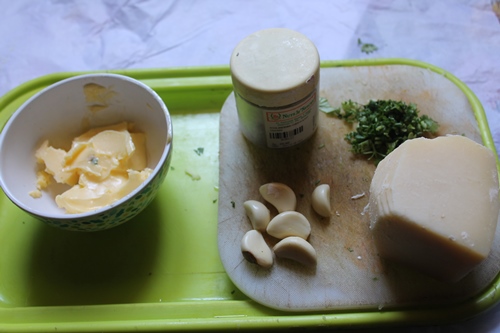
Ingredients for Italian Garlic Knots
For Dough:
- All Purpose Flour / Maida - 3 cup
- Dry Yeast - 1 tbsp
- Salt - 1 tsp
- Sugar-2 tbsp
- Oil- 3 tbsp
- Warm Water - 1 cup or as needed
Garlic Herb Butter:
- Butter - 3 tbsp
- Coriander Leaves - 2 tablespoon finely chopped
- Garlic - 2 cloves grated
- Oregano - 1 tsp
- Cheese for Topping

How to Make Italian Garlic Knots
- Mix yeast and sugar with warm water and set this aside for 5 mins.let it foam up.
- Take flour, salt, oil in a bowl and mix well.
- Pour yeast mix into the flour and mix well to a dough.
- Cover it with plastic wrap or damp cloth and set this aside for 1 hour till it is doubled in size.
- Take all the ingredients given for garlic herb butter in a sauce pan except cheese and heat so everything is melted. Set aside.
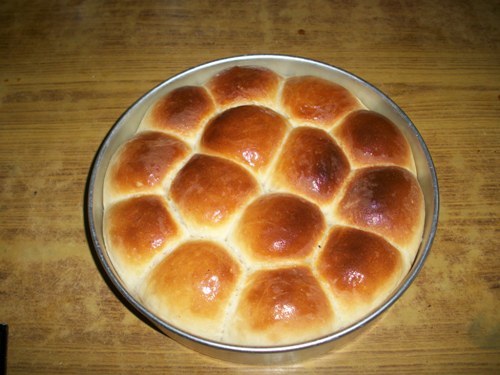
- Now take the dough and divide it into equal portions. Take a ball, roll it out, then make a knot out of it.
- Arrange this in a buttered baking pan leaving little space between each of them.
- Now cover it with a damp cloth and let it rise for 30 to 45 min.
- In the last 10 mins of rising, preheat oven to 220 degree C.
- Just before putting in oven, brush it with the garlic herb butter and sprinkle cheese over it.
- Now place this in the preheated oven and bake for 12 to 15 mins.
- Take it out and apply some butter over the top, so that it looks glossy and shiny.
- Serve hot or warm with a cup of tea.
Notes:
1) I used unsalted butter, so added salt. if you are using salted butter, then dont add salt.
2)You can any herbs, chilli flakes, pepper in the butter.
If you have any questions not covered in this post and if you need help, leave me a comment or mail me @aarthi198689@gmail.com and I'll help as soon as I can.
Follow me on Instagram, Facebook,Pinterest ,Youtube and Twitter for more Yummy Tummy inspiration.
IF YOU MAKE THIS RECIPE OR ANYTHING FROM YUMMY TUMMY, MAKE SURE TO POST IT AND TAG ME SO I CAN SEE ALL OF YOUR CREATIONS!! #YUMMYTUMMYAARTHI AND @YUMMYTUMMYAARTHI ON INSTAGRAM!
📖 Get Recipe
Italian Garlic Knots Recipe
Ingredients
- For Dough:
- 3 cup All Purpose Flour / Maida
- 1 tablespoon Dry Yeast
- 1 teaspoon Salt
- 2 tablespoon Sugar
- 3 tablespoon Oil
- 1 cup or as needed Warm Water
- For Garlic Herb Butter:
- 3 tablespoon Butter
- 2 tablespoon finely chopped Coriander Leaves
- 2 cloves grated Garlic
- 1 teaspoon Oregano
- Cheese for Topping
Instructions
- Mix yeast and sugar with warm water and set this aside for 5 mins.let it foam up.
- Take flour, salt, oil in a bowl and mix well.
- Pour yeast mix into the flour and mix well to a dough.
- Cover it with plastic wrap or damp cloth and set this aside for 1 hour till it is doubled in size.
- Take all the ingredients given for garlic herb butter in a sauce pan except cheese and heat so everything is melted. Set aside.
- Now take the dough and divide it into equal portions. Take a ball, roll it out, then make a knot out of it.
- Arrange this in a buttered baking pan leaving little space between each of them.
- Now cover it with a damp cloth and let it rise for 30 to 45 min.
- In the last 10 mins of rising, preheat oven to 220 degree C.
- Just before putting in oven, brush it with the garlic herb butter and sprinkle cheese over it.
- Now place this in the preheated oven and bake for 12 to 15 mins
- Take it out and apply some butter over the top,so that it looks glossy and shiny.
- Serve hot or warm with a cup of tea.
Video

Notes
Nutrition
Tried this Recipe
Mention @yummytummyaarthi or tag #yummytummyaarthi!Italian Garlic Knots Recipe Step by Step
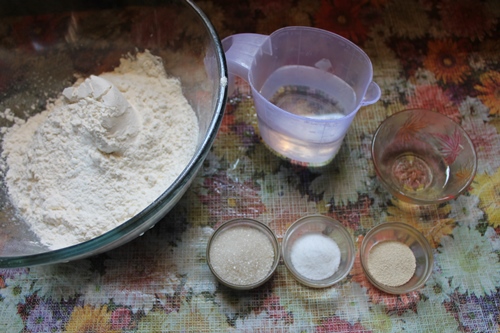 |
| Take all your ingredients |
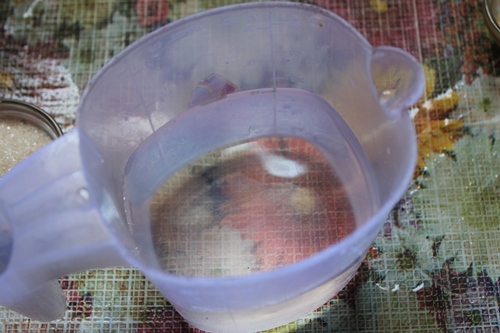 |
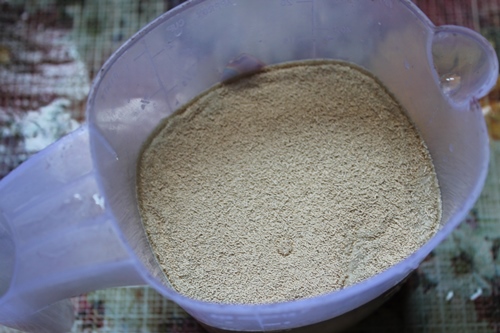
| Take warm water in a jug |
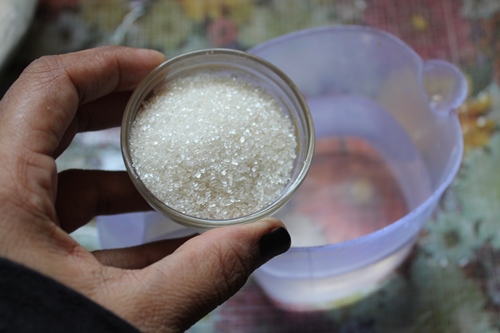 |
| Add in sugar |
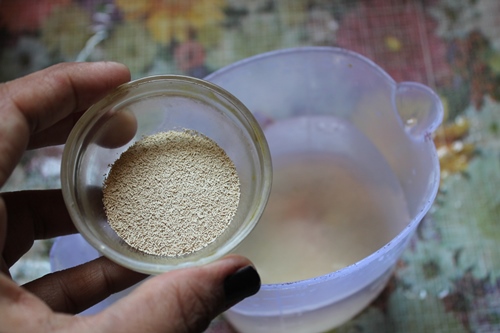 |
| sprinkle some yeast |
 |
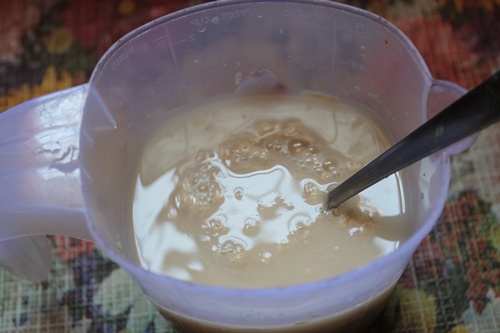 |
| mix well and leave it aside for 5 mins |
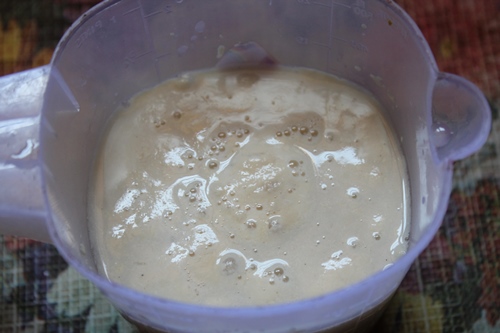 |
| Now yeast is activated |
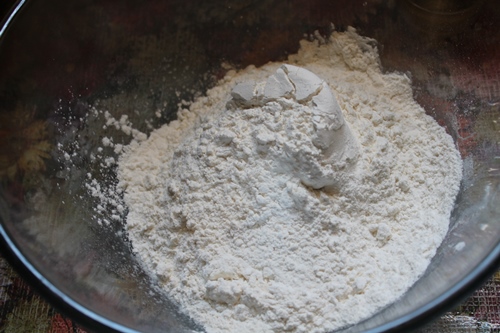 |
| Take flour in a bowl |
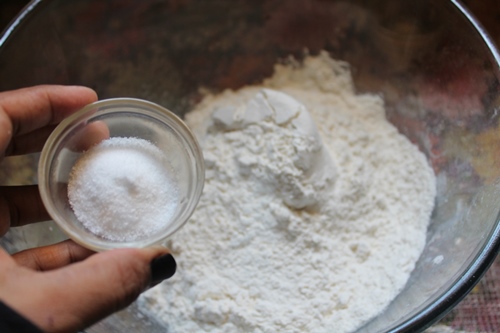 |
| add in salt |
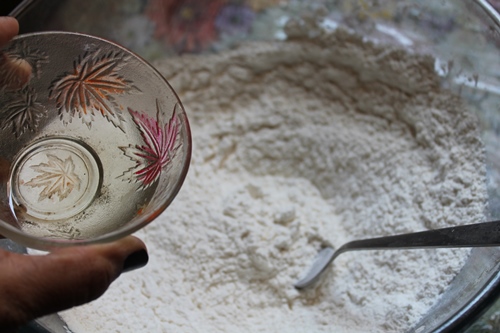 |
| add in olive oil |
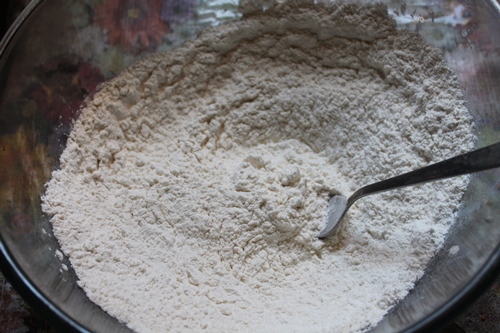 |
| mix well |
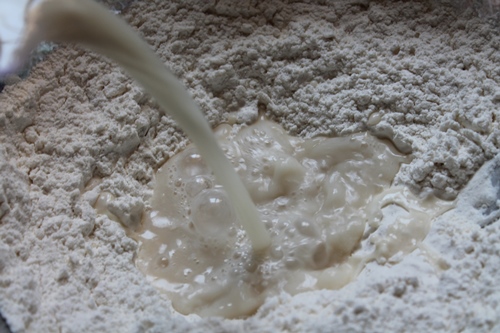 |
| pour the water |
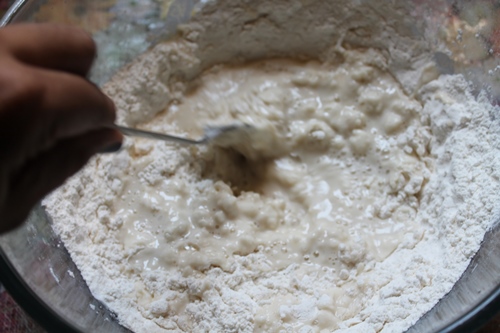 |
| use a fork to mix well |
 |
| Once it is combined |
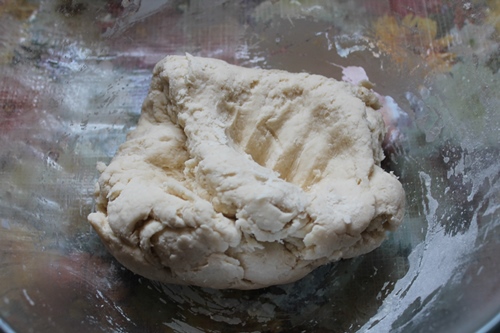
 |
| knead well to a smooth dough |
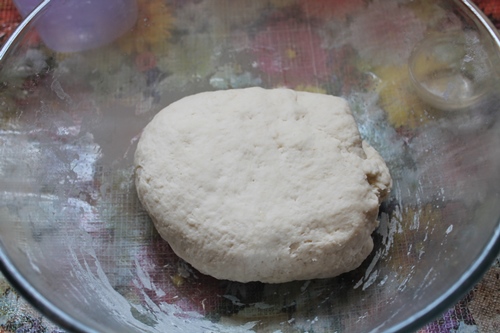
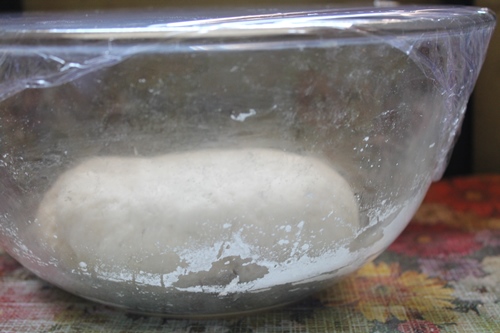 |
| cover with a plastic wrap and leave it to rest for 1 hour |
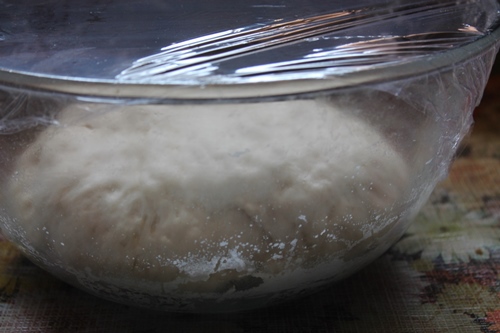 |
| now it is doubled in size |
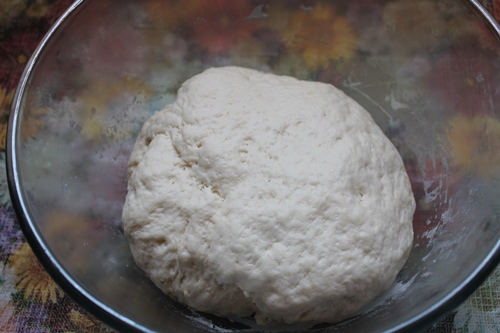 |
| dough done |
 |
|
Perfect dough
 Now lets make the herb butter..
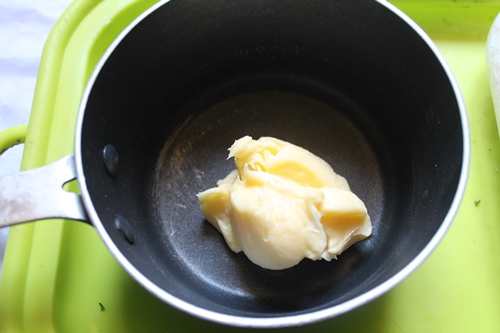 Take butter in a sauce pan
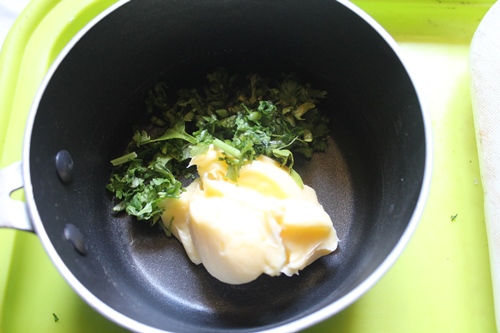 add in chopped coriander leaves
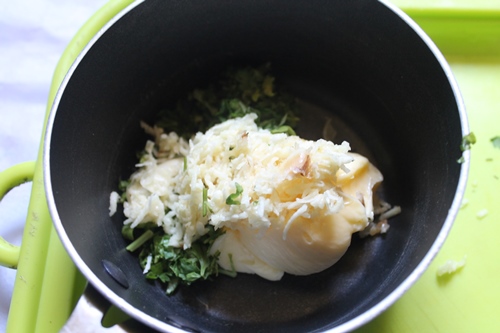 add in some grated garlic
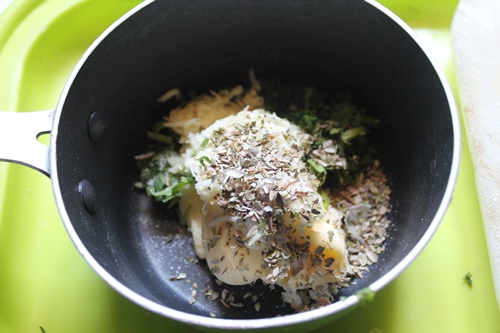 sprinkle over some oregano
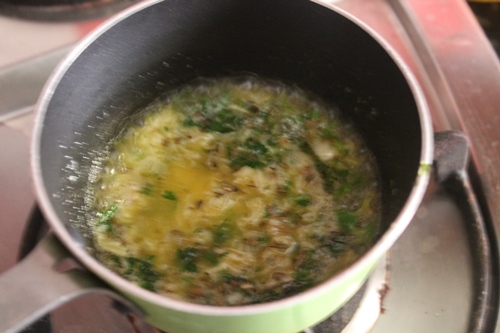 heat it little so the butter is just melted
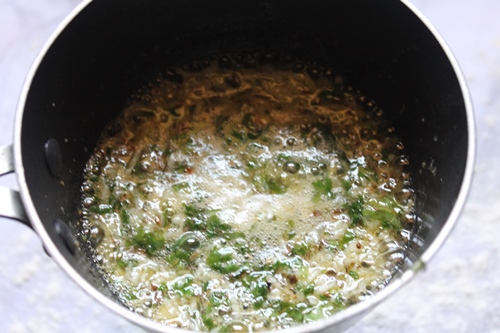 Garlic and herb butter done
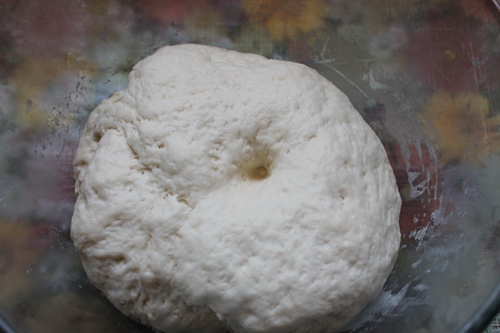
 Take the dough and knead well
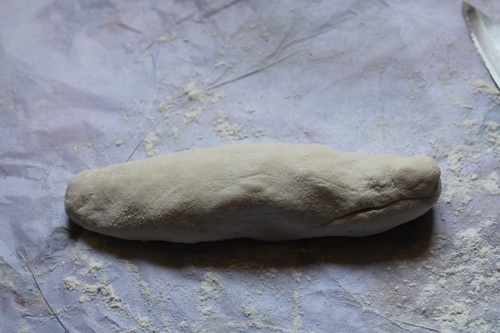 Roll them like a log
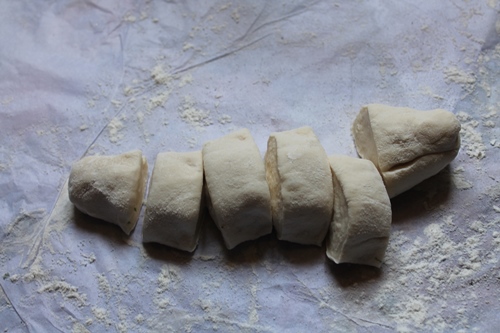 divide it into equal portions 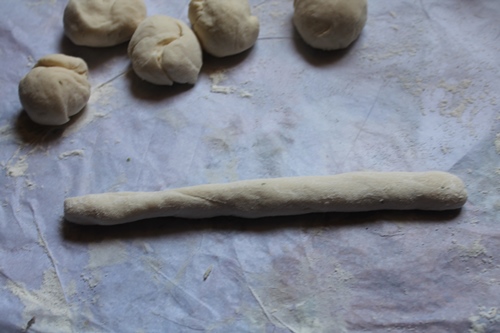 take one ball and roll like this
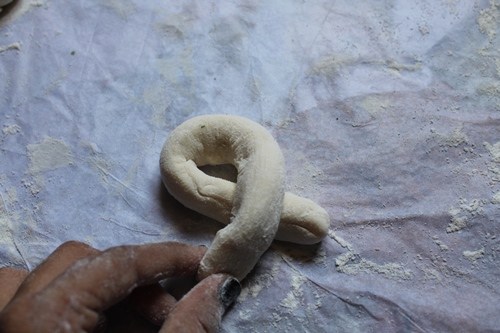 then twist like this
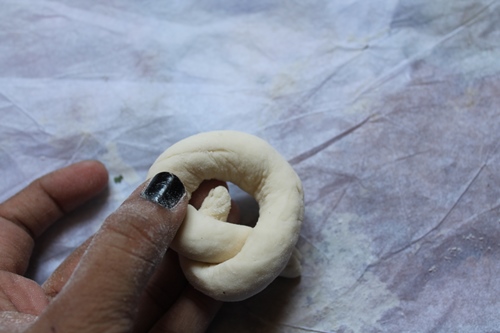 then insert it through the middle and make a knot like'
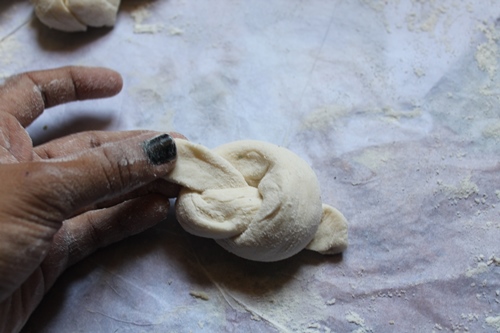 like this
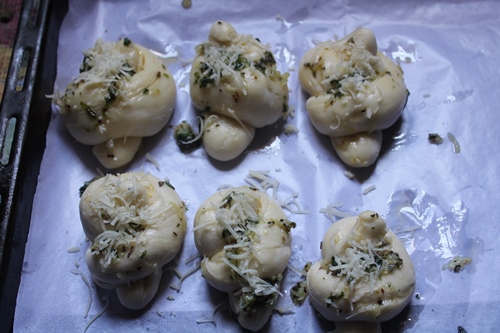
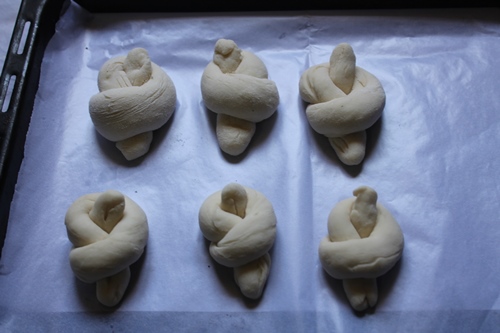 Arrange it in a baking sheet
 Let it rise for 45 mins to 1 hour
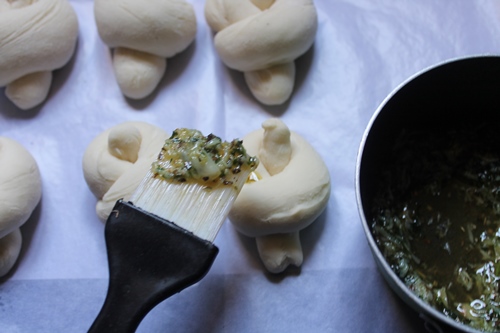 take the herb butter and brush over the top
 like this
 i grated some parmesan cheese
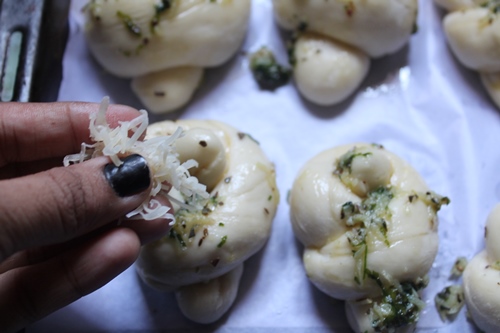 sprinkle that over, you can leave this step out
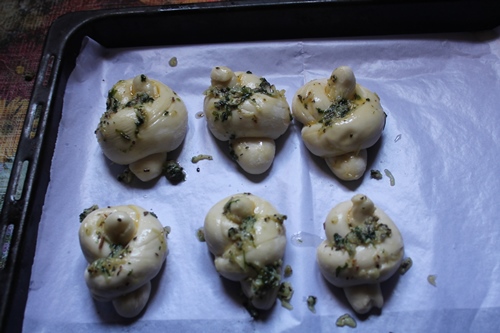
 time to bake
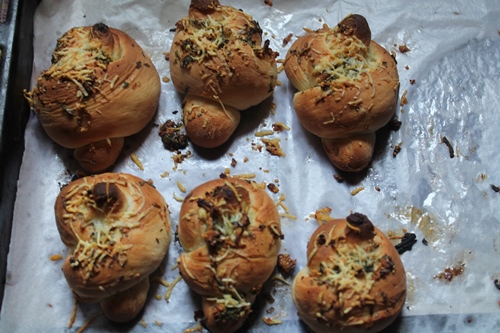 all baked and golden
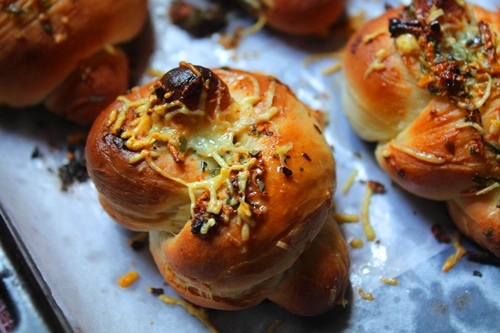 Serve warm
|


sutapa Purkayastha
Can I use whole wheat flour ?
Aarthi
@sutapa Purkayasthayes u can use
Anonymous
Hi aarthi,
I made these buns the other day and baked them perfectly till light golden color. However I found that they were hard soon after I removed them from the oven and even after cooling them for 15 minutes they were hard on the outside. The insides were very soft and fluffy. I am worried about the outside texture. Can you let me know where I went wrong because I want to try them again.
Aarthi
@Anonymousi am not sure what must have gone wrong. You can do onething. as soon as they come from oven, cover them with a damp cloth for few mins, this softens the crust
Swathy
Hi Ms.Aarthi... The buns look fabulous.
I don't have an oven...
How can we bake the Garlic Knots in a Microwave?
I own a Kenstar Microwave and it has convection mode too...
Please give instructions.
Thank you
Swathy
Hi Ms.Aarthi...
The knots look fabulous...
Would love to bake them but I don't have an oven....
How to bake these buns in a microwave?
I own a Kenstar Microwave and it has convection mode too...
Kindly post instructions....
Thank you ...
Aarthi
@Swathybake it in convection mode..preheat it first and then bake
Anonymous
Hi,
I tried baking it yesterday... Everythg was ok except the colour of the garlic knots didnt turn brown at all. It was fully cooked but remained white in colour ( it tasted awesome, but too dry) Do you know where i went wrong. I saw your pictures showing the garlic knots in golden brown 🙁
Anonymous
Hi arthi,
I tried the recipe few days back and the bun was cooked well but the color didnt turn brownish at all. Rather the garlic knots remained white in color. But the taste was good. Wonder whr i went wrong. Hope you can help as i want to try again.
Aarthi
@Anonymousit depends on each oven, what you can do is, after the knots are baked, you can brush the top with some butter and grill or broil them for 45 sec, it will give nice colour
Shaista
Tried it and it was great. Thanks