
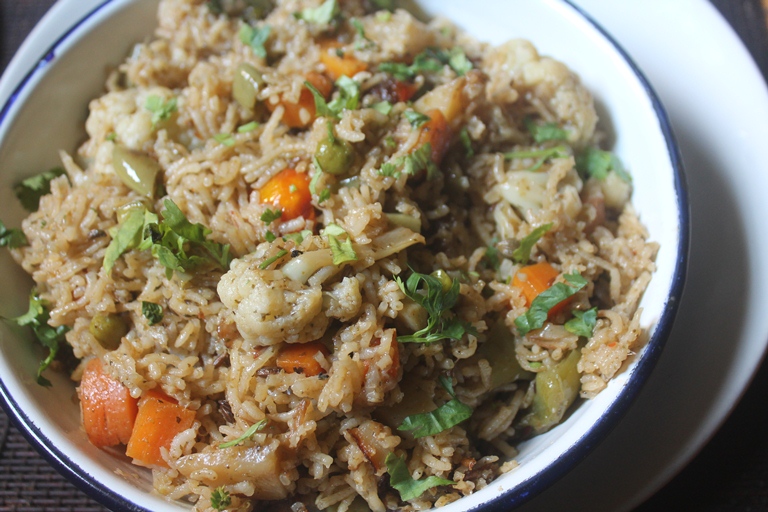
Tehri Recipe with step by step pictures. Healthy and nutritious Tahri made with rice, lots of vegetables and spices. This is a perfect lunch box recipe as well.
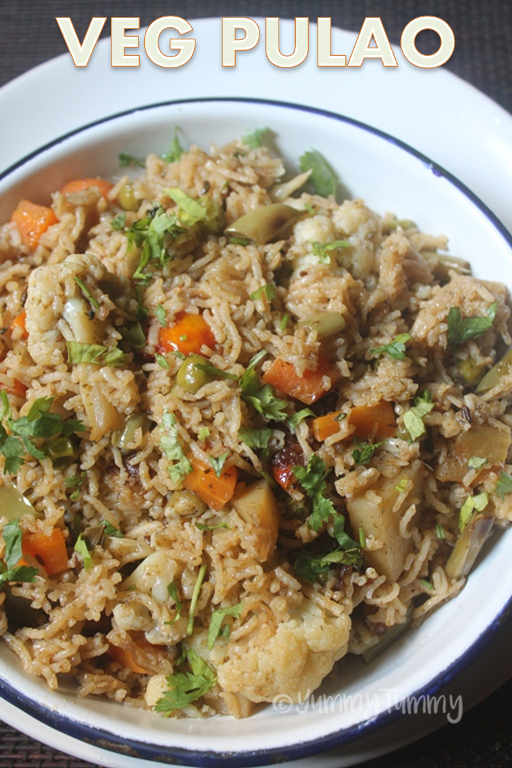
Tehri Recipe
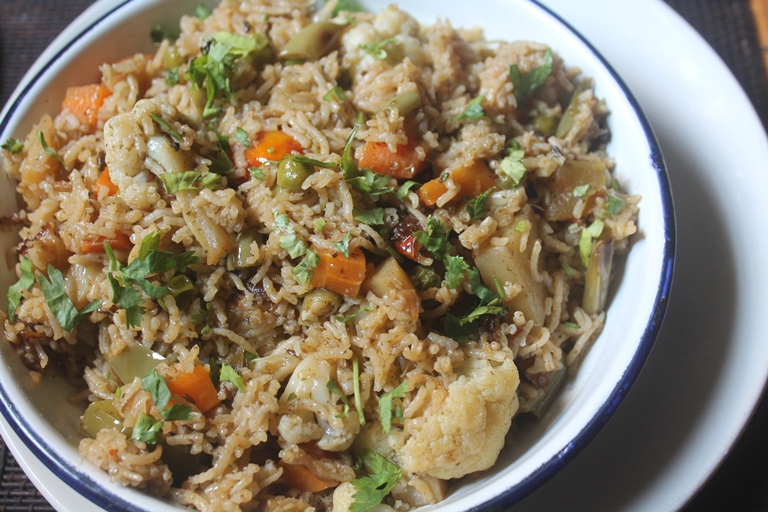
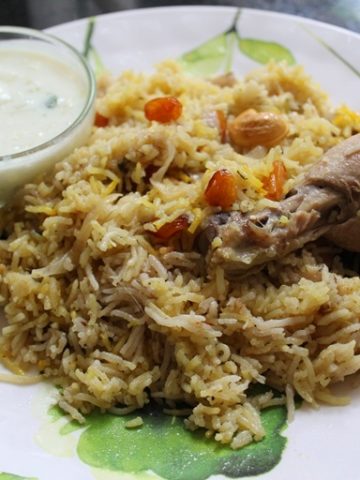
Simple and flavourful vegetable tehri which taste so yummy with onion raita or any curries. This is a yummy lunch box recipe too.
This is a simple pulao which is so easy to make. If you get the hang of it you will get perfect grains of rice all the time. Each rice shines through all the time.
Similar Pulao Recipes
Mushroom Pulao
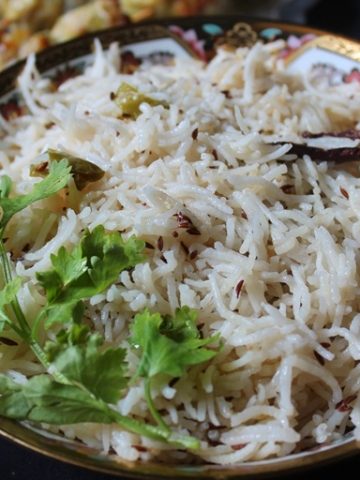
Jeera Pulao
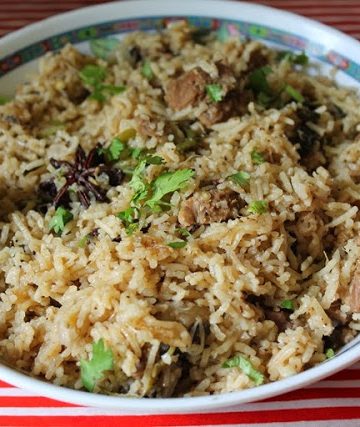
Soya Chunk Pulao
Shahi Pulao
Hope you will give this a try and let me know how it turns out for you.
How to Make Tehri (Restaurant Style)
- Heat oil and ghee in a pot. Add in whole spices.
- Add in onions and cook till golden brown.
- Spoon in the ground masala and saute till raw smell leaves.
- Add in veggies and saute them for 5 mins.In goes peas, tomatoes and mix well.
- Add in soaked rice and mix well. Stir fry for 5 mins.
- Pour in water and salt. Bring it to a boil.
- Boil till most of the water is gone.
- Cover the pot with a lid. Simmer the flame and cook for 10 mins.
- Open the lid and fluff up the rice. Serve hot.
📖 Get Recipe
Tehri Recipe | Tahri Recipe | Vegetable Tahiri Recipe
Ingredients
- Coconut Oil - 4 tblsp
- Ghee - 4 tblsp
- Fennel seeds / Sombu / Saunf - 2 tsp
- Cumin Seeds / Jeerakam - 1 tsp
- Bay Leaf - 1
- Cardamom / Yelakai - 5
- Cloves / Krambu - 5
- Cinnamon / Pattai - 1 stick
- Brinji Ilai / Pandan Leaf - 1
- Onion - 2 large sliced thinly
- Vegetables - 3 cups
- Tomato - 1 chopped finely
- Peas - ½ cup
- Salt to taste
- Basmati Rice - 2 cups
- Water - 3 cups
TO GRIND:
- Ginger Garlic Paste - 2 tblsp
- Green Chillies - 6 to 8
- Coriander leaves - ½ cup
- Mint Leaves - ½ cup
Instructions
- Heat oil and ghee in a pot. Add in whole spices.
- Add in onions and cook till golden brown.
- Add in the ground masala and saute till raw smell leaves.
- Add in veggies and saute them for 5 mins.
- Add in peas, tomatoes and mix well.
- Add in soaked rice and mix well. Stir fry for 5 mins.
- Add in water and salt. Bring it to a boil.
- Boil till most of the water is gone.
- Cover the pot with a lid. Simmer the flame and cook for 10 mins.
- Open the lid and fluff up the rice.
- Serve hot.
Video

Tried this Recipe
Mention @yummytummyaarthi or tag #yummytummyaarthi!Vegetable Tehri Recipe Step by Step
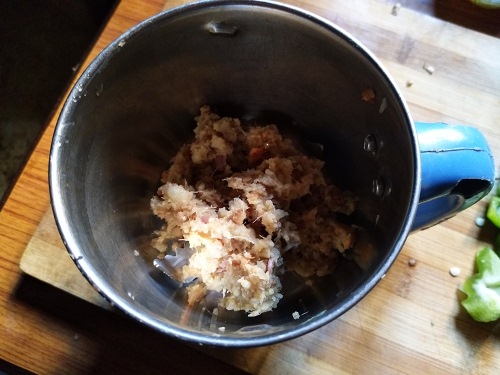
1)First grind the masala. Take ginger garlic paste in a blender
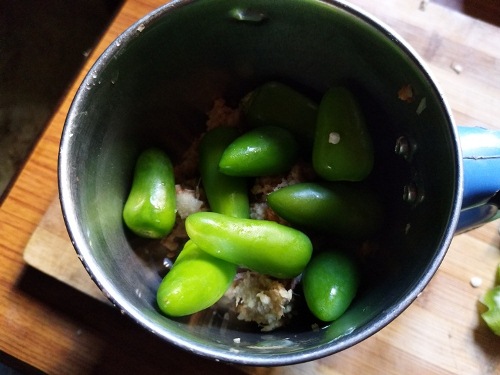
2)Add in green chillies
3)Add coriander leaves

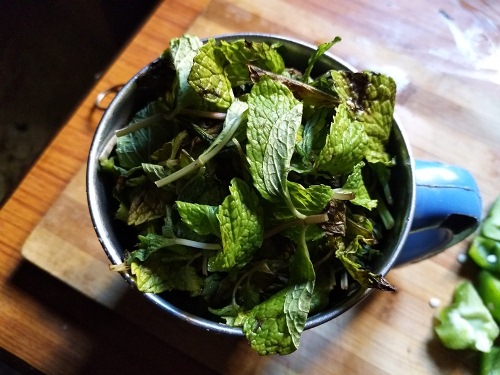
4)Add mint leaves
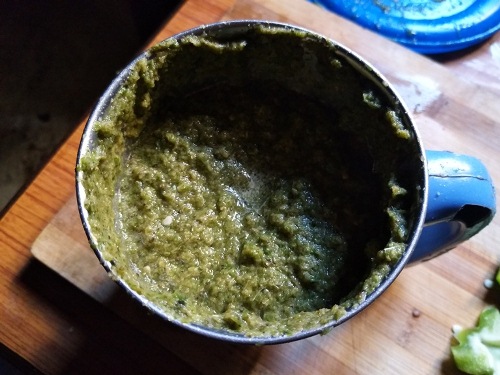
5)Grind to a smooth paste
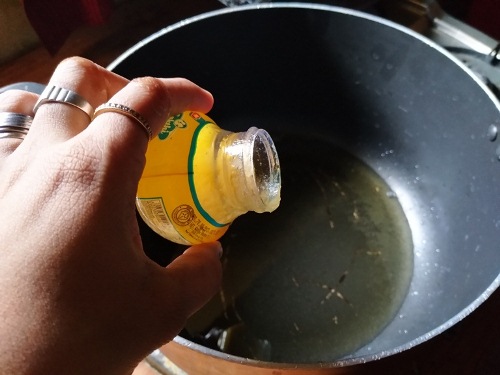
6)Heat oil in a pot.

7)Add ghee
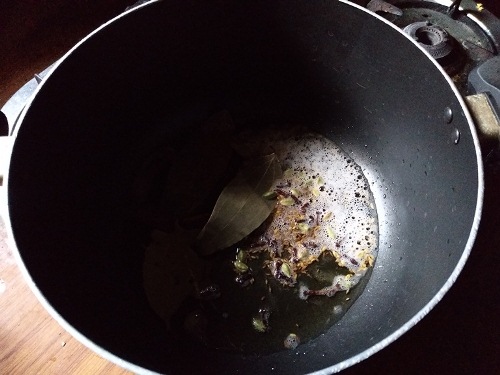
8)Add whole spices
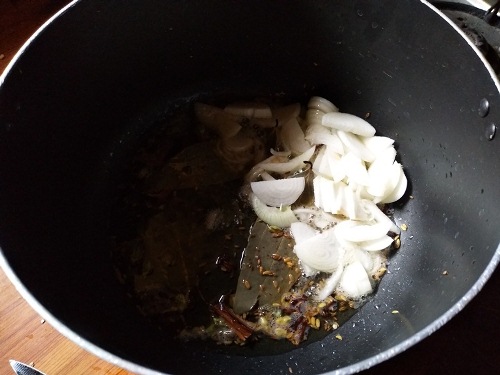
9)Add sliced onions
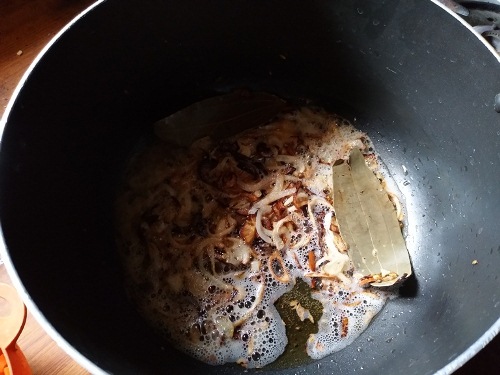
10)Cook till golden brown.
11)Add ground masala
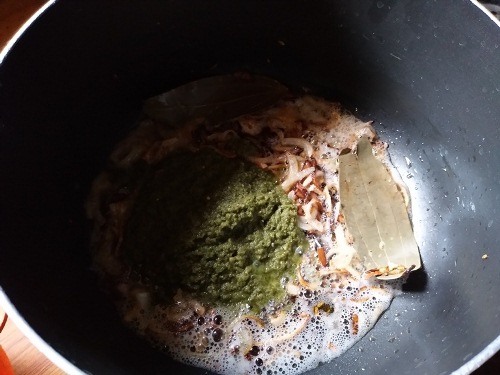
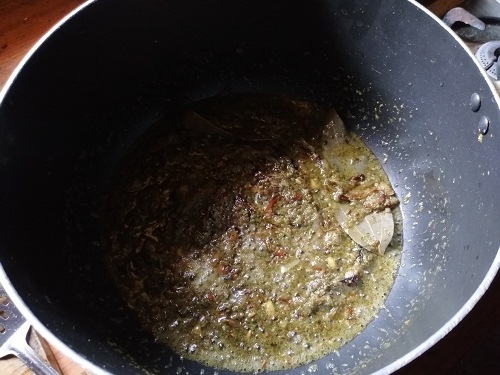
12)Saute till raw smell leaves
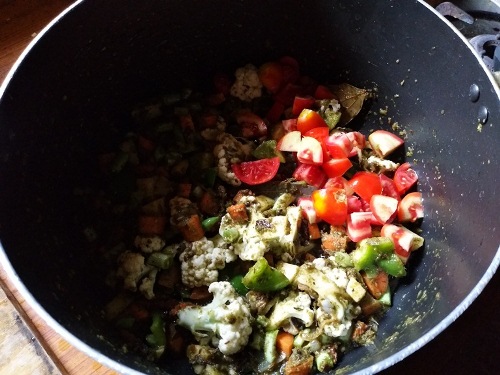
13)Add all chopped veggies. I used carrots, cauliflower, beans, capsicum
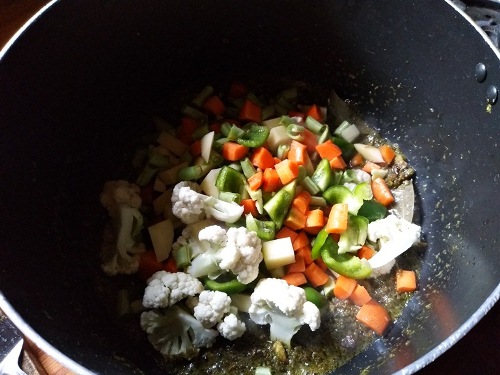
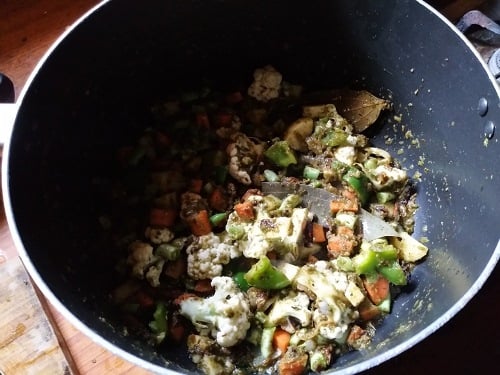
14)Saute them in the masala for 5 mins.
16)Add in tomatoes
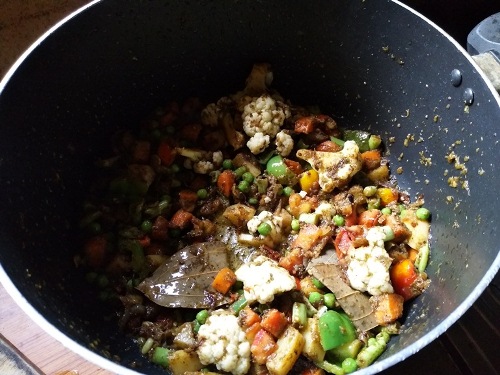
17)Add in peas
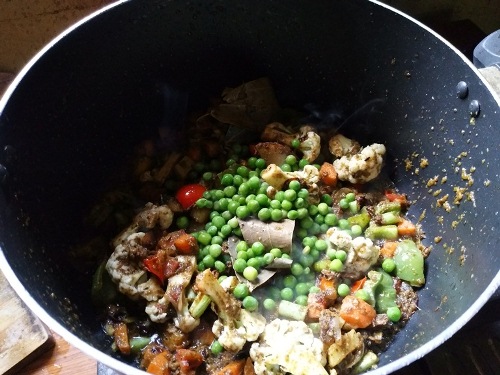
18)Mix well.
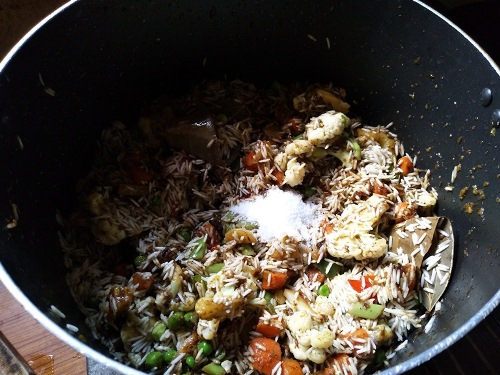
19)Add in soaked rice
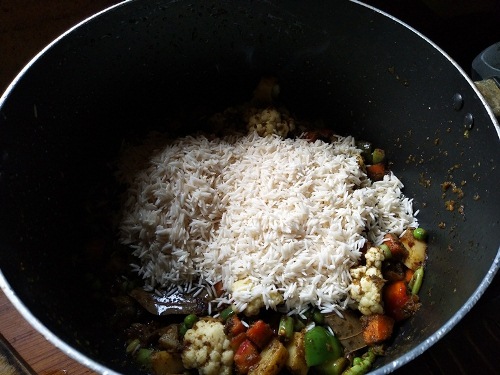
20)Add salt.
21)Saute them in the oil and ghee for 3 to 4 mins.

22)Add water
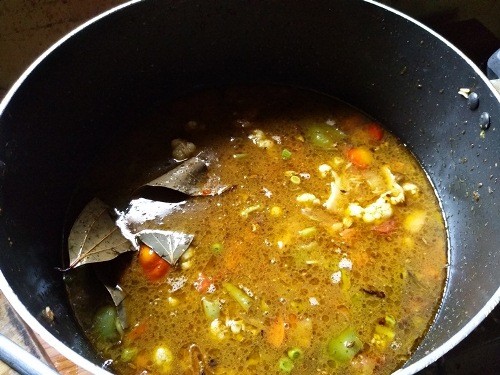
23)Bring it to a boil. Boil for 5 mins on high heat.

24)Boil till most of the water is evaporated.
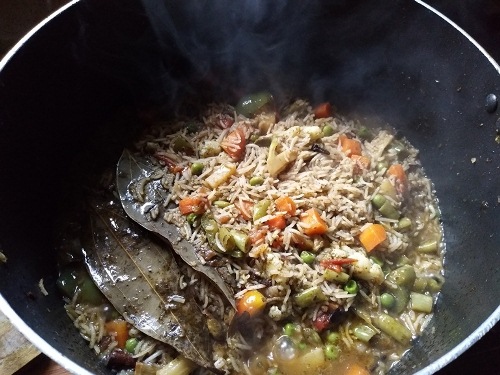
24)Cover and simmer the flame.
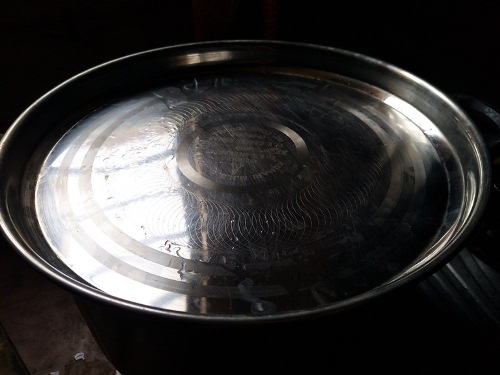
25)Cook on low heat for 10 mins.
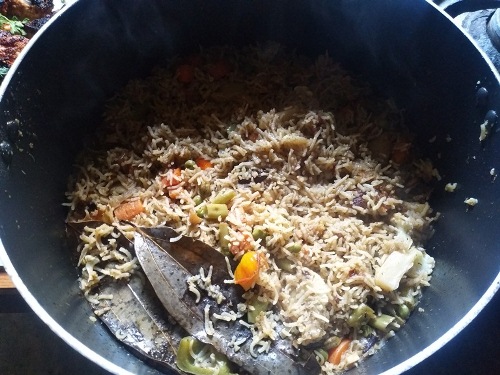
26)Fluff up the rice. Serve.


flowersfan
Thanks for your recipes. Your recipes are very clear to understand. With the help of your recipes . I cook and help my wife when she go to work. Thanks again.
Amrit nishad
I tried it is simple and very very tasty. Everyone in my family loved it.