
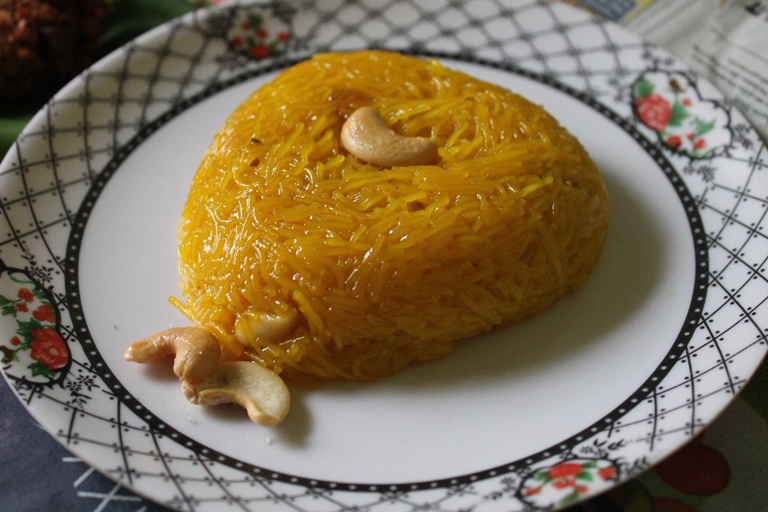
Semiya Kesari is also known as semiya pudding, vermicelli kesari or vermicelli pudding is a popular Indian sweet which is made using vermicelli, sugar, ghee and cardamom. These make a delicious sweet for festive occasions. Learn how to make delicious semiya kesari with stepwise pictures and video.
Semiya Kesari Recipe
Semiya or vermicelli kesari made traditional way. Popular Indian sweet which is perfect for every festive occasions. This is my second favorite sweet, Rava kesari which is traditional is my all time favorite.
About Semiya Kesari
Now coming back to today's recipe. This is another sweet which we make often next to rava kesari. It is yummy and different to normal sweets. You don't need much sugar as you use for rava kesari.
Make sure you use the correct amount of water for this, because adding more water may result in a mushy kesari, which you don't want. Other than that everything is easy.
Similar Recipes
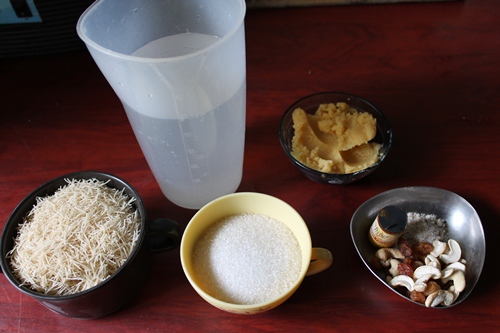
Ingredients
- Semiya - You can use roasted or unroasted semiya for this recipe. Instead of using un roasted semiya you can use roasted vermicelli.
- Sugar - depending on the sweetness you prefer, you can add more or less sugar.
- Water - don't add too much water else the kesari might over cook.
- Nuts & Dried Fruits - any variety of dried fruits and nuts can be used. I used cashews and raisins.
- Food Colour - you can make this using your favorite colour. Food colour can be skipped too. For more natural colour, you can add ½ teaspoon turmeric.
- Ghee - be generous with ghee, it adds flavour and helps with the consistency.
Step by Step Pictures
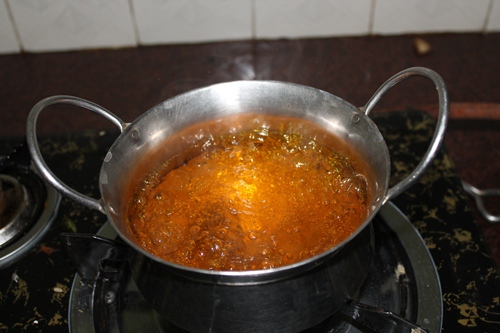
1)Start by boiling 2 cups of water.
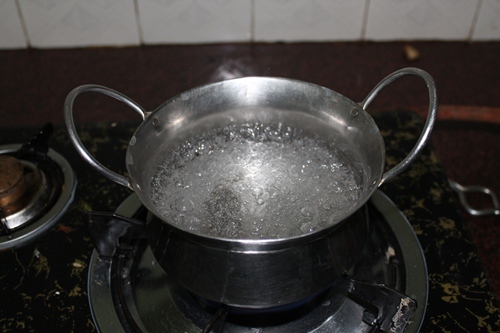
2)Add in a pinch of yellow food colouring.
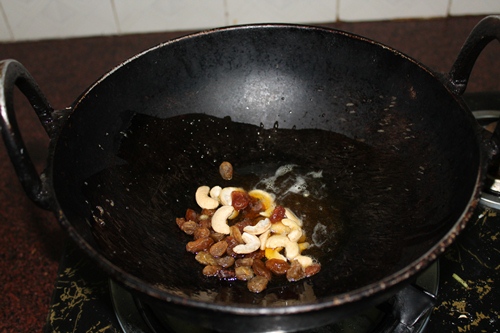
3)Heat a heavy bottom pan or a nonstick pan. Add in 3 tblspn of ghee.

4)fry cashews and raisins in it.
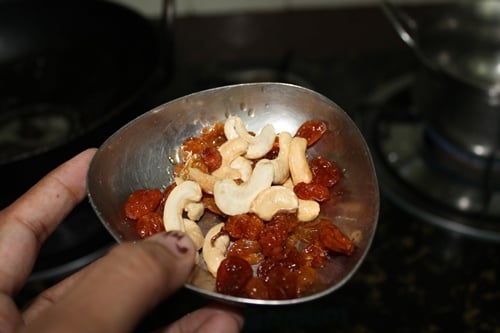
5)Once fried, remove and set aside.
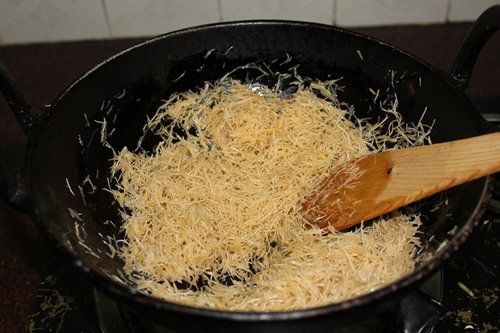
6)In the remaining ghee, add in the semiya in the ghee.
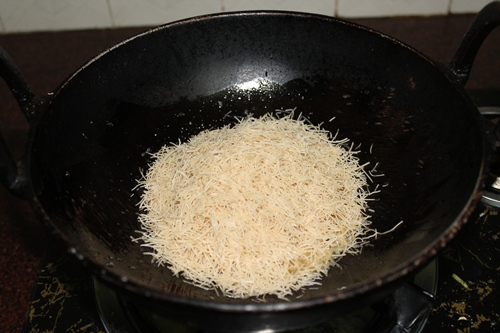
7)Toast them till they turn light golden
8)Now pour in the boiling water
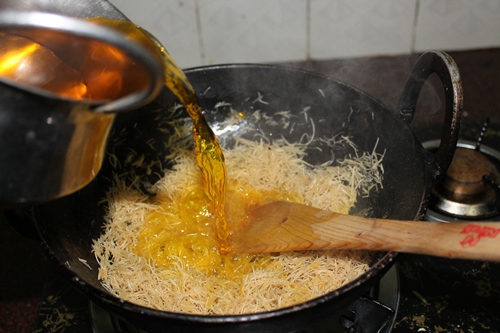
9)Mix them well
10)Now reduce the heat to a low
11)Cover the kadai with a lid.
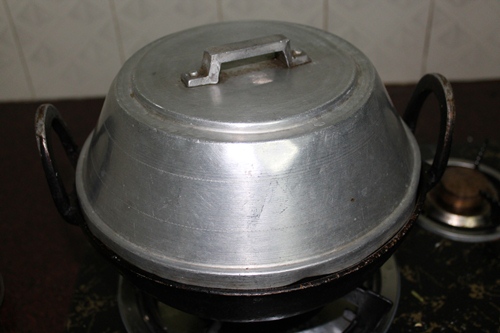
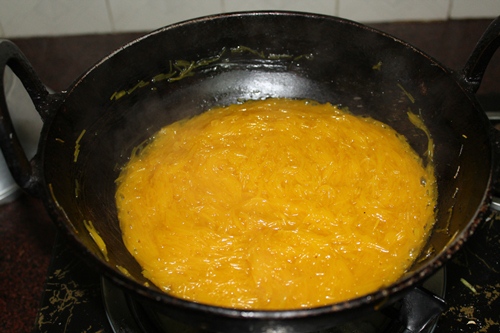
12)Cook till the semiya is cooked completely.
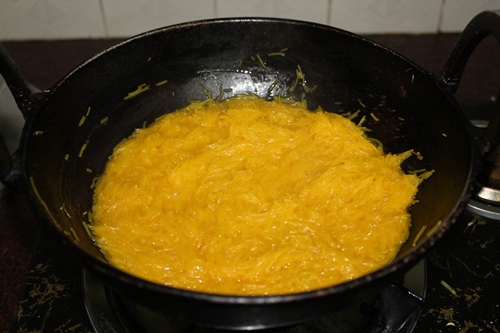
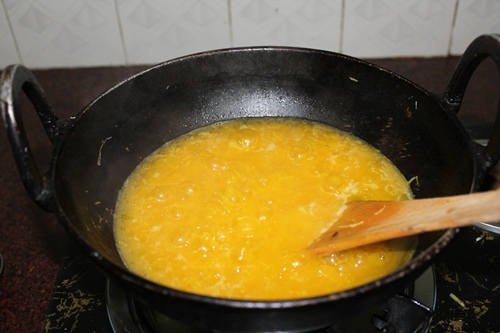
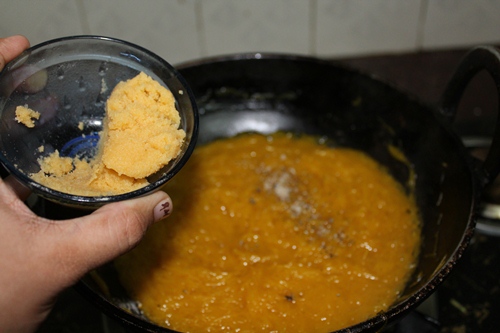
13)Add some sugar to it.
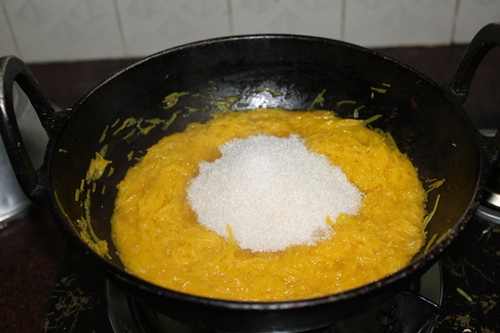
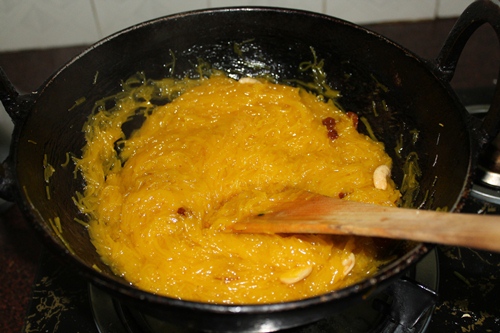
14)Mix well. Cook them till they are thicken
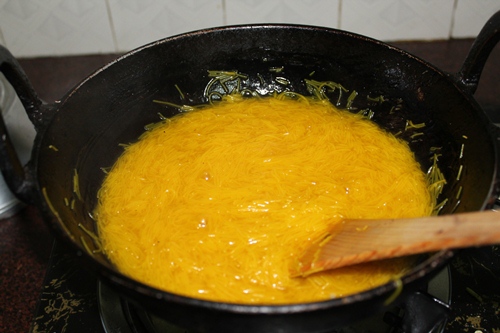
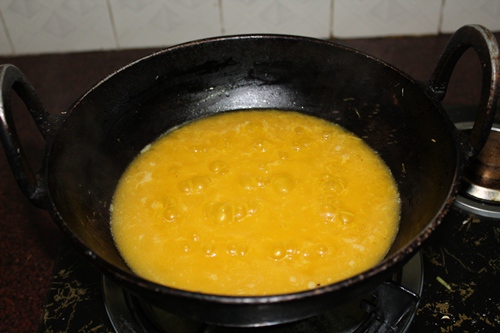
15)Cook till it separates.
16)Add in cardamom powder.
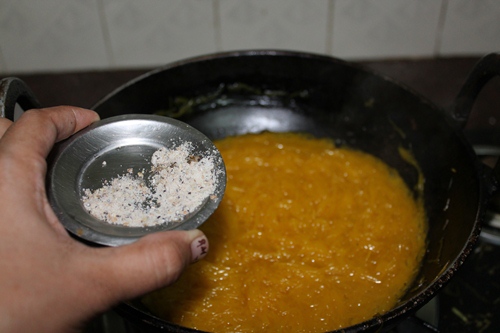
17)Add more ghee and mix well.
18)Add in the nuts.
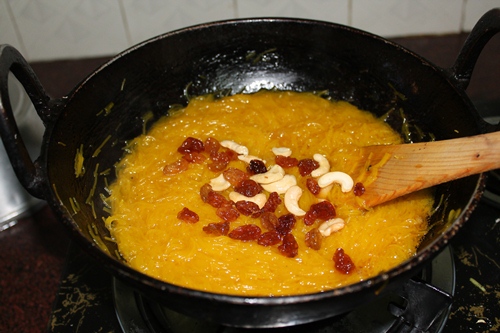
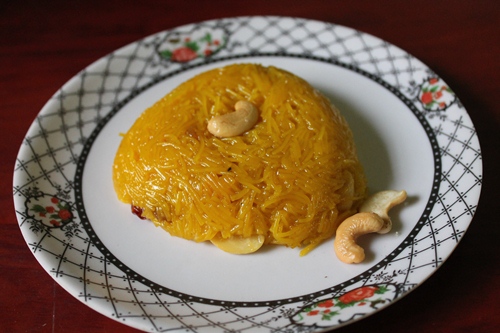
19)Mix well.
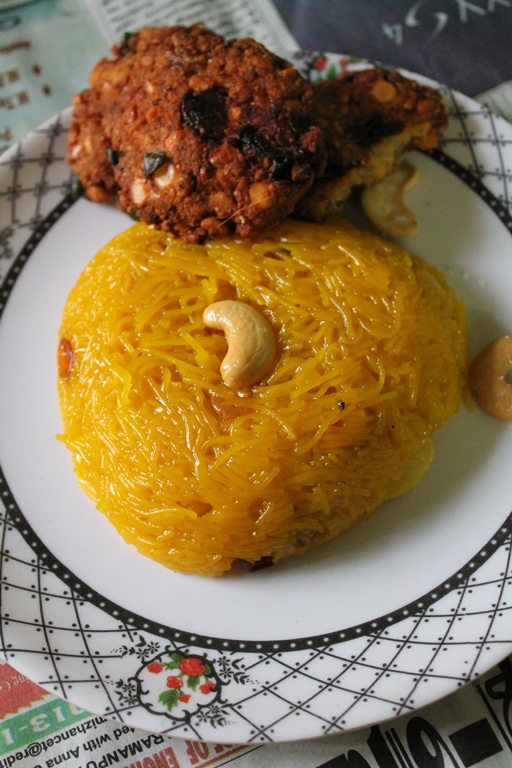
20)Serve.
Expert Tips
- Instead of using un roasted semiya you can use roasted vermicelli.
- Any nuts can be used for the kesari.
- Be generous with the ghee for flavour and consistency.
- You can skip using food colour in the recipe.
- Little milk can be used in the kesari for added flavour and taste.
Serving & Storage
Semiya kesari taste best when served hot or warm. Any leftovers can be stored in fridge and reheated next day in a pan or microwave.
📖 Get Recipe

Semiya Kesari Recipe (Vermicelli Pudding)
Equipment
Ingredients
- 1 cup Semiya | Vermicelli
- ½ cup Sugar
- 2 cups Water
- ⅛ teaspoon Yellow Food Colouring
- ½ teaspoon Ground Cardamom
- ¼ cup Ghee
- 3 tablespoon Cashews
- 3 tablespoon Golden Raisins
Instructions
- Start by boiling 2 cups of water, once it reaches to a boiling stage add in the yellow food colour and mix well. Simmer this till use.
- Heat 3 tblspn of ghee in a heavy bottom pan or a nonstick pan. When it is hot, Add in cashews and raisans and fry them till it is golden. Once it is fried remove them to a plate and set aside.
- Now in the remaining ghee add in the semiya and toast them till light golden. Now pour in boiling water in this and mix well. Simmer the flame and cover the kadai with a lid. Cook it for 10 mins till the semiya is cooked and water is absorbed completely.
- Now add in sugar and mix well. Keep this mixing till the kesari gets thick. Now add in cardamom powder, fried cashews and raisins, remaining 2 tblspn ghee. Mix them well. Serve.
Video
Notes
- Instead of using un roasted semiya you can use roasted vermicelli.
- Any nuts can be used for the kesari.
- Be generous with the ghee for flavour and consistency.
- You can skip using food colour in the recipe.
- Little milk can be used in the kesari for added flavour and taste.
Serving & Storage
Semiya kesari taste best when served hot or warm. Any leftovers can be stored in fridge and reheated next day in a pan or microwave.Nutrition
Tried this Recipe
Mention @yummytummyaarthi or tag #yummytummyaarthi!If you have any questions not covered in this post and if you need help, leave me a comment or mail me @aarthi198689@gmail.com and I'll help as soon as I can.
Follow me on Instagram, Facebook, Pinterest ,Youtube for more Yummy Tummy inspiration.


Rafeeda AR
take care of your health aarthi and get a lot of rest, it is important at this time, and also u'l miss the sleep and rest later, so make maximum use of it!!! 🙂 the semiya kesari looks delicious...
Angie Schneider
A very interesting and delicious vermicelli dish!
Thana
This is so creative! I will try this tonight. Thanks for this easy recipe 🙂
prethika skm
Nice post ..i love semiya kesari..Take care of your health Aarthi...
Anonymous
I will try tis recipe today...
Sundar Priya
Very nice dish
Sundar Priya
Thai aarthi very nice
NIRMALA SAHOO
looks so nic n yummy...bt can i add milk instead of water?? n wid out mixing colour can i do it???
Aarthi
@NIRMALA SAHOOyes u can use milk, u can skip food colouring as well
Jane Hamilton
Looking up this recipe in 2016, and can't believe how long it's been... just saw your lovely little girl on your Goa pics on instagram... she's grown so much! 💕 oh btw, making this for evening snacks today... thanks to you Aarthi 👍