
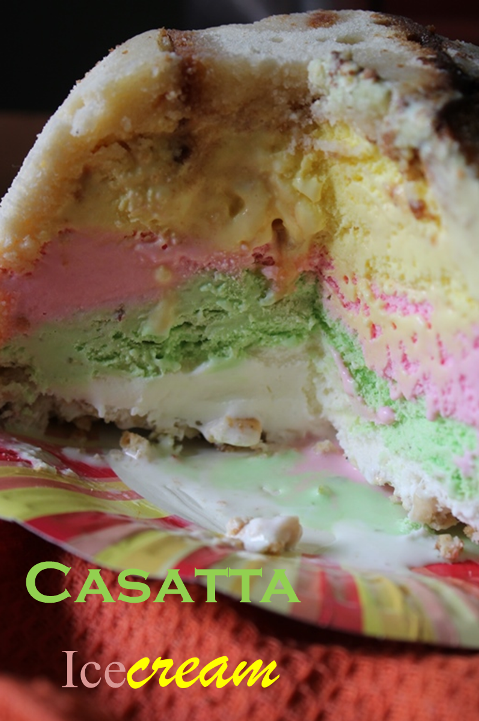
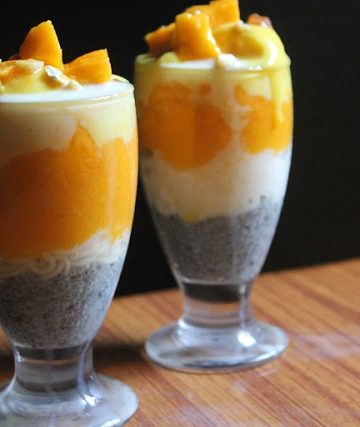
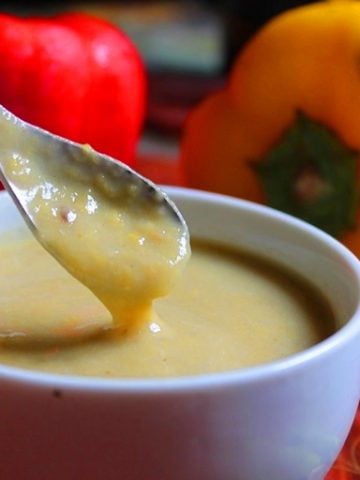
Cassata Ice Cream is a delightful and colorful layered dessert formed by layering soft cake pieces with layers of your favorite ice cream flavors, which are then packed into a bowl and frozen until hard. It's a no-bake dessert perfect for sunny days or special occasions. Begin by lining the bowl with sponge cake, then pour in simple sugar syrup to keep it moist, followed by layers of softened ice cream such as strawberry, pista, vanilla, or butterscotch. The final touch is a generous layer of chopped nuts, usually cashews, which gives a crunch to each creamy bite.

Homemade Cassata Ice cream recipe
Love Love Love Cassata Icecream. One of my favorite is Arun Cassata Icecream. I can eat tons of them, they are creamy and delicious.
Jump to:
About Cassata Ice Cream
Cassata Ice Cream may have originated in Italy, but most of us know and love-the one served at Indian bakeries-has a unique flavor. This recipe gives the original version a homemade touch by combining store-bought vanilla sponge cake with four popular ice cream flavors: vanilla, strawberry, pista, and butterscotch. The cake acts as the dessert's foundation and walls, absorbing just enough syrup and melting ice cream to make it soft and moist.
When frozen, the layers merge perfectly, making each slice colorful, creamy, and nostalgic. The idea for making this at home came from an incident at a restaurant: I ordered cassata, eagerly expecting that familiar bite, only to be told it was sold out! I couldn't get the thought of cassata out of my mind all night. That's when I decided to make it myself. It turned out so well that I ate three entire slices. It wasn't just a win for my sweet tooth; it was a personal dessert achievement.
From that day onward, this cassata became a celebration at home, with no occasion required. It's now something I make when friends come over or when my daughter asked for a "layer ice cream cake." It adds a bit of restaurant-style to our kitchen table, and everyone gets excited when it comes out of the freezer.
Similar Recipes

Why This Recipe Works
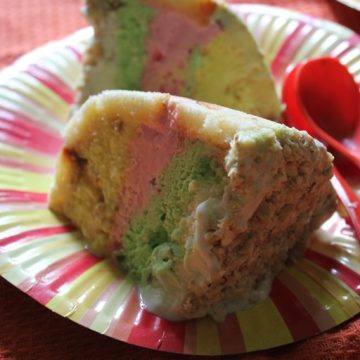
What I like about this recipe is how perfectly the layers come together. The syrup-soaked cake is soft but not soggy-it actually holds the ice cream well, making each taste velvety with just a small bite. Each flavor layer has its own personality, so you'll never be bored-there's something fun in every spoonful. Furthermore, the color combination creates a feeling of a mini party on a plate. It's a tasty treat to cut into.
And the best part? This recipe requires no special ingredient or baking skills. Simply soften the ice cream, add the cake and nuts, and freeze. You can mix and match flavors depending on what you have in your freezer, such as mango for summer or chocolate for something more strong. It's entirely personalized and always popular, whether as a weekend treat or a birthday surprise.
Why I Love This Recipe
I love this recipe because it feels like a shortcut to something very special-it's one of those desserts that appears to have taken hours to prepare, but it's really just a little layering and freezing. The night I made it the first time remains obvious in my memory. We had just returned from dinner, and I was craving cassata, so when I found out the restaurant had ran out, I couldn't stop thinking about it.
So I asked my sisters, and we decided to create our own version at home. It turned out to be a fantastic evening spent laughing, eating ice cream, pouring it on cake, and eating cashews. The entire thing disappeared from the freezer faster than I expected! The energy is the same every time I serve it at a birthday party or a Sunday dinner. The layers make people smile even before they eat, making the entire experience enjoyable.
Ingredients
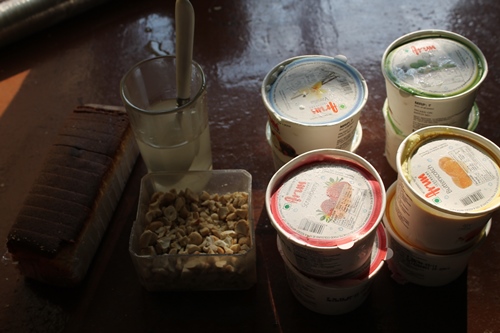
● 1 packet store-bought vanilla cake (about 250 g): This is the cassata's base layer, which holds everything together. I usually choose for a soft, fine-textured sponge cake that isn't too crumbly and soaks up syrup well. If you have the time, make your own vanilla cake, but store-bought is just as good for a quick dessert.
● 4 tubs ice cream (4 × 250 ml) of different flavours: This is the fun part! I used vanilla, strawberry, pista, and butterscotch to get a unique colorful cassata look and taste, but you can experiment with other flavors. If you're feeling creative, try chocolate, mango, coffee, or subtle coconut. Simply soften each flavor slightly before layering for a smooth spread.
● ½ cup simple syrup (¼ cup sugar + ¼ cup water): This syrup is lightly brushed over the cake layer to keep it moist and melt-in-your-mouth soft. It's quite simple: heat sugar and water together until the sugar dissolves, then let cool. If you want to add a fruity flavor, try adding a drop of orange or pineapple juice.
● 1 cup chopped cashew nuts: These are added on top as the last crunchy layer. I love gently roasted cashews for their rich, nutty flavor, but you may use pistachios, almonds, or a combination of your favorite dried fruits. It creates a nice texture contrast when the cassata is sliced.
Hacks
● Use juice instead of syrup: To add a refreshing touch to your cassata, replace the regular sugar syrup with orange or mango juice. It has a little acidity and a fresh flavor that pairs well with the ice cream. It also gives the dessert a brighter, summery feel. This pairs especially well with tropical-flavored ice creams like mango and pineapple.
● Try different cake bases: Do not limit yourself to ordinary vanilla cake. Chocolate cake adds a deep depth, while sponge cake gives a light and fluffy base. If you're feeling generous, you could even use leftover brownies or loaf cake. Just make sure it holds its shape when layered and doesn't break too much.
● Mini versions: Instead of one big cassata, make multiple ones in muffin cups or small pans. It's perfect for parties because there's no cutting or mess, and everyone gets their own mini treat. They also look gorgeous when turned out and topped with chopped nuts. You may even adjust the flavors for each one.
● Nut variations: Although cashews are a must-have, you can experiment with other ingredients. Pistachios add a beautiful green color and subtle flavor, while sliced almonds create a tasty crunch. If you prefer a chewier texture, add extra raisins or dried cranberries. Simply toast the almonds gently to add flavor.
Cassata Ice cream Recipe (Step by Step Pictures)
|
| Take all your ingredients |
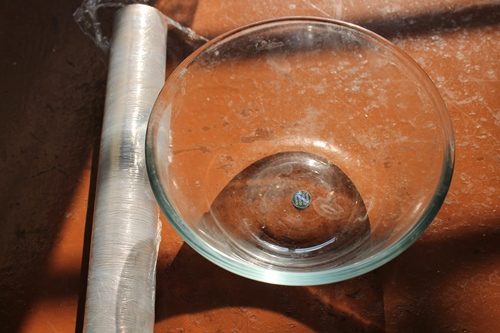 |
| Take a bowl which you plan to assemble the icecream |
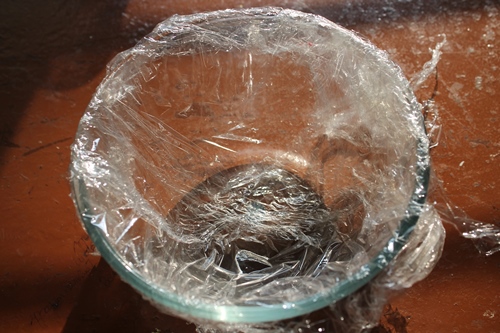 |
| line it with cling wrap |
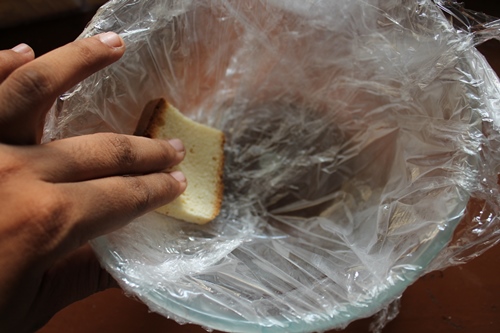 |
| Now start arranging the cake |
 |
| once it is almost complete |
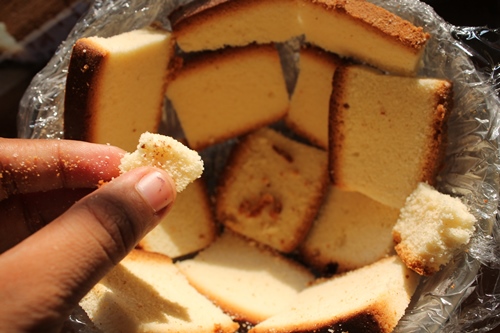 |
| you are going to fill all the nooks and gaps |
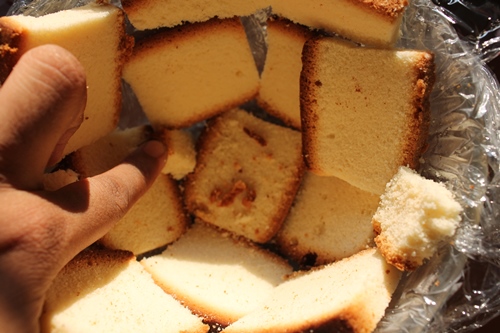 |
| take small piece of cake and fill them |
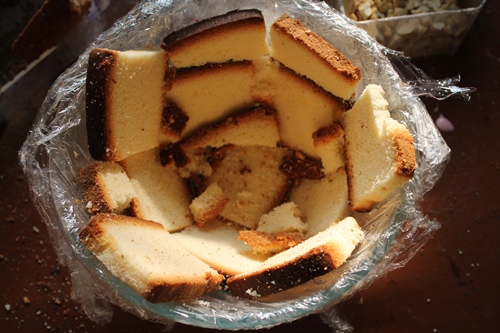 |
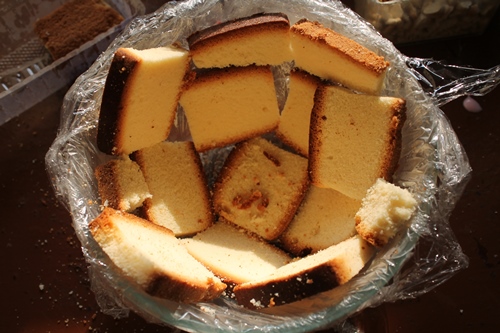
| all covered |
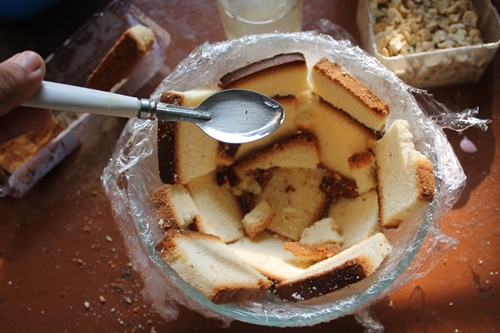 |
| take the simple syrup and wet the cakes |
 |
| all soaked |
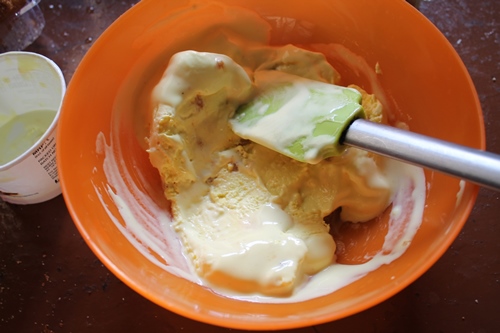 |
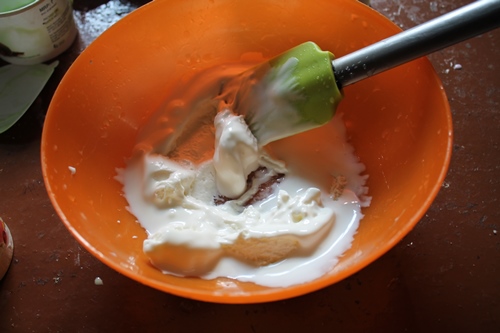
| Now time to take your icecream in a bowl and cream them. this is butterscotch flavour |
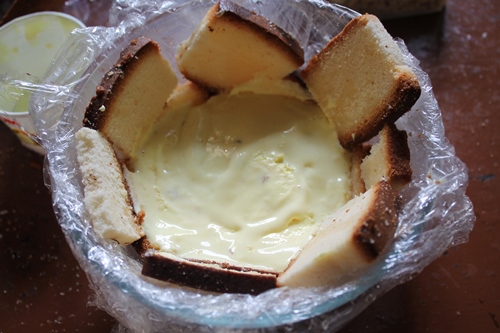 |
| fill the bottom layer with it |
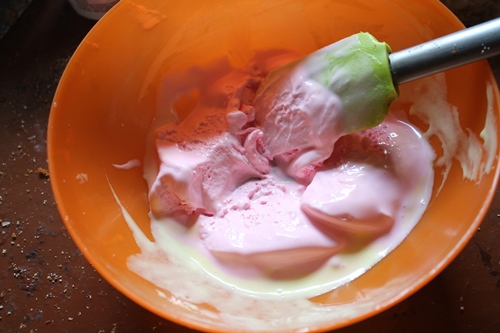 |
| Now take your strawberry icecream and cream them as well |
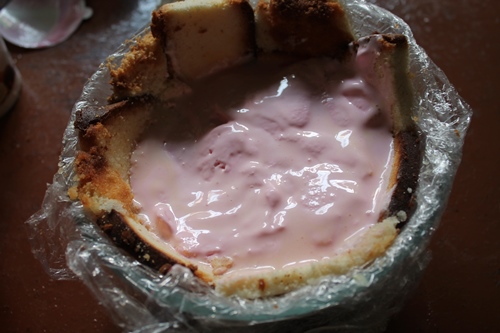 |
| spread that over the butterscotch flavour |
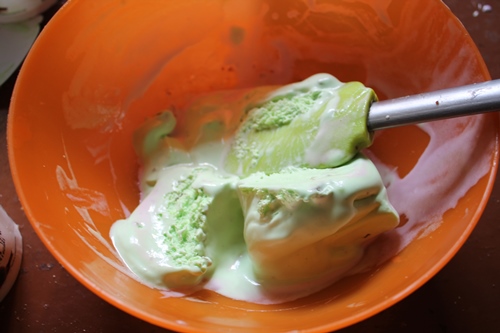 |
| Now take your pista icecream and cream it |
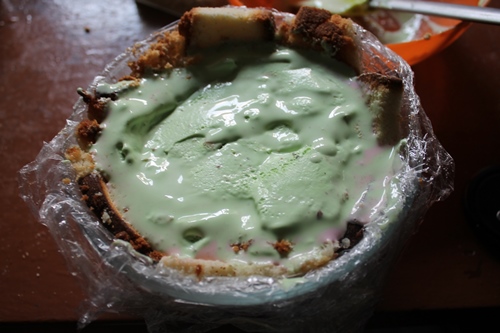 |
| smooth it over the strawberry flavour |
 |
| Now cream your last icecream, which is a vanilla |
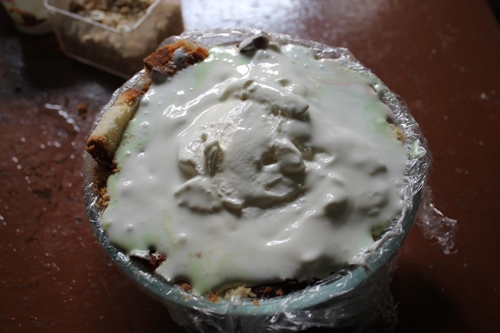 |
| smooth it over the pista flavour |
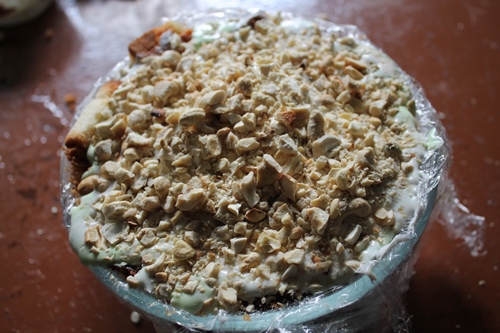 |
| Now spread the chopped cashewnuts all over the vanilla one |
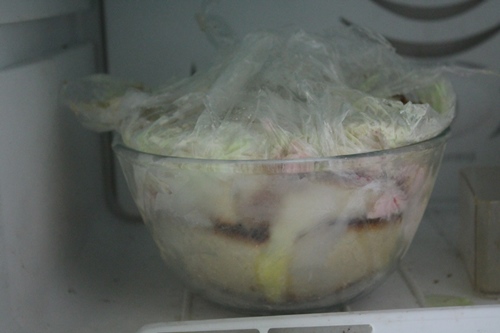 |
| freeze them |
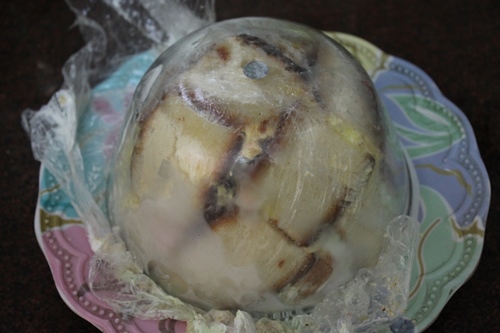 |
| Now when they all are set, invert them to a plate |
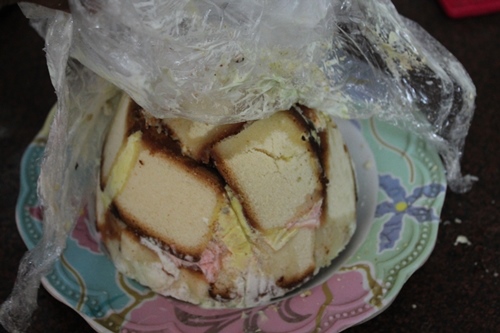 |
| slowly remove the plastic wrap |
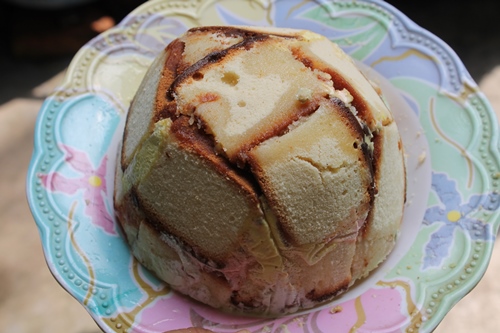 |
| TA DA... |
|
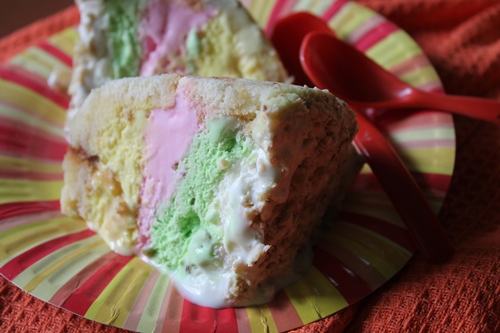
| slice and serve immediately.. |
Expert Tips
Storage
Cassata ice cream can be stored in the freezer for up to 5 days without problem. To eliminate freezer odors and ice crystals, wrap it tightly in cling wrap or keep it in an airtight container. It holds its shape quite well when properly frozen, making it a perfect make-ahead dessert for parties.
Serving
When you're ready to serve, take out the cassata and let it sit at room temperature for 5 to 7 minutes. This softens it just enough for a nice slice without breaking the layers. Serve on a refrigerated tray to keep it firmer for longer, and top with additional nuts or a light drizzle of chocolate for a nice touch.
Syrup alternative
If you prefer something a little fresher or less sweet than sugar syrup, you may easily substitute fruit juice. Orange juice or pineapple juice work very well, soaking into the cake like syrup and giving a mild fruity flavor. This gives the cassata a slightly tropical flavor that is very pleasant during the hot months.
Ice cream texture
Allow each tub of ice cream to soften for about 10 minutes before beginning to layer it. Not melted, but soft enough to spread without effort. If the ice cream is too hard, it can break the cake base or create air pockets between the layers. Softening allows everything to sit properly and creates smooth, even layers when sliced later.
FAQ
Q:Can I omit syrup?
Yes, absolutely. If you're using rich, high-fat ice cream and moist cake, you can skip the syrup. The cake will continue to absorb some moisture from the ice cream layers, keeping it soft. If you want to reduce overall sweetness, removing the syrup can help. Just make sure the cake isn't too dry to begin with.
Q:Can I make it dairy-free?
Absolutely! Cassata is easily changed to a dairy-free version. You may create ice cream with either coconut milk or almond milk; both have a nice texture and flavor. Pair it with a soft vegan sponge cake (homemade or store-bought) and you're done. It's as bright and delicious as the original, making it ideal for guests with certain dietary restrictions.
Q:Can I freeze slice-by-slice?
Yes, it is a very useful trick! After the cassata has completely frozen and firm, cut it into slices and wrap them individually. Store them in airtight containers or ziplock bags. This allows you to grab one or two pieces whenever you want a quick snack without having to defrost the whole thing.
Q:Can I pack it for travel?
You surely can. When ready to use, place the cassata in an insulated box or ice bag after freezing it in a solid, foil-lined container. It should keep frozen for a few hours if properly packed, making it excellent for potlucks or family gatherings. Allow it to rest for a few minutes before slicing at the location for the ideal serving.
Variations
● Mini Cassatas: If you're having a party or just want to make cassata feel extra special, try making them in small glass jars or mugs. Simply layer the cake, a scoop of softened ice cream, and almonds, then repeat. They look gorgeous, are easy to serve, and don't require any slicing-just grab a spoon and dig in! It's also a great option for hosting guests.
● Fruity Cassata; For a tropical variation, replace the ice cream with mango and vanilla, and use mango juice for the sugar syrup. The end result is fresh, sunny, and full of flavor-perfect for summer days. To make it more refreshing, mix with chopped fruit or a layer of fruit jelly. It's a nice change from the usual flavors, and it also looks great.
● Chocolate Twist : Chocolate lovers, this is for you! Replace the vanilla sponge with chocolate cake and cover with chocolate or coffee ice cream. It gives the cassata a deep, rich flavor, similar to a frozen chocolate dessert. To make it even more generous, put some chocolate sauce between the layers.
● Nutty Crunch: If you want texture, add broken biscuits, Oreo crumbs, or chocolate chips between your ice cream layers. This provides a delightful crunch to each bite and enhances the cassata's flavor. It's also a great way to use up leftover cookies or to add your own twist, depending on your tastes..
Ice cream recipes to try
📖 Recipe Card
Cassata Ice Cream Recipe
Equipment
- Freezer Safe Bowl
- Plastic Wrap
Ingredients
- 1 packet Vanilla Cake i used store bought
- 250 ml Vanilla Ice cream
- 250 ml Strawberry Ice cream
- 250 ml Pista Ice cream
- 250 ml Chocolate Ice cream
- ½ cup Cashew nuts chopped finely
Simple Syrup
- ¼ cup Sugar
- ¼ cup Water
Instructions
- Pre‑Prep - Start by making a simple syrup by combining ¼ cup sugar and ¼ cup water in a small pot. Heat until the sugar dissolves completely, then cool. While that is happening, slice the vanilla cake into small, even pieces. Chop your cashew nuts and keep them ready. Finally, set the ice cream tubs aside for a few minutes to soften slightly-this makes spreading much easier and allows the layers to blend more effe
- Layering - Take a deep bowl (about 1 liter in size) and line it with cling film, leaving some wrap hanging over the sides so you can lift it later. Begin by arranging cake slices on the bottom and gently pushing them together to create a base. Drizzle the chilled syrup evenly over the cake layer; it absorbs fast and keeps the dessert moist. Now evenly distribute one flavor of melting ice cream over the cake. Smooth it out using a spoon or spatula. Repeat with the following three flavors, carefully layering them on top of one another. Once all of the layers have been completed, generously sprinkle the chopped cashews on top.
- Chill & Slice - Cover the bowl completely with the extra cling wrap hanging over the sides, then gently press it down. To ensure a firm set, freeze the bowl overnight or for at least 8-10 hours. When it's time to serve, take it out, carefully invert it onto a plate, and remove the cling film. You will note that clean, colorful layers are lined up. Slice it like a cake and serve right away-it's creamy, cold, and amazing in every bite.
Notes
- You can use any of your favorite cake. But vanilla is preferred.
- You can use any number of flavors in icecream. But use minimum of three flavors for best taste.
- You can soak the cake with any fruit juices too instead of simple syrup. You can top it with any nuts too.
- Chill it very well before serving, overnight is preferred.
Nutrition
If you have any questions not covered in this post and if you need help, leave me a comment or mail me @aarthi198689@gmail.com and I'll help as soon as I can.
Follow me on Instagram, Facebook,Pinterest ,Youtube and Twitter for more Yummy Tummy inspiration.
Geetha Venkat
Super.. Wow.. My Favourite. Thanks for the recipe.
Geetha Venkat
Super. Wow. My Favourite.. Thanks for the recipe.
traditionallymodernfood
Awww cassata I already started drooling:)
Soma Pradhan
simply brilliant. out of words actually.
POOJA PATIL
Loved this!!!
Preeti Madhu
What an idea aarthi !!
Anonymous
So yummy...mouth watering. .Thanks aarthi for the idea..will try out soon..can this be prepared in a rectangular shaped bowl
Aarthi
@Anonymousyes u can make this in any bowl.
palak jaiswal
aswm one... 🙂 can I use chocolate cake slices with chocolate ice cream
Aarthi
@palak jaiswalyou can use any of your favourite cake slices