
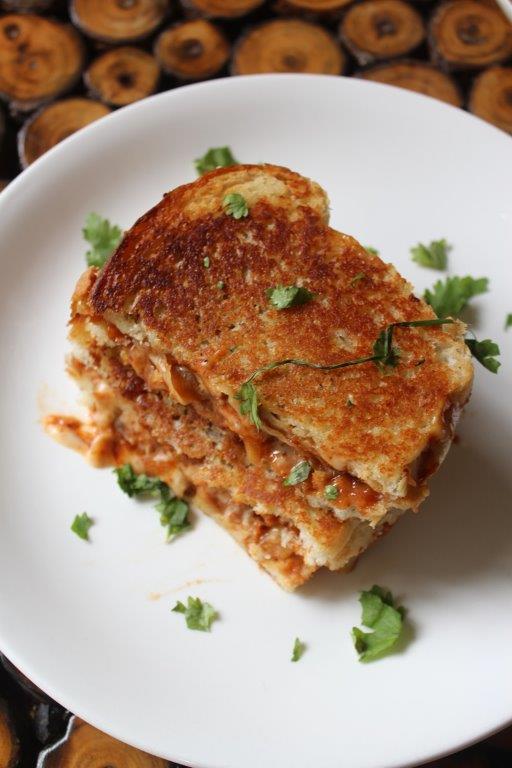
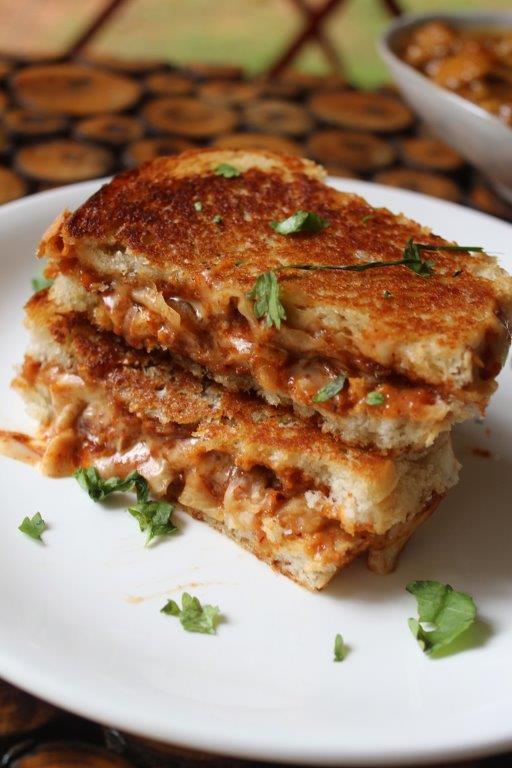
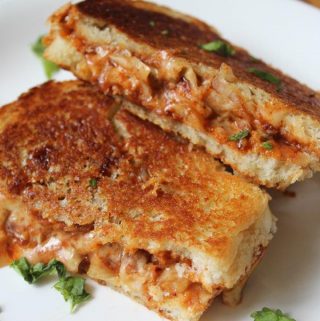
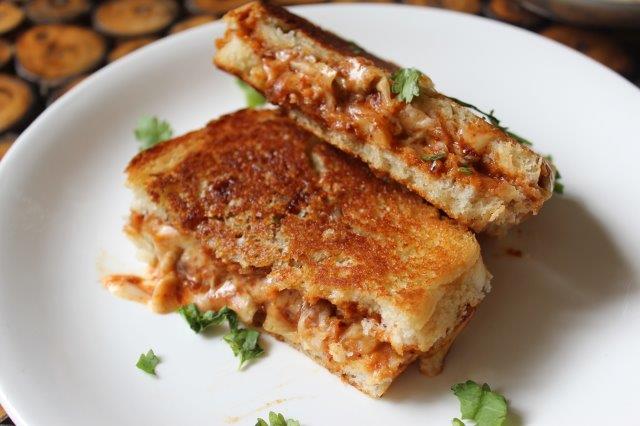
"Kimchi Grilled Cheese Recipe with Step by Step Pictures. White bread slices smothered with spicy sauce and topped with kimchi and cheese. Sandwich grilled to crisp perfection."
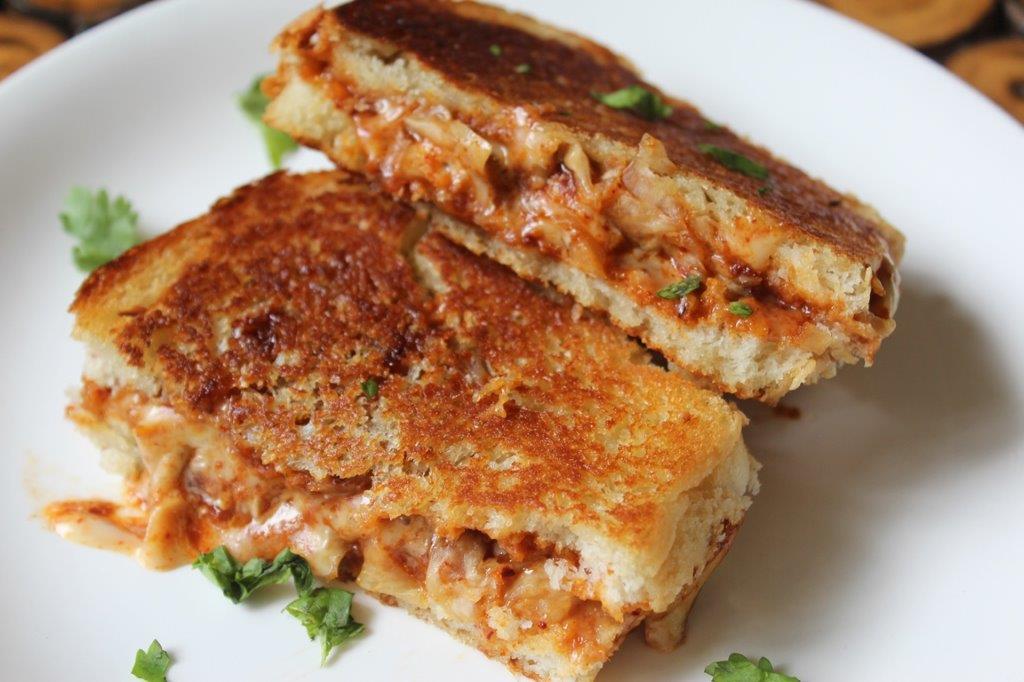
Grilled cheese packed with tons of flavour. This grilled cheese will take your regular sandwich to a whole new level.
More Grilled Cheese Recipes
- Grilled Cheese Sandwich
- Cheesiest Veg Sandwich
- Roasted Pepper Grilled Cheese
- Cheese Sandwich with Dipping Sauce
Ingredients for Making Grilled Cheese
- Bread Slices - You can use white or brown bread as you like. But I strongly recommend you using white bread.
- Kimchi - Kimchi is readily available at stores. But I always use my homemade kimchi. Because it taste amazing and takes only few minutes to make. Check out my Instant Kimchi Recipe
- Gochujang - Gochujang is a korean fermented red pepper paste. It is not that spicy but has a tang and fermented taste to it. I buy mine from amazon.
- Gochugaru - Gochugaru is korean red pepper flakes. It is mainly used for the colour, not that spicy at all. Again I buy mine from amazon
- Tomato ketchup - Tomato ketchup balance the taste in the sauce.
- Mayonnaise - Use good quality mayonnaise.
- Sugar - Sugar balance the sour and spicy taste in this sandwich.
- Butter - I love butter in my grilled cheese, you can use oil.
- Cheese - Use cheddar or mozzarella, shredded or sliced. Anything you prefer.

How to Make Korean Kimchi Grilled Cheese
-
Mix all the ingredients for sauce. Set aside.
-
Take couple of bread slices. Spread the sauce on them.
-
Place a cheese slice on one bread, top with kimchi, you can chop them if needed. Place another slice of cheese. Cover with another bread.
-
Apply butter on top side of the bread evenly. Now place it in a cast iron pan butter side down.
-
Apply more butter on other side, cook on low heat for 2 to 3 mins on each side, let them brown.
-
Remove it, slice and serve.
Tips for Perfect Kimchi Grilled Cheese
- You can use any cheese as you prefer. You can use shredded cheese as well.
- White bread is best for this recipe. But if you prefer healthy option then use brown bread.
- Use finely chopped kimchi. Big pieces may fall apart in the sandwich.
- Cook the sandwich in cast iron pan for best result.
- Use low heat to cook the sandwich, else it will brown outside fast and the cheese won't be properly molten.
Serving Suggestions
Kimchi grilled cheese is best served hot. You can serve it as it is with the sauce on the side. You can serve with a bowl of soup too.
Soup Recipes
- Hot and Spicy Chicken Soup
- Tomato Soup
- Tomato Basil Soup
- Pumpkin Soup
- Chicken Soup for Soul
- Chinese Egg Drop Soup
- Sweet Corn Soup
- Hot and Sour Veg Soup
Storage Suggestions
Normally grilled cheese sandwich doesn't store that well. So enjoy it as soon as it is made.

If you have any questions not covered in this post and if you need help, leave me a comment or mail me @aarthi198689@gmail.com and I'll help as soon as I can.
Follow me on Instagram, Facebook, Pinterest ,Youtube and Twitter for more Yummy Tummy inspiration.
IF YOU MAKE THIS RECIPE OR ANYTHING FROM YUMMY TUMMY, MAKE SURE TO POST IT AND TAG ME SO I CAN SEE ALL OF YOUR CREATIONS!! #YUMMYTUMMYAARTHI AND @YUMMYTUMMYAARTHI ON INSTAGRAM!
📖 Get Recipe
Kimchi Grilled Cheese Reipe
Ingredients
- 4 slices White Bread
- 4 slice Cheese
- 4 tablespoon Kimchi
- 2 tablespoon Butter
FOR SAUCE
- 3 tablespoon Mayonnaise
- 1 tablespoon Tomato Ketchup
- 2 teaspoon Gochujang / Korean Red Pepper Paste
- 1 teaspoon Sugar
- 1 teaspoon Gochugaru / Korean Red Pepper Flakes
Instructions
- Mix all the ingredients for sauce. Set aside.
- Take couple of bread slices. Spread the sauce on them.
- Place a cheese slice on one bread, top with kimchi, you can chop them if needed. Place another slice of cheese. Cover with another bread.
- Apply butter on top side of the bread evenly. Now place it in a cast iron pan butter side down.
- Apply more butter on other side, cook on low heat for 2 to 3 mins on each side, let them brown.
- Remove it, slice and serve.
Notes
Tips for Perfect Kimchi Grilled Cheese
- You can use any cheese as you prefer. You can use shredded cheese as well.
- White bread is best for this recipe. But if you prefer healthy option then use brown bread.
- Use finely chopped kimchi. Big pieces may fall apart in the sandwich.
- Cook the sandwich in cast iron pan for best result.
- Use low heat to cook the sandwich, else it will brown outside fast and the cheese won't be properly molten.
Serving Suggestions
Kimchi grilled cheese is best served hot. You can serve it as it is with the sauce on the side. You can serve with a bowl of soup too.Soup Recipes
- Hot and Spicy Chicken Soup
- Tomato Soup
- Tomato Basil Soup
- Pumpkin Soup
- Chicken Soup for Soul
- Chinese Egg Drop Soup
- Sweet Corn Soup
- Hot and Sour Veg Soup
Storage Suggestions
Normally grilled cheese sandwich doesn't store that well. So enjoy it as soon as it is made.Nutrition
Tried this Recipe
Mention @yummytummyaarthi or tag #yummytummyaarthi!Don't forget to check my other korean recipes too! These are more fancier varieties in my opinion. Enjoy!
Pictorial:
1)Start by making the sauce. Take mayonnaise in a bowl.

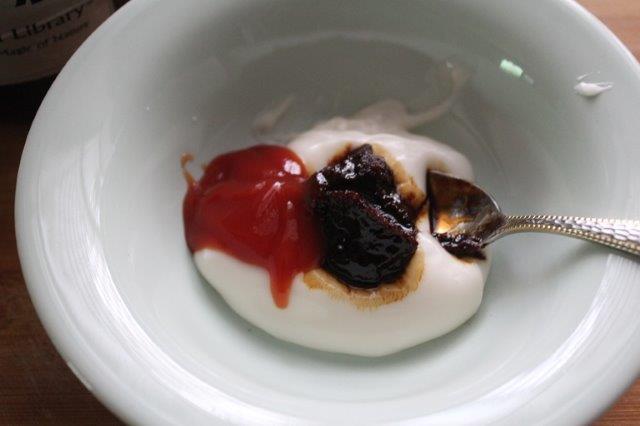
2)Add in some tomato ketchup
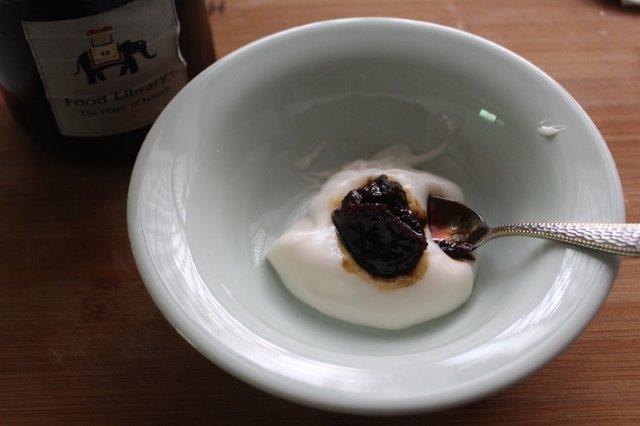
3)Add in gochujang
YOU WILL LOVE MY BANG BANG SHRIMP
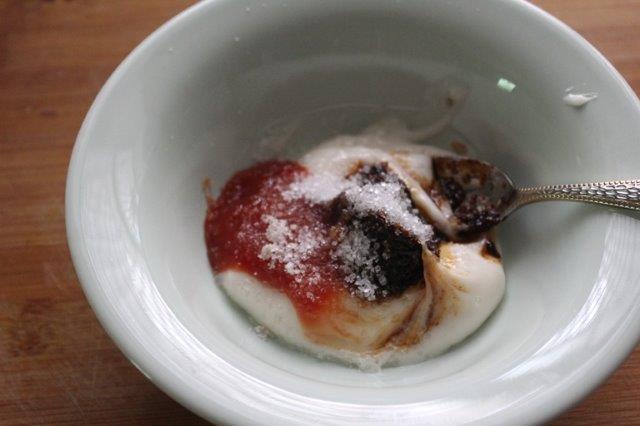
4)Add sugar
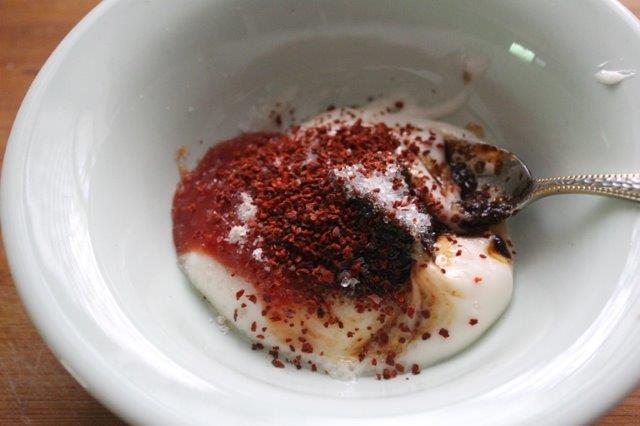
5)Add gochugaru
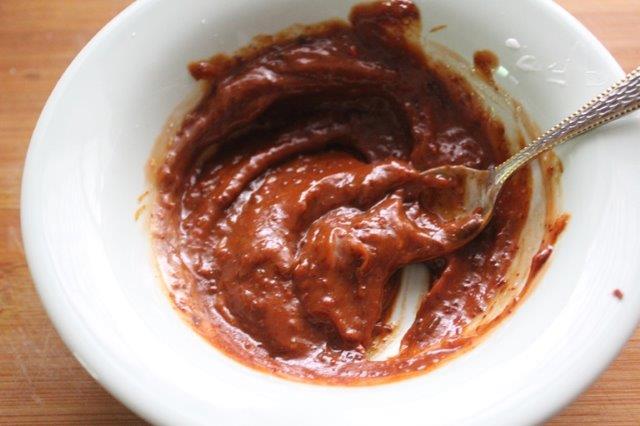
6)Mix well
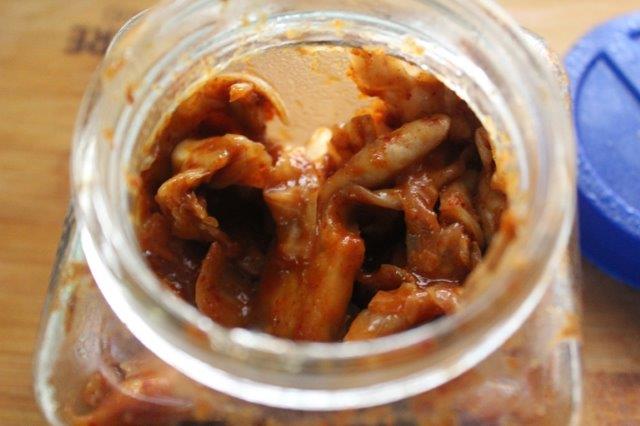
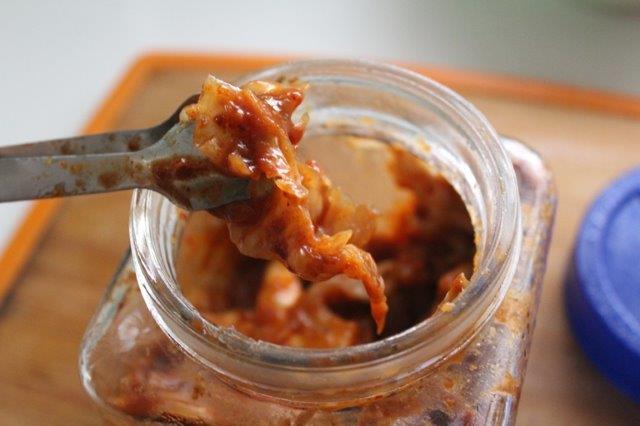
7)You will be needing kimchi. I used my homemade kimchi.
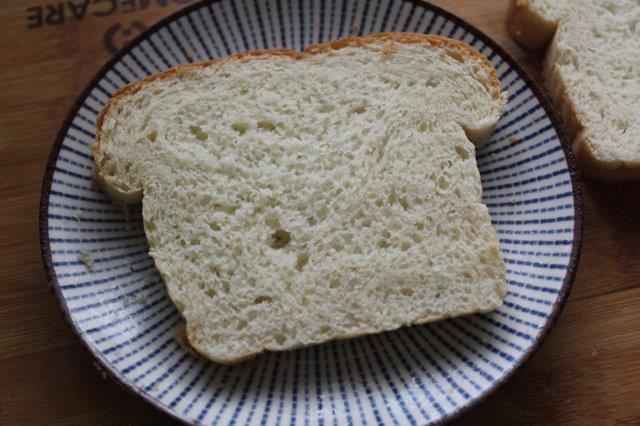
8)Take your bread slice.
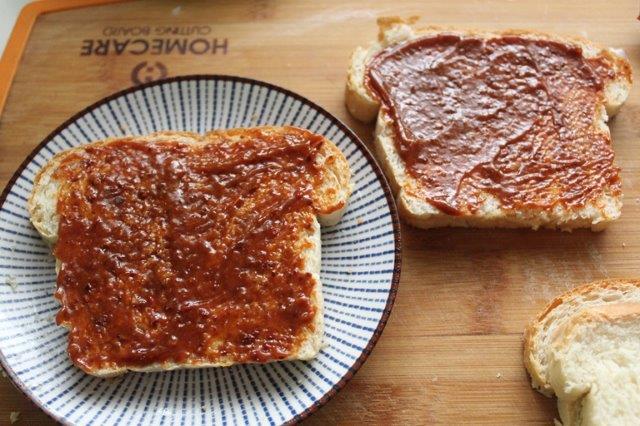
9)Spread chilli paste on it.
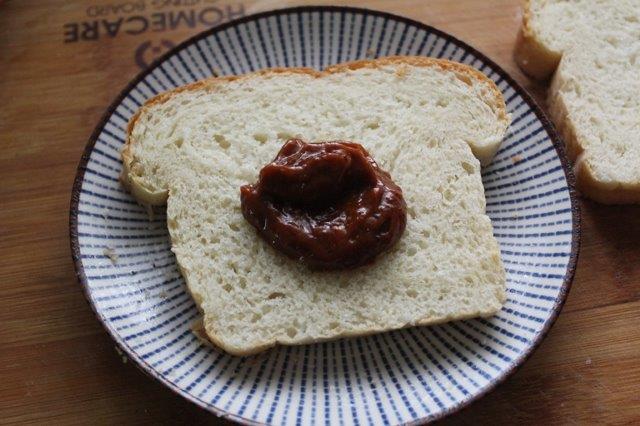
10)Spread evenly
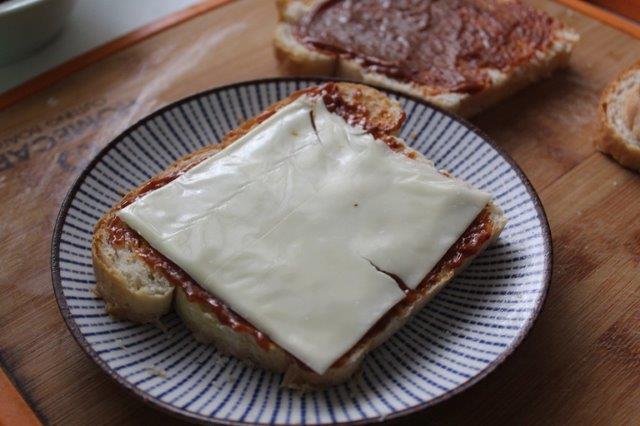
11)Place cheese slice on top.
12)Take your kimchi and chop it into small pieces.
13)place kimchi on top of cheese
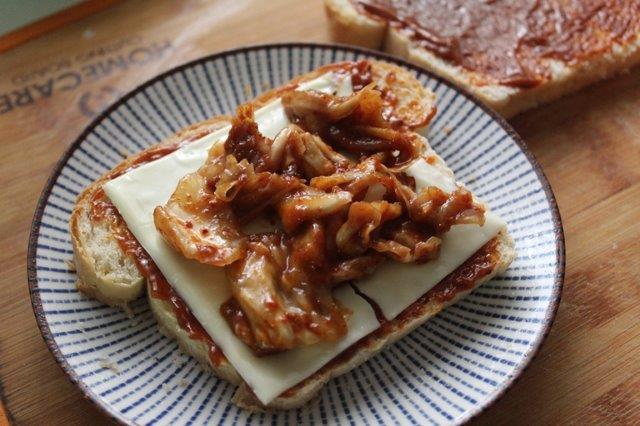
14)Place cheese slice on top.
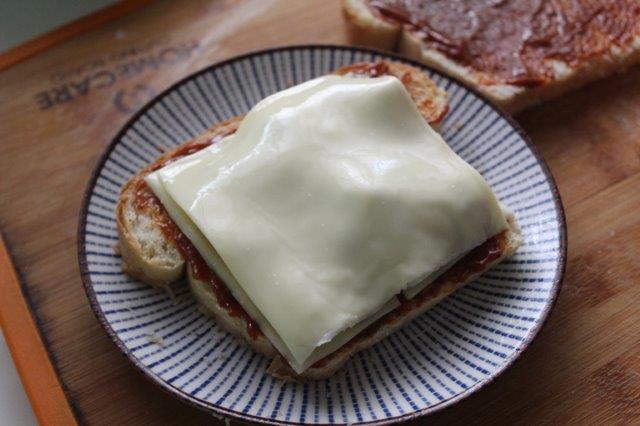
15)Cover with another slice of bread.
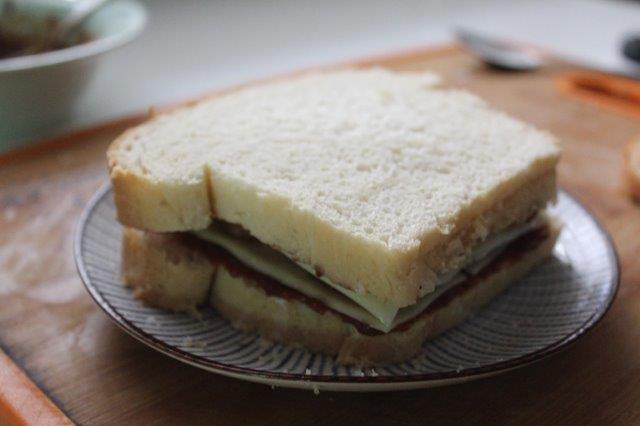
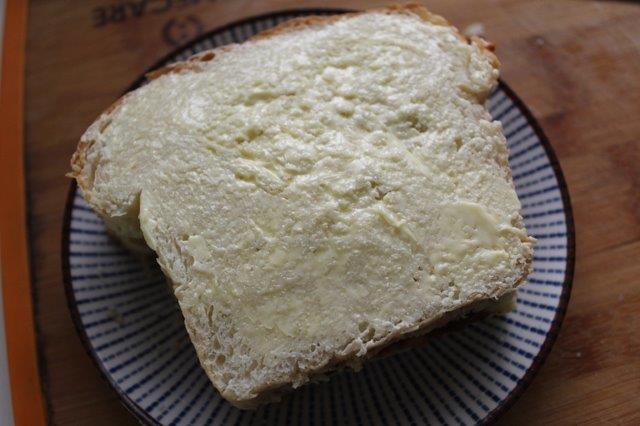
16)Spread butter on top.
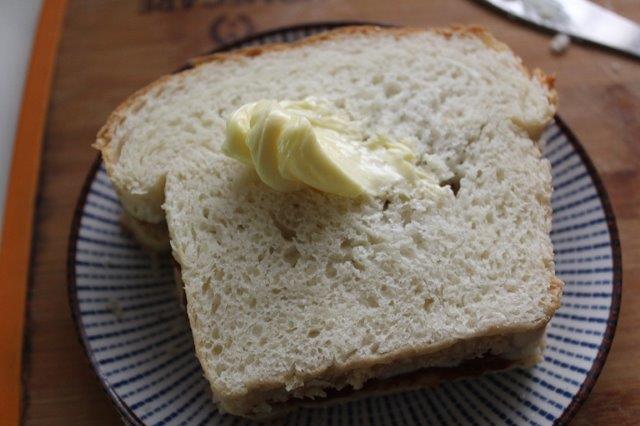
17)Spread evenly.
18)Place on a tawa. Use cast iron for best results. Cook on very low heat.
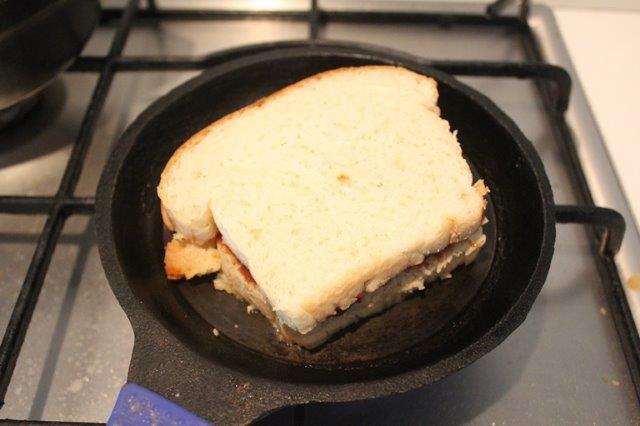
19)Spread butter on other side too. Flip over and cook.
20)Press gently so it cooks evenly.
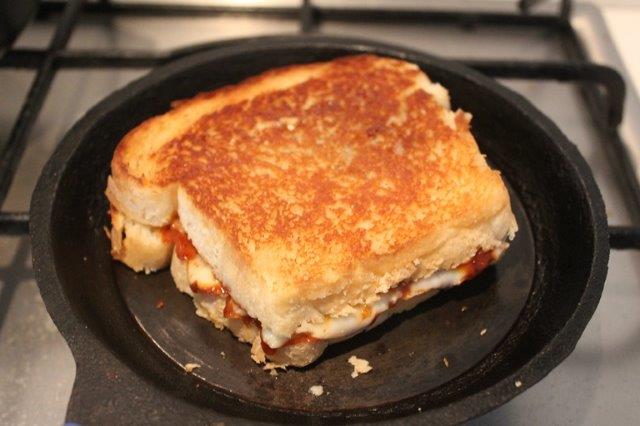
21)Once golden brown, remove to a plate
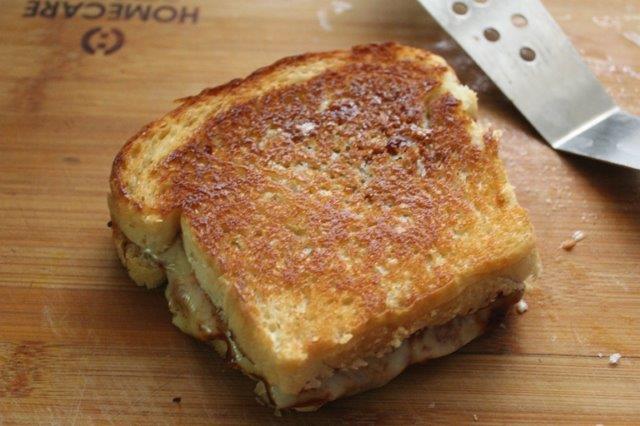
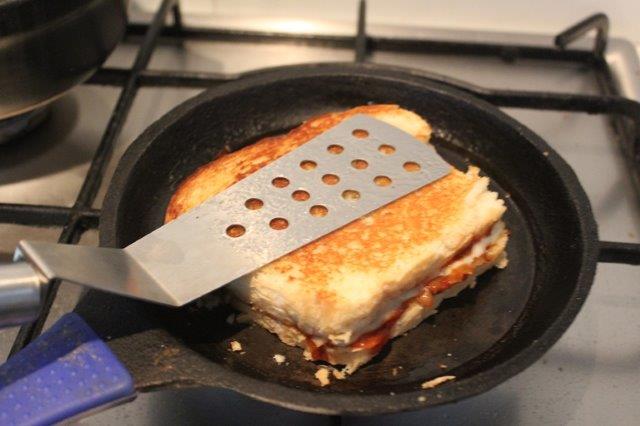
22)Slice and serve.
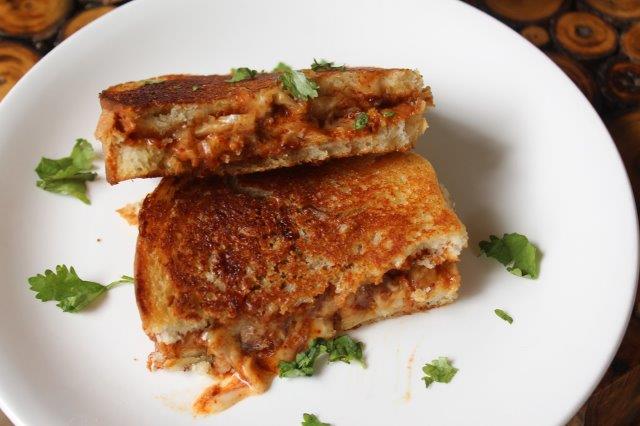
22)Enjoy


Leave a Reply