
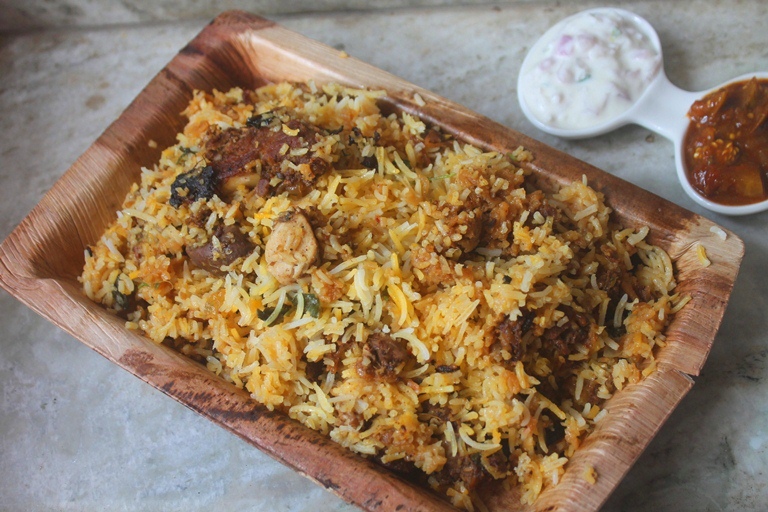
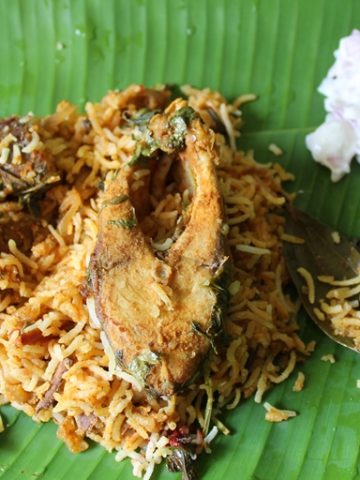
Authentic Hyderabadi Mutton Biryani Recipe with step wise pictures. Hyderabadi Mutton Biryani Recipe which is easy to make and taste so delicious. I am showing you step by step method of making the perfect biryani.
Hyderabadi style mutton dum biryani
A delicious Hyderabadi style mutton dum biryani which is not that complicated at all. Follow my step by step directions and you will get perfect biryani every time.
Jump to:
About Hyderabadi Dum Biryani Recipe
I have made so many types of biryani, but i would say that dum biryani is the real one and has the real taste to it. I love pressure cooker biryani and one pot biryani as well but nothing can beat a dum biryani when it is properly made. Have few dum biryani recipes in my blog. There are certain steps in making the perfect biryani..I have given everything perfectly here. I think this will help you a lot.
Think everyone know that making biryani is a kind of art. Yes each step is really important in that, but with a little patience and practice you can become a biryani master. Specially ramzan biryani is one which sat in my to do list for ages. I finally thought to give it a try. I was so careful in each step and took my own time to prepare everything, since it was my first attempt. But the result was awesome. The biryani came out with full of flavour and everyone loved it.
Similar Recipe,
Hyderabadi Mutton Dum Biryani
Mughlai Chicken Dum Biryani
Chicken Kofta Dum Biryani
Fish Dum Biryani
Vegetable Dum Biryani
Mughlai Vegetable Dum Biryani
Mushroom Dum Biryani
The cool part in making dum biryani is, when you dum the biryani, your house will be smelling like heaven. And also when you open the biryani it is just heaven. Can't describe it in words. You can check out my other simple veg biryani and non veg biryani as well.
Ingredients for Hyderabadi Dum Biryani Recipe
- Basmati Rice
- Salt
- Mutton / Lamb
- Turmeric Powder
- Special Garam Masala Powder
- Oil & Ghee
- Onion
- Ginger Garlic Paste
- Curd
- Cashews
- Sultanas / Kishmish
- Coriander Leaves
- Mint Leaves
- Saffron
Hyderabadi Mutton Dum Biryani Recipe Video

How to make Hyderabadi Mutton Biryani at Home
Prepreparation
Heat oil in a kadai. Add in sliced onions and fry onions till golden brown. Drain and set aside. Rinse and soak basmati rice for 1 hour. Chop up herbs like coriander and mint and set aside. Fry kishmish and cashews in ghee and set aside. Soak saffron and food colour in milk and set aside. Make sure you prepare the shahi garam masala powder as mentioned here.
Marinating Mutton | Lamb
Take mutton in a large bowl and add marinating ingredients and mix really well. Set aside to marinate for 1 hour to overnight. If marinating overnight put the bowl in fridge to marinate. Also remove the mutton from fridge 1 hour before cooking to bring it back to room temp.
Cooking Rice for Biryani
Now lets cook basmati rice. You need to cook the rice until it is 50 percent cooked. Bring large pot of water to a boil, add salt. Once the water starts to boil, add in drained soaked basmati rice. Cook for 3 to 4 mins till rice is 50% cooked. Don't drain it, take it off the heat and immediately start the assembling of biryani.
Assembling the Biryani
Take a large pot, You can use any biryani pot or dutch oven. add mutton spread it in the bottom. Now top with half of the rice, use a slotted spoon to drain the rice from the water and add it directly over the marinated mutton and spread evenly. Top with half of the fried onions, coriander and mint leaves. Top with more rice and top with fried onions, coriander and mint leaves. Sprinkle with fried cashews and kishmish. Add extracts over the rice. Pour the saffron milk over it also.
How to Dum Cook Biryani
Seal the rim of the pot with a sticky atta dough. Place a lid. Press firmly to seal it well. Top with mortar and pestle or any heavy objects like a pot filled with some water. Cook on a very low heat for 45 mins. Once the time is up, remove the biryani from heat and set aside for 10 mins. Open the lid, fluff up the rice. Serve hot.
How to Make Hyderabadi Mutton Biryani (Stepwise Pictures)
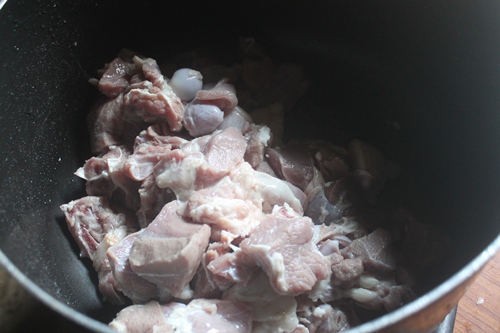
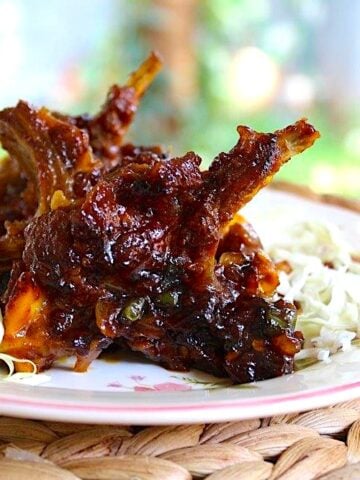
1)First lets marinate the mutton pieces. I am using 1 kg mutton here. Wash and take it in a bowl.
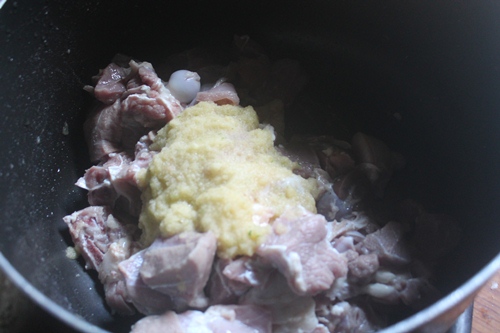
2)Add in raw papaya paste
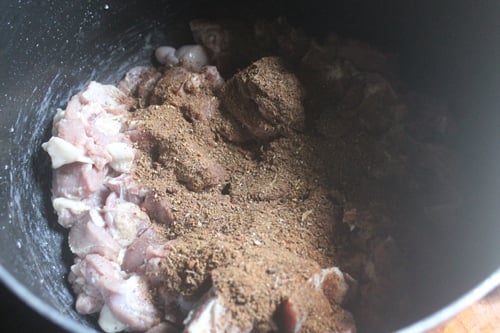
3)Add shahi garam masala powder. Recipe here. This is important, it gives the real aroma.
4)Add ginger garlic paste
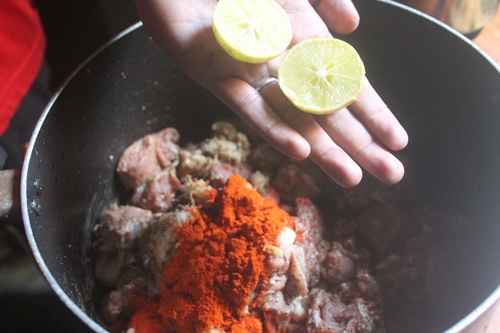
5)Add in kashmiri chilli powder

6)Add in lemon juice.
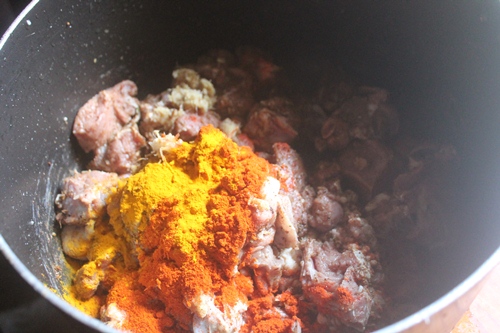
7)Add in turmeric powder
8)Add in fried onions

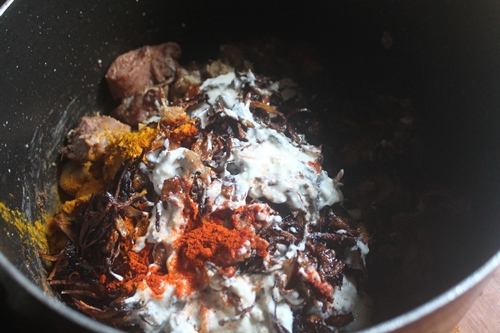
9)Add in yogurt /curd
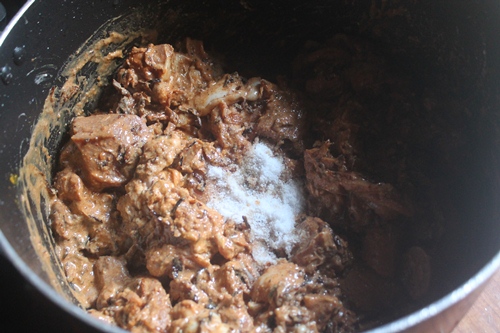
10)Add salt and mix well.
11)Add in coriander leaves, mint leaves and green chillies
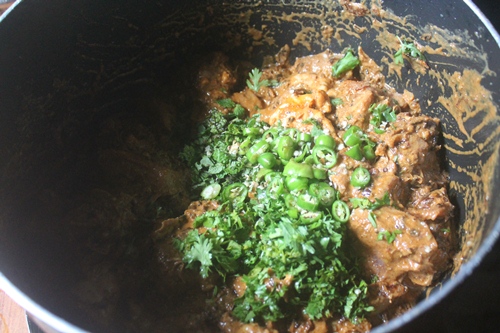
12)Add in the onion fried oil.
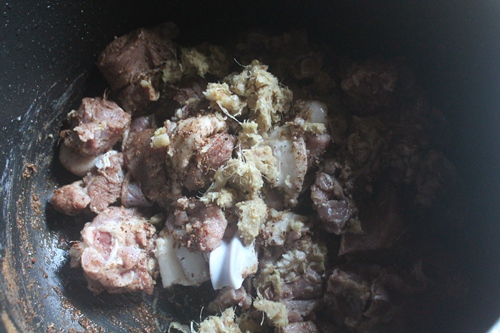
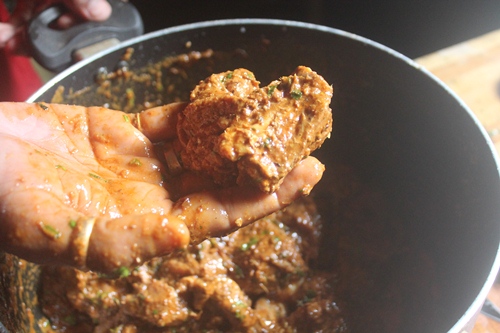
13)Massage it for 2 to 3 mins. Now let it marinate for 1 hour.
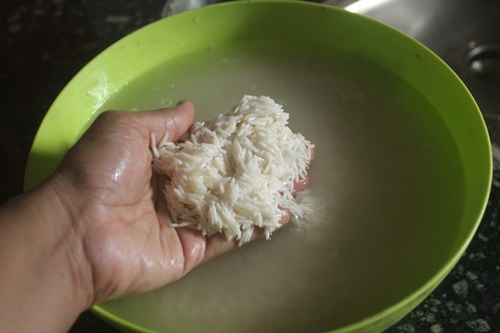
14)Meanwhile soak 1 kg basmati rice for 1 hour.
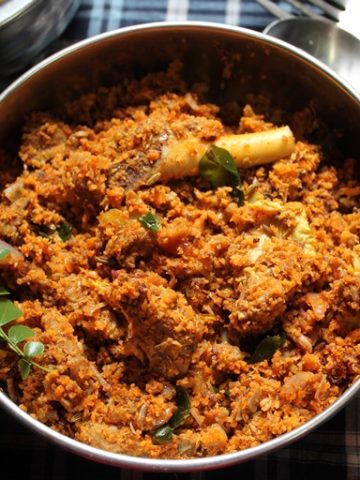
15)Now take your biryani making pot. Add mutton in
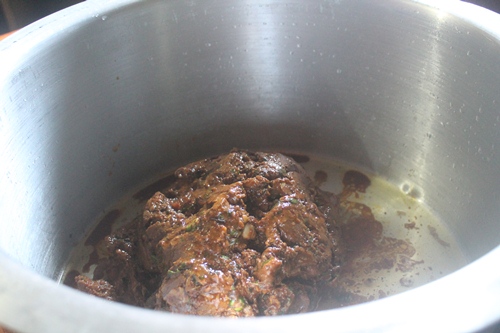
16)Spread it evenly and cook for 5 mins.
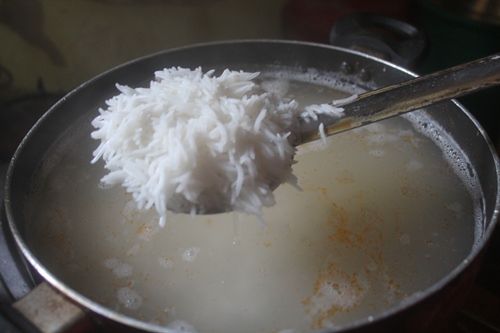
17)Meanwhile i cooked the basmati rice till it is 50% cooked. It will take just 3 to 4 mins once you add rice to boiling water.
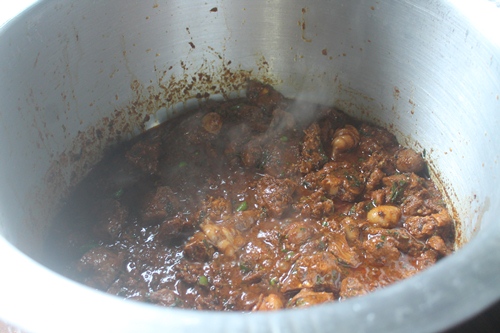
18)Take mutton off the heat.
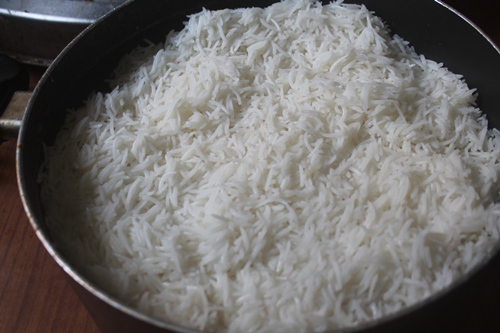
19)Top with half of the rice.
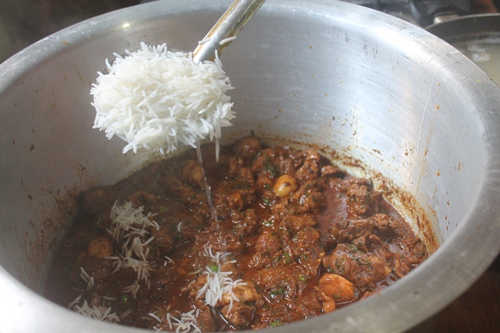
20)Spread it gently. You can see we changed the pot, since the above pot was too big for our rice.
21)Top with half of the fried onions
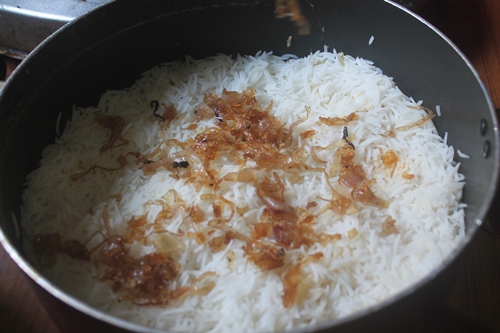
22)Top with half of the coriander and mint leaves

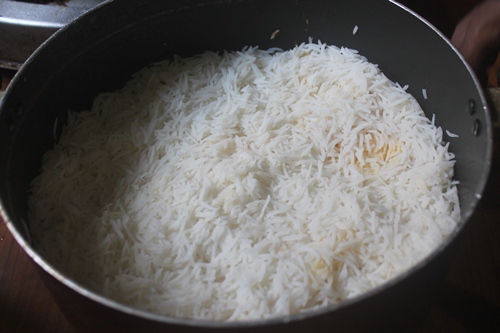
23)Top with the remaining rice
24)Top with more fried onions, coriander leaves and mint leaves
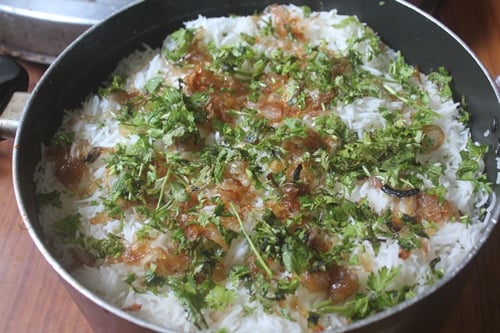
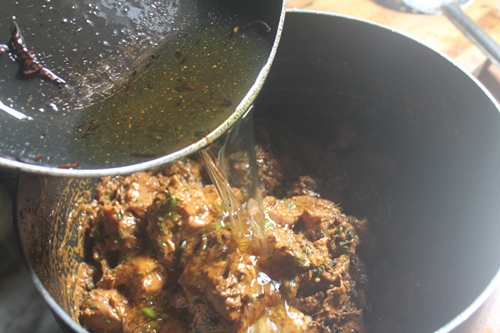
25)Drizzle in rose essence and kewra extract.
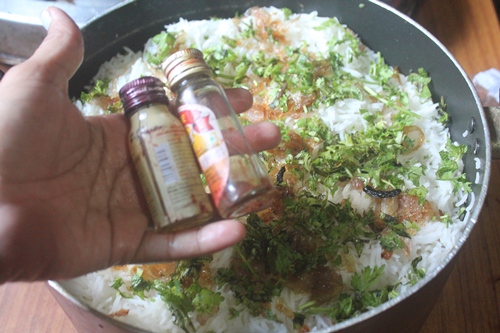
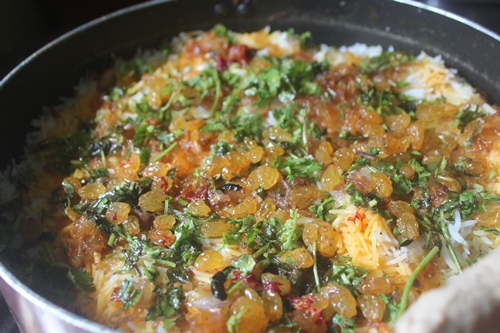
26)Pour over some raisins which is fried in some ghee
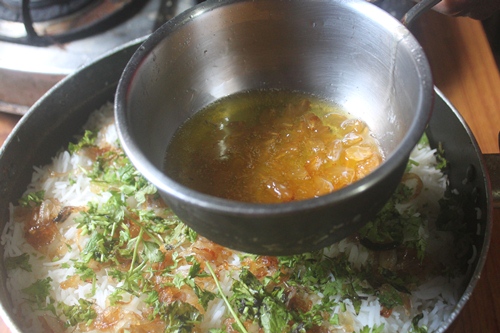
27)Pour over some saffron which is soaked in some milk

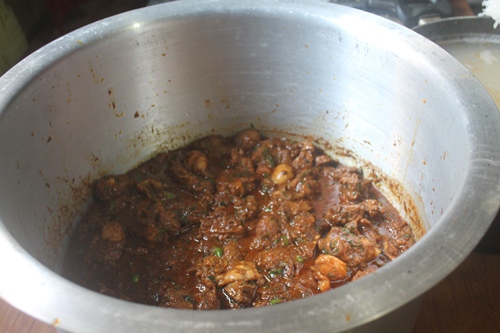
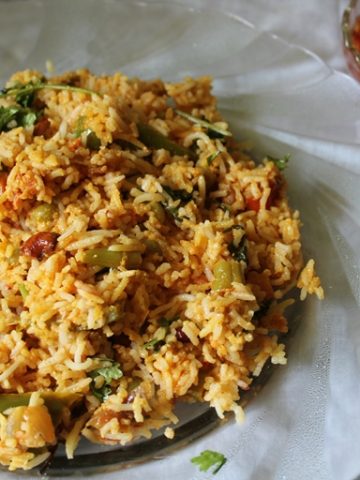
28)Now it is all assembled
29)I made a sticky atta dough. It is just wheat flour kneaded with some water.

30)I placed the dough on the rim.
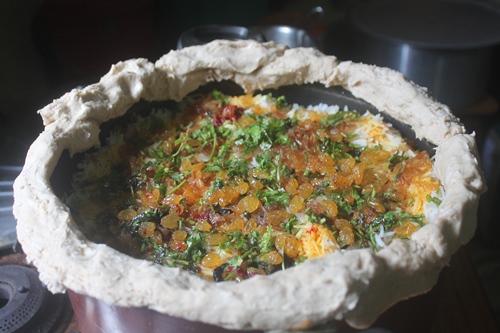
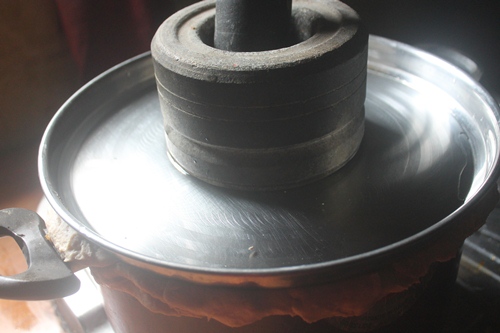
31)Cover with a lid and place a heavy object on top. I also poured some water on top. Let it cook on really low heat for 45 mins
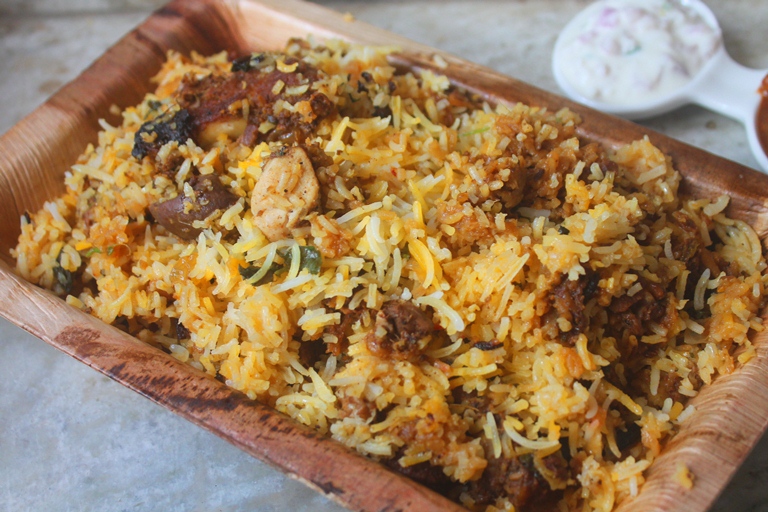
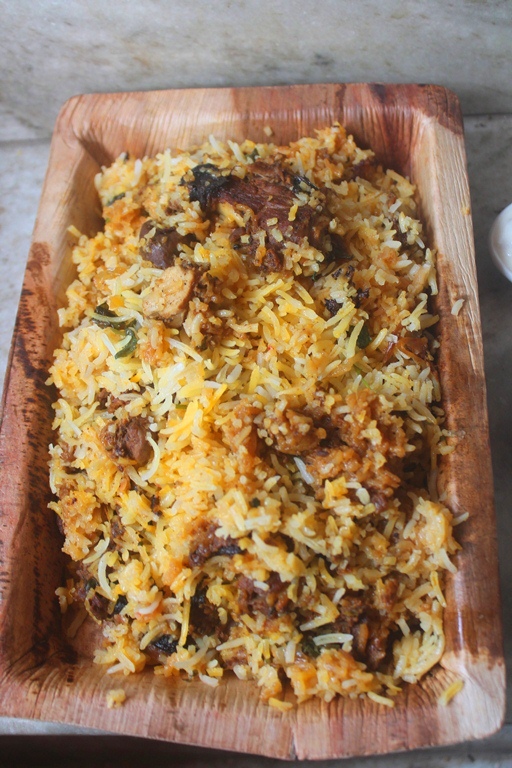
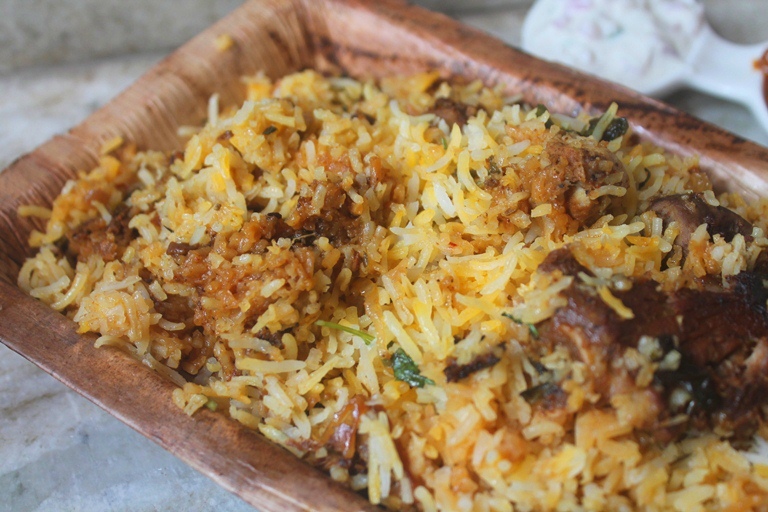
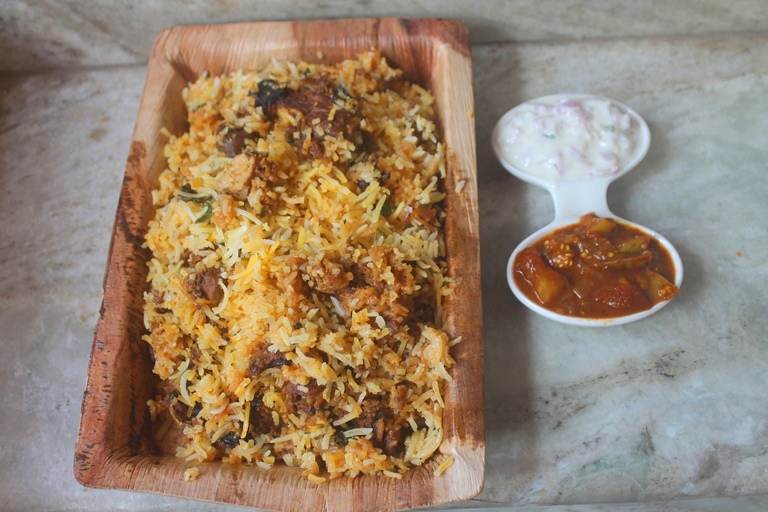
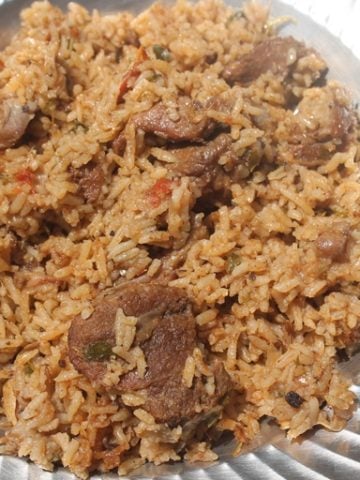
32)Done
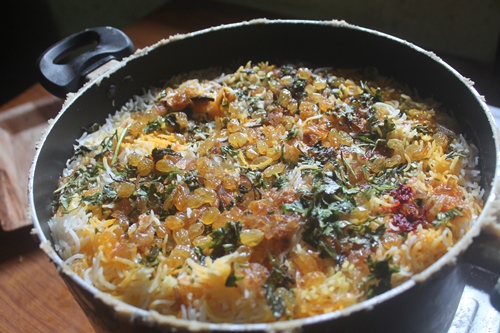
33)Fluff the rice
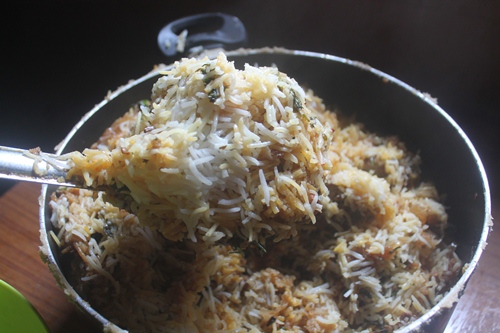
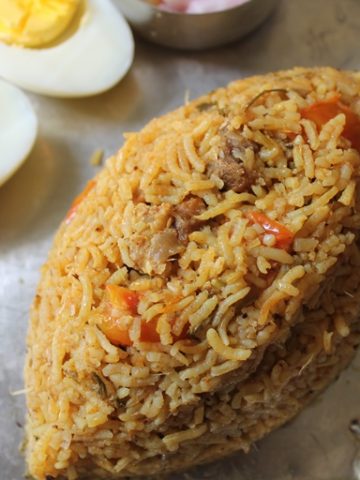
34)Serve
Expert Tips
- Be careful while cooking rice, rice should be ¾ th cooked, it will take very less time so keep an eye on it.
- You can put the entire pot over a tawa on low heat if you feel that the rice will stick to the pot.
- Make the gravy thick so that it doesn't make the rice soggy.
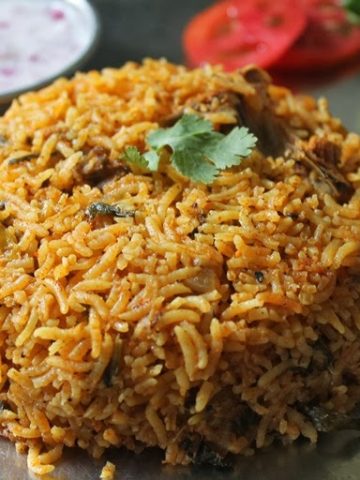
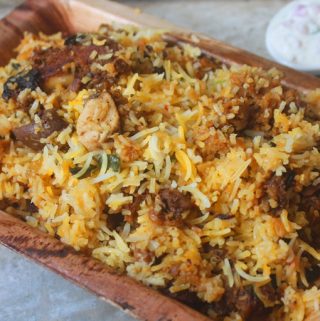
More Biryani Recipes to Try

📖 Get Recipe
Hyderabadi Dum Biryani Recipe | Authentic Hyderabadi Mutton Dum Biryani Recipe
Ingredients
- 1 kg Basmati Rice
- 1 kg Onion sliced thinly
- 2 cups Oil
- 1 cup Coriander Leaves chopped finely
- 1 cup Mint Leaves chopped finely
- ¼ cup Ghee
- ½ cup Kishmish (sultanas)
- ½ teaspoon Saffron a pinch
- ¼ cup Warm Milk
- Yellow Food Colour few drops
- Rose Extract few drops
- Kewra Extract few drops
FOR MARINATING:
- 1 kg Mutton (Lamb) (on the bone)
- 3 tablespoon Raw Papaya Paste
- 5 tablespoon Shahi Garam Masala Powder
- 1 tablespoon Red Chilli Powder
- ½ teaspoon Turmeric Powder
- 4 tablespoon Ginger Garlic Paste
- 1 cup Coriander Leaves chopped
- 1 cup Mint Leaves chopped
- 1 cup Yogurt (curd)
- 2 cups Fried Onions
- 6 Green Chillies chopped finely
- 3 tablespoon Lemon Juice
- ½ cup Fried Onion Oil
- Salt to taste
For Atta Dough (Sealing Biryani Pot)
- 3 cups Wheat Flour
- Water
For Shahi Garam Masala Powder Recipe
- ¼ cup Fennel Seeds / Sombu / Saunf
- 2 tablespoon Cumin Seeds / Jeerakam
- ¼ cup Cinnamon / Pattai
- 1 tablespoon Black Pepper
- 10 Black Cardamom
- 20 Green Cardamom
- 1 tablespoon Cloves
- 5 Mace
- 4 StarAnise
- 5 Black Stone Flower / Kal Paasi
Instructions
Prepreparation
- Heat oil in a kadai. Add in sliced onions and fry onions till golden brown. Drain and set aside. You need the onion fried oil for the marination. So reserve the fried onion and onion oil. Rinse and soak basmati rice for 1 hour. Chop up herbs like coriander and mint and set aside. Fry kishmish and cashews in ghee and set aside. Soak saffron and food colour in milk and set aside. Make sure you prepare the shahi garam masala powder as mentioned here.
For Shahi Garam masala powder
- Take all ingredients in a dry pan and roast on a very low heat 5 to 7 mins. Cool it down. Take it in a blender and powder fine. Store in an air tight container.
Marinating Mutton
- Take mutton in a large bowl and add marinating ingredients and mix really well. Set aside to marinate for 1 hour to overnight. If marinating overnight put the bowl in fridge to marinate. Also remove the mutton from fridge 1 hour before cooking to bring it back to room temp.
Cooking Rice
- Now lets cook basmati rice. You need to cook the rice until it is 50 percent cooked. Bring large pot of water to a boil, add salt. Once the water starts to boil, add in drained soaked basmati rice. Cook for 3 to 4 mins till rice is 50% cooked. Don't drain it, take it off the heat and immediately start the assembling of biryani.
Assembling the Biryani
- Take a large pot, You can use any biryani pot or dutch oven. add mutton spread it in the bottom. Now top with half of the rice, use a slotted spoon to drain the rice from the water and add it directly over the marinated mutton and spread evenly. Top with half of the fried onions, coriander and mint leaves. Top with more rice and top with fried onions, coriander and mint leaves. Top with fried cashews and kishmish. Add extracts over the rice. Pour the saffron milk over it also.
How to Dum Cook Biryani
- Knead wheat flour and water to make a dough. Seal the rim of the pot with a sticky atta dough. Place a lid. Press firmly to seal it well. Top with mortar and pestle or any heavy objects like a pot filled with some water. Cook on a very low heat for 45 mins. Once the time is up, remove the biryani from heat and set aside for 10 mins. Open the lid, fluff up the rice. Serve hot.
Video
Notes
- Marinating mutton is important. So atleast marinate for 1 hour.
- Add raw papaya paste to make the meat tender and cook faster.
- If you are not adding papaya paste marinate mutton for 8 hours or overnight.
- Cook rice only till 50% else it will get mushy during the 1 hour dum process.
- Cook the rice on very very low heat. You can even place it over a tawa which is heated.
Nutrition
Tried this Recipe
Mention @yummytummyaarthi or tag #yummytummyaarthi!If you have any questions not covered in this post and if you need help, leave me a comment or mail me @aarthi198689@gmail.com and I'll help as soon as I can.
Follow me on Instagram, Facebook,Pinterest ,Youtube for more Yummy Tummy inspiration.


Shalini
Looks so delicious.. Cant wait to try the recipe..
Shalini
Looks delicious.. cant wait to try
Ammu
Shahi garam masala home made r kadaila vancunatha..kadaila na ena Everesta Vera yathuma...help fulla erukum
Husnu
Can this biriyani be made in a rice cooker. I am using a Philips brand rice cooker.
bindu
Any substitute for papaya paste??
Aarthi
Papaya paste tenderize the meat. so it cooks faster.
Kavi
I tried this recipe today and my family lived it. Thank you, 😊
Sara
I enjoy preparing your dishes! Authentic home food. I truly miss ramzan biryani. I have a question: would the mutton be thoroughly cooked in this dum? My biggest problem is meat never gets fully cooked in this style so I land up half pressure cooking meat, esp mutton, before placing on the bottom. Is there anything else you can recommend to prevent this problem?
Aarthi
Adding raw papaya paste is important for tenderizing the meat and cooking it completely.