
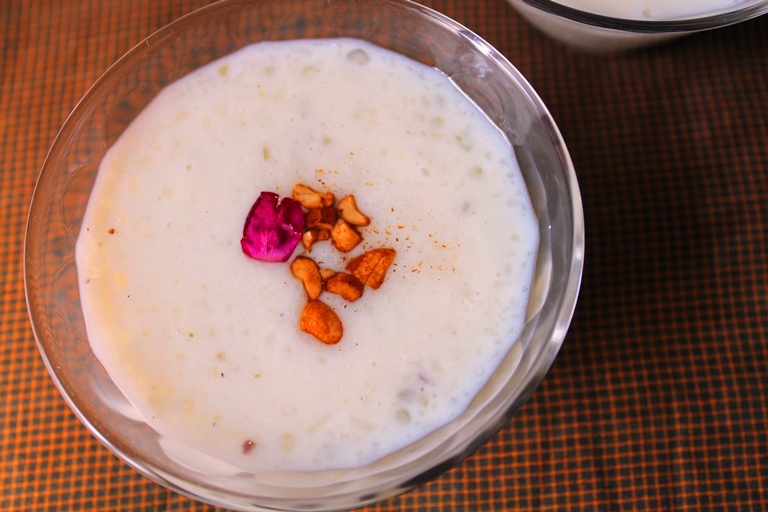
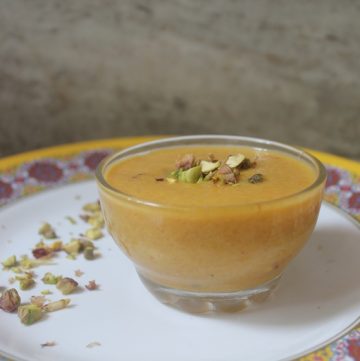
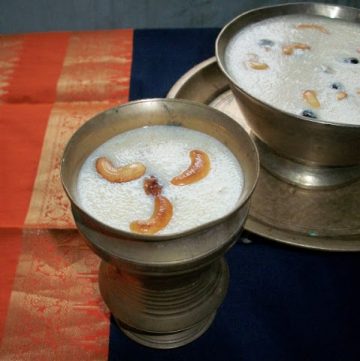
Rice & Sago Kheer, also called Arisi Javarisi Payasam, is a delicious South Indian dessert made with basmati rice, sago (also known as javvarisi or sabudana), milk, sugar, and a touch of cardamom. It’s creamy, comforting, and has the perfect balance of chewy and soft textures thanks to the combo of crushed rice and plump sago pearls. It’s especially popular during festivals and special occasions but also makes a wonderful sweet treat on regular days.
Arisi Payasam Recipe
A simple payasam but taste so special. I love the combo of crushed rice and sweet sago balls. I have a separate recipe for sago payasam but this one is a variation from that.
Jump to:
This payasam is not just tasty but also soothing perfect for summer since both sago and milk are cooling by nature. It can be enjoyed warm or cold, but I personally love it slightly chilled. It’s like a hug in a bowl, creamy and lightly fragrant with cardamom, plus the richness of ghee-roasted cashews on top just makes it irresistible.
About Arisi Payasam
I started making this rice and sago kheer on days when I wanted something simple yet special. The base idea came from two different payasams I love, one made purely with sago and the other with crushed rice and I thought, why not bring them together? Turns out, this combination is a match made in dessert heaven. The rice gives it some body and thickness while the sago gives those jelly-like pearls that burst in your mouth.
This recipe doesn’t require any fancy steps or tools. If you have a saucepan, a blender, and a little patience, you’re good to go. Plus, most of the ingredients are pantry staples. Once you try it, you’ll realize how adaptable it is, you can tweak the sweetness, skip the condensed milk, or even add a handful of raisins or a splash of rose water to suit your taste.
I also love that it scales really well. You can make a small batch for your family or double it for a party. And it's so beginner-friendly! Even if you’ve never made any Indian dessert before, you’ll find this kheer very forgiving and enjoyable to make.
Similar Payasam Recipes

Why This Recipe Works
This recipe works because it’s a perfect balance of texture and flavor. The crushed rice thickens the milk as it cooks, making it creamy and rich without needing cream or tons of condensed milk. Meanwhile, the sago gives it that unique soft-chewy bite which contrasts beautifully with the smoothness of the milk.
Also, we’re not overloading it with too many ingredients. The sweetness comes mainly from sugar and a little condensed milk, and the flavor is kept warm and comforting with just a pinch of cardamom. A final touch of ghee-roasted cashews takes it up a notch it adds that nutty crunch and makes it feel festive.
Why I Like this recipe - I love this kheer because it reminds me of cozy afternoons during festivals that rich smell of milk simmering with cardamom, and my mom roasting cashews in ghee in the kitchen. There’s something very nostalgic about it. Also, it’s such a budget-friendly recipe. Nothing fancy, no exotic ingredients, and still, it tastes absolutely luxurious. That kind of comfort is rare. Finally, it’s so versatile. Serve it warm in the winter or chill it in the fridge for a summer treat either way, it just hits the spot.
What I personally love is how this recipe doesn’t need tons of stirring like some traditional desserts. Just a little patience and timing, and it all comes together beautifully.
Ingredients

Basmati Rice – I used about half a cup of basmati rice for this recipe. I washed and dried it a bit, then coarsely ground it in a blender. The idea is to give the kheer some texture, when cooked, the tiny bits of rice swell and make the payasam feel nice and grainy.
Sago / Javvarisi – You’ll need about half a cup here as well. Sago gives that chewy, soft bite in between the creamy milk and rice. Once soaked and cooked, they turn transparent and become a big part of the kheer’s charm.
Milk – Around 1⁄2 liter of full-fat milk is just right. It gives richness and that creamy texture we all love in a good payasam. It slowly thickens as it simmers with the rice and sago, so there’s no need for any added thickeners.
Sugar – I used 1⁄2 cup of sugar, which gives a gentle sweetness. If you’re using sweetened condensed milk, you can reduce the sugar slightly depending on your taste.
Condensed Milk – Just about 3 tablespoons adds that extra creamy texture and gives a deep sweetness that complements the sugar. It also makes the kheer feel more indulgent, especially when served chilled.
Ghee – Only 1 teaspoon of ghee is used, but it makes a big difference. It’s mainly for frying the cashew nuts and adding that traditional aroma that really brings the dish together.
Cashew Nuts – I chopped around 3 tablespoons worth of cashews and fried them till golden in ghee. They add a lovely crunch and that slightly roasted flavor that contrasts well with the creamy payasam.
Cardamom Powder – Just 1 teaspoon is enough. It gives a warm, sweet fragrance that’s almost always associated with Indian desserts. Even a small pinch goes a long way in lifting the entire dish.
Hacks
One of the easiest ways to make sure your kheer turns out smooth and lump-free is to soak the sago (javvarisi) in warm water for at least 15–20 minutes before cooking. It helps them puff up evenly and cook faster without sticking together.
When grinding the rice, try not to make it too fine like flour. Keep it slightly coarse, like rava (semolina) — that grainy texture helps the payasam feel rich and hearty, and it doesn’t turn mushy when cooked.
Don’t rush the cooking process. Always simmer on low heat. Milk needs time to reduce and thicken naturally. If you cook it fast, it can stick to the bottom or even curdle.
Lastly, fry the cashew nuts in ghee separately and add them at the end. This keeps them crunchy and aromatic. If you add them too early, they might lose their texture in the hot milk.

Arisi payasam (Stepwise Pictures)
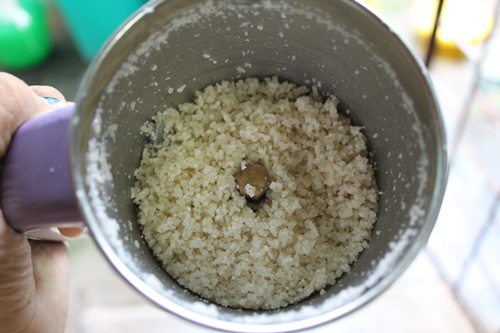 |
| Take basmati rice in a blender and grind them into a coarse mix. |
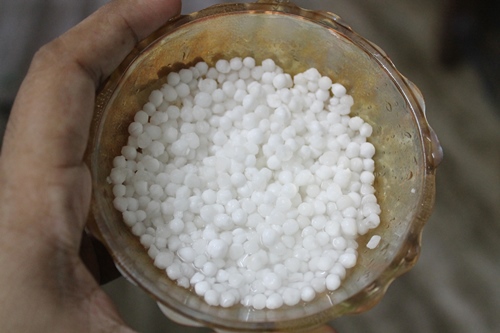 |
| Soak sago for 15 mins |
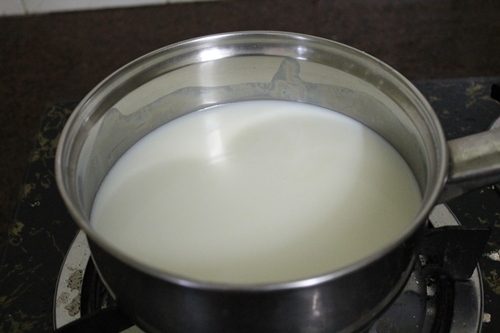 |
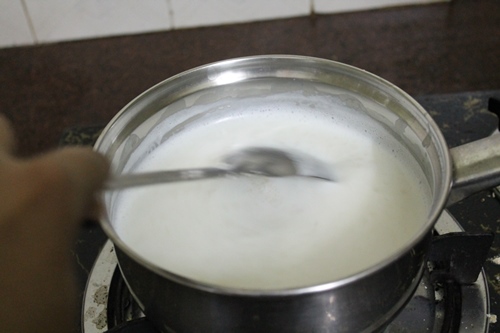
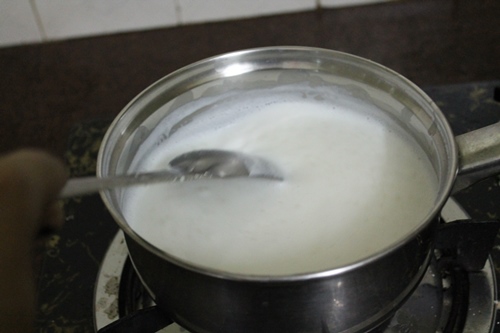
| Heat milk in a sauce pan |
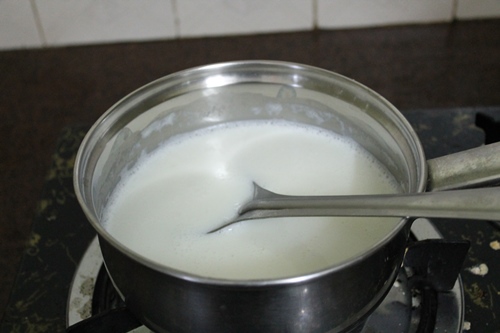 |
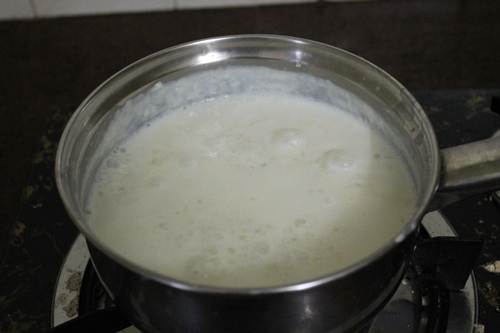
| Bring it to a boil |
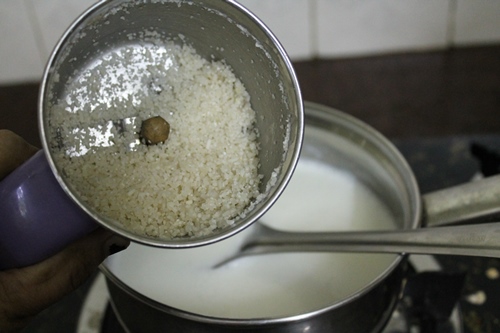 |
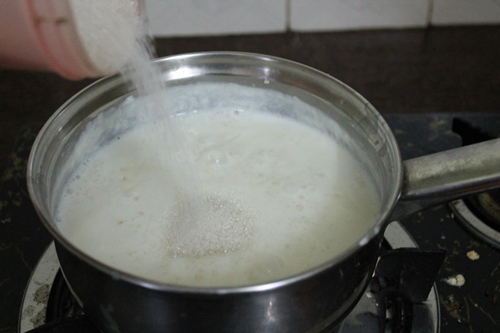
| Add in ground rice |
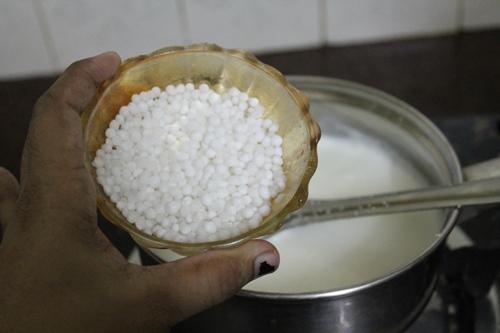 |
| Soaked sago |
 |
| Keep stiring |
 |
| keep stiring till it is cooked |
 |
| Once the rice and sago is cooked |
 |
| Add in sugar |
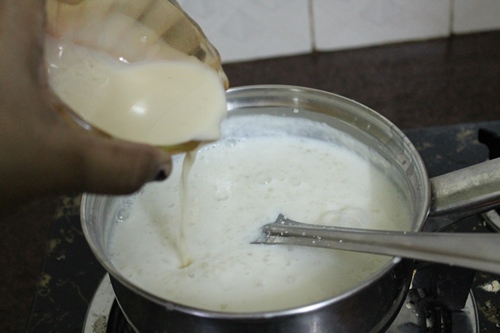 |
| Some condensed milk |
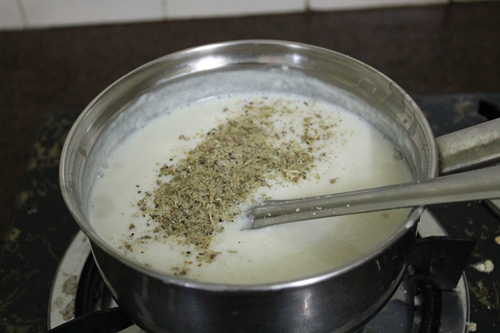 |
| Add in cardamom powder |
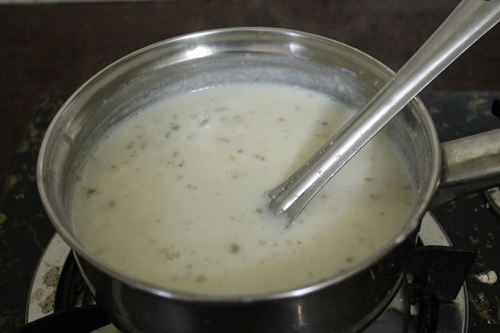 |
| Mix well |
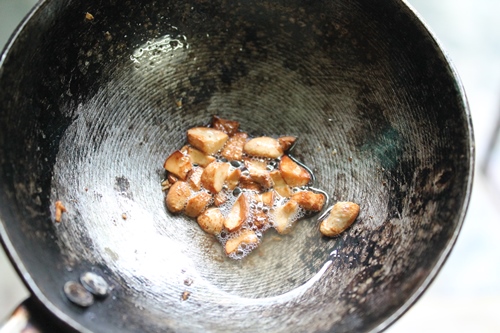 |
| Heat ghee in a tadka pan, fry some cashewnuts |
|
| Add it to payasam and serve |
Expert Tips
1. Use a thick-bottomed pan - This is super important — a thick pan helps distribute heat evenly and prevents the milk from catching or burning at the bottom. Once that happens, there’s no going back, and the whole kheer can get a burnt smell.
2. Stir regularly - Once you add the rice and sago, keep stirring now and then so nothing sticks to the bottom. Especially when the milk starts thickening, this step helps keep the texture smooth and lump-free.
3. Reheat gently before serving - If you’re making the payasam ahead of time, it will naturally thicken as it cools. Just add a little warm milk while reheating to loosen it up and bring it back to that perfect creamy consistency.
4. Storage Tips - Let the kheer cool completely before storing it. Transfer to an airtight container and refrigerate for up to 2 days. When you're ready to serve it again, add a splash of milk and reheat gently on the stovetop or in the microwave to bring back its creamy texture. Avoid boiling too much after reheating.
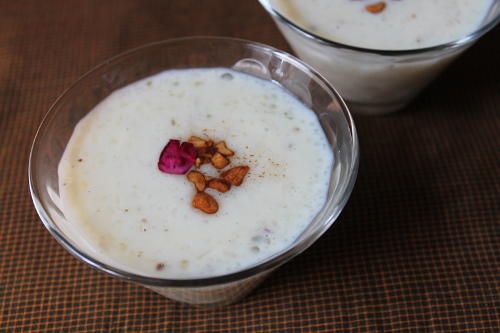
5. Serving Suggestions - For a festive touch, garnish with a few saffron strands or toasted nuts just before serving. You can serve it in small bowls, dessert glasses, or traditional earthen pots if you're going for an authentic feel. It pairs beautifully as a sweet finish after a light South Indian meal like lemon rice, pongal, or rasam rice.
FAQ
1)Can I use regular rice instead of basmati?
Yes, absolutely! Regular raw rice works fine — just remember to grind it coarsely like rava (semolina). Don’t use cooked rice though, because it won’t give the same texture or absorb the milk properly.
2)Can I skip the condensed milk?
Definitely! Condensed milk adds a rich sweetness, but if you don’t have it or prefer not to use it, just increase the sugar slightly or simmer the milk a little longer to naturally thicken the kheer.
3)Is this recipe kid-friendly?
Yes totally! It’s mild, sweet, and very comforting. If you’re making it for small kids, chop or crush the cashews finely so they don’t pose a choking risk.
Variations
Add saffron for a festive touch - Just soak a few strands of saffron in warm milk and stir it in towards the end. It gives the kheer a beautiful golden color and a delicate floral aroma — perfect for special occasions!
Swap sugar with jaggery - If you like a more earthy, traditional flavor, try using jaggery instead of sugar. But here’s the trick add jaggery only after turning off the heat, or else the milk might curdle.
Add in some raisins - Along with cashews, a handful of golden raisins sautéed in ghee adds a lovely sweetness and chewy texture that pairs well with the soft sago and rice.
Make it dairy-free with coconut milk - If you’re looking for a vegan version, use coconut milk instead of dairy milk. It brings a rich, tropical flavor, but make sure to add it at the end and don’t boil it too much — coconut milk cansplit if overcooked.
More Payasam Recipes
📖 Recipe Card
Arisi Payasam Recipe (Rice Sago Kheer)
Equipment
- Blender
- Cooking pot
Ingredients
- ½ cup Basmati Rice
- ½ cup Sago / Javarisi
- ½ liter Milk + Extra if the payasam got thick
- ½ cup Sugar
- 3 tbsp Sweetened Condensed Milk
- 1 tsp Ground Cardamom
For garnishing
- 1 tbsp Ghee
- 3 tbsp Cashews chopped
Instructions
- Pre-prep - start by soaking the sago in warm water for 15 minutes. While that’s soaking, grind the basmati rice coarsely, not to a powder, just a rough texture. This helps the rice cook faster and gives the payasam a creamy base.
- Making the base - Next, heat the milk in a heavy-bottomed saucepan. Once it starts to boil, reduce the heat and add both the ground rice and the soaked sago. This is the part that needs your attention — stir regularly to avoid lumps or sticking to the bottom.
- Cooking the kheer After about 15 minutes, the rice and sago should be soft and cooked through. then add the sugar and the condensed milk. Stir it in and let everything simmer together for 5 more minutes. You’ll see the payasam thicken up beautifully at this point.
- Final flavoring - Once the texture is right, add the cardamom powder and mix it in. Meanwhile, in a small tadka pan, I heat a little ghee and fry the cashews until golden. Pour this fragrant topping over the kheer and give it one last mix.
Nutrition
If you have any questions not covered in this post and if you need help, leave me a comment or mail me @[email protected] and I’ll help as soon as I can.
Follow me on Instagram, Facebook,Pinterest ,Youtube for more Yummy Tummy inspiration.
IF YOU MAKE THIS RECIPE OR ANYTHING FROM YUMMY TUMMY, MAKE SURE TO POST IT AND TAG ME SO I CAN SEE ALL OF YOUR CREATIONS!! #YUMMYTUMMYAARTHI AND @YUMMYTUMMYAARTHI ON INSTAGRAM!

Hamaree Rasoi
Kheer looks simply awesome and comforting.
Deepa
Anonymous
Hello! I love all of your recipes. The pictures on your blog with your recipe is really helpful. I wish you will post more recipes.
Aayan world
Thanks for this yummy recipe.I tried it last night it came really so yummy and delicious.I must say the way you explain and the images are really help me lot to prepare.
There is a wonderful event and a giveaway happening at my blog. Check the below link
Yummy Kheer Recipe
jyoti@kheerlover
looks very yummy and spicy. Healthy kheer. nice blogger.. 🙂