

Learn How to Make Paneer at Home with step by step pictures and video. Making homemade paneer can be very easy, tasty and hygenic and you can make fresh Indian cottage cheese at home using just 2 ingredients. In this blog post of paneer recipe, I have shared paneer flavoured with herbs and spices called as masala paneer. Also shared all the tips and tricks I learned over the years to make soft paneer at home.
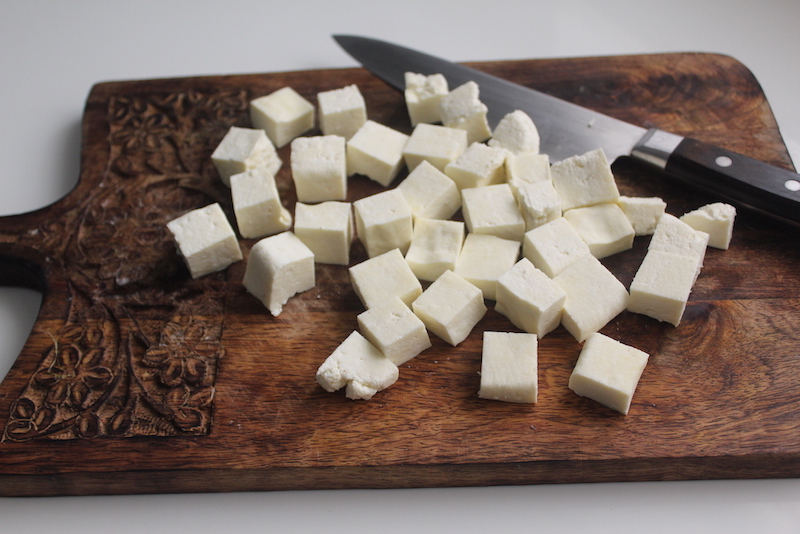
How to Make Paneer
Many of you think that making paneer can be complicated. But actually it is not a big deal. It is so much simple and easy to make your own cheese. It's been years ever since I started making paneer at home.
Jump to:
Homemade paneer is not only delicious but it so easy to make at home. Once you get the hang of it, it is super simple. You will never go back to store-bought ones. I found that homemade paneer taste best also it is free of any preservatives so very good for health and for kids.
I follow few steps to get soft paneer all the time. So I am sharing all the tips and tricks in this post.
What is Paneer?
Paneer is also known as Indian Cottage Cheese, very different from American cottage cheese. It is fresh cheese made with milk which is curdled with acidic ingredients like lemon juice, vinegar, curd (yogurt), buttermilk or citric acid.
Paneer is soft yet stays firm even when frying or cooking. To make paneer, boil milk and curdle the milk with lemon, yogurt or vinegar. I use homemade curd to curdle the milk, you can easily make yogurt at home. The curdled milk is strained in muslin cloth or cheese cloth which is then pressed using a heavy objects like mortar and pestle.
You can use paneer or herbed paneer(given below) in any curries or side dishes. paneer tikka, paneer butter masala can be made using this paneer. You can also try my Matar Paneer or Paneer Cashew Curry.
Watch Homemade Paneer Video

About Homemade Paneer
My paneer making journey started many years back. I have been making paneer ever since. Homemade paneer has best quality than store bought. The taste of paneer depends on quality of milk and cooking temperature. So many issues can happen when making paneer, Be sure you check my FAQ.
Farm fresh milk curdles faster than pasteurized milk. You need just few drops of lemon juice to curdle fresh raw milk. Don't use too much acid to curdle else the texture will be affected. Also reduce the heat to low when you add the acid and don't let the milk to boil after it is curdled which results in rubbery texture.
Food Acids used to Make Paneer
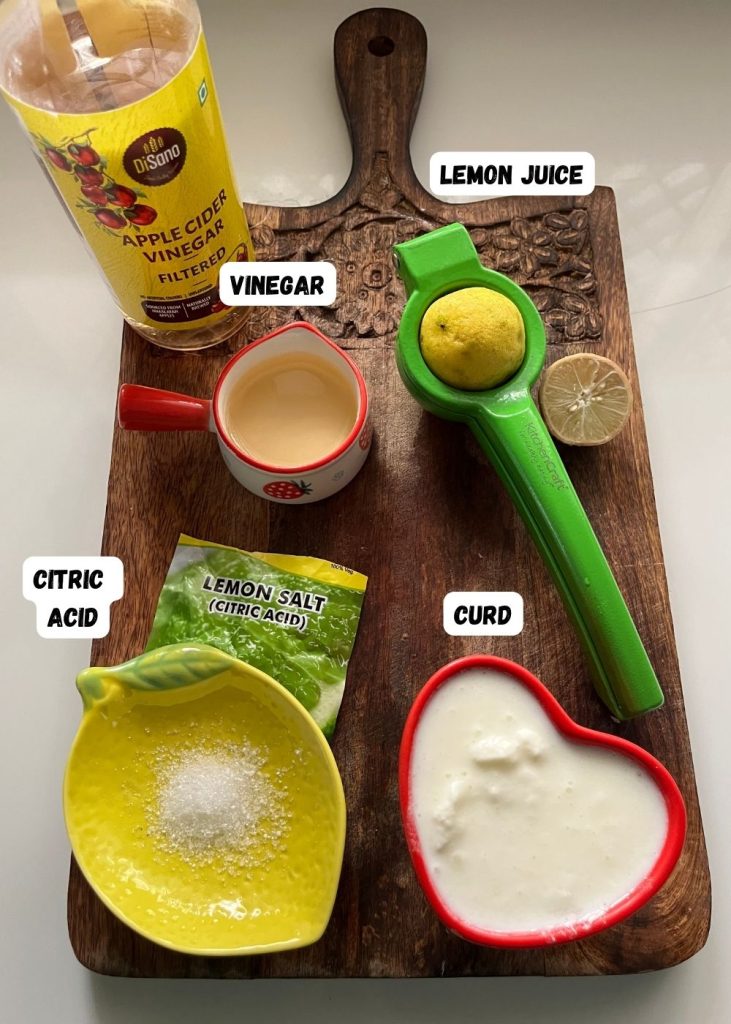
Curd | Yogurt - I prefer using curd / yogurt to curdle milk for making paneer. Curd makes soft paneer and also helps yielding more quantity of paneer. If you make paneer using curd, you don't have to wash the chena. But press it firmly using a heavy object to remove the excess whey.
Vinegar - most effective way to curdle milk for paneer. It curdles the milk faster but it has to be added in limited quantity. Too much vinegar can alter the taste of paneer. Also make sure you rinse it really well to remove the vinegar taste from paneer.
Lemon Juice - Paneer made using lemon juice has to be washed really well else the paneer may taste tangy. Don't over cook or boil the milk once lemon juice is added, else it may turn rubbery.
Citric Acid - This method is used in factory made paneer. ½ teaspoon citric acid is enough to curdle 1 litre of milk.
Previous Batch Whey Water - If you make paneer often. You can collect the leftover whey water from making paneer and store in an air tight jar in fridge. You can use this whey water to curdle milk.
Using yogurt or curd for curdling milk results in soft paneer. But you can use lemon juice or vinegar as well. For every 2 litre of milk you can use all these ingredients.
- 4 tablespoon Vinegar - you can use white vinegar, apple cider vinegar.
- 4 tablespoon Lemon Juice
- 1.5 cup of Whey (leftover liquid which is drained when making previous batch of paneer)
How to Press Paneer (with & without paneer tofu press)
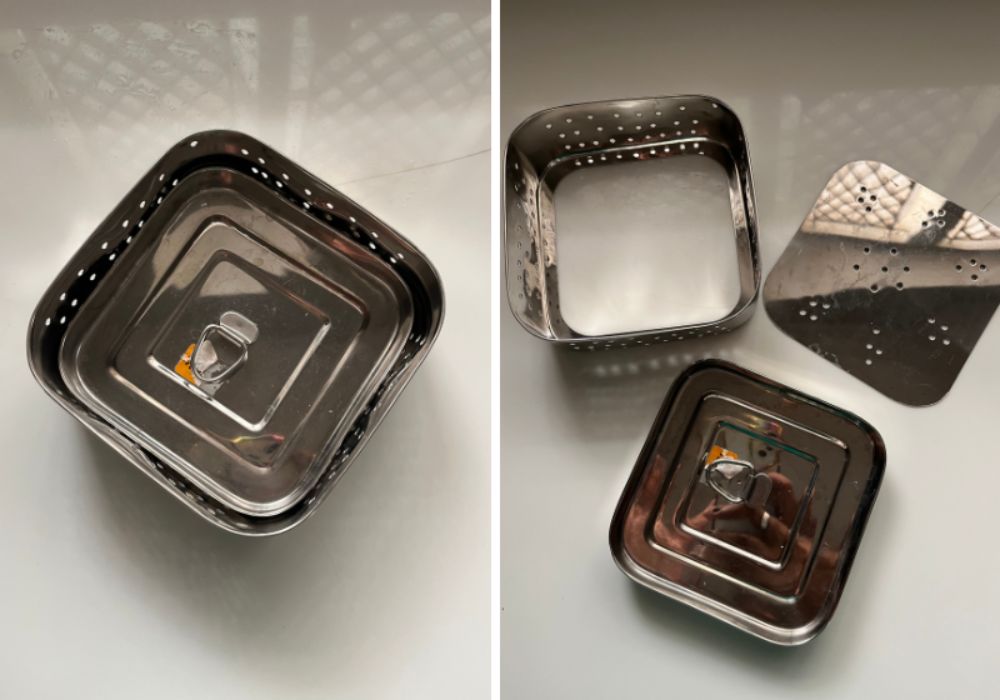
You don't need to invest in a speciality press for making paneer. But if you are planning to make it more often, then you might think on investing in one. I bought mine from amazon. Paneer press is easy to use and you get a proper square shaped paneer block which results in even cubes.
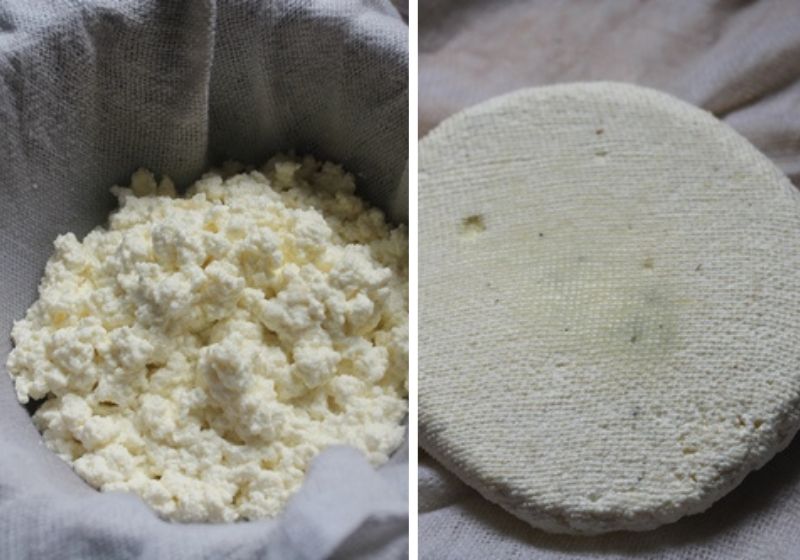
If you don't have a press, you can simply pour the curdled milk into a muslin cloth. Cover it into a bundle, weigh it down with some thing heavy. The resulting paneer block will be round in shape and it can be cut into cubes.
Expert Tips (Pro Tips)
Milk
For tastier paneer, use full fat milk for getting more paneer. You can use pasteurized or unpasteurized. But don't use toned or skimmed milk, you need the fat for softer paneer.
Acid to use
I prefer using curd / yogurt to curdle milk for making paneer. Curd makes soft paneer and also helps yielding more quantity of paneer. If you make paneer using curd, you don't have to wash the chena. But press it firmly using a heavy object to remove the excess whey.
Cooking Method
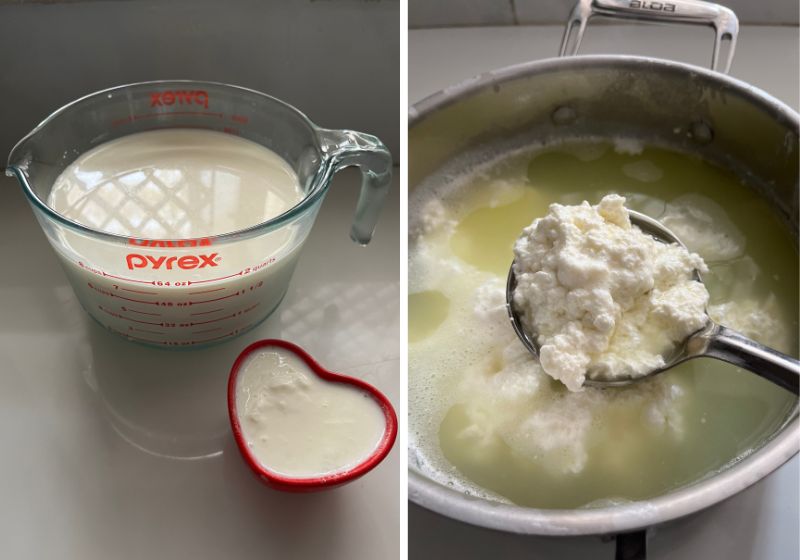
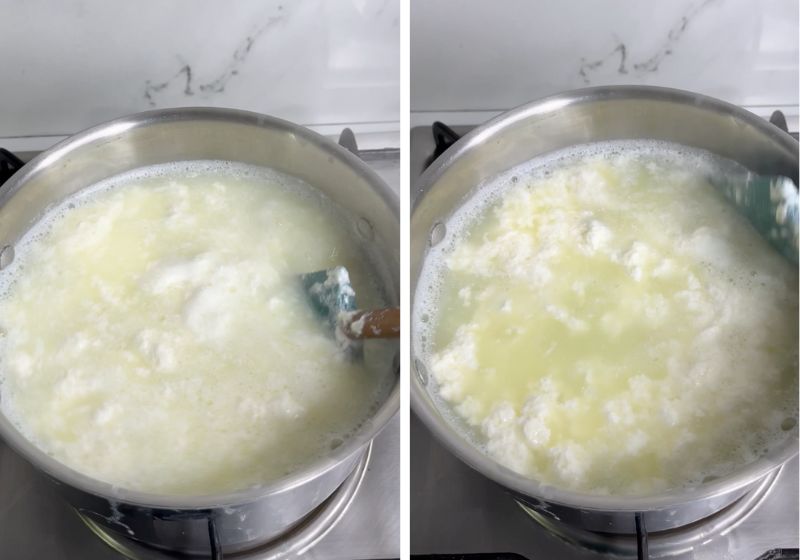
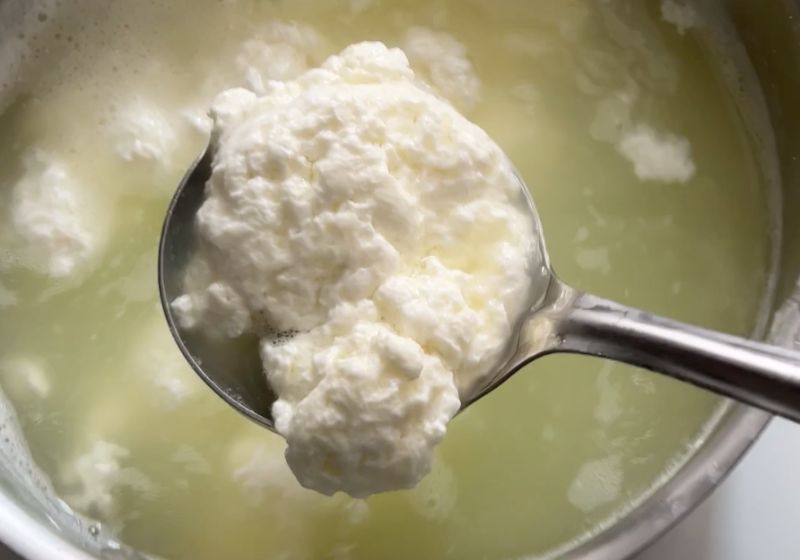
Bring milk to full boil. Reduce the flame low when you add in the preferred food acid, I like to use yogurt | curd. Mix gently once you add yogurt, don't mix too much else the curds will break which results in crumbled texture. The curds which forms should be soft and look like large clumps (see image).
Never boil once the milk is curdled which over cooks the paneer curds resulting in rubbery texture.
No Over Cooking
Once you scoop the milk curds into paneer press or muslin lined cloth, wash it well in cold water. This step not only removes the sour taste of the vinegar or lemon juice added but it also cools the curds immediately which prevents over cooking.
Pressing Paneer
Once curds are poured into muslin lined cloth. Cover it and place heavy object on top to remove the excess whey. Don't press paneer more than 1 hour which results in drier and hard texture.
Step by Step Pictures
Boiling Milk
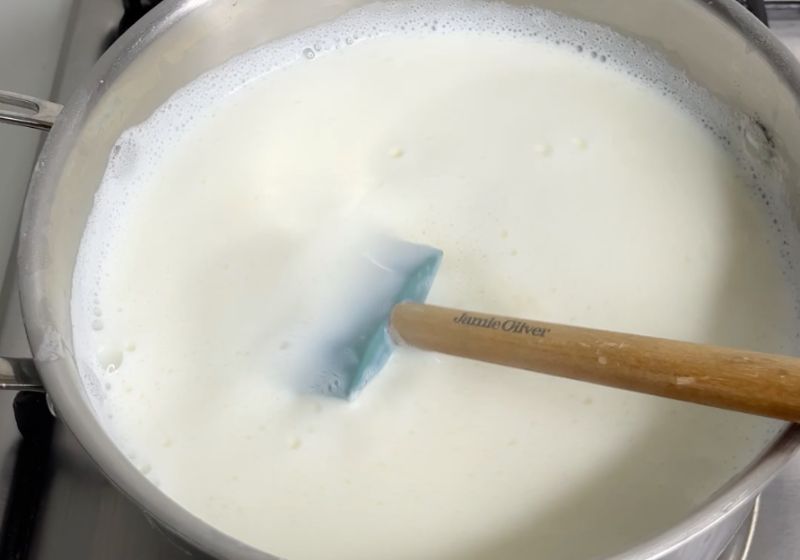
1)Take milk in a large pot and bring it to a boil. Keep mixing in-between to prevent burning in the bottom of the pot. Once it starts to boil, reduce the flame.
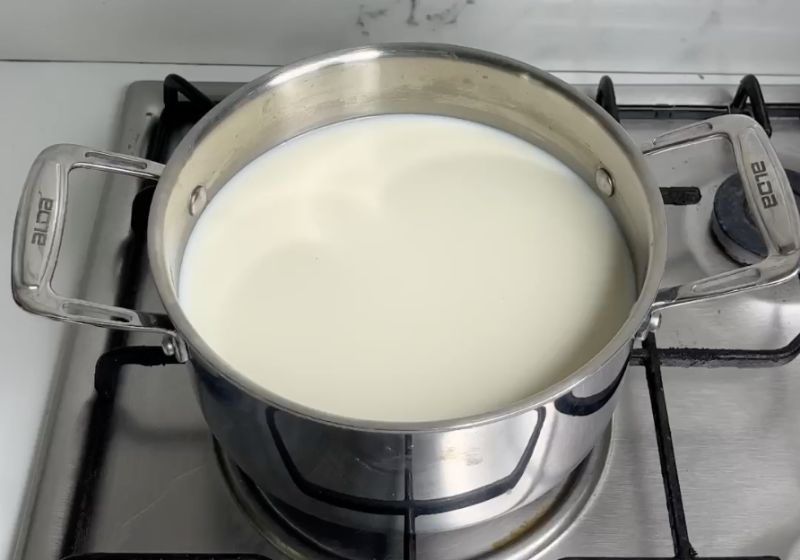
2)I use a spatula to mix the milk evenly. Sometimes because of the fat content in milk, it may stuck at the bottom of the pot and burn easily.
Curdling MIlk
3)Now add in yogurt (or check notes) . Keep mixing when you add in curd. The milk mixture will start to curdle as you add in yogurt. Keep the flame on low and keep mixing the entire time.
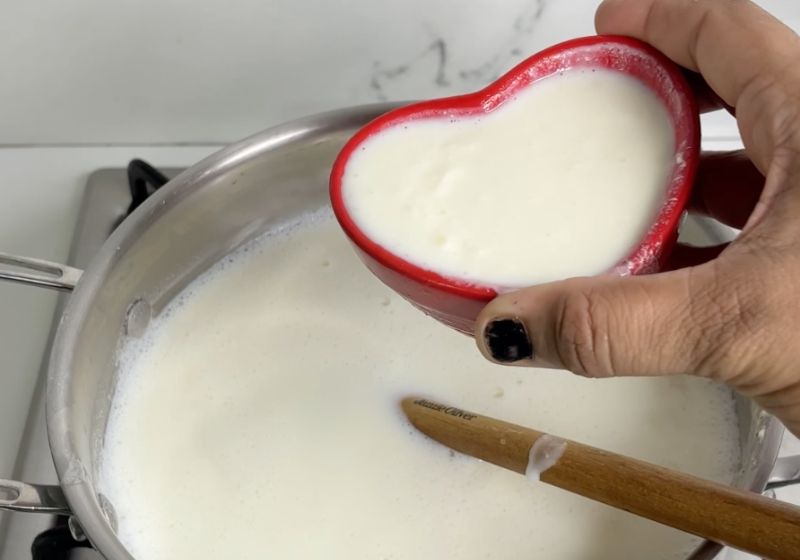
4)The milk will get completely curdled after few minutes. If the mixture didn't curdle as much, add more curd or yogurt. The milk is completely curdled once the milk solid is separated from the whey and paneer curds are formed. Never boil the curd too vigourously else the paneer will turn hard and rubbery.
Draining
5)Line a sieve with cheese cloth, pour the curd into the cheese cloth. Rinse the curds under water to stop the cooking process. If you are using lemon juice or vinegar to curdle milk, rinse it really well to remove the sour taste from the curds. I used my paneer press.
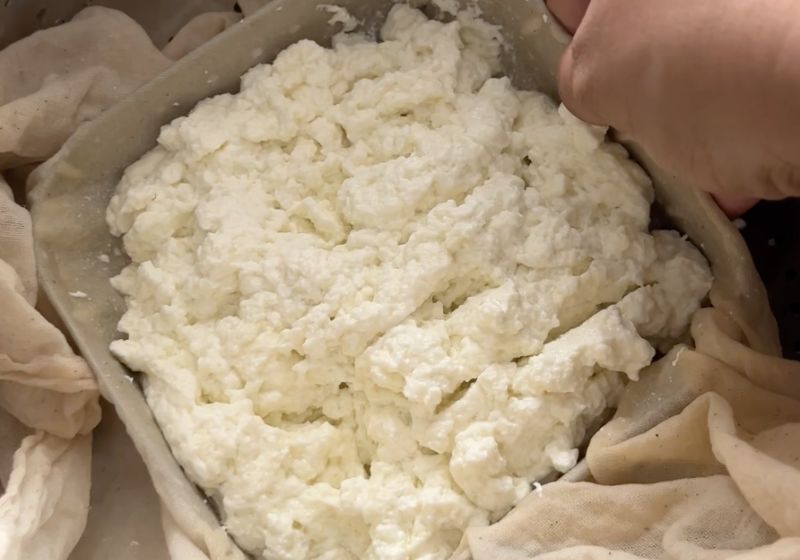
6)Bring it all together and place a weight over it.
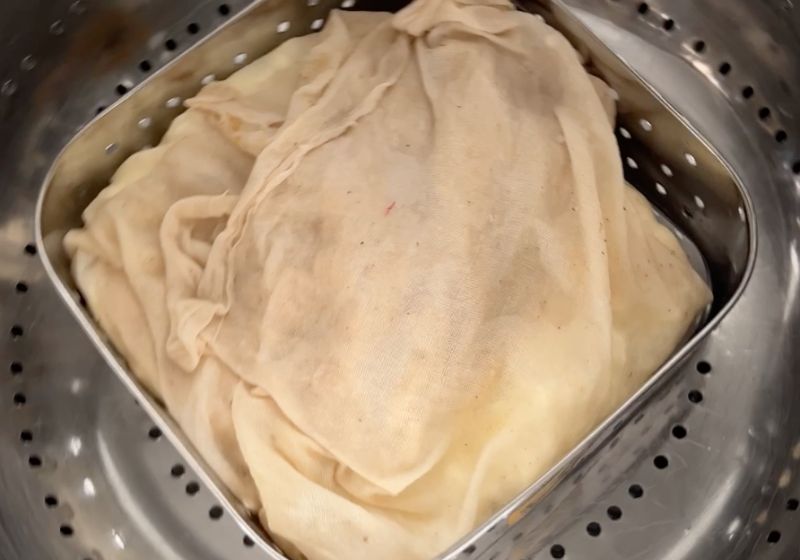
Pressing Paneer
7)I used my mortar and pestle as weight. If you are using a paneer mould or press, place the cloth along with the curds in the press and cover with lid and place weights over it. Leave the paneer to press for at least for 1 hour.
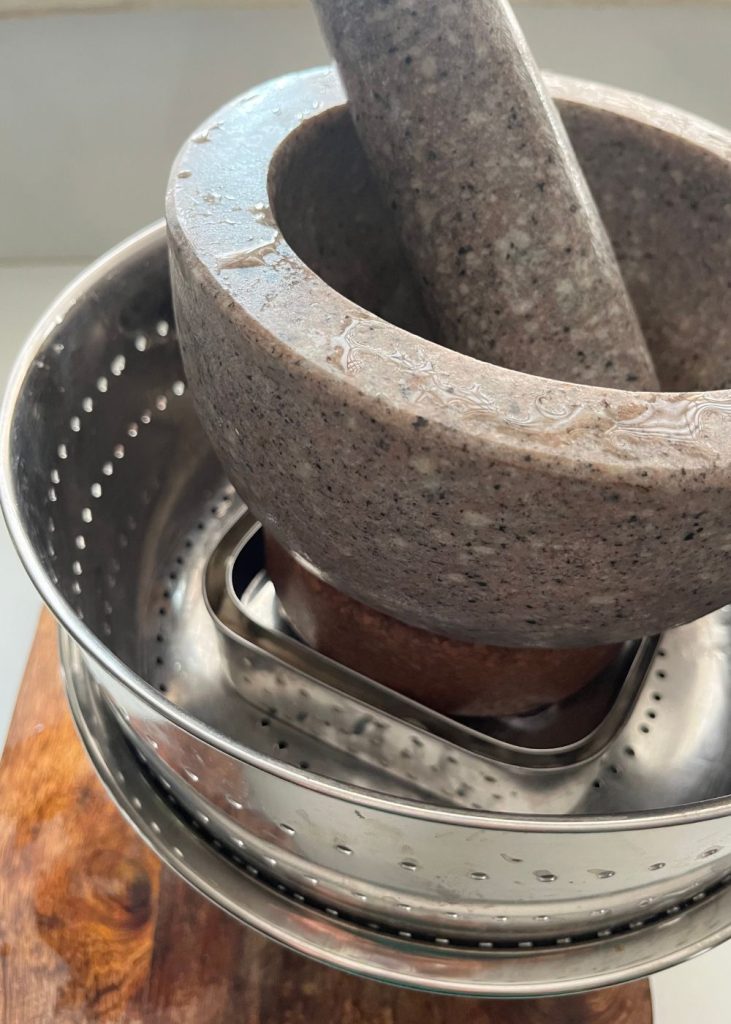
8)After 1 hour, remove it from the cloth. It will be in one block.
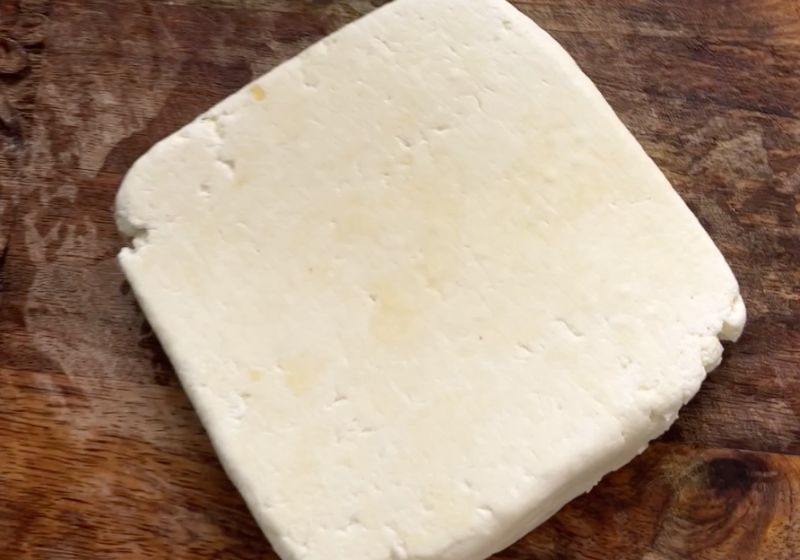
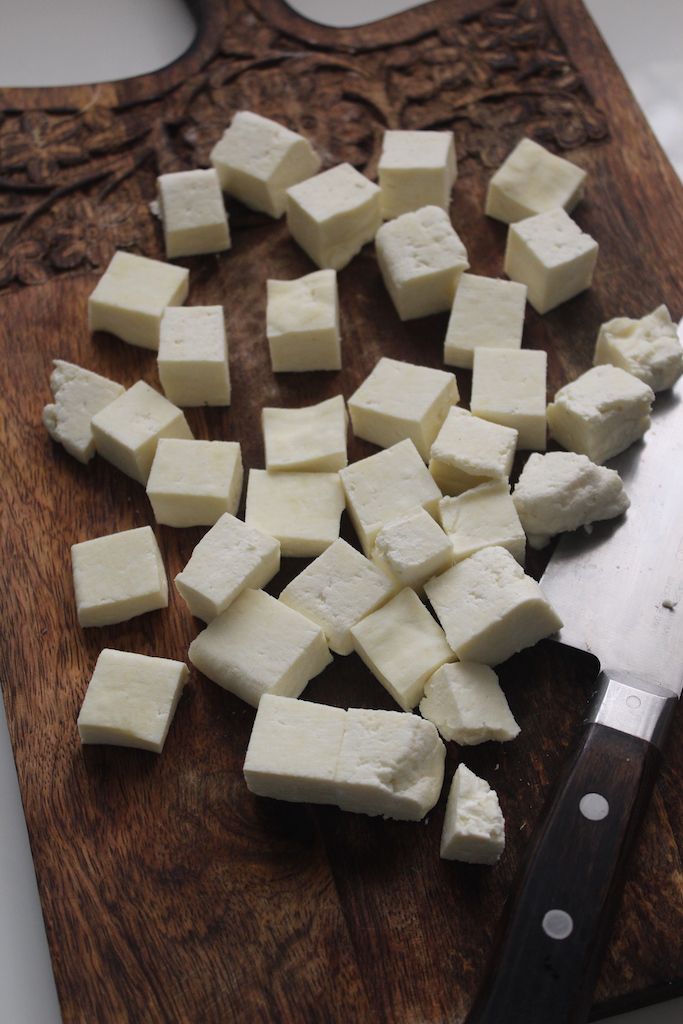
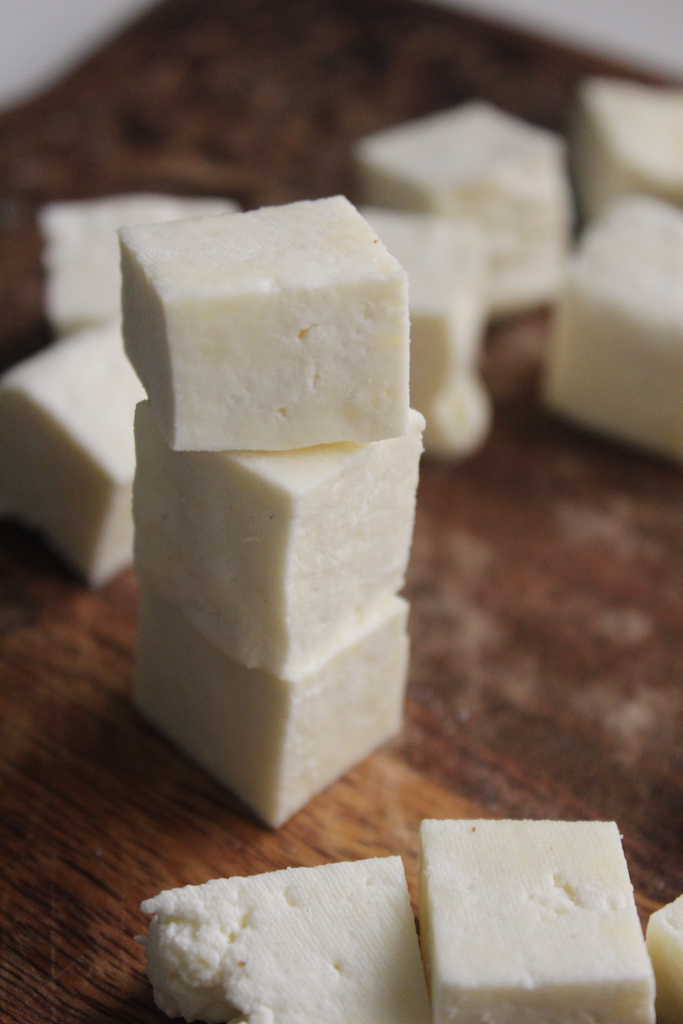
9)Cut into pieces or you can store it as a block in fridge.
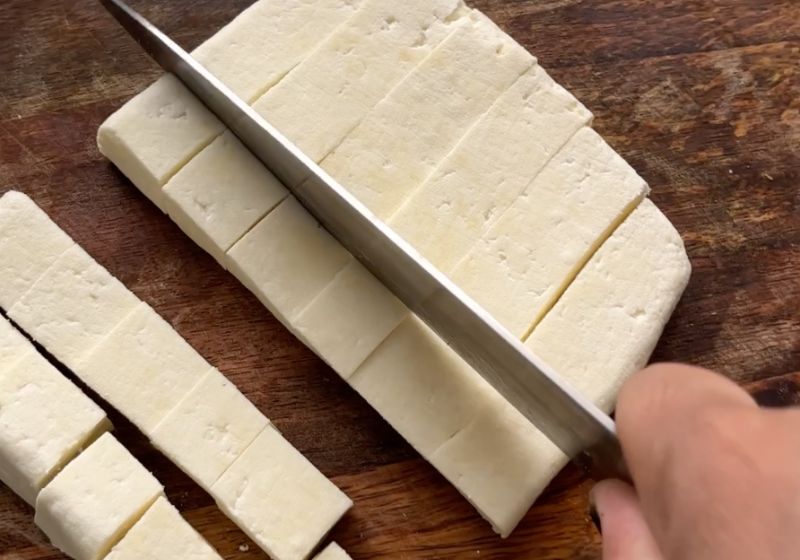
10)Use immediately or store in fridge in an air tight container for future use.
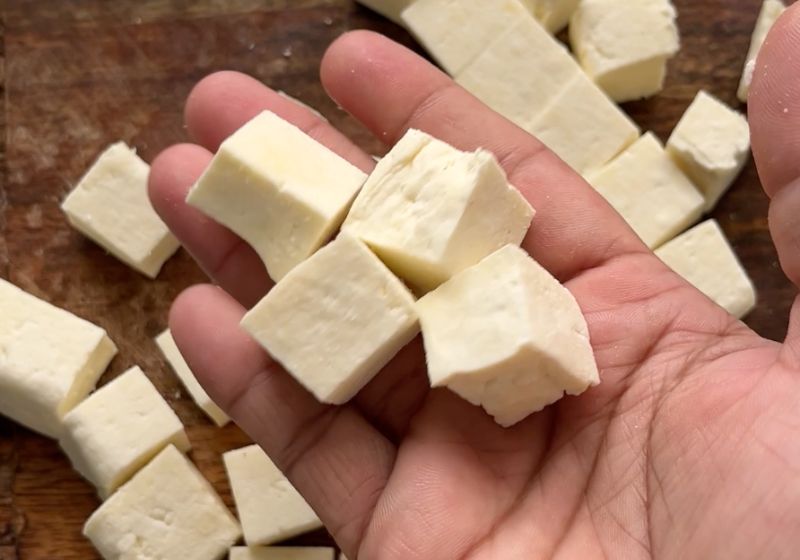
11)Homemade Paneer is ready to use.
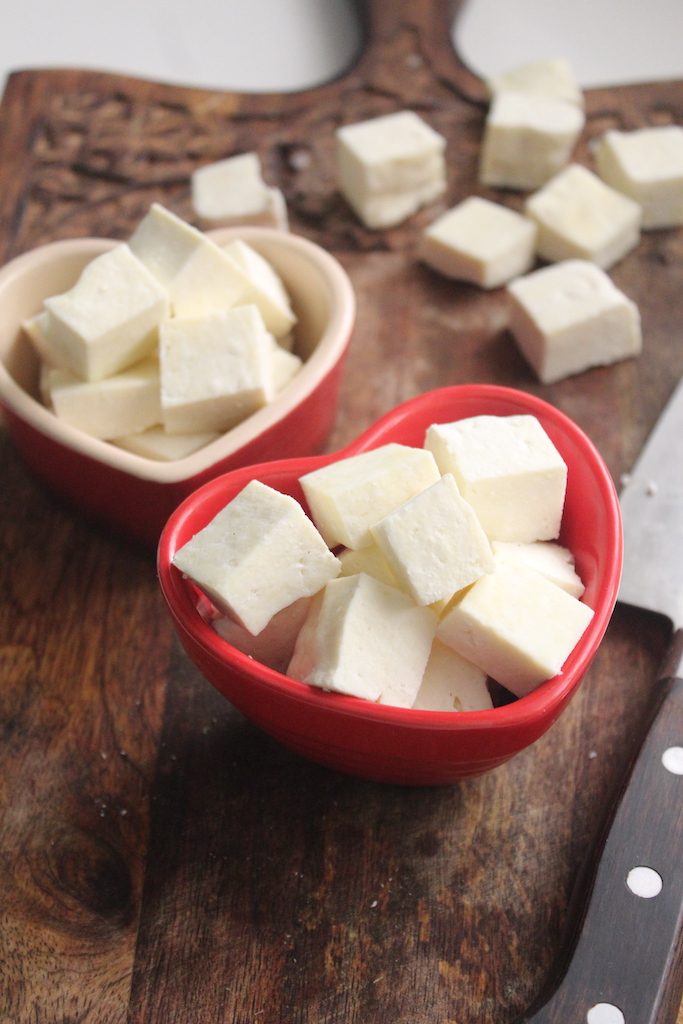
How to Make Flavoured Paneer
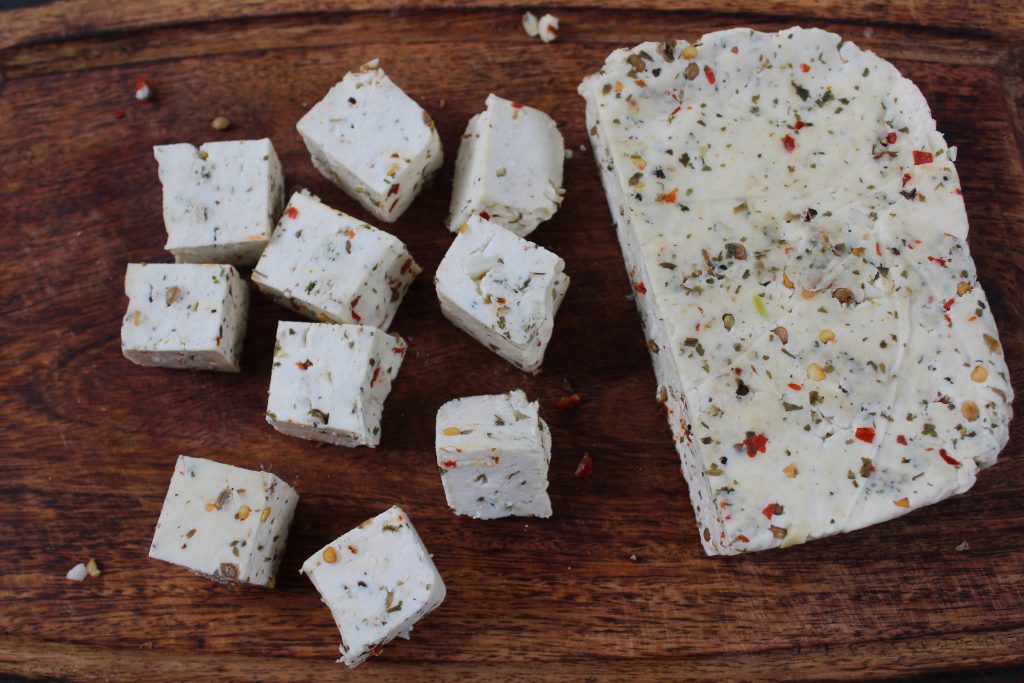
Make soft paneer at home with extra herbs and flavourings added to make it taste even more flavourful. Perfect paneer to use in curries and dishes.
Flavoured paneer is regular homemade paneer with extra flavourings like herbs, spices added into it. I like to customise the herbs which I add in my paneer. Adding herbs and spices to paneer mix makes it super flavourful and makes it taste great.
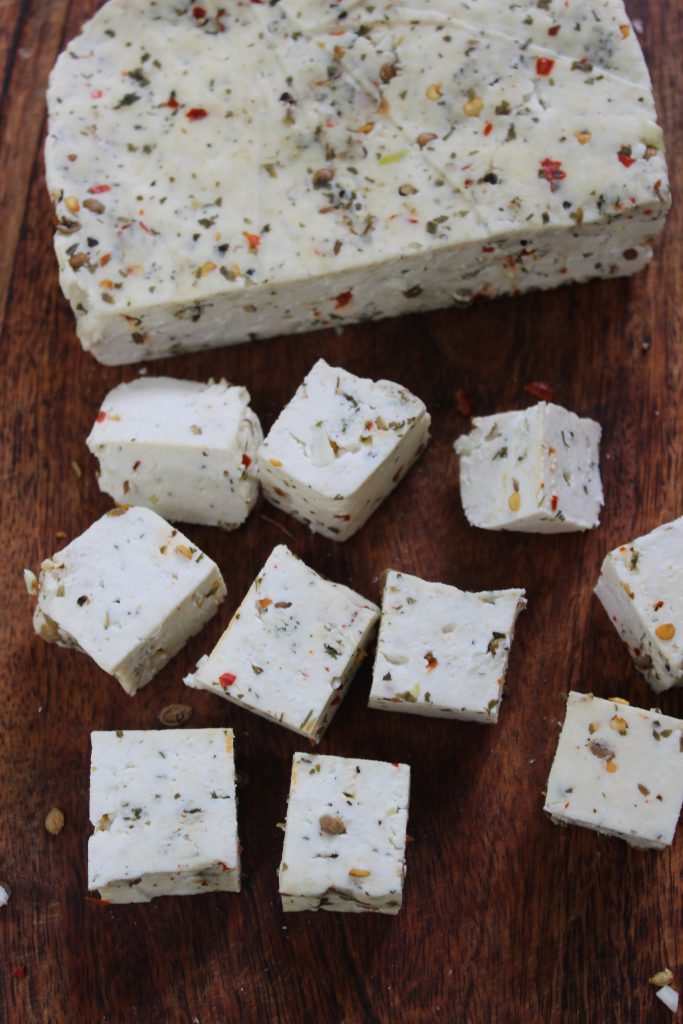
Ingredients for Flavoured Paneer
- 2 litre Full Fat Milk
- ½ cup Curd / yogurt check notes for alternate
- 1 tbsp Parsley
- 1 tbsp Garlic chopped
- 1 tsp Coriander seeds crushed
- 1 tsp Black pepper crushed
- 1 tsp Red chilli flakes
- ½ tsp Cumin seeds
- Salt to taste
How to Make Flavoured Paneer at Home
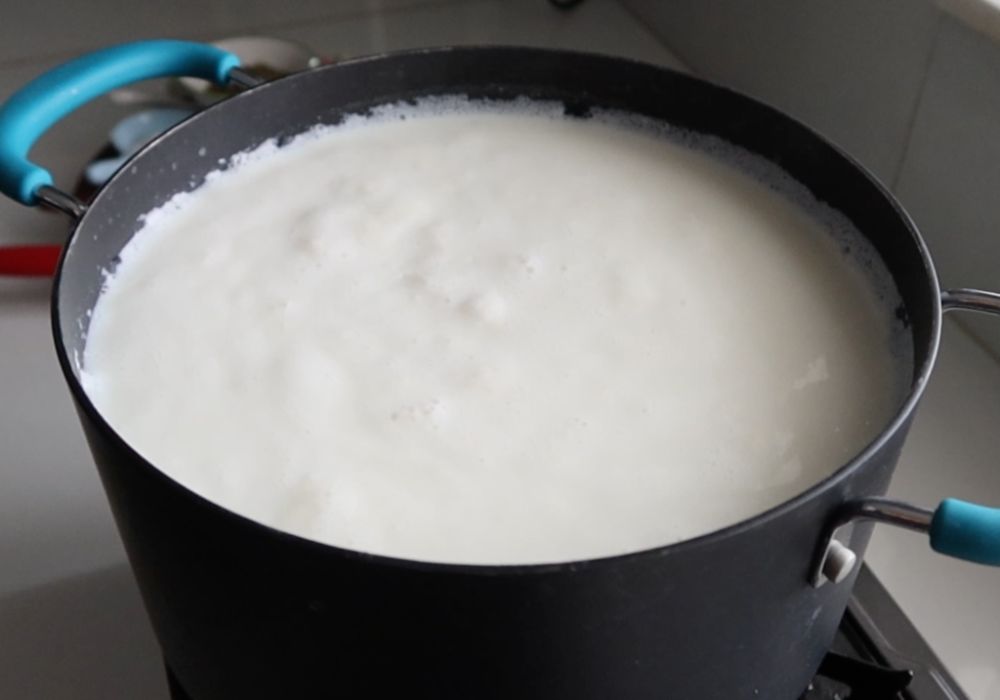
1)Take milk in a large pot and bring it to a boil. Keep mixing when the milk is boiling so it doesn't burn on the bottom. Once it starts to boil, reduce the flame and add in all the flavourings.
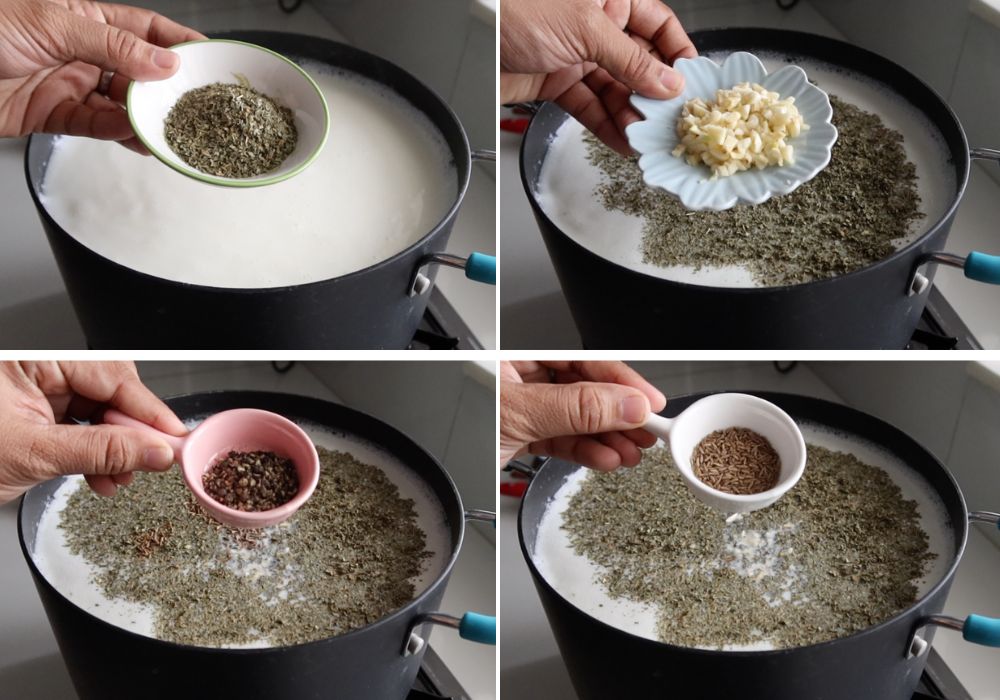
2)Add in dried parsley, finely chopped garlic, crushed black pepper, cumin seeds.
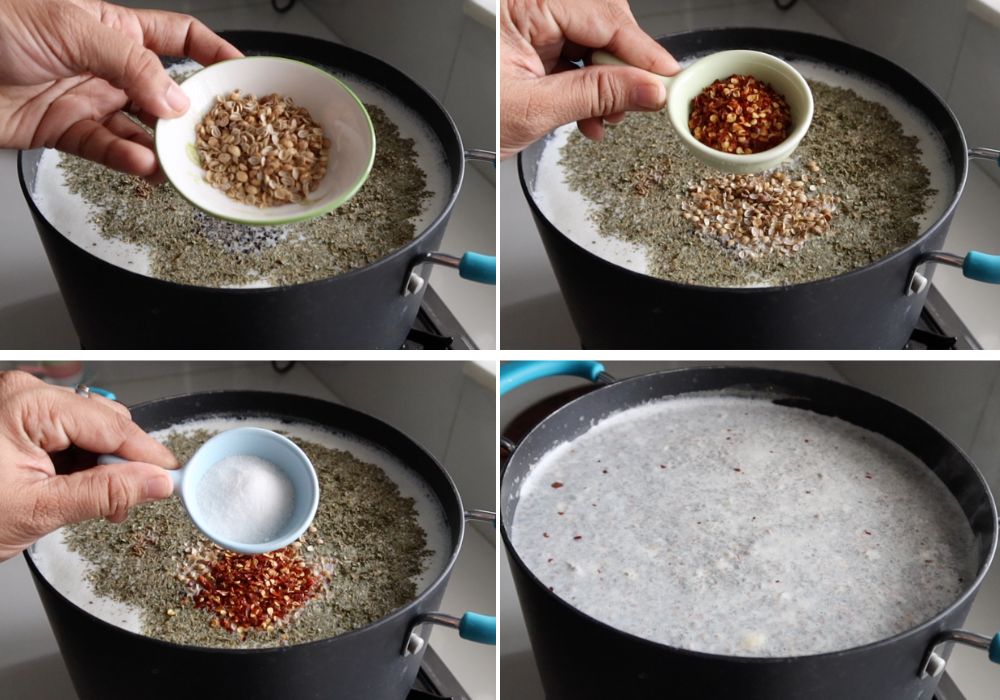
3)Add in crushed coriander seeds, red chilli flakes, salt and mix well. Let the herbs steep in the milk for few minutes.
4)Gently simmer this for another 5 mins or so for the flavours to infuse with the milk. Now reduce the flame and add in yogurt (or check notes). Keep mixing when you add in curd. The milk mixture will start to curdle as you add in yogurt.
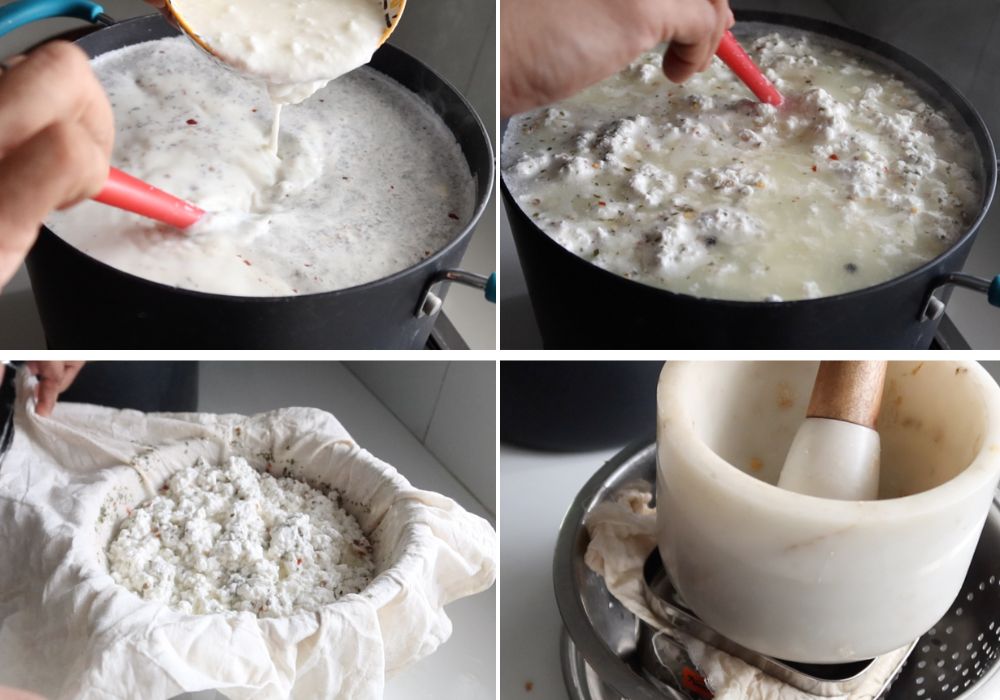
5)Pour into paneer press lined with muslin cloth. Weigh it down with heavy weights. After 1 hour, remove it from the cloth and cut into pieces. Use immediately or store in fridge in an air tight container for future use.
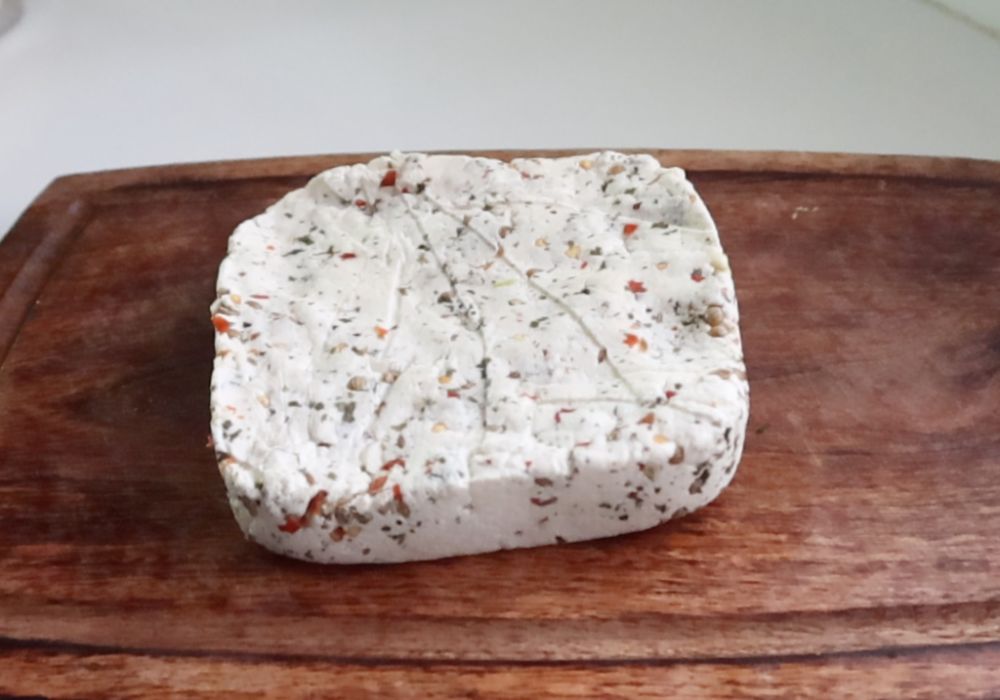
6)Flavoured paneer is ready to use.
What to do with Left-over Whey Water
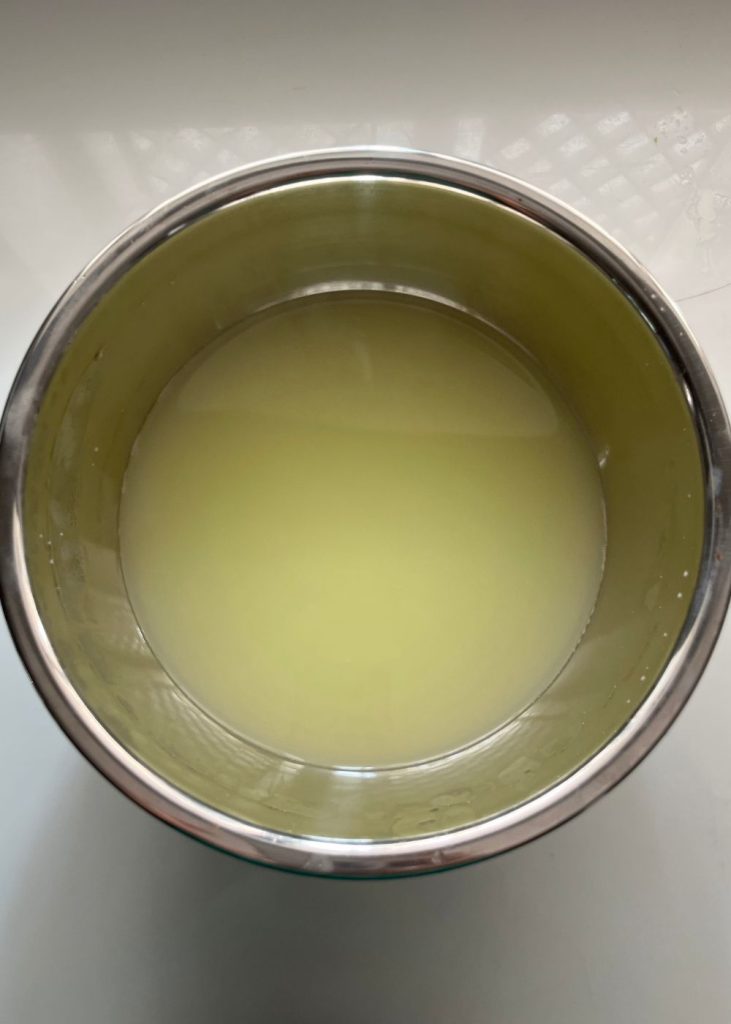
While making this paneer, you will get the water which is left from the curdled milk. That is called as whey water, it is so healthy. you can use it to make all kinds of stuffs. Don't throw that away. You can make rasam or use in soup. If not use it to knead chapati dough.
More Useful Tips for Paneer Making
- Use full fat milk for making paneer.
- You can use extra cream in your milk for making paneer. For 2 litre of milk use 200 ml of cream. This way you can get malai paneer.
- Any herbs can be used to flavour the paneer.
- When making paneer, add yogurt or curd once milk has boiled. Once the milk has curdled, never over boil the milk. Else the paneer will turn rubbery and over cook.
- Drain the paneer in a cheese cloth. Once the paneer is drained. Place a weight on it and let it drain for 1 hour. Don't let it drain longer, else the paneer may harden.
- Flavours that can go well with paneer are Mint leaves, Coriander leaves, Rosemary, Green chillies and Ginger. Finely grate or chop the herbs before adding in milk.
Serving & Storage
You can use this paneer to make any gravies, curries or any dish that you normally make with regular paneer. Paneer can be stored in fridge upto 3 days in an air tight container.
FAQ
What can I use to curdle milk for making paneer?
You can use lemon juice, vinegar, yogurt or whey for making paneer.
Why my paneer is hard and rubbery?
Never over boil the curdled milk, else it may turn rubbery. Don't press paneer too long. Use full fat or full cream milk for soft paneer.
📖 Get Recipe
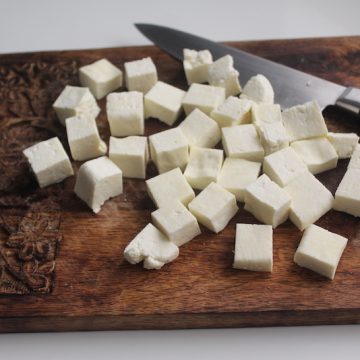
How to Make Paneer at Home | Homemade Paneer Recipe
Equipment
Ingredients
For Making Paneer
- 2 litre Full Fat Milk
- ½ cup Yogurt | Curd
Optional Food Acids to Use for Curdling Milk
- 4 tablespoon Lemon Juice
- 4 tablespoon Vinegar
For Flavoured Paneer
- 1 tablespoon Dried Parsley
- 1 tablespoon Garlic finely chopped
- 1 tablespoon Coriander Seeds crushed
- 1 teaspoon Black Pepper crushed
- 1 teaspoon Red chilli flakes
- ½ teaspoon Cumin seed
- Salt to taste
Instructions
- Take milk in a large pot and bring it to a boil. Keep mixing in-between to prevent burning in the bottom of the pot. Once it starts to boil, reduce the flame. I used a spatula to mix the milk evenly. Sometimes because of the fat content in milk, it may stuck at the bottom of the pot and burn easily.
- Now add in yogurt (or check notes) . Keep mixing when you add in curd. The milk mixture will start to curdle as you add in yogurt. Keep the flame on low and keep mixing the entire time.
- The milk will get completely curdled after few minutes. If the mixture didn't curdle as much, add more curd or yogurt. The milk is completely curdled once the milk solid is separated from the whey and paneer curds are formed. Never boil the curd too vigourously else the paneer will turn hard and rubbery.
- Line a sieve with cheese cloth, pour the curd into the cheese cloth. Rinse the curds under water to stop the cooking process. If you are using lemon juice or vinegar to curdle milk, rinse it really well to remove the sour taste from the curds. I used my paneer press. Bring it all together and place a weight over it.
- I used my mortar and pestle as weight. If you are using a paneer mould or press, place the cloth along with the curds in the press and cover with lid and place weights over it. Leave the paneer to press for at least for 1 hour.
- After 1 hour, remove it from the cloth. It will be in one block. Cut into pieces or you can store it as a block in fridge. Use immediately or store in fridge in an air tight container for future use.
For Making Flavoured Paneer
- Take milk in a large pot and bring it to a boil. Keep mixing when the milk is boiling so it doesn't burn on the bottom. Once it starts to boil, reduce the flame and add in all the flavourings.
- Add in dried parsley, finely chopped garlic, crushed black pepper, cumin seeds. Add in crushed coriander seeds, red chilli flakes, salt and mix well. Let the herbs steep in the milk for few minutes.
- Gently simmer this for another 5 mins or so for the flavours to infuse with the milk. Now reduce the flame and add in yogurt (or check notes). Keep mixing when you add in curd. The milk mixture will start to curdle as you add in yogurt.
- Pour into paneer press lined with muslin cloth. Weigh it down with heavy weights. After 1 hour, remove it from the cloth and cut into pieces. Use immediately or store in fridge in an air tight container for future use.
Video
Notes
- Use full fat milk for making paneer.
- You can use extra cream in your milk for making paneer. For 2 litre of milk use 200 ml of cream. This way you can get malai paneer.
- Any herbs can be used to flavour the paneer.
- When making paneer, add yogurt or curd once milk has boiled.
- Once the milk has curdled, never over boil the milk. Else the paneer will turn rubbery and over cook.
- Drain the paneer in a cheese cloth.
- Once the paneer is drained. Place a weight on it and let it drain for 1 hour. Don't let it drain longer, else the paneer may harden.
Acids you can use to curdle milk
I prefer using curd / yogurt to curdle milk for making paneer. But you can the following ingredients. For every 1 litre of milk you can use all these ingredients.- 4 tablespoon Vinegar - you can use white vinegar, apple cider vinegar.
- 4 tablespoon Lemon Juice
- 1.5 cup of Whey (leftover liquid which is drained when making previous batch of paneer)





StephenC
I have made this once before. Indeed it is very easy. I think it can be done with vinegar as well as lemon juice.
faseela
very useful post....superb
maha
veryhelpful.......
The Yogi Vegetarian
What a really good post, Aarthi- lots of people don't understand how easy it is to make your own fresh cheese. Guess what? My recipe for paneer is exactly the same as yours! I too prefer lemon juice to vinegar, as it gives a fresher taste. My favourite is matar paneer and paneer pakoras. Do you have a paneer pakora recipe on your site? You made me want to go make some now 🙂
Food, Fun and Life in the Charente
I will definitely try this, it sounds so easy as you say. Thanks Diane
Food, Fun and Life in the Charente
I will definitely try this, as you say it looks so easy. Thanks Diane
Kanan
i love fresh homemade paneer. I like your picture tutorial.
Catherine
Dear Aarthi, This was truly interesting. I bet it is delicious. Blessings, Catherine xo
Rita
Wow; I am impressed.
Rita
Heather @girlichef.com
Beautiful! I actually have to make all of my Paneer...because it's not sold in stores anywhere around here. I love how simple and satisfying the process is, though. Great tutorial 😀
Shabitha Karthikeyan
This has a become a must in all blogs due to friends request. They tend to try it when someone we know has made it. The CHilly panneer linked to this post looks so good !!
Roshu
A very good presentation of paneer recipe....good one dear!!!
simply.food
Such an informative post with lovely pictorial instructions.
Sue/the view from great island
I make homemade ricotta the same way, only without the pressing it into a block part. I order paneer in Indian restaurants a lot, so I'm happy to know how to make it, thanks!
Marisa
I like this recipe very much. It's similar to some spanish homemade cheese recipes. I love it! Best regards.
Christy Gerald
Wow! Fabulously homemade Paneer Dear
Nancy
Thank you so much for showing us all how you make paneer. This is quite similar to how I've made it in the past, but it's great to read your instructions so that I can fine-tune the way I make it. Your step-by-step photos are really helpful. The paneer looks so pretty on that pinkish-red dish. I really like cooking with paneer, so am very happy to read your instructions as well as all your great recipes using it. Thanks again.
Hema
Very helpful post Aarthi..
The Pumpkin Farm
perfect Aarthi...i have also a planned post...i tried with vinegar but realized lime juice gives much smoother texture
Rasi
The home made paneer is actually really good & tasty! good one 🙂
Katerina
This is so easy! I will definitely try it!
Sharmilee! :)
Homemade paneer is always best...nice stepwise explanation...
Deeps @ Naughty Curry
i make it exactly this way too... helpful post
Mina Joshi
I make the paneer in the same way as you. I like the way you have managed to get good sized cubes, Recently - I added some ginger to the paneer mixture just before putting it in the muslin cloth. I am hoping that it gives the paneer a good flavour.
Mayuri Kelkar
Thanks so much Aarthi...you totally rock..you have all the answers to the queries of amateur cook like me..keep up the good work..love Mayuri.
Mayuri Kelkar
Thanks so much Aarti...you are a great help to amateur cook like me..Love Mayuri.
priya madathil
I make paneer with sour curd or buttermilk. the resulting paneer tastes sweeter and is softer than using lime juice or vinegar. you'll have to add curd/buttermilk till the milk curdles and keep stirring.
Happy Cooking
approximately how much paneer (in gr) will result from 2 liters of milk?
Can I freeze this if I want to make a double/triple batch?
Aarthi
@Happy CookingYou will get around 200 to 250 grams. Yes you can freeze it.
Aarthi
@Happy CookingYou will get around 200 to 250 grams. Yes you can freeze it.
umm nuha
How do you make cube .do u roll it before cutting
umm nuha
How to cube it
Anonymous
Tip..
instead of lemon juice u can use curd... so that the paneer becomes more soft n increase in quantity olso...
Aarthi
@umm nuhano just cut it as it is
Anonymous
U can make paneer from the milk water which is left while making butter out of fat milk(malai).
Sheba
What is the shelf life of this paneer..should i have to chill lr feeeze it?
Aarthi
@ShebaYou can keep it in a air tight container in fridge for 2 to 3 days and upto a month in freezer
Anonymous
Hi Aarthi ur recipe of home made paneer is toooo gud . Can u pl suggest me that can i use tonned milk instead of full fat milk. Because my elder daughter cannot consume full fat milk or eatables contain full fat cream .
Thanks n Regards
Aarthi
@Anonymousyes u can use toned milk, but you will get less amount of paneer
Anonymous
Should we add curd after switching off heat ???or
while boiling ???
Aarthi
@Anonymousadd curd when it is still on heat
ladiescampus
Very nice blog...
chetna.l
I make paneer at home but that was loose can't out crumbled
.. Thank you for the idea if keeping weight above that would give me the cube I need.. Thank you so much for sharing the recipe..
Anonymous
Hi Arthi. I tried this paneer. Everything came out good but while cutting into cubes it's scrambled. What mistake I did
Aarthi
Set it for some more time.
Pradipta
It looks easy but hope it is actually too. I will definitely try this at home.Thanks for sharing
Pradipta / http://www.favcounter.com
Anonymous
Hello aarti.thanks fr the recipe..i hav tried the same using lime juice and it came out well. But when i tasted it, it had the flavour of lime juice.where did i go wrong.also i had read somewhere that we can use the whey water to curdle milk instead of lime/yoghurt, which will yield much softer and tastier paneer. Pls suggest
Agnes Jose
I wanted to make this for sometime... Tried yesterday and it is very good..Itry s lot o your recipes and they taste so good:+)
Priyanka
Hi.. Whenever i make paneer, it came out well. But when i used it any gravy, it spreads. So can u give any tips how to keep panner tight
Mountain Villa Resort Sasan Gir
best of the best blog post in this website.