

Stuffed braided bread is a soft, and delicious homemade bread filled with a spicy and flavourful vegetable stuffing. It has a beautiful braided pattern and is perfect for breakfast, evening snacks, dinner or to serve at parties. You can enjoy it warm with mayonnaise, tomato ketchup.
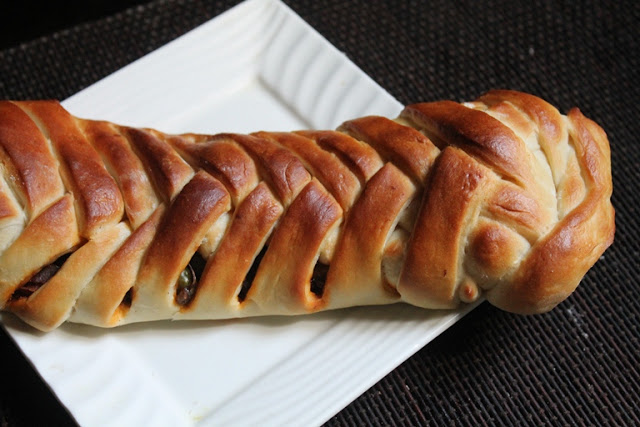
Stuffed Braided Bread
I wanted to make a stuffed braided bread so badly after my braided brioche success. When I made my crispy vegetable buns, I had some leftover dough so used that to make this braided bread and it turned out yummy.
Lately, I have been baking homemade bread more often and trying different recipes and shaping techniques. This stuffed braided bread is one of my favorite recipes because it looks beautiful, tastes delicious and is surprisingly easy to make. If you love this recipe, you will love my Bagels, Brioche Buns, Easter sweet bread and Nutella Designer Bread
About Stuffed Braided Bread
Braided bread is a homemade bread shaped by folding strips of dough into a beautiful braid pattern. You can use any basic bread dough and fill it with vegetables, cheese, chicken or any filling of your choice before baking.
For this recipe, I have used a basic homemade bread dough which is filled with a flavourful vegetable filling. The soft bread and tasty filling make every bite delicious.
The key step in this recipe is shaping the bread into a braid. After the dough rises, roll it out, spread the filling in the centre, cut strips on both sides and fold them over the filling to create the braid. Then, bake the bread until golden brown.
Once baked, brush the bread with melted butter for a soft and shiny glaze. Serve it warm with tomato ketchup, cheese sauce, mayonnaise or your favorite dip. It also pairs well with a bowl of hot soup for a complete meal.
Similar Recipes
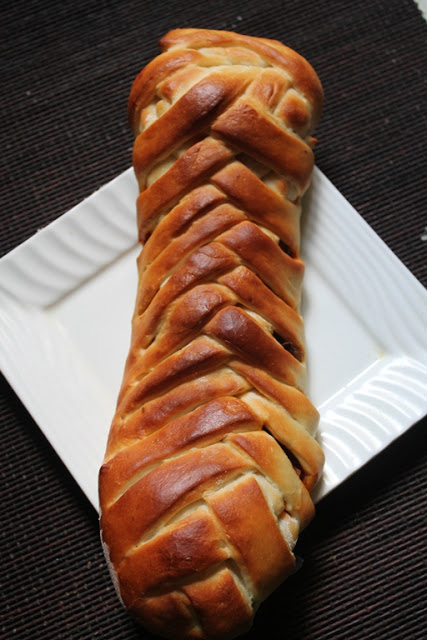
This bread is also perfect to pull apart and enjoy with family, friends during special occasions, parties or get-togethers.
I used the same veg filling which i used in my fried bun recipe. You can stuff this with anything u like, chicken, meat, veggies, potatoes and anything u want.
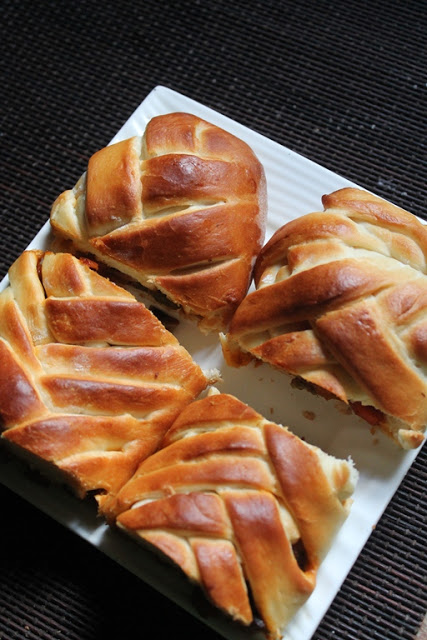
Will share different version soon. These braided bread look so good, you can make mini individual braided rolls and they look even cuter. Since u have to cut this big one into pieces for serving.
Related Recipes
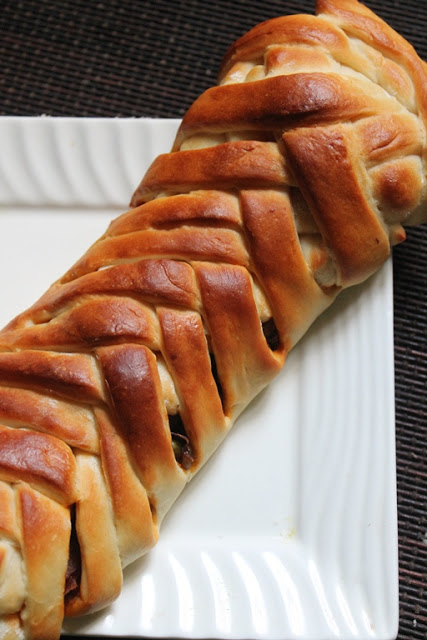
These braided bread looks so cute when served at a party. Some people struggle to make braided bread because they make the dough too soft. If you find your dough too soft, I recommend keeping it in fridge for few hours before braided.
This method makes the dough more manageble and easy to handle. It is important to stuff the bread generously, so you get good amount of filling in each bite.
Also brush the top of the bread with either egg wash or milk wash to give a golden colour which makes it look pretty.
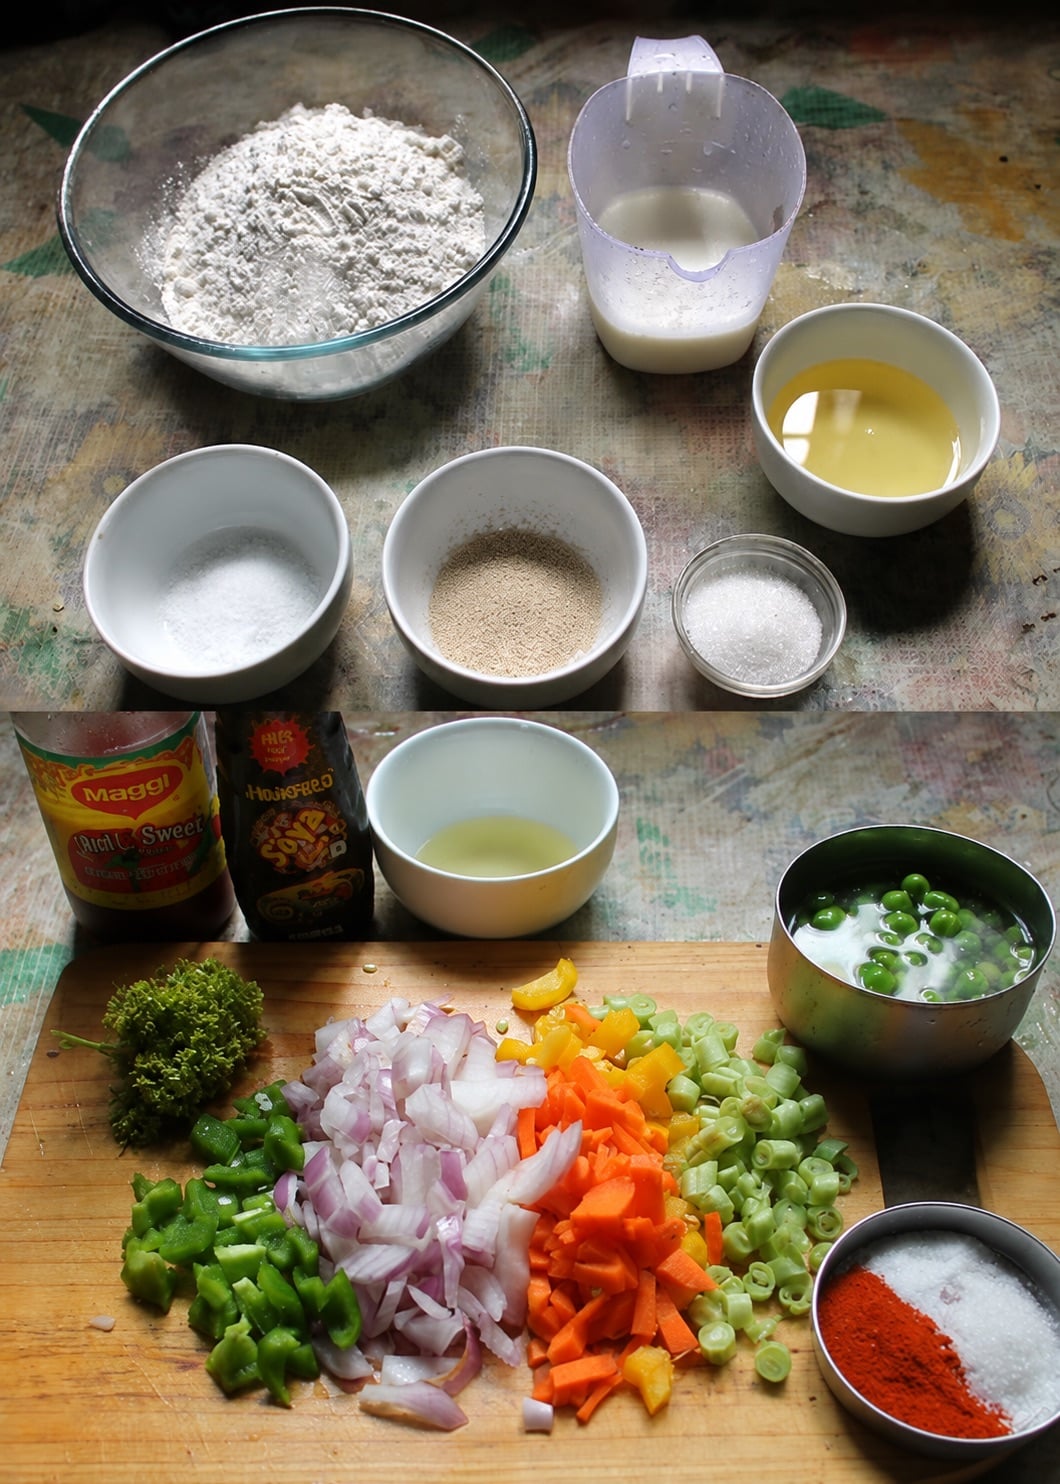
Ingredients
- All purpose flour : plain flour gives soft and fluffy structure to the bread. You can also use a mix of whole wheat and maida for a healthier version.
- Dry yeast : Yeast helps the dough rise and makes the bread soft, airy and light.
- Sugar, salt and oil : Sugar helps to activate the yeast. Salt balances the overall taste and flavour of the bread. Oil added to keep the dough soft and tender, you can use butter instead of oil.
- Warm water & Warm milk : Warm milk & water added to activate the yeast and make the dough soft, and smooth. Make sure they are warm and not hot.
- Oil : Oil used to saute the vegetables and it adds flavour to the filling.
- Ginger & Garlic : Ginger and garlic adds a strong aroma and flavour to the vegetable stuffing.
- Vegetables : I've added onion, carrot, capsicum, peas and beans for the filling. You can add any vegetables of your choice.
- Tomato ketchup, soy sauce : These sauces add a sweet, tangy and savory flavour to the filling.
- Salt & sugar : These seasonings enhance the taste and flavour of the filling.
- Chilli powder : Chilli powder adds mild spicy flavour to the filling. Adjust according to your preference.
- Spring onion or coriander leaves : Fresh herbs add color, freshness and extra flavour to the filling.
- Milk for brushing on top : Brush milk on top of the bread before baking. It gives a beautiful golden color and crust. You can use egg for brushing on top.
Step by Step Pictures
Activating Yeast
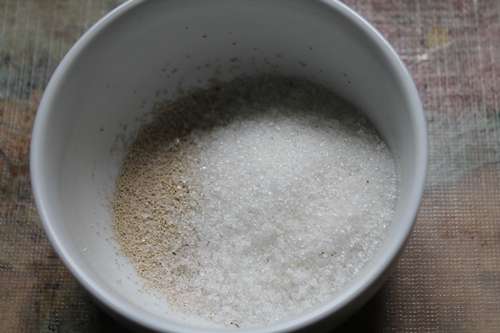
1)Take sugar and yeast in a bowl. Sugar helps the yeast activate faster.
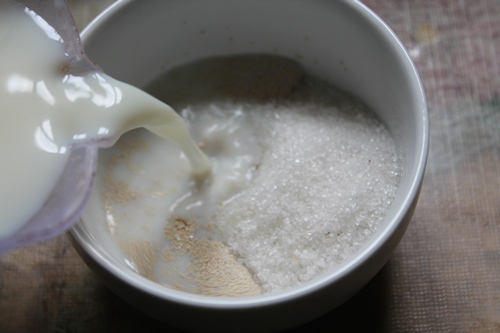
2)Pour in luke warm milk over this.
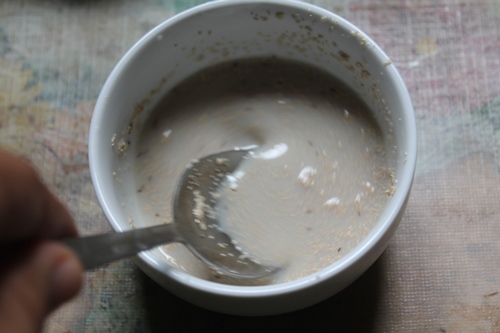
3)Mix well and set aside for 5 minutes till the yeast gets foamy and activated.
Making Bread Dough
4)take flour and salt in a large mixing bowl. Mix the salt evenly into the flour using your hands.
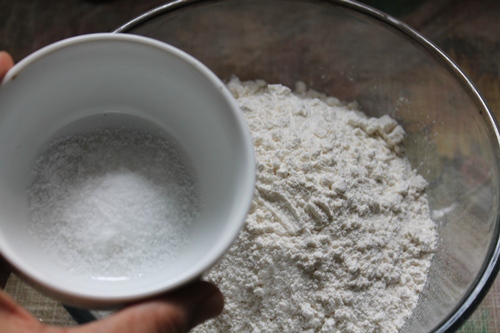
5)Add in oil into the flour. You can use butter instead of oil as well. Mix the oil into the flour.
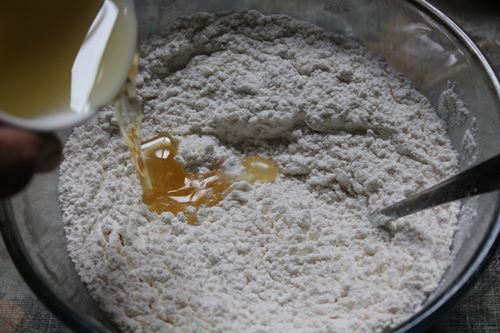
6)Pour in the activated foamy yeast mixture.
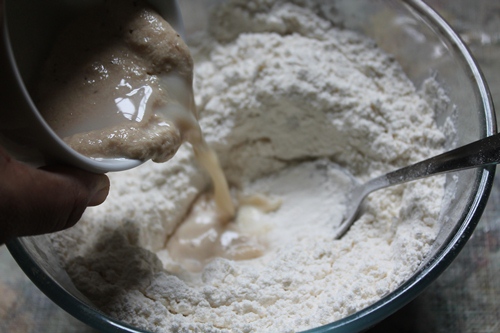
7)Pour more warm milk and knead to a soft dough.
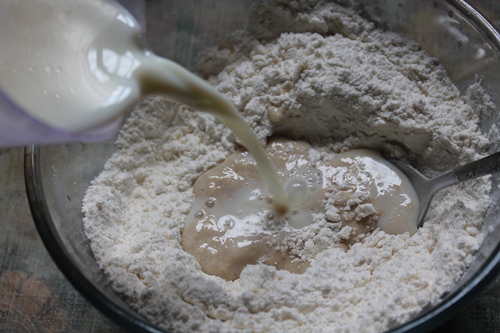
8)You can add more warm water or milk if the dough is too dry.
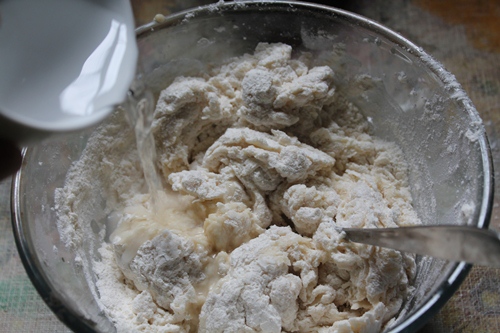
9)Once the dough comes together, you can add some oil and knead again.
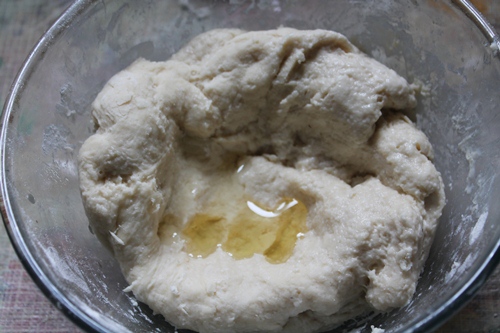
10)Knead the dough for 10 minutes until it is soft and supple.
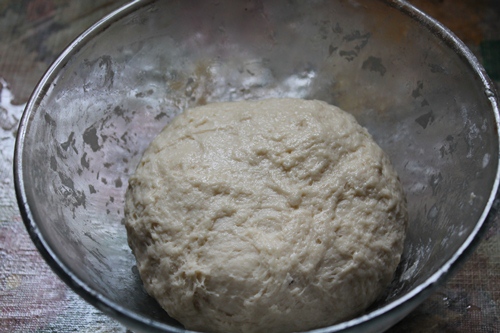
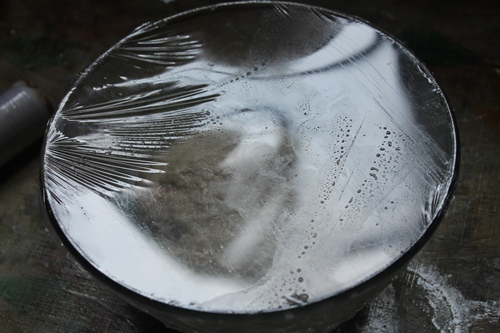
11)Cover with a plastic wrap or clean cloth and set aside for 1 to 2 hours till gets double in size.
Make Filling
12)While the dough is resting. Lets make the filling. Heat oil in a pan. Add in onions and all the chopped vegetables together. Saute the vegetables for 4 to 5 minutes.
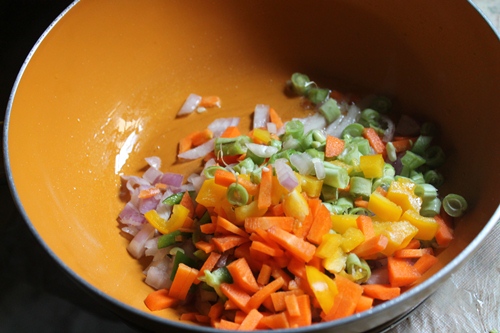
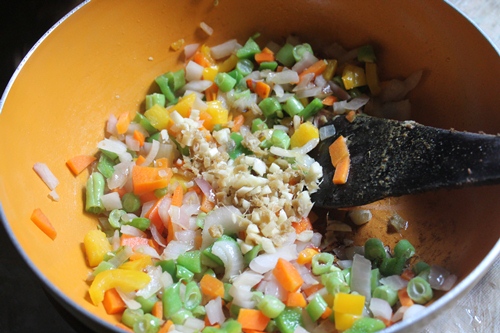
13)Add in finely chopped or grated ginger and garlic. Stir fry the ginger garlic for couple of minutes.
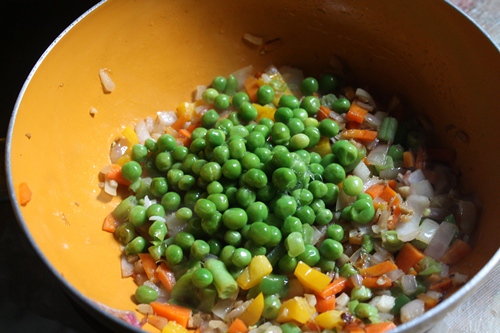
14)Add in green peas. Since I am using frozen peas, I added in the end. Once the peas is added, saute for couple more minutes.
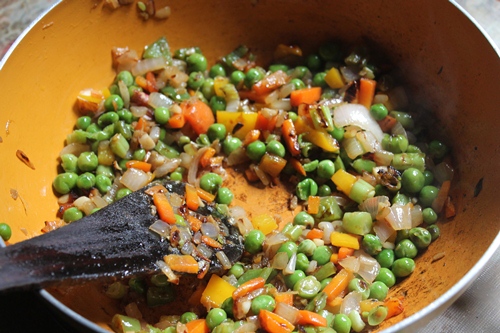
15)Let the veggies gets cooked and soften a bit.
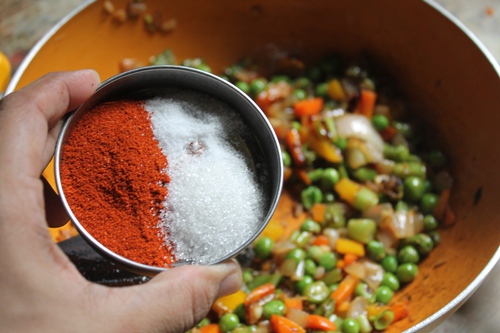
16)Add in spice powder, salt and sugar to the vegetable mix.
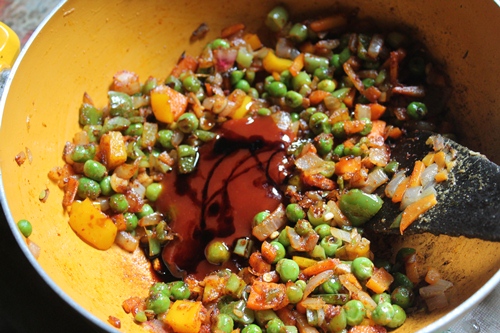
17)Add in ketchup and soy sauce as well. Mix the sauces into the vegetable mixture.
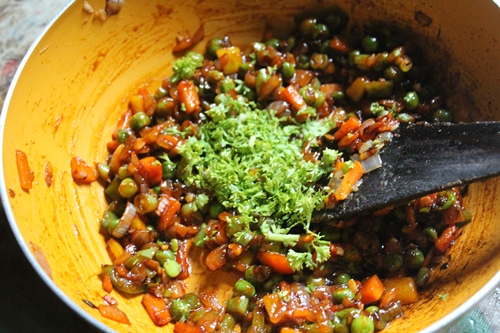
18)Add in coriander leaves and mix well.
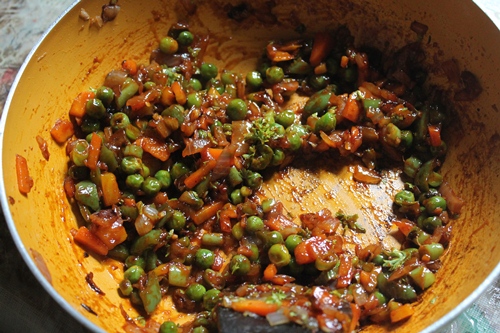
19)This is your simple vegetable filling. Now set this aside so the filling gets cool.
Stuffing Braided Bread
20)Now you can see the dough has risen and doubled in size.
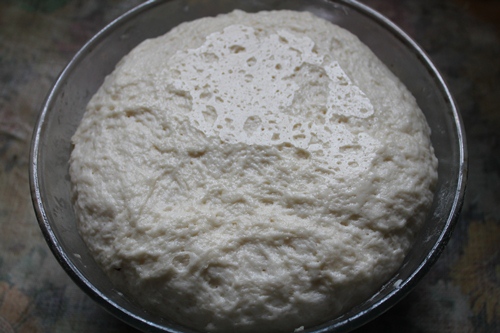
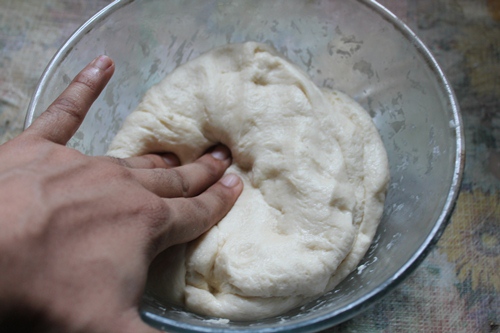
21)Punch down the air from the dough.
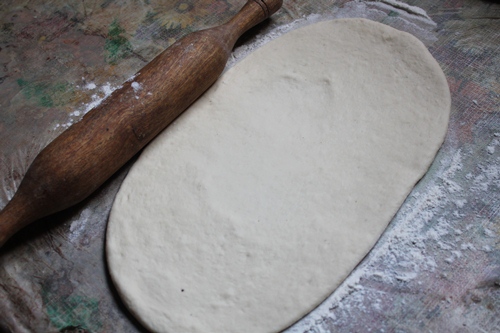
22)Take the dough on a well floured work surface. Roll it like a long rectangle. You have to roll the dough to how big you want your braided bread to look like.
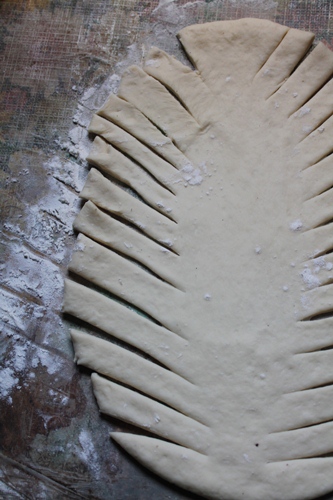
23)Use a sharp knife to make slits like this on the dough.
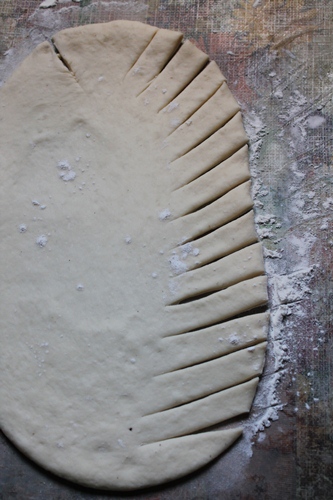
24)Make uniform slits on other side of the dough as well. This is what will help with the braids.
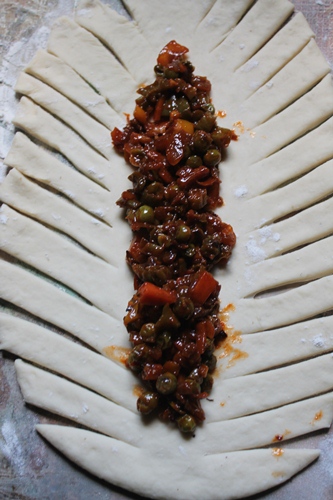
25)Now spoon the vegetable filling into the bread. Be generous with the filling, I stuffed all the mixture evenly.
Braiding the bread
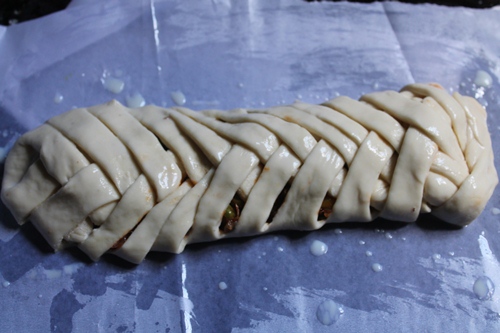
26)Now lets braid the bread. First fold from the top. This seals the filling into the bread.
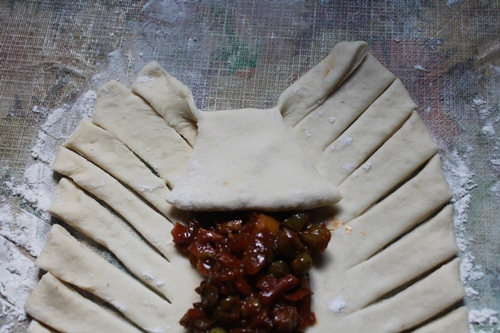
27)Now lets braid the bread using the slits which we made.
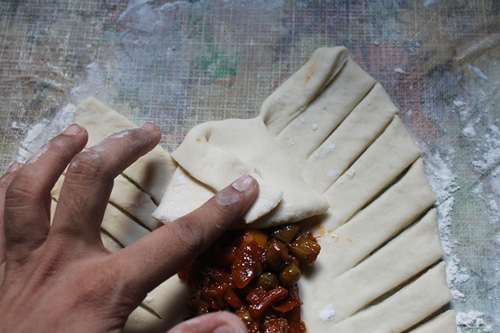
28)You can braid which ever way you like. But I seal the top and bottom really well, so no filling can spill out of the bread.
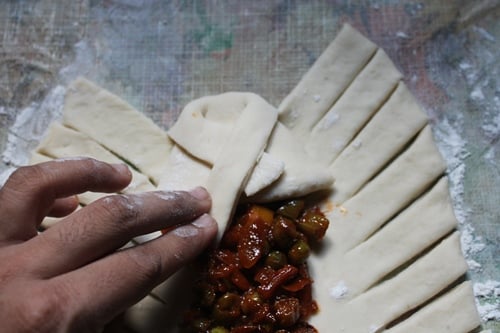
29)Now you start braided alternately using the slits which you made.
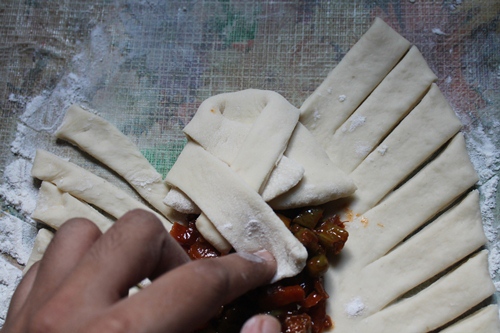
30)Keep braiding till you come to the end.
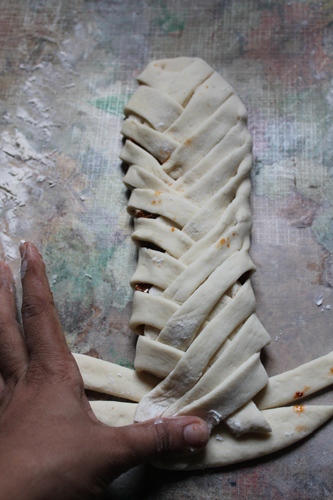
31)When you come to the end, you seal the bread like I shown in the beginning of the bread. So no filling can spill out of it.
Baking the bread
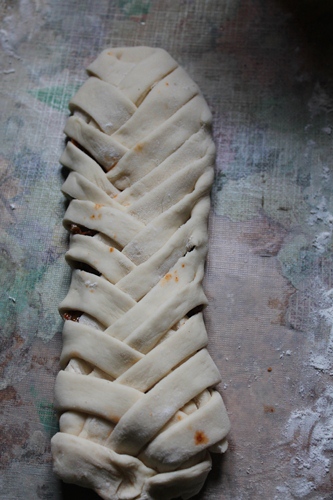
32)Place the braided bread on a greased baking tray. Brush the top with either milk or with a beaten egg.
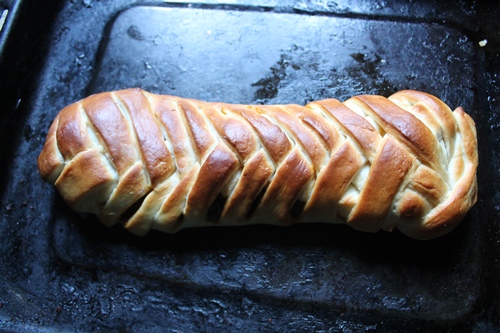
33)Bake the bread until golden. Remove from oven and allow it to cool for 20 minutes.
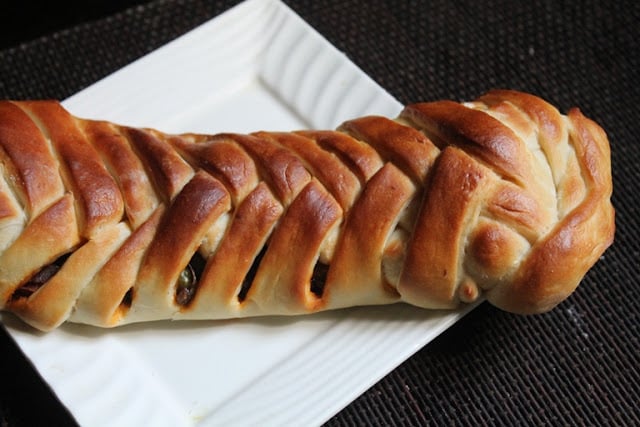
34)Enjoy warm.
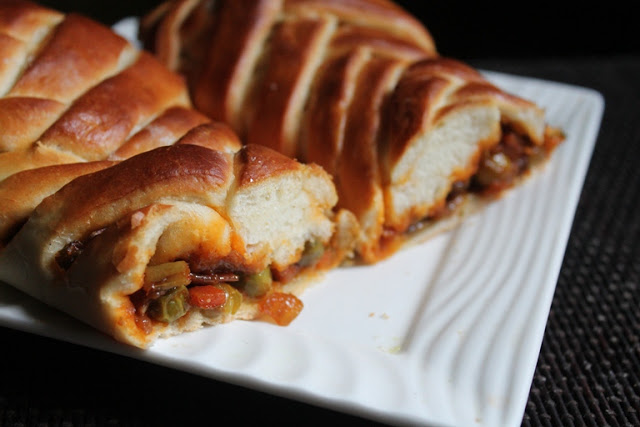
35)Slice and serve.
Expert Tips
- Always use warm water and milk to activate the yeast.
- Don't add too much filling, as it can make the bread difficult to shape and may cause the filling to come out while baking.
- Let the vegetable filling cool completely before stuffing into the bread.
- You can also make this bread sweet by swapping vegetable filling with jam, fruit compote, and nutella of your choice.
Storage and Serving
Store leftover bread in an airtight container. It stays good at room temperature for a day. It can also be refrigerated for a week. Reheat them in the oven or microwave for a few seconds before serving.
Serve this stuffed braided bread warm with soup, tea, or your favorite dip for a delicious meal.
FAQ
Q. Can I use whole wheat flour instead of maida ?
Yes, you can use whole wheat flour. The bread may look slightly dense or use a mix of both to make it healthy and soft texture.
Q. Can I add cheese to the bread ?
Absolutely ! You can add shredded cheese or cheese slices before baking. It gives a cheesy pull to the bread.
Q. What other filling can be added in this recipe ?
Well, this recipe is so versatile that you can add other filling like paneer, tofu, cheese, chicken, egg or even sweet filling can be added.
📖 Get Recipe

Stuffed Braided Bread Recipe (Vegetable Braided Bread)
Equipment
Ingredients
For Activating Yeast
- 2 teaspoon Dry Yeast
- 1 tablespoon Sugar
- ¼ cup Warm Milk (Luke warm)
For Bread Dough
- 2½ cup All Purpose Flour (Plain Flour)
- 1½ teaspoon Salt
- 3 tablespoon Oil or Melted Butter
- ¾ cup Warm Milk
- ¼ cup Warm Water as needed
For Vegetable Filling
- 1 tablespoon Oil
- 1 tablespoon Ginger peeled and finely chopped
- 1 tablespoon Garlic peeled and finely chopped
- 1 medium Onions peeled and finely chopped
- 1 medium Carrot finely chopped
- 5 no Beans finely chopped
- ¼ cup Bell Peppers chopped finely
- ½ cup Frozen Green Peas i used frozen
- ¼ cup Tomato Ketchup
- 2 teaspoon Soy Sauce
- 1 teaspoon Salt to taste
- ½ teaspoon Sugar optional
- 2 teaspoon Red Chilli Powder
- 3 tablespoon Coriander leaves finely chopped
For Milk Wash
- 3 tablespoon Milk for brushing on top
Instructions
- Start by activating yeast. Take yeast and sugar in a bowl, add ¼ cup of warm milk and mix well. Set aside for 5 mins for the yeast to activate.
- Now make the dough. Take flour, salt, 2 tblspn of oil in a large bowl and mix well. Add in the yeast mixture and the rest of the milk. Mix well using a fork. Add little warm water as needed. Knead this to a soft dough. The dough has to be non sticky.
- Drizzle in 1 tablespoon of oil on top and knead well. Cover and set aside to rise for 1 to 2 hour.
- While the dough is rising, lets make the filling. Heat oil in a kadai.
- Add in all the chopped onions and veggies and saute them for 2 mins. Add in chopped ginger and garlic and saute them well. Add in green peas and mix well. Cook this till the veggies are cooked.
- Add in salt, sugar and chilli powder and mix well. Add in ketchup and soy sauce. Toss well. Finally add in coriander leaves and mix well. This is your filling, Set aside so it cools completely.
- Preheat oven to 180 degree C (360 degree F) for 15 minutes.
- Now the dough must have doubled in size. When the dough is risen, punch the air out and knead it once more. Add more flour if it is too sticky.
- Take the dough and roll it into rectangle, cut strips on both the sides. spoon all the cooled vegetable filling in the centre. Now start braiding as shown in picture.
- Once you have braided. Place it in a well oiled baking tray which is lined with baking parchment paper. Brush the top really well with milk or egg wash.
- Place this into a preheated oven. Bake this for 12 mins in 180 degree C. Now increase the heat to 220 Degree C and bake for 5 to 8 mins this till give nice colour to the bread.
- Remove it from oven and let it cool in the tray for 5 minutes. Now remove this to a cooling rack and let it cool for 10 minutes. Slice and serve warm.
Video






Anonymous
Can v bake this in cooker?????
Ragavi
Wow Aarthi! Am surely going to make this. I want to add chicken to the mixture. At what point should I do this? Do I precook the chicken?
Thanks for letting me know.
Anonymous
My flour is not rising...what is wrong can u plz help me out?????
Aarthi
@Anonymousit is because your yeast is not activated. add very warm water along with sugar to yeast. if u add too hot water then the yeast with die and the dough wont rise
Aarthi
@Ragavicook the chicken first in a lil oil till it is done, then remove them. Then add after the veggies are done.
Aarthi
@Anonymousyes u can make this in cooker too
Anonymous
Hi..I loved ur recipe. .and going to try it now..can u pls advise can I bake it directly on baking tray in oven as I do not have parchment paper..thanks
Ramya
Hi Aarthi.... It looks yummy... Just one doubt. If using instant yeast what will be the measurement for yeast?
Regards, Ramya
Aarthi
@Ramyasame measurements forinstant yeast
Aarthi
@Anonymousyes u can, just oil the pan very well. you can use foil as well
Anonymous
Incase of making it using cooker I really do need ur guidance.... Arthi I must say u inspired me to go kitchen
Aarthi
@Anonymouscheck this link for pressure cooker baking
https://www.yummytummyaarthi.com/search/label/Pressure%20Cooker%20Baking
Breeze P
Hi Aarthi,
The buns came out very well... But whenever I bake buns the tastes is good but the bun doesn't soft as store bought... Buns in your pics seems like very soft and moisty... Any tips to get soft buns?
Thanks for your blog, the love for cooking raised once I started following ur blog....
Aarthi
@Breeze Pdont over bake and brushing it with egg helps too
Anonymous
Hi aarthi ur blog looking superb and well organised.n ur step by step instructions are command able sterday i tried this recipe it came out awesome this my first bread recipe n gave a confidence to try some more recipes my family enjoyed it full credit goes to u good job keep cooking n always make our tummy happy
Shifali
Great recipe. Can I replace all purpose flour with whole wheat flour?
Aarthi
yes u can
Jeni
do we need to proof the dough for second time