
Looking for easy recipes from India and around the world. You are in the right place. Yummy Tummy Aarthi Food blog that features recipes with step-by-step photos, which shows the ease of cooking.
Updated Recently with More Tips


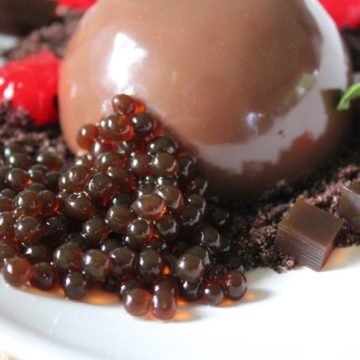
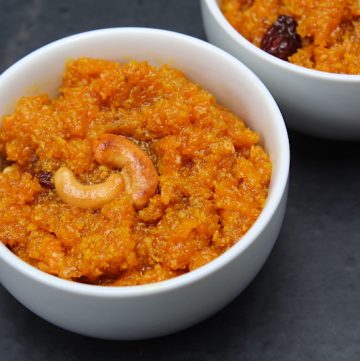
Latest Recipes


Ramadan Iftar Recipes


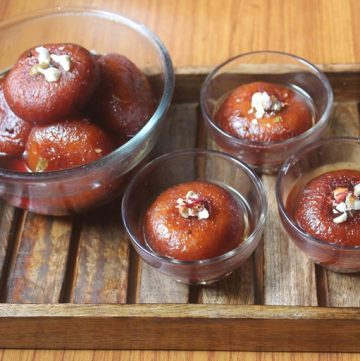
Ramadan Recipes
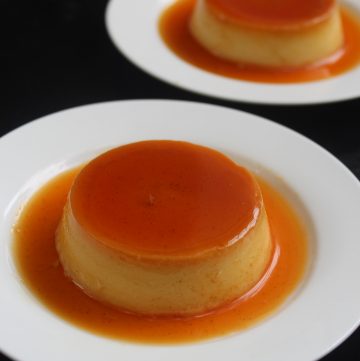
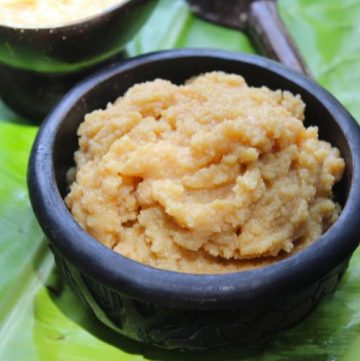
- Caramel Custard Recipe
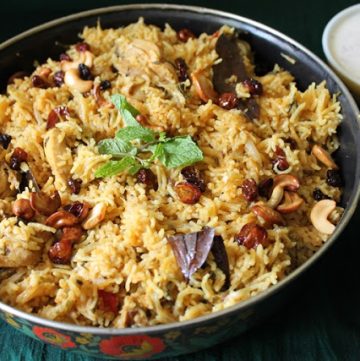
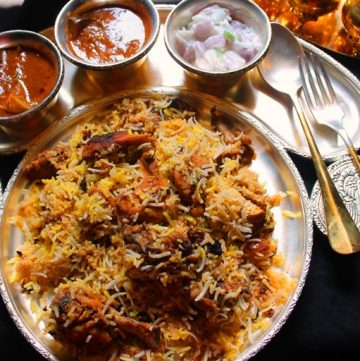
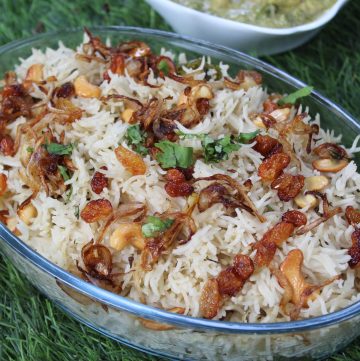
- Pressure Cooker Chicken Biryani Recipe
- Chocolate Self Saucing Pudding Recipe
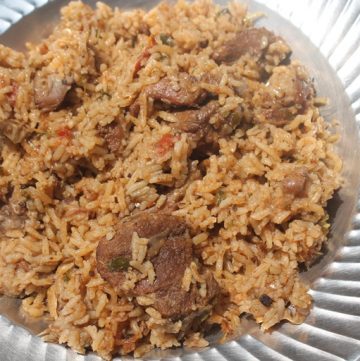
- Pressure Cooker Mutton Biryani Recipe
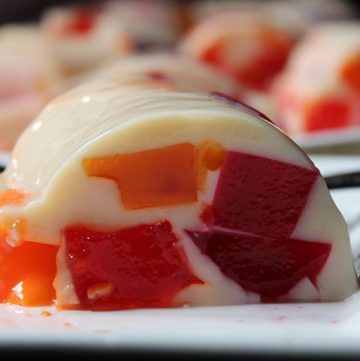
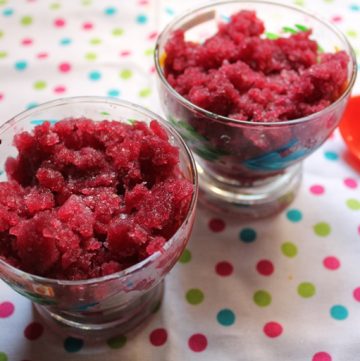
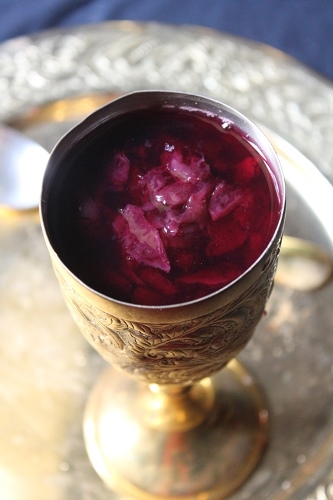
- Broken Glass Jello Recipe
- Orange Pudding Cake Recipe
- Chocolate Custard Pudding Recipe
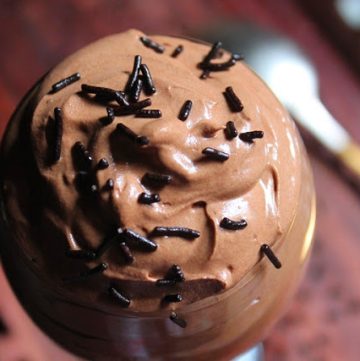
- Eggless Chocolate Mousse Recipe
- No Bake Oreo Cheesecake Recipe
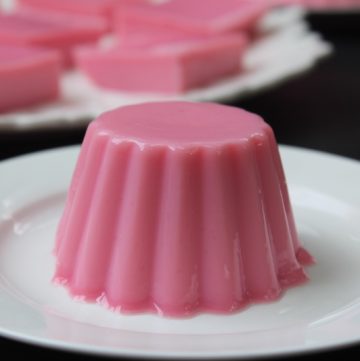
- Rose Pudding Recipe
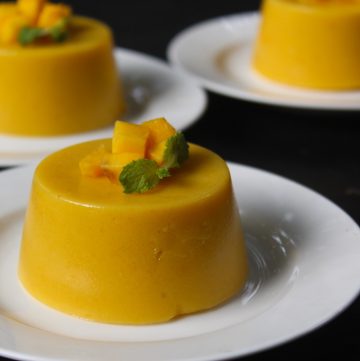
- Mango Pudding Recipe
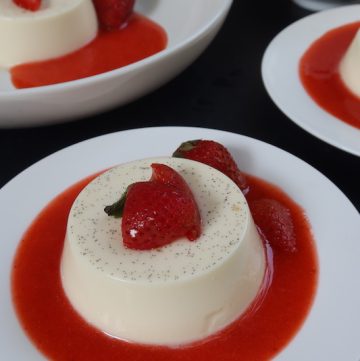
- Panna cotta Recipe


Bake like a pro
Easy baking recipes which includes everyday cakes, cookies, breads and more.


Hi, I'm Aarthi
Fondly known as Yummy Tummy Aarthi. Over the past few years, I’ve been on a mission to find and create recipes that I can make from scratch. I hope you enjoy the recipes on this blog as they are tried and true from my kitchen to yours!
Stay connected
Summer is Here
Keep yourselves cool this summer with these amazing refreshing summer recipes.

Diwali Recipes

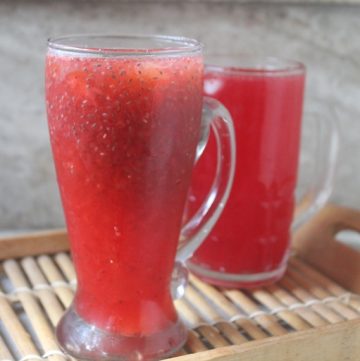
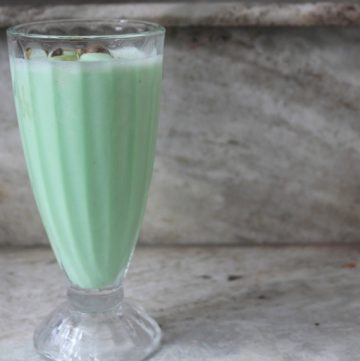
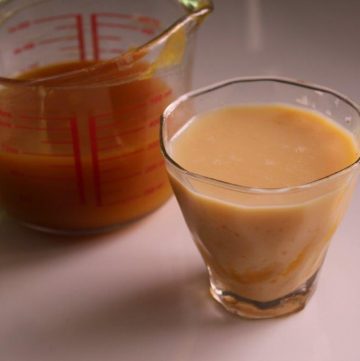
Juices


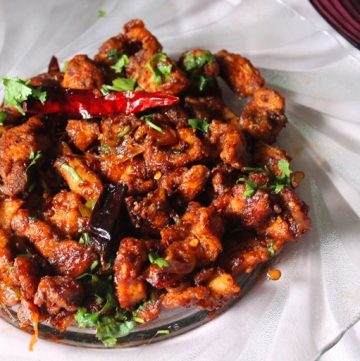
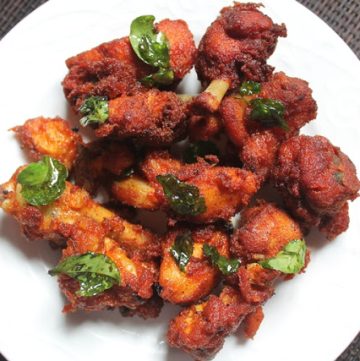
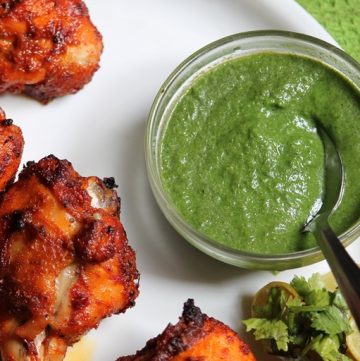
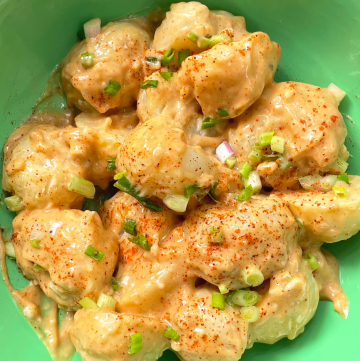
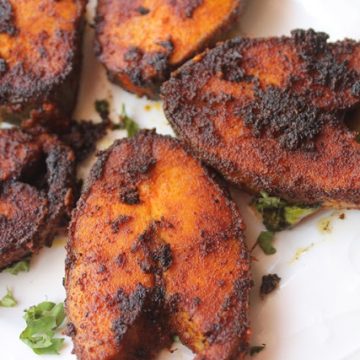
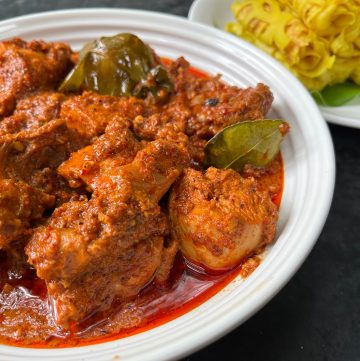
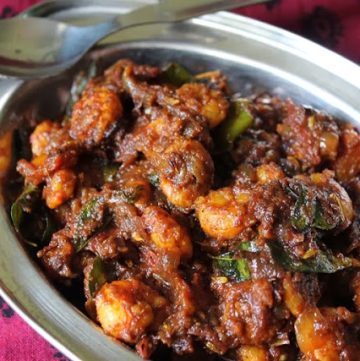
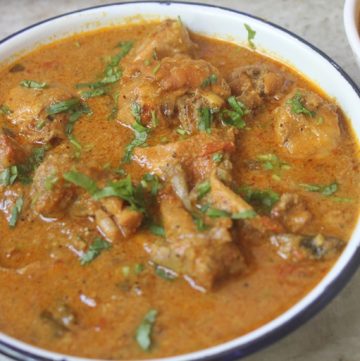
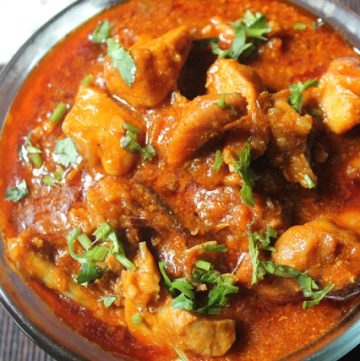
Chicken Recipes
For all those non veg lovers, these chicken recipes will wow your mind.


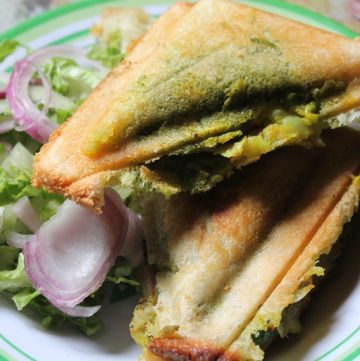
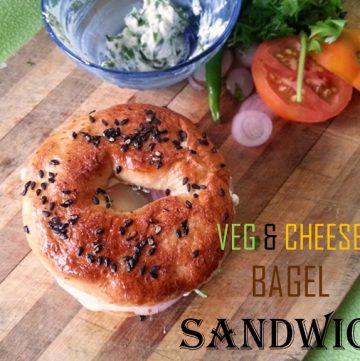
All Time Favorite Sandwiches
Everyday lunch box sandwiches from the humble PB&J to Ultimate club sandwiches.


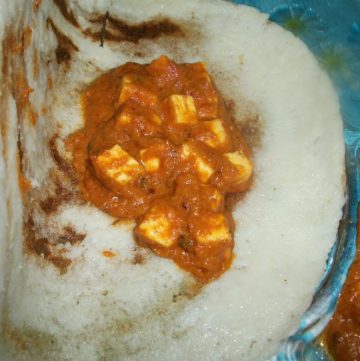
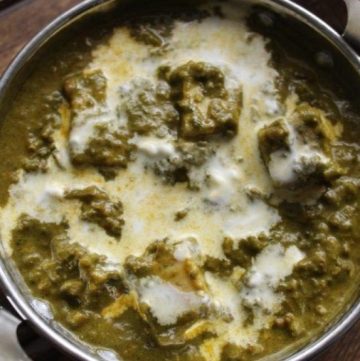
Paneer Recipes


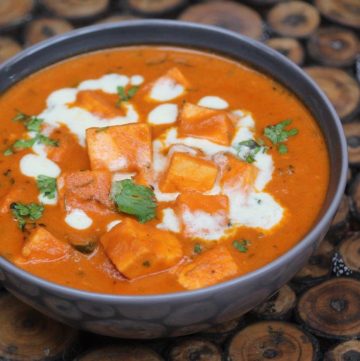

See more Paneer Recipes ->
All Time Favorites


Choose your Meal
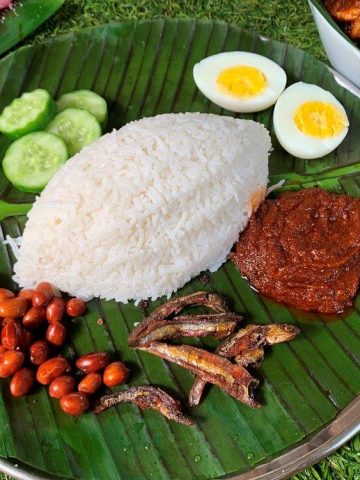

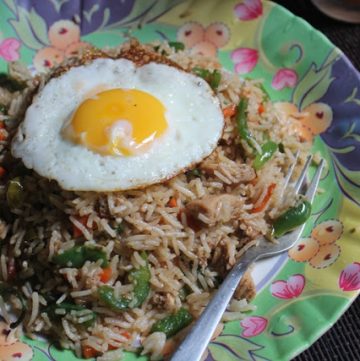
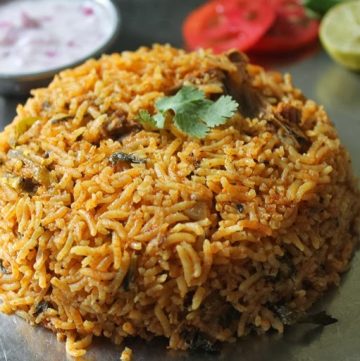
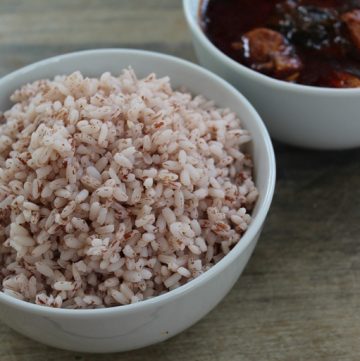
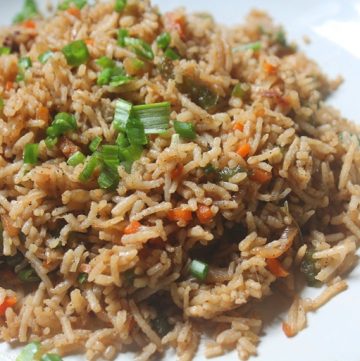
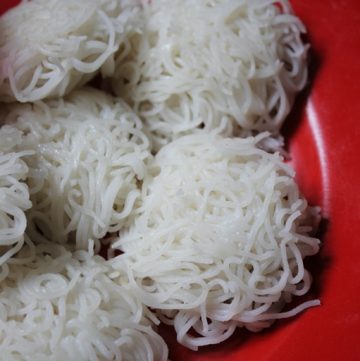
Simple Rice Recipes
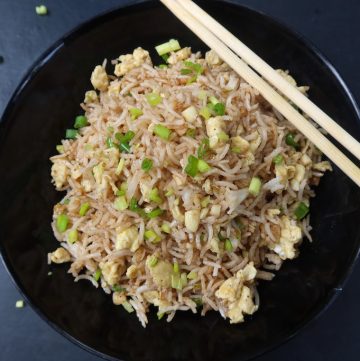
See more rice recipes →
Recipes by Course


WATCH ME ON YOUTUBE

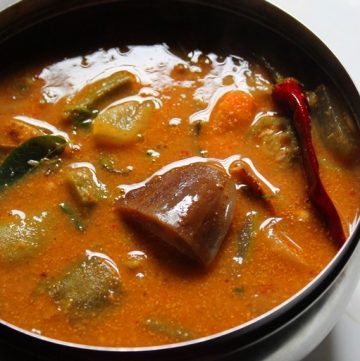
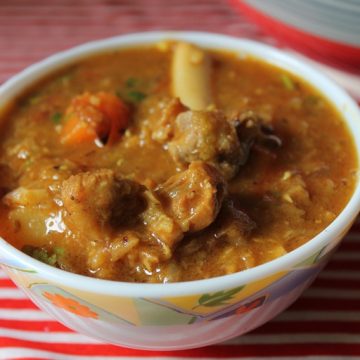
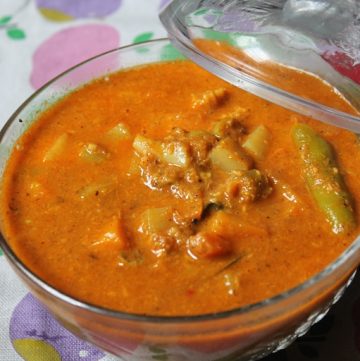
Kulambu Recipes

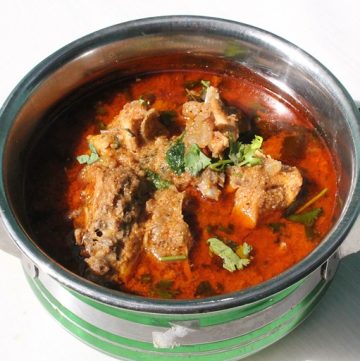
See more kulambu recipes->
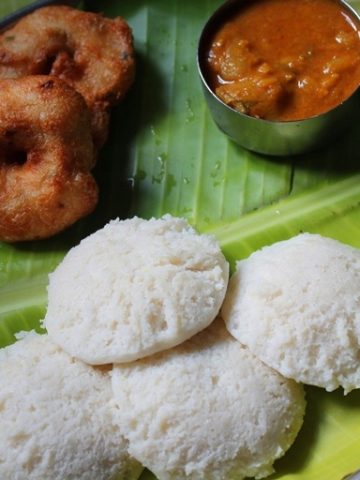
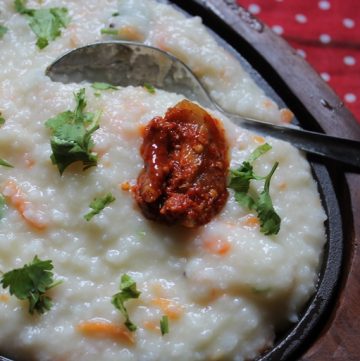
Breakfast Recipes
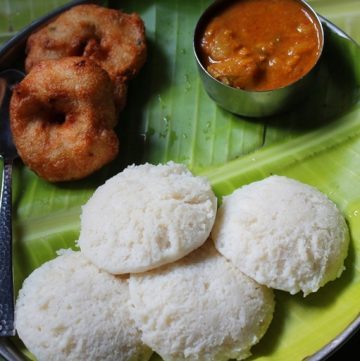
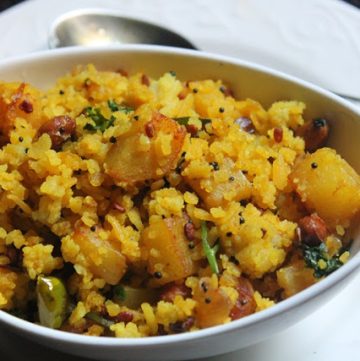


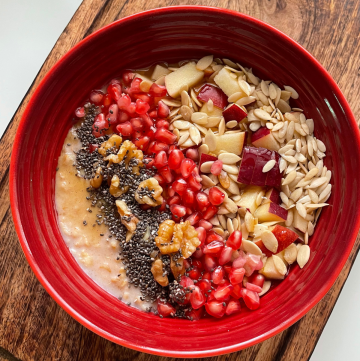
See more breakfast recipes →
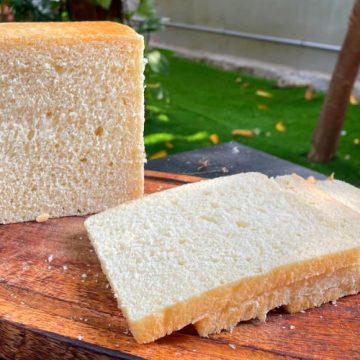
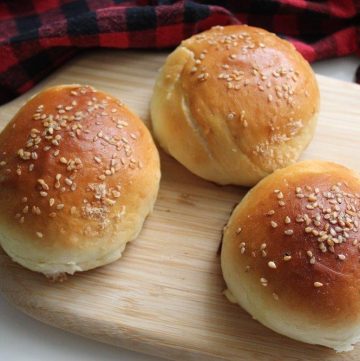
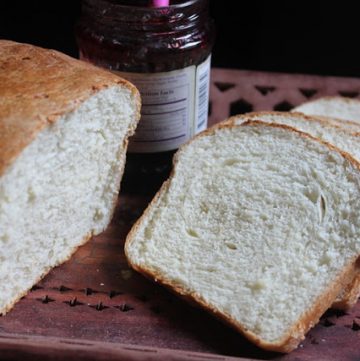
Bake your Own Bread
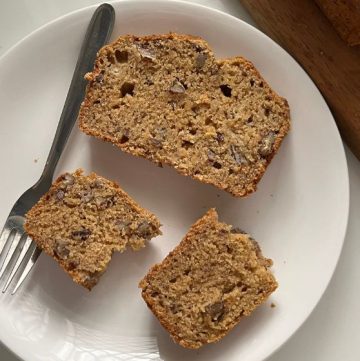
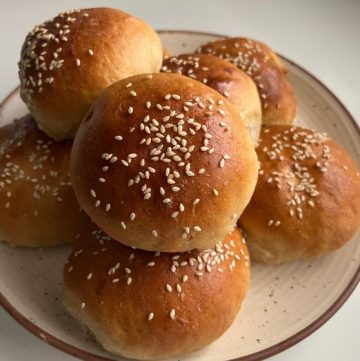
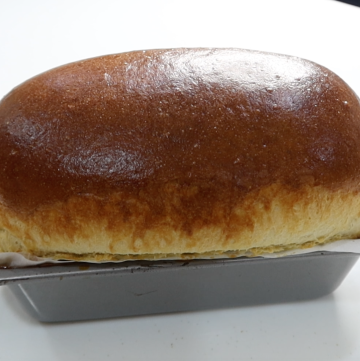
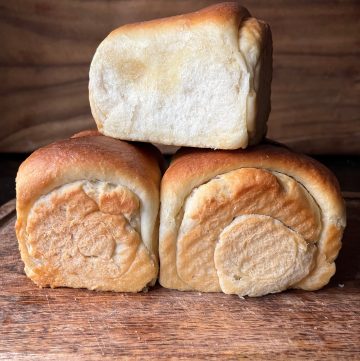
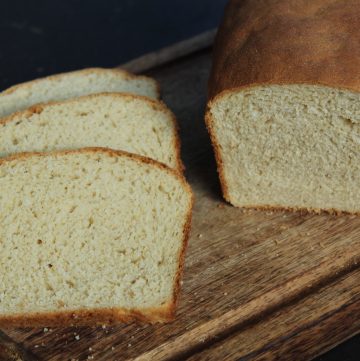
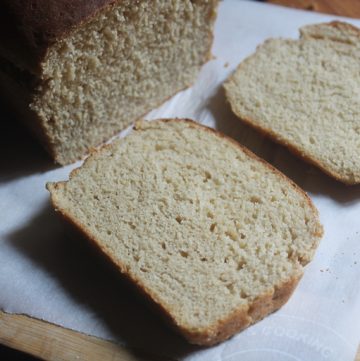
See more bread recipes →
Featured Categories
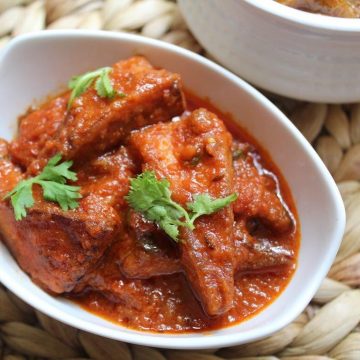

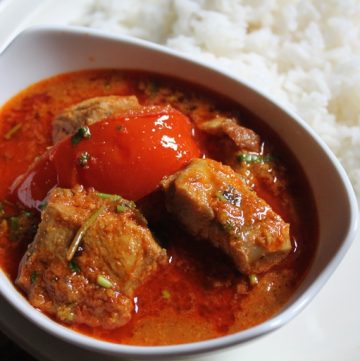
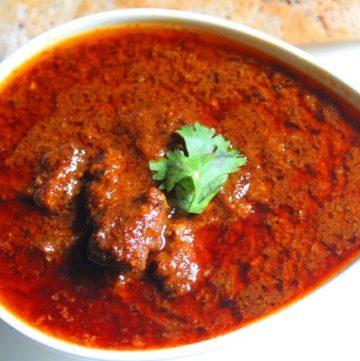
Indian Curries
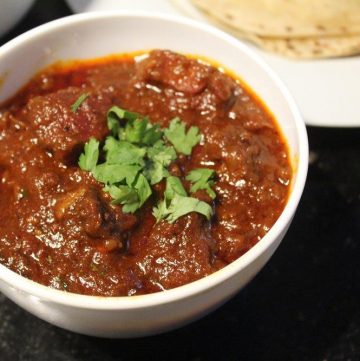

See more indian curries →
One Pot Recipes
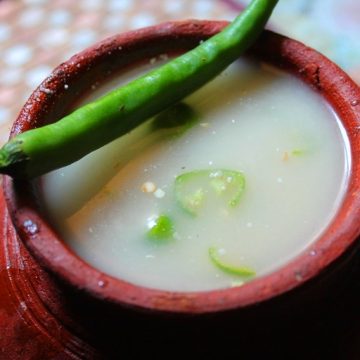
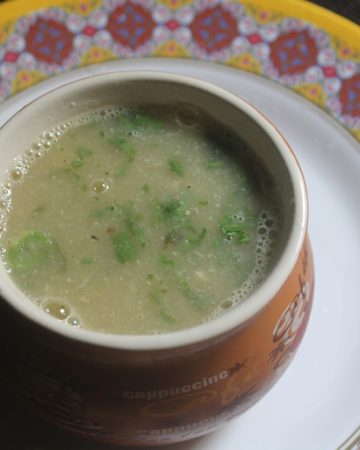
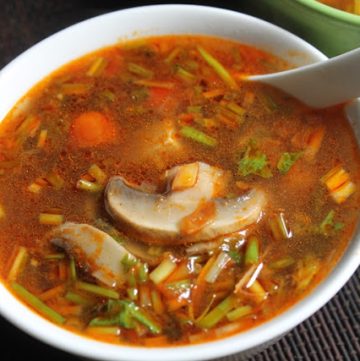
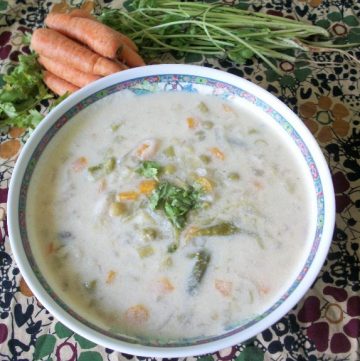
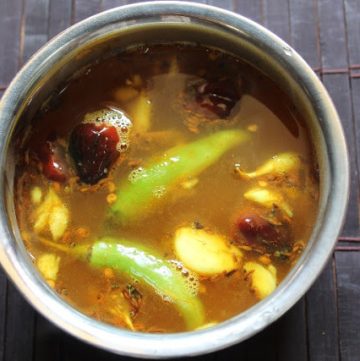
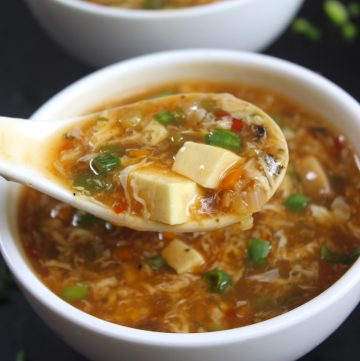
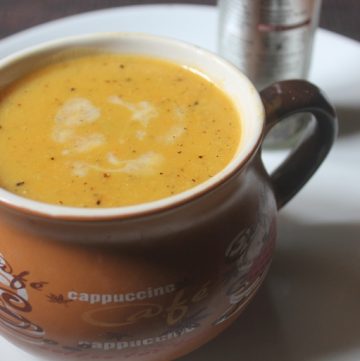
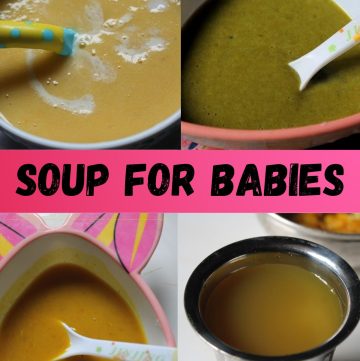
Soups Recipes

See more soup recipes->
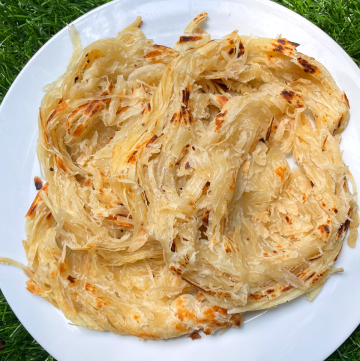
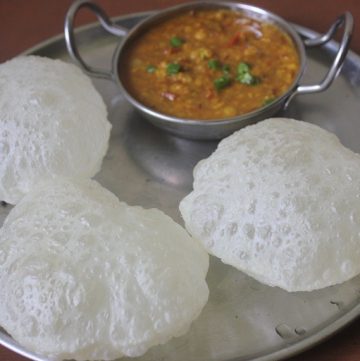
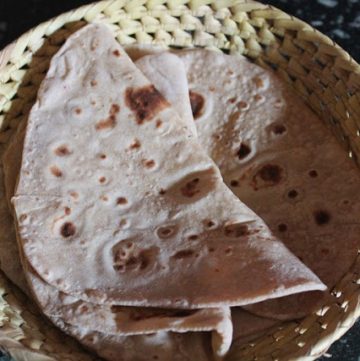
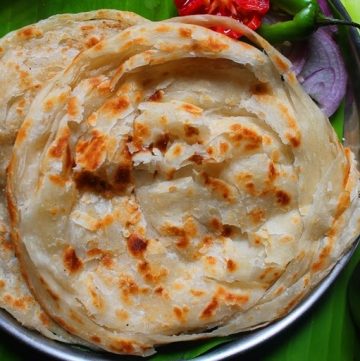
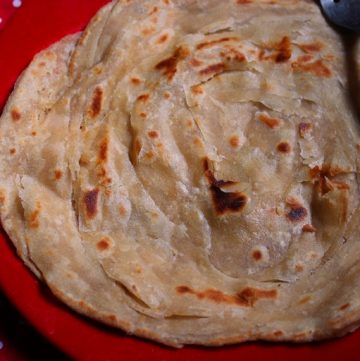
Easy Paratha Recipes


See more paratha recipes->
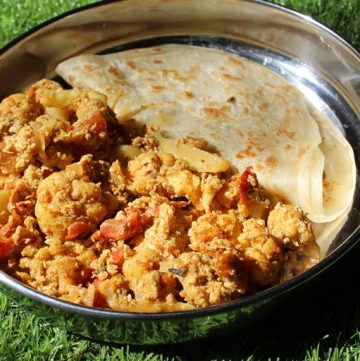
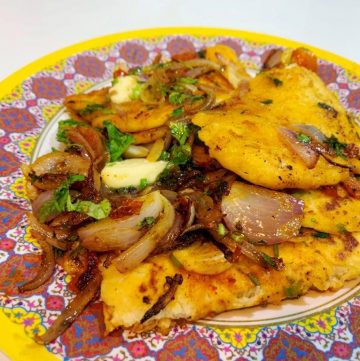
Side Dishes for Roti


See more side dishes->